TL;DR
- Complete Astronomy Class main quest to unlock access to all 15 Astronomy Tables
- Tables only work at night – use world map time advancement feature
- Each constellation requires specific zoom and rotation combinations to solve
- Collecting all tables rewards the exclusive Starry-Eyed Seer’s cosmetic set
- Use broom flight for efficient travel between distant table locations
Embark on a celestial journey through the wizarding world as you discover Hogwarts Legacy’s Astronomy Tables, a specialized collectible system that combines exploration with engaging puzzle mechanics. These magical instruments scattered across the Scottish Highlands offer players a unique stargazing experience that rewards both patience and astronomical knowledge.
Astronomy Tables serve as interactive celestial observatories where aspiring witches and wizards can align constellation patterns with the night sky. Successfully completing these astronomical challenges contributes to your overall exploration progress and unlocks exclusive visual customization options for your character’s wardrobe.
For collectors seeking completion, mastering these tables provides both practical navigation skills and cosmetic enhancements that showcase your dedication to Hogwarts’ magical curriculum.
Before you can begin your astronomical adventures, you must first complete the Astronomy Class main quest, which typically becomes available around the midpoint of your Hogwarts campaign. This essential tutorial introduces you to Amit Thakkar, an enthusiastic Ravenclaw student whose passion for celestial observation will guide your initial steps into wizarding astronomy.
During this guided introduction, you’ll learn the fundamental puzzle mechanics: rotating your camera perspective, adjusting lateral positioning, and controlling zoom levels to perfectly overlay constellation patterns onto the starry backdrop.
Critical Timing Consideration: Astronomy Tables only function during nighttime hours. If you arrive at a table during daylight, access the world map and use the time advancement feature (default ‘F’ key on PC) to transition to evening skies. This day-night cycle management is essential for efficient table completion.


Left: The first Astronomy Table you discover is part of the Astronomy Class quest; Right: Familiarize yourself with the interface when solving the puzzle.
Within the castle grounds, you’ll find two Astronomy Tables that serve as excellent practice before venturing into the wider Highlands. The initial tutorial table provides hands-on experience with the alignment mechanics, while the second offers a more challenging celestial configuration.
Greenhouses Astronomy Table: Located just outside the Herbology greenhouses, this table presents the Phoenix constellation. For optimal alignment: fully zoom out your telescope viewport, then rotate clockwise while making minor adjustments to match the distinctive wing pattern formation.
Pro Tip: This location also conceals a vine-covered doorway leading to a secret corridor housing one of Hogwarts’ legendary chests – perfect for combining collection activities.

Left: Greenhouses Astronomy Table; Right: Phoenix constellation.
The Northern Highlands region contains eight Astronomy Tables scattered across diverse landscapes from the Forbidden Forest’s mysterious depths to Hogwarts Valley’s picturesque hamlets. Each presents unique celestial patterns requiring specific observational approaches.
- South Hogwarts Region: Scorpius – Positioned slightly west of the Forbidden Forest Floo Flame; requires full zoom-out followed by clockwise rotation with precision star alignment.
- Forbidden Forest: Draco – Adjacent to the Hippogriff Den; utilize maximum zoom-out combined with clockwise rotation for optimal constellation matching.
- Hogsmeade Valley: Leo – West of Upper Hogsfield; demands zoom-in approach with counter-clockwise rotation and lateral adjustment.
- North Ford Bog: Centaurus – Near San Bakar’s Tower; implement full zoom-out with clockwise rotation while shifting telescope rightward.
- Hogwarts Valley (Brocburrow): Corvus – Hilltop placement near the hamlet; employ complete zoom-out combined with counter-clockwise rotation.
- Hogwarts Valley (Keenbridge): Capricornus – Tower summit location; requires zoom adjustment and rotational fine-tuning until triangular pattern synchronization.
- Feldcroft Region (North Feldcroft): Lacerta – Cliffside overlooking bandit camp; utilize zoom-in functionality with slight rightward adjustment.
- Feldcroft Region (Rookwood Castle): Horolugium – South of Rookwood Castle on small elevation; apply zoom-in technique while shifting telescope leftward, carefully excluding the largest non-pattern star.

From left to right: South Hogwarts and Forbidden Forest; Hogsmeade Valley and North Ford Bog; Hogwarts Valley; Feldcroft Region.
Venturing into the Southern Highlands reveals five additional Astronomy Tables accessible after navigating through the Coastal Cave mountain passage. These locations present more complex celestial arrangements that test your growing astronomical expertise.
- Poidsear Coast: Hydra – Hill opposite South Poidsear Coast Floo Flame; requires comprehensive zoom-out to capture the extensive star pattern with careful angular positioning.
- Marunweem Lake: Canis Major – Northeast cliffside overlooking large bandit encampment; employ zoom-in technique with clockwise rotation to align the distinctive canine head triangular formation.
- Manor Cape: Sagittarius – Peninsula tip near Henrietta’s Hideaway; utilize zoom-out approach with precise angular calibration for archer constellation matching.
- Cragcroftshire: Cetus – Southeast of Cragcroft settlement; implement full zoom-out combined with counter-clockwise rotational adjustment.
- Clagmar Coast: Lupus – Directly south of Clagmar Castle along cliffs above Graphorn territory; apply zoom-in methodology with clockwise rotation sequence.
Advanced Strategy: The Southern Highlands tables often feature more dispersed star patterns requiring broader camera movements. Practice smooth, controlled rotations rather than rapid adjustments to maintain orientation during complex alignments.

Left: Poidsear Coast and Marunweem Lake; Right: Manor Cape, Cragcroftshire, and Clagmar Coast.
Upon successfully aligning all fifteen Astronomy Tables, navigate to your Challenges menu under the Exploration category to claim your well-deserved reward: the exclusive Starry-Eyed Seer’s cosmetic collection. This visually distinctive ensemble includes coordinated scarf, cloak, and outfit pieces featuring celestial motifs and astronomical symbolism.
The Starry-Eyed Seer’s set provides purely aesthetic benefits, allowing you to customize your character’s appearance while maintaining your preferred gear statistics through the transmogrification system.
Efficiency Optimization: Plan your Astronomy Table excursions during extended nighttime periods. Combine table visits with other collection activities like Complete Guide to maximize your exploration efficiency. The cosmetic pieces can be applied to any relevant gear slot, preserving your functional equipment while showcasing your astronomical achievements.
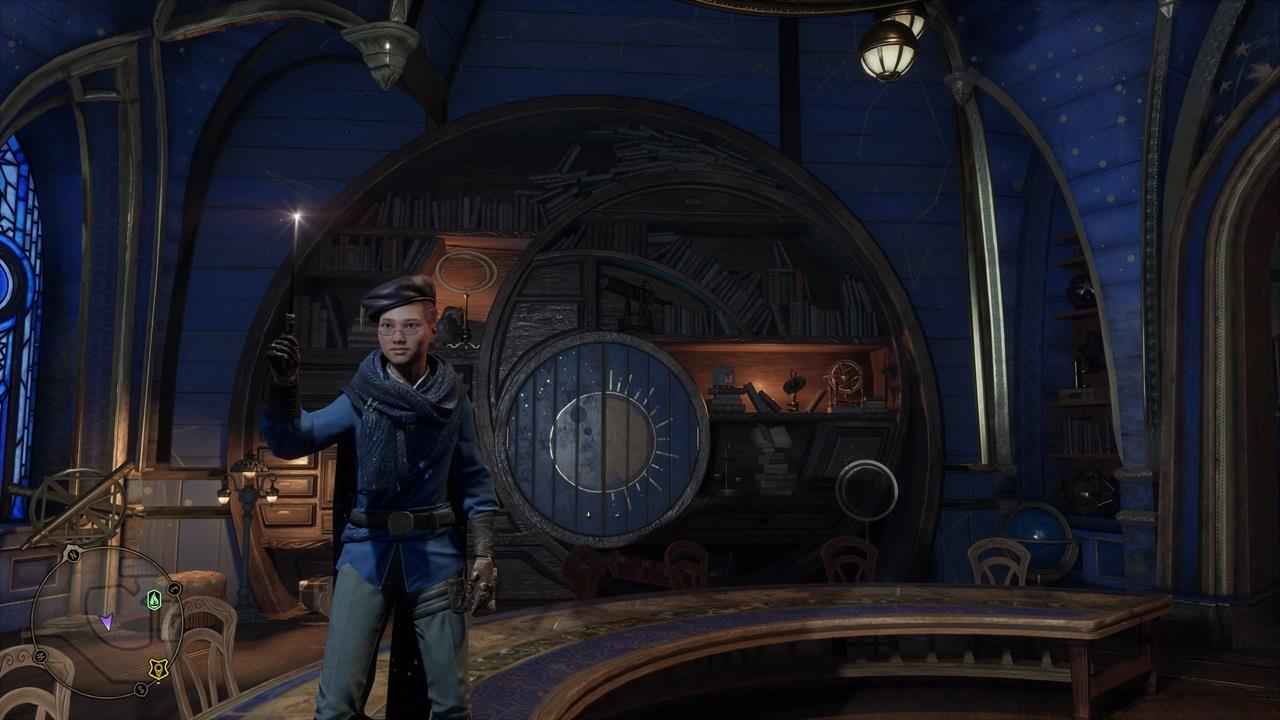
Once you’ve solved all Astronomy Table puzzles, you’ll receive a new cosmetic option for your scarf, cloak, and outfit.
For players seeking comprehensive mastery of Hogwarts Legacy’s exploration systems, consider consulting our Weapons Unlock guide for additional collection strategies that complement your astronomical pursuits.
Action Checklist
- Complete Astronomy Class main quest to unlock table access
- Acquire broom for efficient travel between distant table locations
- Visit Hogwarts Castle tables (2 locations) for initial practice
- Systematically clear Northern Highlands tables (8 locations)
- Navigate Coastal Cave to access Southern Highlands tables (5 locations)
- Claim Starry-Eyed Seer’s cosmetic set from Challenges menu
No reproduction without permission:SeeYouSoon Game Club » Hogwarts Legacy – All Astronomy Table Locations Guide Complete guide to finding and solving all 15 Astronomy Table puzzles for exclusive cosmetic rewards