TL;DR
- Yae Miko excels as off-field sub-DPS with Sesshou Sakura turrets dealing consistent Electro damage
- Energy Recharge is critical due to her 90-cost Burst and limited particle generation
- Prioritize ATK%, Crit Rate, and Crit Damage while maintaining 1:2 ratio
- Team compositions should include battery characters and reaction enablers
- Proper rotation timing maximizes damage output while minimizing field time
While any Genshin Impact character can serve as main DPS with sufficient investment, Yae Miko truly shines in her designated off-field sub-DPS position. This strategic role requires minimal field presence, only swapping in when elemental skills and bursts become available. Her signature EEEQEEE combo sequence delivers maximum impact before quickly rotating to other party members. This guide explores how her unique kit enables exceptional off-field performance and provides actionable build recommendations.
Yae’s Elemental Burst unleashes devastating area-of-effect Electro damage
Yae Miko’s gameplay mechanics share conceptual similarities with Fischl’s Oz summon, both providing persistent Electro damage while off-field. However, Yae offers superior area coverage and damage scaling through her Sesshou Sakura placements. Understanding her energy economy is crucial for consistent performance.
- Yae can deploy up to three Sesshou Sakura simultaneously, each striking enemies five times across a 14-second duration. With full turret deployment, this translates to 15 total strikes generating substantial Electro application. Only one Sesshou Sakura generates energy particles, yielding approximately 5 particles per rotation cycle.
- When activating her Elemental Burst, all active Sesshou Sakura transform into Tenko Thunderbolts, dealing massive area Electro damage before disappearing. This creates natural timing windows for skill re-casting.
Critical Insight: Many players mistakenly prioritize damage stats over Energy Recharge, resulting in inconsistent Burst uptime. Her 90-energy cost demands careful energy management through artifacts, weapons, and team composition.
Important Note: These build recommendations represent current theoretical optimizations for C0 Yae Miko. New character meta typically requires several weeks of intensive testing by dedicated theory-crafters to establish definitive answers. Consider these suggestions as starting points pending practical verification through extensive gameplay.
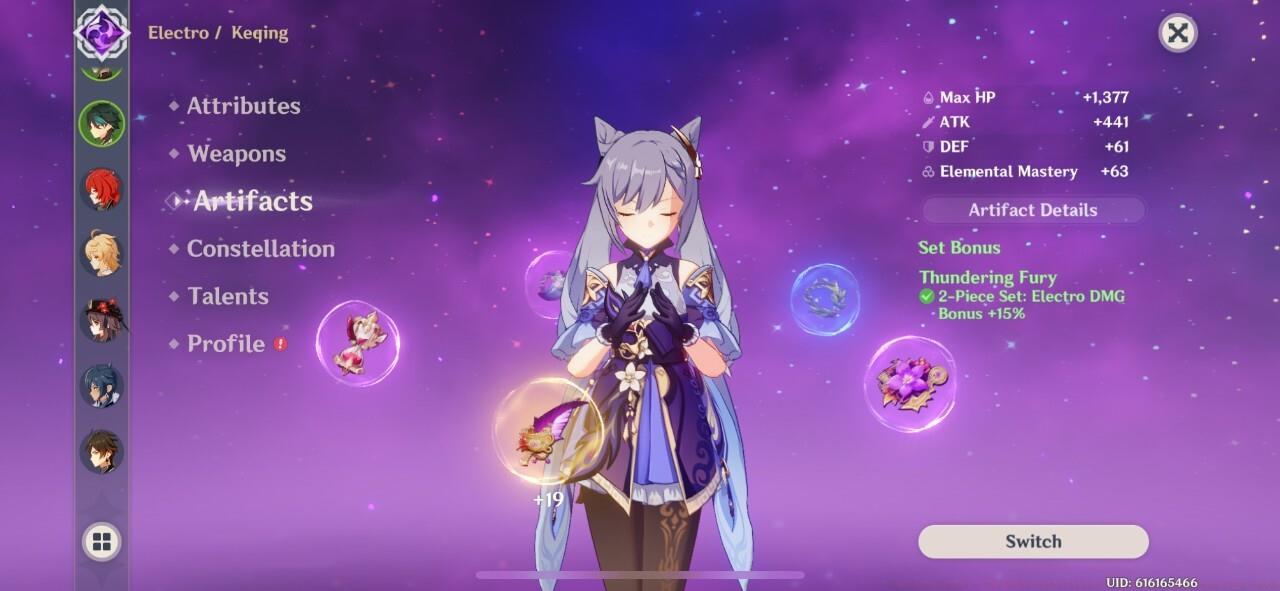
Artifact optimization follows specific stat priorities for maximum sub-DPS effectiveness
Yae’s demanding 90-energy Elemental Burst combined with modest particle generation necessitates prioritizing Energy Recharge in substats. Without sufficient ER, her burst rotation becomes inconsistent, drastically reducing overall damage output.
Beyond Energy Recharge requirements, allocate remaining substats toward ATK%, Crit Rate, and Crit Damage. The established artifact optimization principle suggests achieving approximately 70% ATK bonus before focusing on critical stats. Aim for at least 50% Crit Rate and 100% Crit Damage, maintaining the ideal 1:2 ratio. Remember to factor in weapon stats and character base values when calculating these ratios.
|
Artifact Piece |
Primary Stat Priority |
Substat Hierarchy |
|
Flower |
HP (Fixed) |
ER% > Crit/Crit Dmg% > ATK% |
|
Feather |
Flat ATK (Fixed) |
ER% > Crit/Crit Dmg% > ATK% |
|
Sands |
ATK% |
ER% > Crit/Crit Dmg%> ATK% |
|
Goblet |
ATK% |
ER% > ATK% |
|
Circlet |
Crit/Crit Dmg% |
ER% > ATK% |
Advanced Tip: For players with well-developed artifact collections, consider an Electro Damage Bonus Goblet if you can maintain sufficient ATK through substats and weapon effects. This requires approximately 2,000+ ATK to outperform ATK% Goblets.
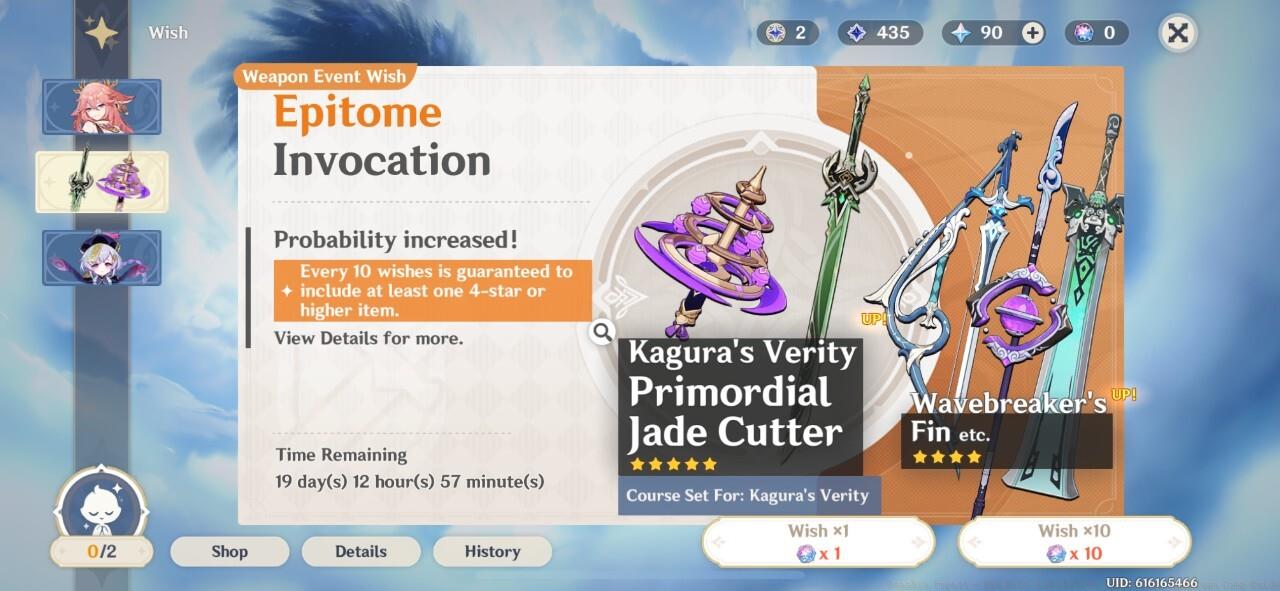
Yae Miko’s weapon selection prioritizes stats that complement her energy needs and damage scaling. Signature weapons typically offer ideal combinations, while free-to-play options require careful stat compensation.
Weapon selection significantly impacts Yae’s performance and stat requirements
Her best-in-slot weapon, Kagura’s Verity, provides Crit Damage substat and skill damage enhancement that perfectly synergizes with her kit. Alternative 5-star options like Lost Prayer to the Sacred Winds or Skyward Atlas offer valuable stat distributions.
For 4-star alternatives, consider The Widsith for burst damage scenarios or Solar Pearl for consistent critical performance. Free-to-play players can utilize Mappa Mare or Hakushin Ring for reaction-focused teams.
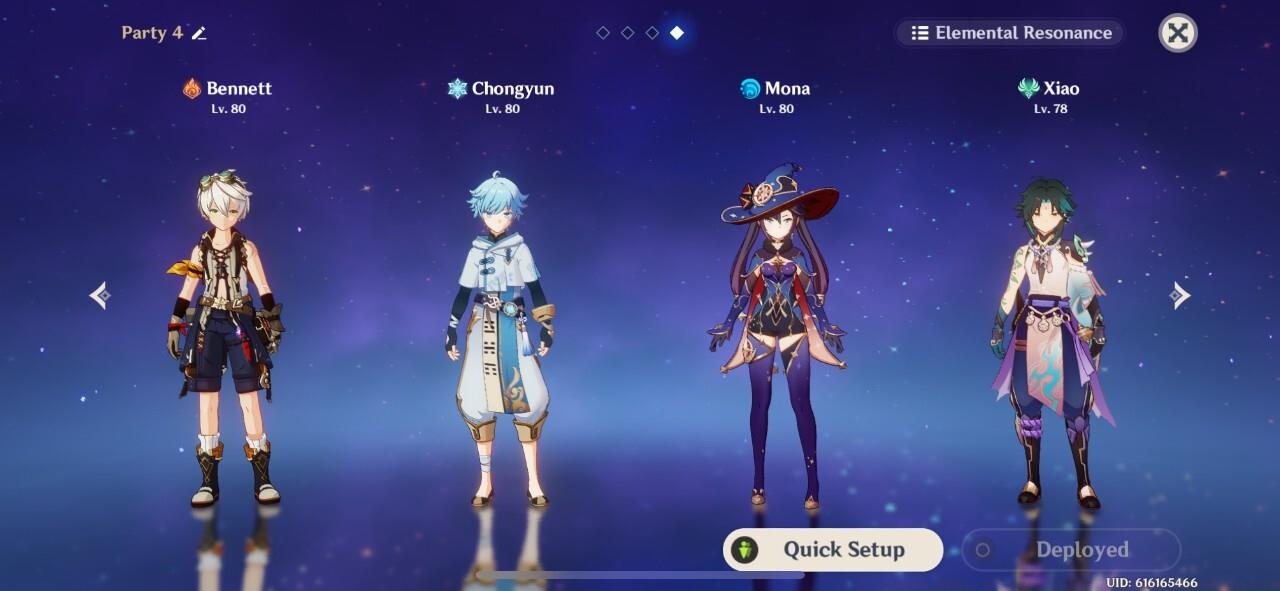
Effective team building creates synergies that maximize Yae’s sub-DPS potential
Yae Miko demonstrates exceptional synergy with Raiden Shogun, who provides reliable energy generation and Electro resonance. This partnership creates one of the most potent Electro combinations currently available.
Team composition should include at least one reliable battery character to address Yae’s energy demands. Electro Resonance with another Electro character provides additional particle generation, while Anemo supports can enhance damage through Viridescent Venerer resistance shred.
Optimal Rotation Strategy: Deploy Yae’s three Sesshou Sakura, swap to supports for buffs and reactions, then return for Elemental Burst when available. This minimizes her field time while maximizing damage output.
Common team building mistakes include neglecting energy requirements, improper rotation timing, and insufficient reaction support. Ensure your team includes healing/shielding, energy generation, and elemental reaction enablers for comprehensive coverage.
Action Checklist
- Prioritize Energy Recharge substats until achieving consistent Burst uptime
- Deploy three Sesshou Sakura before swapping to other characters
- Maintain 1:2 Crit Rate to Crit Damage ratio
- Include at least one battery character in team composition
- Practice optimal rotation timing to minimize field time
No reproduction without permission:SeeYouSoon Game Club » Genshin Impact – Yae Miko’s Abilities, Artifacts, and Team Comp Guide Master Yae Miko's off-field sub-DPS potential with optimal artifacts, weapons, and team compositions