TL;DR
- Land on castle tower edges at Anvil Square for quick gear-up with minimal immediate threats
- Use Fridgeberg as emergency fallback when central POIs become overcrowded
- Northern locations like Crude Harbor offer quiet starts with surprisingly robust loot
- Bridge landings at Brutal Bastion provide hidden resources and escape options
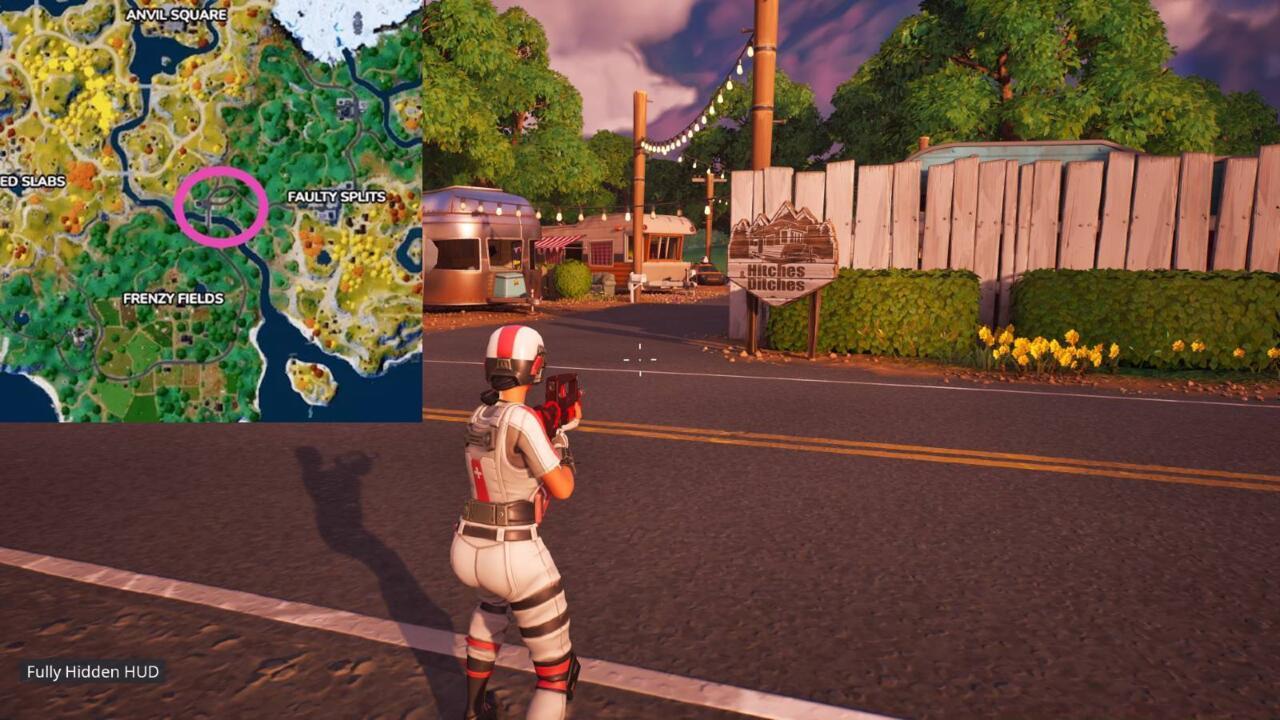
- Central gas station/trailer park combinations balance loot density with low competition
GameSpot may receive revenue from affiliate and advertising partnerships for sharing this content and from purchases through links.
Selecting optimal landing locations in Fortnite requires strategic foresight rather than random chance. While no position guarantees absolute safety from opponents, and loot quality remains unpredictable, you can systematically improve your early-game positioning through proven methodologies.
When rapidly choosing drop zones during battle bus flight, experienced players typically select between two strategic categories: perimeter areas of major named locations, or central sections of substantial unnamed areas. Crucially, avoid descending directly into the core of high-traffic Points of Interest (POIs), as these central zones dramatically increase vulnerability to multi-directional attacks immediately upon landing.
The strategic objective focuses on identifying locations providing sufficient equipment for your entire squad while minimizing exposure to enemy fire within the initial landing phase. Based on extensive gameplay analysis, these eight specific positions consistently provide superior survival probabilities during critical opening moments.
Anvil Square represents the premier landing destination on the current battlefield, though successful infiltration demands precise execution. Optimal approach vectors target the substantial castle structures along the northern perimeter, specifically the western tower apex. This elevated position provides comprehensive visibility and rapid equipment acquisition, though its popularity means you’ll rarely secure it uncontested.
Successfully capturing this strategic high ground enables swift gear consolidation with reduced threat exposure from adjacent urban sectors. Should the primary tower position appear heavily contested, the eastern castle segment offers viable secondary options with comparable defensive advantages.
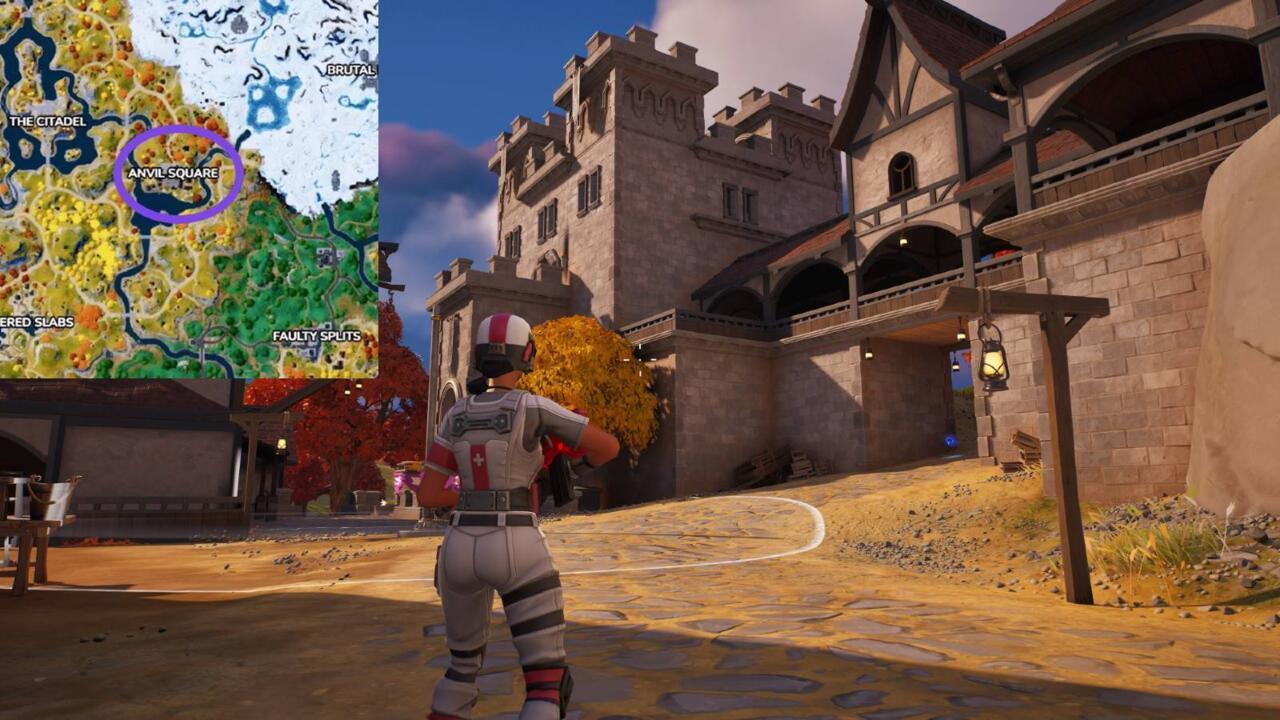
Advanced Tactical Insight: Monitor opponent glide patterns during descent—if more than two squads target the main tower, immediately redirect to eastern alternatives. The initial 15 seconds often determine match outcomes, making flexible adaptation crucial. For comprehensive strategic frameworks, consult our Battlefield 6 Complete Guide covering similar positional warfare principles.
When Anvil Square demonstrates excessive competition density, tactical retreat northwest to Fridgeberg provides intelligent repositioning. This medieval residential cluster surrounding a reboot van serves as reliable contingency planning, positioned centrally for efficient map navigation when primary landing objectives become untenable.
Given Anvil Square’s status as the most contested POI in Chapter 4, having predetermined fallback protocols becomes essential. The location’s mid-map positioning facilitates rapid re-engagement with alternative high-value targets after initial equipment acquisition.
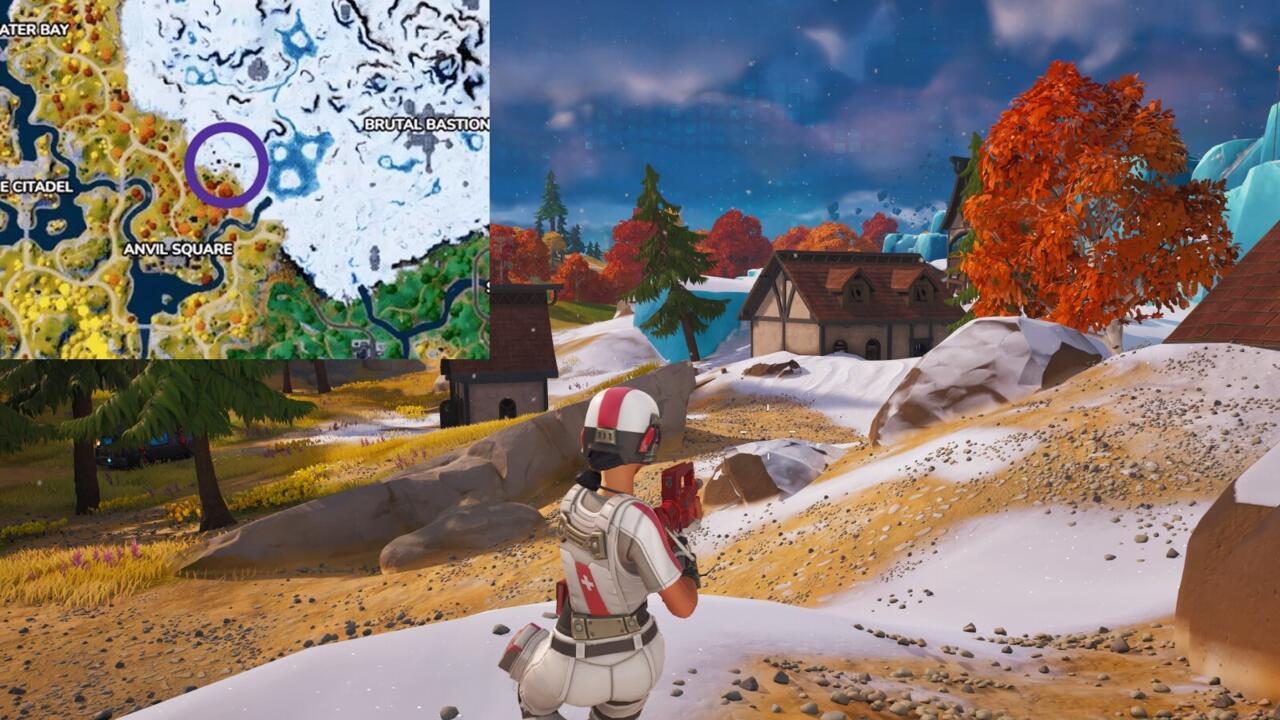
Common Mistake Avoidance: Don’t stubbornly commit to overcrowded primary targets—early eliminations cripple squad effectiveness. Establish verbal abort commands with teammates during pre-drop planning phases.
While the arctic region contains fewer major named locations (currently only two designated POIs), it features numerous minor positions with substantial resource availability. Crude Harbor, the northernmost dock facility, consistently delivers peaceful initiation phases—encountering competing squads remains uncommon unless the battle bus trajectory passes directly overhead.
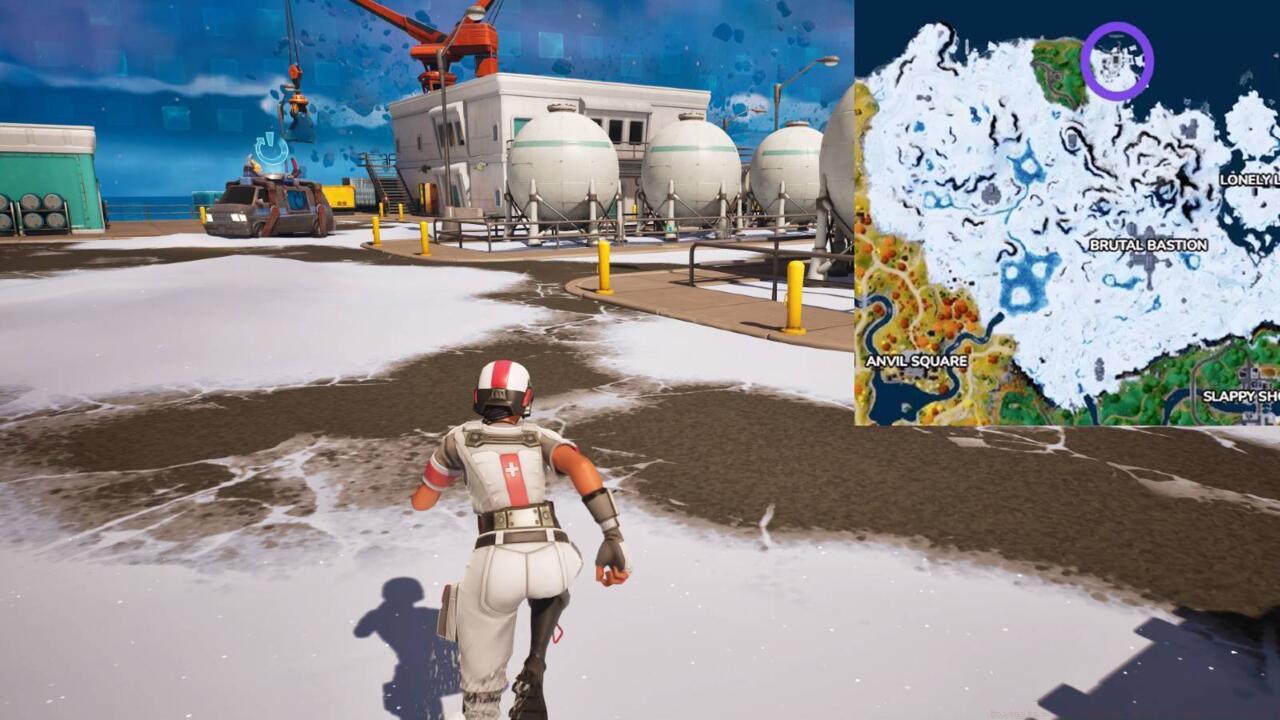
Battle Bus Analysis: Monitor the flight path during initial countdown—northern locations yield maximum efficiency when the bus originates from southern trajectories, minimizing early opponent encounters.
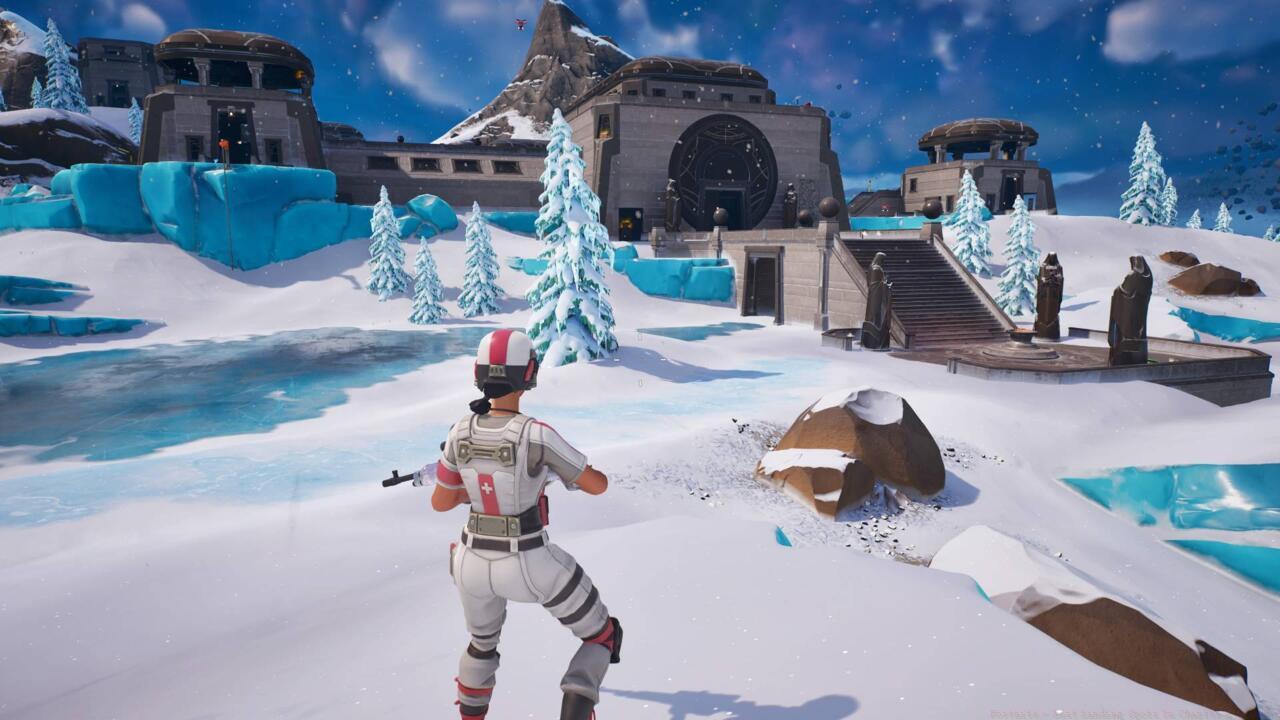
The Citadel’s intricate labyrinthine layout naturally discourages heavy initial traffic, creating opportunistic landing scenarios. The southern courtyard vending machine provides immediate weapon and ammunition access, while offering multiple egress options into the castle interior or complete facility evacuation.

At Brutal Bastion, conventional strategies direct players interiorly, creating exterior advantage opportunities. The southern entrance bridge typically contains at least one chest and floor weapon, while the undersection conceals a vending machine plus hidden chamber containing multiple Slurp kegs and buried chest.
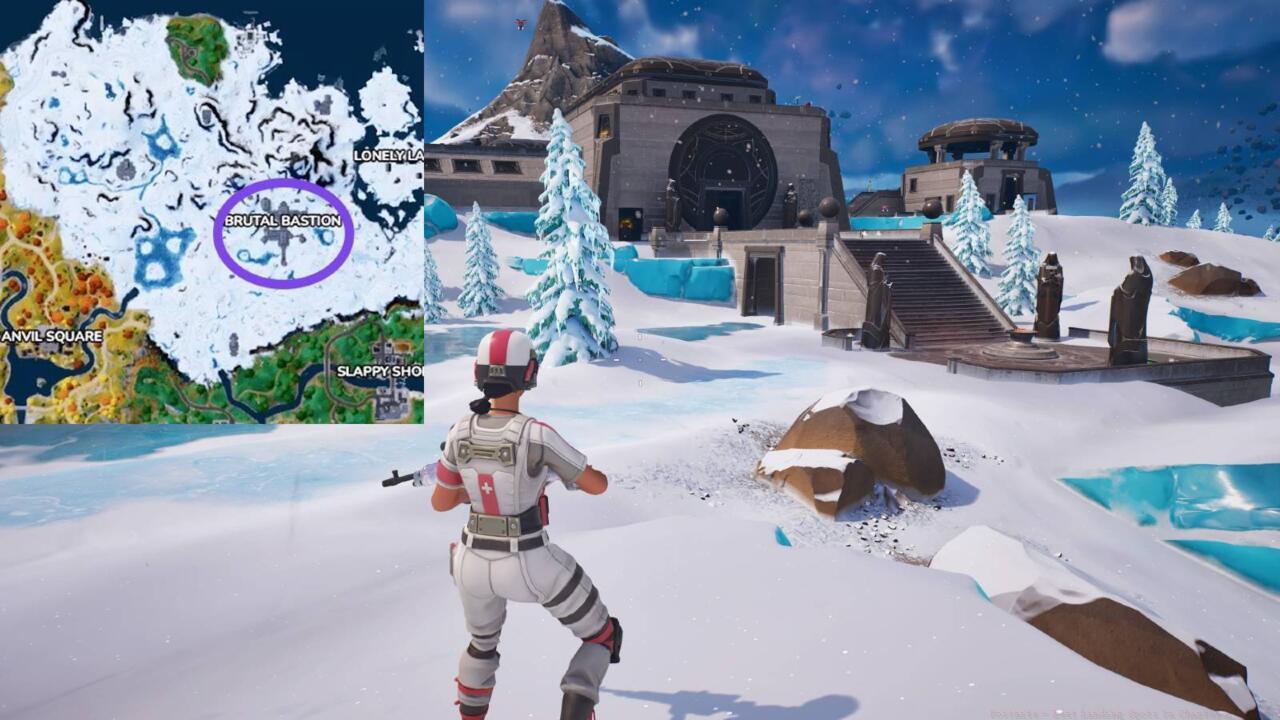
Advanced Positioning: Despite proximal enemy presence, bridge landings consistently provide 60-120 second equipment consolidation windows before engagement necessity. For weapon optimization strategies applicable across similar scenarios, explore our BF6 Weapons Unlock Guide covering tactical loadout selection.
The Chapter 4 terrain lacks designated “Gas Station” landmarks comparable to Chapter 3’s Rocky Reels truck stop. However, the fuel station north of Frenzy Fields, complemented by an adjacent trailer park, represents the optimal non-major landing location for central map operations.
Minimal traffic characterizes this unnamed POI, while the trailer complex surprisingly delivers substantial loot density. Squads typically achieve comprehensive equipment status when deploying here, with sufficient vehicle availability for individual squad member transportation.

Rotation Strategy: After looting completion, immediately move toward zone center—delayed positioning often results in storm damage or interception by better-positioned opponents.
Timing Calculations: Initiate deployment between 1.5-2.0 grid squares from target—this optimizes vertical separation from opponents while maintaining landing precision. Early drops increase mid-air vulnerability, while late deployments sacrifice optimal positioning.

Enemy Behavior Prediction: Analyze the final 10 seconds of battle bus flight—opponents clustering near exits typically target distant locations, while remaining passengers often seek proximal destinations.
Class Selection Synergy: Your landing strategy should complement chosen character specialties. For detailed class optimization guidance, reference our BF6 Class Selection Guide detailing synergistic loadout combinations.
Mastering these landing methodologies transforms early-game survival from chance occurrences into predictable outcomes, establishing foundation for end-game dominance.
Action Checklist
- Analyze battle bus trajectory during countdown to identify low-competition landing zones
- Establish primary and secondary landing targets with squad before deployment
- Monitor opponent glide patterns—redirect if more than 2 squads target your primary location
- Execute bridge or perimeter landings at high-traffic POIs for hidden resources
- Implement post-looting rotation within 90 seconds to maintain positional advantage
No reproduction without permission:SeeYouSoon Game Club » Fortnite – Best Landing Spots In Chapter 4 Season 1 Strategic Fortnite landing spots to maximize loot while minimizing early-game combat risks