TL;DR
- Complete Main Scenario Quest ‘Desires Untold’ and reach iLVL 595 minimum to access the trial
- Master Ordeal of Purgation by identifying the orange marker and positioning at blue line endpoints
- Coordinate clockwise movement during Arch Inferno while dodging simultaneous AoE patterns
- Execute precise positioning for Flamerake by watching the compass needle’s final orientation
- Prioritize add elimination during transition phases to prevent enrage meter completion
This comprehensive guide provides everything required to conquer Final Fantasy XIV’s challenging new level 90 trial encounter against the fiery Archfiend Rubicante.
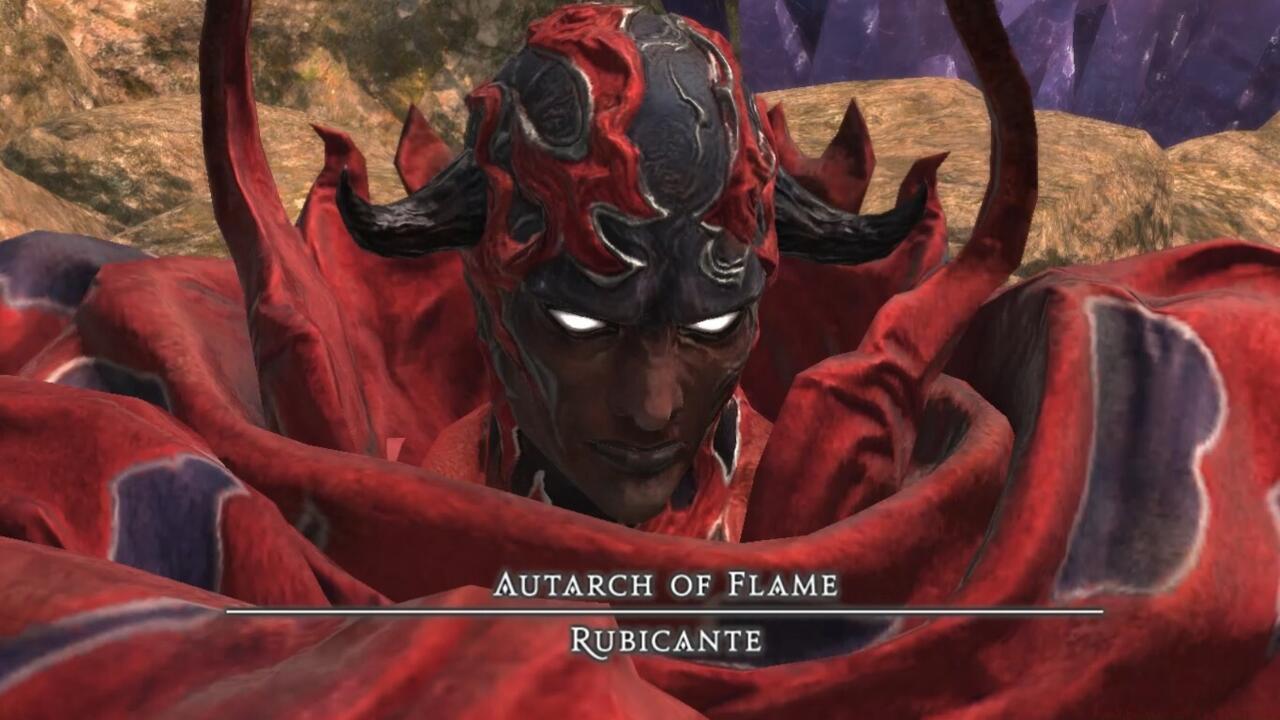
The Mount Ordeals trial represents the climactic battle against Archfiend Rubicante in patch 6.3, occurring immediately following the Lapis Manalis dungeon. As the fourth elemental archfiend serving Golbez, Rubicante specializes exclusively in devastating fire-based attacks that will test your party’s coordination and mechanical execution. Understanding his complex attack patterns is essential for securing victory in this high-stakes confrontation.
Accessing the Mount Ordeals Trial
To initiate this challenging encounter, players must first advance through the Main Scenario Quest titled ‘Desires Untold.’ This questline naturally guides you to Thavnair where Rubicante awaits challengers. Additionally, your party must maintain an average item level of at least 595 to ensure sufficient survivability against his relentless assault.
Initial Phase Mechanics Breakdown
Inferno: This party-wide area-of-effect attack demands immediate healing and shielding responses. Healers should pre-cast regeneration spells and deploy damage mitigation cooldowns as soon as Rubicante begins casting this ability.
Ordeal of Purgation (First Occurrence): Rubicante transforms the battlefield with concentric rings—red encircling the outer edge while purple dominates the inner area. Blue pathway lines radiate across the platform surface, with one specific line marked by a distinctive orange flashing indicator. Strategic positioning requires moving to the termination point of this marked blue line along the platform’s perimeter. Players have precisely ten seconds to establish correct positioning before movement becomes restricted. Upon timer expiration, the designated blue triangular zone elevates and activates a corresponding conical damage area. This sequence repeats with a different blue line activation marker appearing for the second iteration.
Arch Inferno: Rubicante initiates this devastating sequence with two substantial circular AoEs positioned on opposing platform sides. Immediate mobility preparation is crucial once these indicators appear. The boss systematically casts successive overlapping area effects in clockwise progression, requiring continuous clockwise movement from players who must trail the receding edge of previously triggered zones.
- Simultaneously with Arch Inferno, Rubicante deploys additional attack patterns including Conflagration (a linear red AoE bisecting the arena center) and Radial Flagration (prominent orange radial damage zones). Both Conflagration and Radial Flagration display distinct cast bars, providing clear timing indicators for evasion.
Ordeal of Purgation (Second Occurrence): This iteration introduces rotational mechanics indicated by clockwise or counterclockwise arrows revolving around Rubicante. These directional markers signify that the purple inner ring will shift one segment in the corresponding direction when the ability activates. The orange marker remains stationary while the inner ring rotates, establishing new blue line activation paths.
While initially appearing complex, this mechanic permits positioning at the original pre-rotation path locations. Provided players maintain sufficient distance from the platform center and proximity to the newly established line, they can reliably avoid the triangular damage zones. Rubicante typically executes a subsequent Ordeal of Purgation with arrow directions reversed from the initial rotation.
Adds Phase Transition: Rubicante retreats to the platform periphery while summoning four subordinate enemies. The boss becomes damage immune during this phase, requiring the entire party to focus exclusively on eliminating the adds.
- Rubicante’s Power (Enrage Meter): Complete add elimination must occur before the enrage meter reaches maximum capacity.
- Ghastly Touch: Throughout the adds phase, Rubicante continuously generates multiple AoE patterns across the platform. These persistent area effects continue spawning until all additional enemies are defeated. Healers must maintain consistent party-wide healing and damage mitigation throughout Rubicante’s Power damage ticks.
6.3 Trial Boss: Rubicante
Phase Two Transformation Mechanics
Rubicante undergoes a dramatic transformation, signaling the beginning of the encounter’s more complex second half.
Inferno (Second Iteration): Rubicante places individual circular AoE markers on every party member. Immediate dispersion is essential to prevent overlapping damage instances that can quickly overwhelm healing capabilities.
Flamerake: This complex mechanic involves a golden compass apparatus with a rapidly spinning needle. As the cast bar nears completion, the needle’s rotation decelerates—culminating in a massive central AoE aligning with the needle’s final position. The challenge intensifies as sequential cascading AoEs activate on both sides of the initial central zone immediately following its detonation.
Careful observation during Flamerake’s final moments is critical for positioning. Move promptly to either side of the settled needle orientation, but maintain proximity to the initial AoE boundary. Following the first zone activation, immediately transition into the central safe area to evade the subsequent cascading damage waves.
Soulscad: Rubicante attaches individual AoE indicators to each party member. Maintain adequate spacing to prevent damage overlap. Soulscad inflicts substantial damage, necessitating that healers restore any health deficits incurred during Flamerake before this ability resolves.
Dualfire: Both tank roles receive massive triangular AoE attachments. Tanks must separate sufficiently to ensure their respective damage zones don’t intersect with other party members.
Sweeping Immolation: A stack marker appears on a randomly selected party member concurrent with half the platform becoming covered in an AoE. The entire party should relocate to the unaffected platform half and group together to distribute the shared damage burden.
Beyond this point, Rubicante cycles through previously encountered mechanics including Ordeal of Purgation, Inferno, Arch Inferno, Flamerake, and Soulscad. Upon reaching this phase cycle, the boss should be nearing defeat if execution has been consistent.
Expert Execution Techniques
Success in Mount Ordeals demands more than basic mechanic recognition—it requires strategic optimization and role-specific mastery.
Tank Responsibilities: Maintain consistent boss positioning near the arena center to optimize melee DPS uptime. During Dualfire, quickly move to opposite edges while ensuring triangular AoEs don’t clip other players. Tank swaps are generally unnecessary but consider invoking defensive cooldowns during heavy magical damage phases.
Healer Priority Management: Pre-cast Medica II or equivalent regeneration effects before Inferno. Deploy collective mitigation like Sacred Soil or Asylum during Arch Inferno sequences. Conserve major healing cooldowns for Soulscad and the adds phase where damage pressure peaks.
DPS Optimization: Maximize damage during stationary phases while maintaining readiness for mechanic execution. During adds phase, focus fire on one add at a time to ensure rapid elimination before enrage completion. Position deliberately to maintain maximum uptime while adhering to movement requirements.
Common Failure Points: Most wipes occur from improper Ordeal of Purgation positioning or inadequate add phase damage output.
Execution Timeline: A clean execution typically completes within 8-10 minutes. Groups struggling beyond 12 minutes likely need improved DPS execution or mechanic mastery.
Action Checklist
- Verify iLVL 595+ requirement and complete ‘Desires Untold’ quest
- Position at blue line endpoints during Ordeal of Purgation
- Execute clockwise movement during Arch Inferno while dodging simultaneous AoEs
- Focus fire on adds during transition phase to prevent enrage
- Coordinate stack mechanics and dispersion patterns in Phase 2
No reproduction without permission:SeeYouSoon Game Club » Final Fantasy XIV 6.3 Trial Guide Master the fiery Archfiend Rubicante with comprehensive mechanics breakdown and expert strategies