TL;DR
- Lapis Manalis requires level 90 and iLVL 590 gear with Main Scenario Quest ‘King of the Mountain’ completion
- Three boss encounters feature escalating complexity with Albion’s positioning, Galatea’s debuffs, and Cagnazzo’s multi-phase mechanics
- Advanced strategies include boss positioning optimization, debuff management, and environmental awareness
- Common failure points involve improper AoE dodging, missed mechanics, and poor cooldown timing
- Clear time averages 25-35 minutes with proper execution and coordinated party play
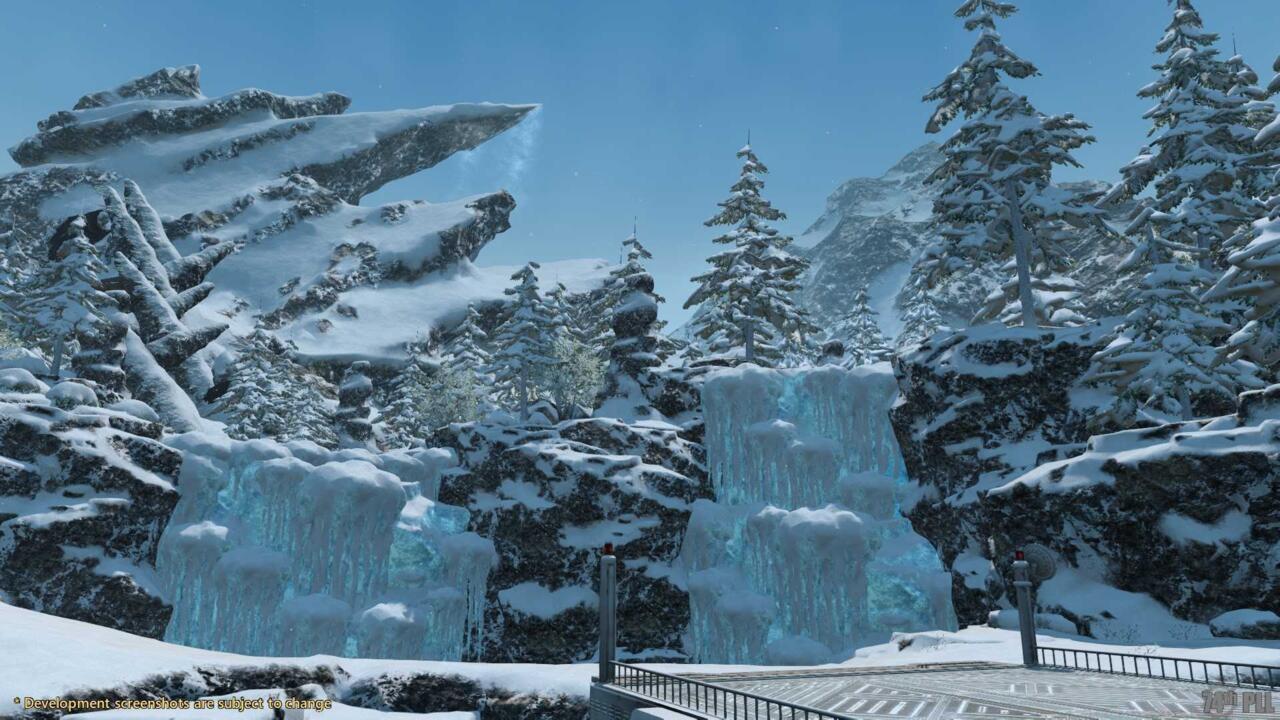
Lapis Manalis represents the pinnacle of level 90 dungeon content in Final Fantasy XIV’s 6.3 update, offering substantial rewards for properly prepared adventurers. This icy challenge demands both gear readiness and story progression to access its formidable encounters.
To gain entry to this Garlemald-based dungeon, players must meet two critical requirements:
- Minimum item level 590 gear across all equipped slots
- Completion of the Main Scenario Quest titled King of the Mountain
The quest chain begins in Radz-at-Han following completion of the main 6.2 storyline. Players should allocate approximately 45 minutes to complete the prerequisite quests before dungeon access becomes available.
Lapis Manalis follows the traditional Final Fantasy XIV dungeon structure with three primary boss encounters separated by trash mob sections. The environment features a snow-covered industrial landscape with multiple elevation changes and environmental hazards.
For optimal performance, consider these preparation strategies:
- Recommended iLVL 600+ for smoother clears, especially for first-time runners
- Standard light party composition: 1 tank, 1 healer, 2 DPS
- Bring appropriate consumables: Grade 7 Tinctures and high-quality food
The dungeon’s loot system provides iLVL 605 gear, making it valuable for character progression toward endgame content. Trash mobs between bosses utilize standard AoE patterns that require spatial awareness and coordinated pulls.
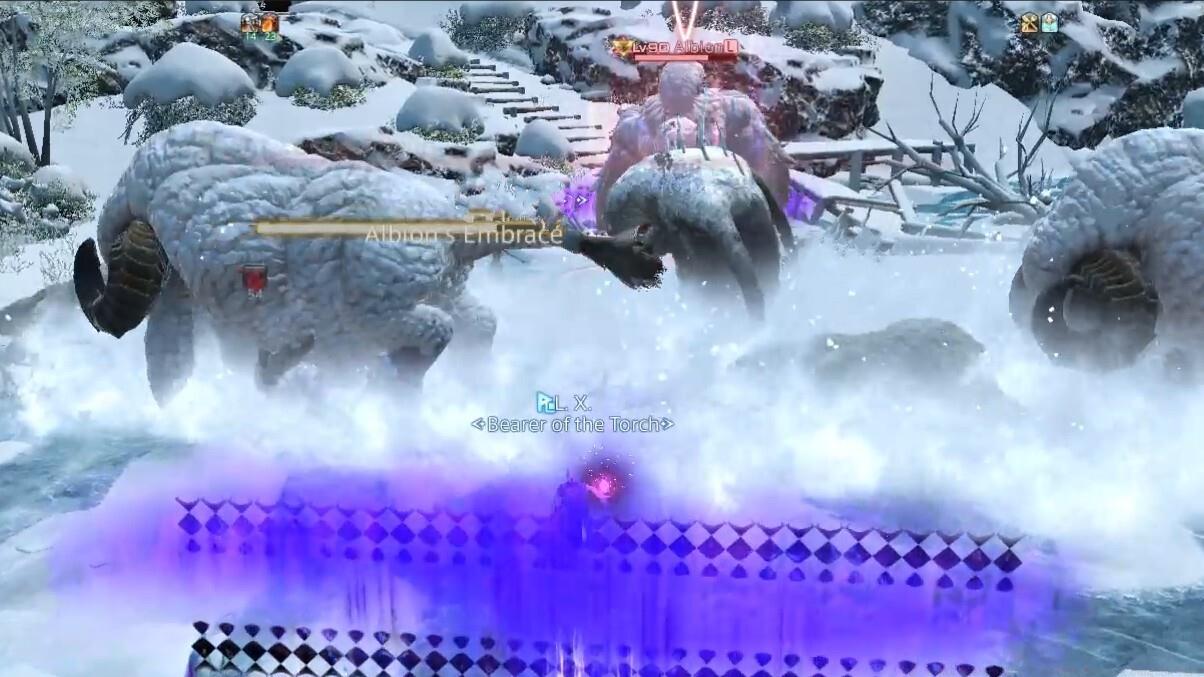
Albion: Frost Ape Combat Tactics
The initial encounter pits players against Albion, a massive frost-imbued simian creature with area denial mechanics. Understanding his attack patterns is crucial for survival.
Yes, my enemy cast bars are that large.
- Call of the Mountain: Albion summons two waves of charging creatures from the arena’s perimeter. Visual snow trails indicate their path 3 seconds before impact. Position yourself in the safe middle corridor between the approaching bands.
- Left Slam/Right Slam: These directional attacks cover approximately 40% of the platform. Remember the boss’s orientation determines left and right, not the player’s perspective.
- Knock on Ice: Three circular AoE markers appear with 2-second warning. The falling rocks create temporary cover for subsequent mechanics.
- Icebreaker: When Albion tethers to a rock, immediately create distance as the tethered rock will explode with substantial radius damage.
- Roar of Albion: This room-wide attack requires taking cover behind the remaining untethered rocks. Failure to hide results in likely one-shot mechanics.
Phase two introduces mechanic combinations: Left/Right Slam + Call of the Wild demands simultaneous awareness of ground slams and charging creature paths.
Galatea Magna: Reaper-Inspired Mechanics
This second boss employs complex positional requirements and debuff management that tests party coordination.
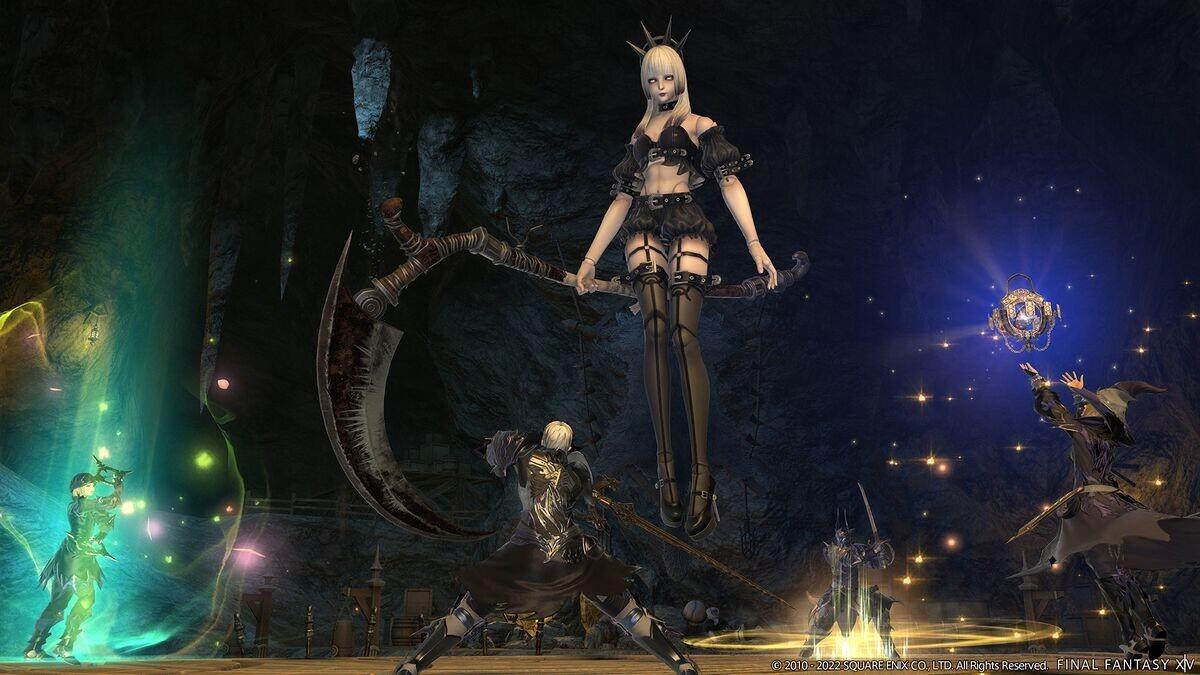
Galatea Magna
- Waxing Cycle: This two-part sequence begins with a point-blank AoE followed immediately by a ranged AoE covering the platform’s outer areas. Execute the ‘in-and-out’ movement: start at medium range, dodge inward after the first explosion, then immediately return to previous position.
- Soul Scythe: A massive 180-degree frontal cone targets the entrance area. Positioning behind the boss or at her flanks provides complete safety.
- Soul Nebula: After the initial raid-wide damage, cross-shaped AoEs target Reaper portals. Being struck inflicts Doom which requires immediate Esuna cleansing by healers.
- Tenebrism: Four players must stand in purple circles to absorb descending orbs, then immediately turn away when the red eye indicator appears to avoid petrification.
The enhanced Soul Nebula in later phases features four portals numbered 1-4 by orb count. Galatea teleports sequentially to each portal based on their numbering.
Cagnazzo: Water Elemental Final Battle
The dungeon’s climax features Cagnazzo, a water-themed boss with multi-layered mechanics requiring precise execution and role awareness.
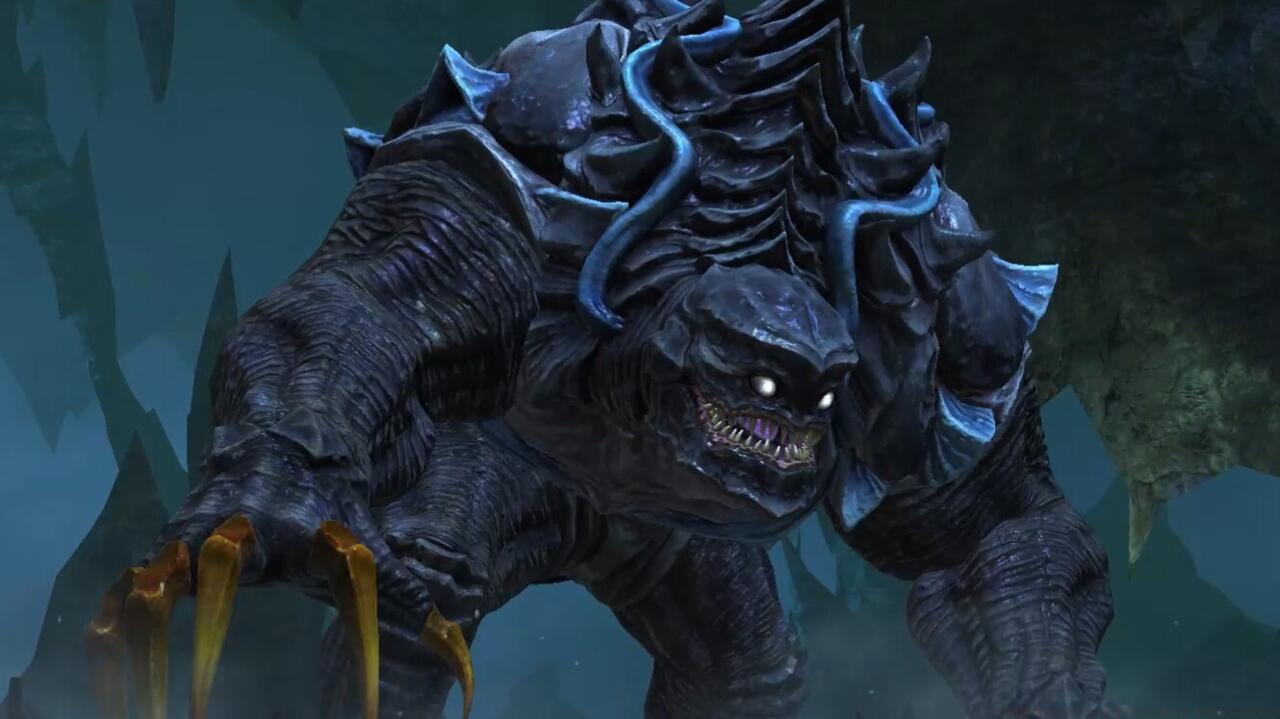
Cagnazzo
- Stygian Deluge: Standard party-wide damage that healers should anticipate with appropriate cooldowns.
- Antediluvian: Six water orbs appear in pairs and detonate sequentially. Position between the next pair to explode, then quickly transition to the subsequent safe zone.
- Hydraulic Ram: Cagnazzo telegraphs his movement pattern with red indicators before rapidly traversing the arena. Remaining near his starting position typically offers the safest approach.
- Hydrofall: This stack marker requires all party members to group closely to distribute damage. Failure to stack adequately results in fatal damage to the marked player.
- Cursed Tide: Four Fearsome Flotsam adds spawn with an enrage timer. Prioritize burning them down while healers manage the distributed damage markers.
- Voidcleaver: Each player receives a tethering purple orb that emits cone-shaped AoEs. Spread to cardinal directions or corners to avoid overlapping damage.
- Void Torrent: A tank-specific buster occurring during Voidcleaver that requires proper positioning away from other party members.
The concluding phase repeats previously encountered mechanics in increasingly complex combinations, testing the party’s mastery of the encounter’s full mechanics roster.
Mastering Lapis Manalis requires moving beyond basic mechanics into advanced optimization techniques that separate competent runs from exceptional performances.
Role-Specific Advanced Tactics
Tanks: Utilize defensive cooldowns strategically for tankbusters and multi-hit mechanics. Position bosses consistently to maintain predictable AoE patterns for your party.
Healers: Pre-cast healing for predictable damage spikes and maintain Esuna readiness for Galatea’s Doom mechanic. Pre-position for movement during Cagnazzo’s orb phase.
DPS: Maximize uptime during mechanic execution through proper positioning and movement optimization. Coordinate burst phases with mechanic downtime.
Common Failure Points and Recovery Strategies
- Albion’s avalanche timing: New players often misjudge the charging creature’s speed. The safe zone appears narrower than initially perceived.
- Galatea’s cross-AoE positioning: The Doom application creates healing pressure that can spiral if multiple players are affected.
- Cagnazzo’s orb sequence: Failing to anticipate the next safe zone causes unnecessary damage intake.
- Voidcleaver orb management: Poor spacing between players results in overlapping cone AoEs that can quickly deplete party resources.
For players seeking to expand their FFXIV expertise beyond dungeons, our Complete Guide offers comprehensive gameplay foundations. Those focusing on combat effectiveness should consult our Weapons Unlock guide, while strategic players will benefit from the Class Guide for role optimization.
Average clear times range from 25-35 minutes depending on party experience and coordination. First-time groups should anticipate longer sessions as mechanics are learned and mastered.
Action Checklist
- Complete Main Scenario Quest ‘King of the Mountain’ and verify iLVL 590+ gear
- Gather appropriate consumables: Grade 7 Tinctures and high-quality food
- Practice Albion’s positioning mechanics: avalanche dodging and rock utilization
- Master Galatea’s debuff management and cross-AoE avoidance
- Coordinate Cagnazzo’s multi-phase mechanics with party communication
No reproduction without permission:SeeYouSoon Game Club » Final Fantasy XIV 6.3 Lapis Manalis Dungeon Guide Complete Lapis Manalis dungeon guide with boss strategies, unlock requirements, and expert optimization tips