TL;DR
- The Pirate King’s Treasure quest unlocks in Chapter 12 when you gain access to the Tiny Bronco naval vessel
- Four Pirate’s Grottoes contain unique boss enemies that must be defeated to collect relics
- Use precise map navigation controls to locate hidden grottoes marked with X symbols
- Craft the Corsair’s Compass using all four relics to unlock ocean exploration rewards
- Each grotto boss has specific weaknesses and attack patterns requiring strategic combat approaches
Embark on an oceanic treasure hunt to secure the legendary Pirate King’s Treasure in Final Fantasy 7 Rebirth. This maritime adventure becomes accessible once you reach Chapter 12: A Golden Key, where the Tiny Bronco transforms from crashed aircraft to fully functional seafaring vessel, opening up new exploration possibilities across the game’s coastal regions.
Within the vast world of Final Fantasy 7 Rebirth, numerous valuable items await discovery, with some deliberately concealed beneath the waves. Fortunately, dedicated treasure hunters can still recover these maritime artifacts through systematic exploration. This comprehensive walkthrough details the complete process for obtaining the Pirate King’s Treasure. Please note that this guide contains minor spoilers regarding location access and specific encounters.
The Pirate King’s Treasure side quest activates automatically at the beginning of Chapter 12. This timing coincides with the Tiny Bronco’s transformation into your primary water transportation method, enabling access to previously unreachable coastal areas and hidden island locations.
Initiate this treasure hunting expedition from Costa del Sol’s docks. Proceed directly to the pier where the Tiny Bronco remains moored and interact with the distinctive chest adorned with glowing purple crossed swords. Opening this container reveals an ancient treasure chart that pinpoints four separate Pirate’s Grotto locations. While you can tackle these in any sequence, we recommend following our numbered route based on proximity to your starting position for optimal efficiency.

A map showing the locations of the four Pirate’s Grottoes.
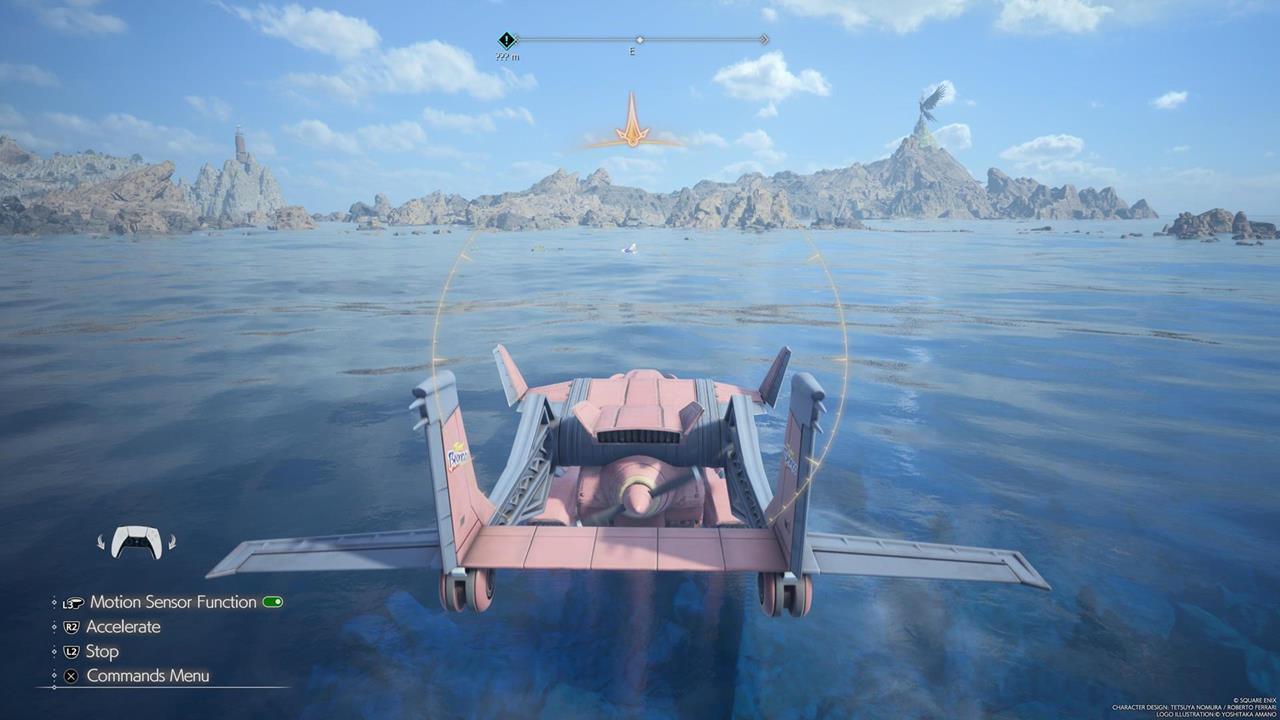
Your pursuit of the Pirate King’s Treasure in Final Fantasy 7 Rebirth leads you to compact coastal zones housing the Pirate’s Grottoes. To reach these destinations, you must pilot the Tiny Bronco across the ocean, utilizing precise navigation techniques to locate each hidden entrance.
Mastering the treasure map interface is crucial for successful navigation. Press left on the D-pad to display the maritime chart overlay. For enhanced visibility of the critical X markings, hold the L1 button to zoom the map display, making the grotto locations significantly easier to identify against the ocean backdrop. If the map obstructs your view during precise maneuvering, press right on the D-pad to temporarily conceal the interface until needed again.

You can check the treasure map periodically while exploring aboard the Tiny Bronco.
Pro Navigation Tip: The treasure map displays relative positions rather than exact coordinates. Approach each X mark from multiple angles if the grotto entrance doesn’t immediately appear, as some require specific approach vectors to become visible. Each grotto entrance manifests as a shimmering portal only visible when you’re within approximately 50 meters of the location.
Common Mistake: Many players waste time searching for grottoes during poor weather conditions or at night when visibility decreases substantially. For optimal results, conduct your searches during clear daytime weather patterns.
Every Pirate Grotto contains a unique formidable creature that must be defeated to claim its guarded relic. Upon conquering each adversary, access the treasure chest within the grotto to secure a Pirate’s Relic artifact. These four distinct relics serve as essential components for crafting the ultimate treasure-finding tool.
Hueyacoatl Combat Strategy: This lightning-element creature becomes vulnerable during its electrical discharge sequences. You can attack the Hueyacoatl while its lightning strikes envelop the field to pressure it. Utilize lightning-resistant accessories and time your assaults to coincide with its charge-up animations for maximum effectiveness.
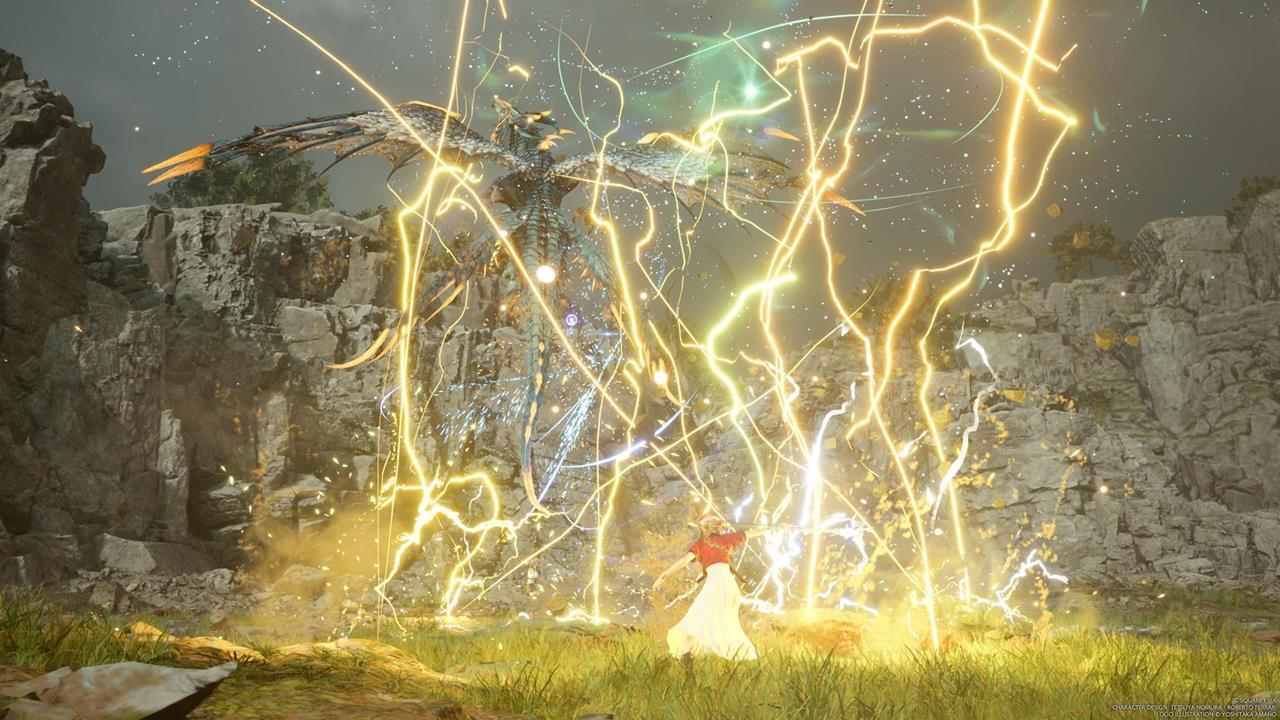
You can attack the Hueyacoatl while its lightning strikes envelop the field to pressure it.
Sea Dragon Tactics: This aquatic behemoth employs devastating counterattacks with minimal telegraphing. Beat down the Sea Dragon and avoid its instant counterattacks. Focus on building stagger through consistent pressure rather than attempting burst damage phases.
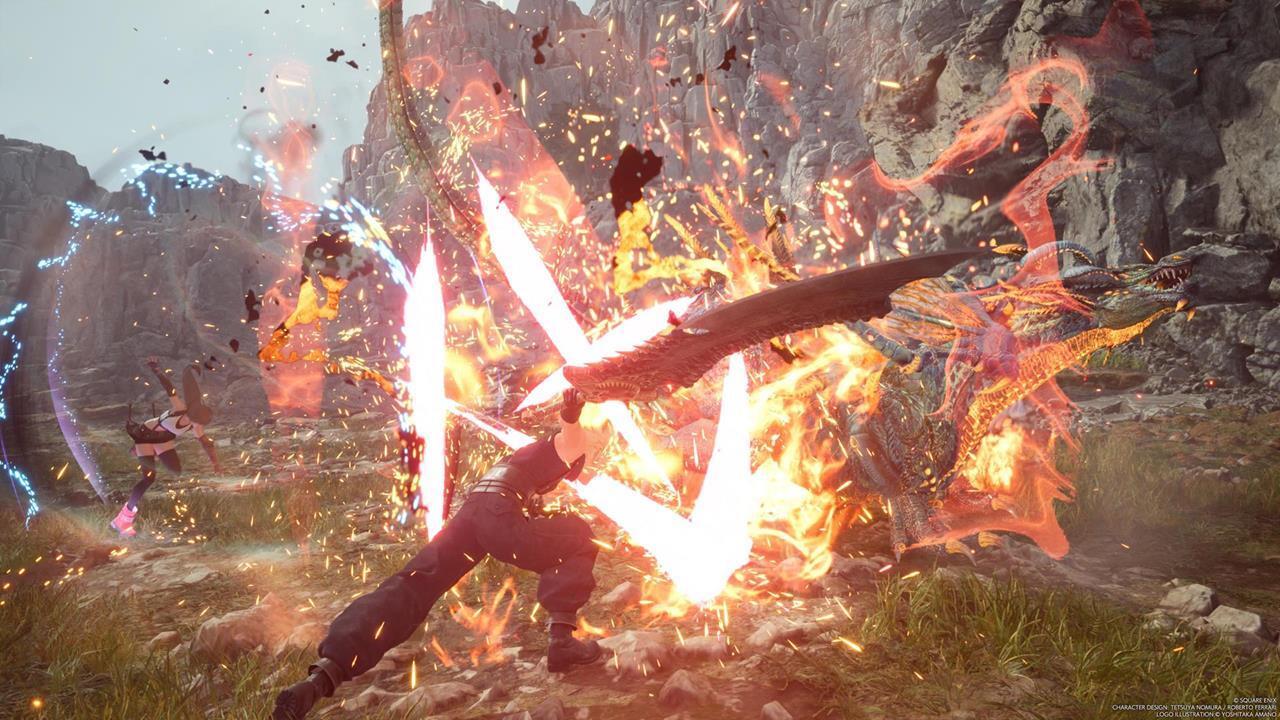
Beat down the Sea Dragon and avoid its instant counterattacks.
Ogre Raider Approach: This brute strength enemy gains increasing power through its vocal enhancements. Take out the Ogre Raider before it fully empowers itself with its roars. Interrupt its empowerment sequences with well-timed abilities to prevent stat escalation.
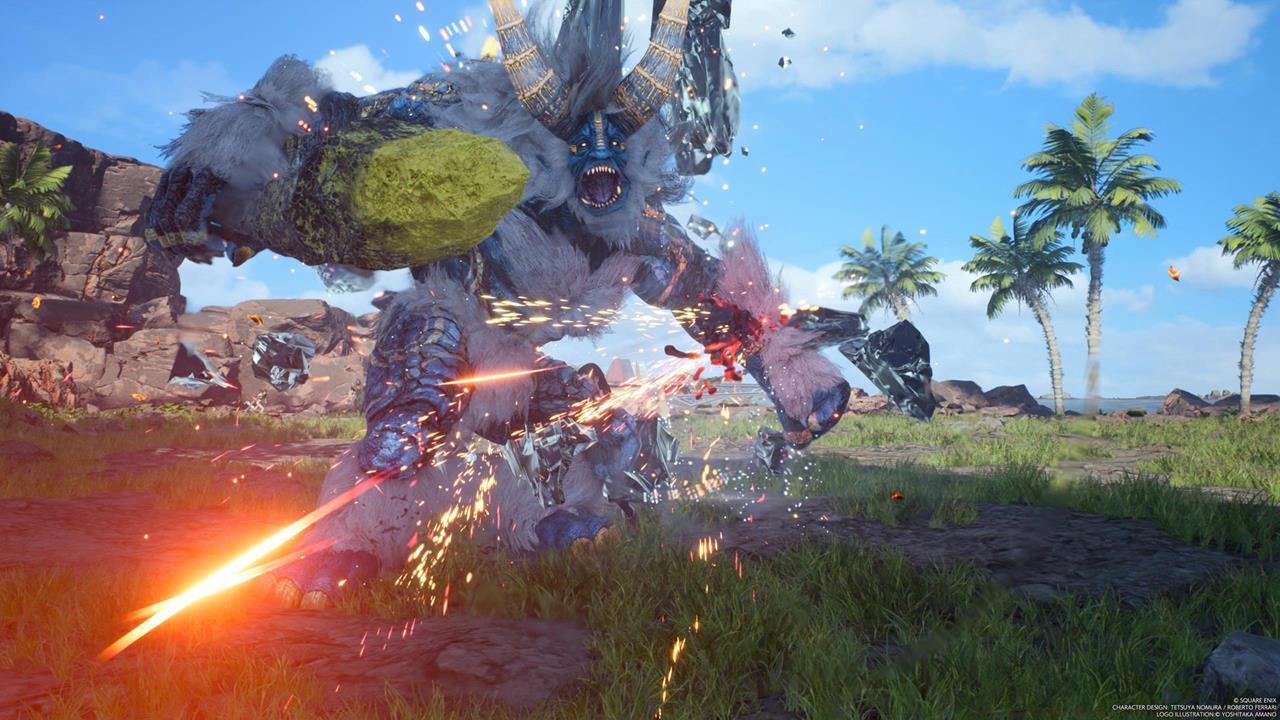
Take out the Ogre Raider before it fully empowers itself with its roars.
Brineborn Demon Countermeasures: This magical adversary casts Graviga, which can devastate your party’s health pools. Cancel the Brineborn Demon’s Graviga cast by staggering it. Coordinate your party’s pressure-building abilities to interrupt this dangerous spellcasting.
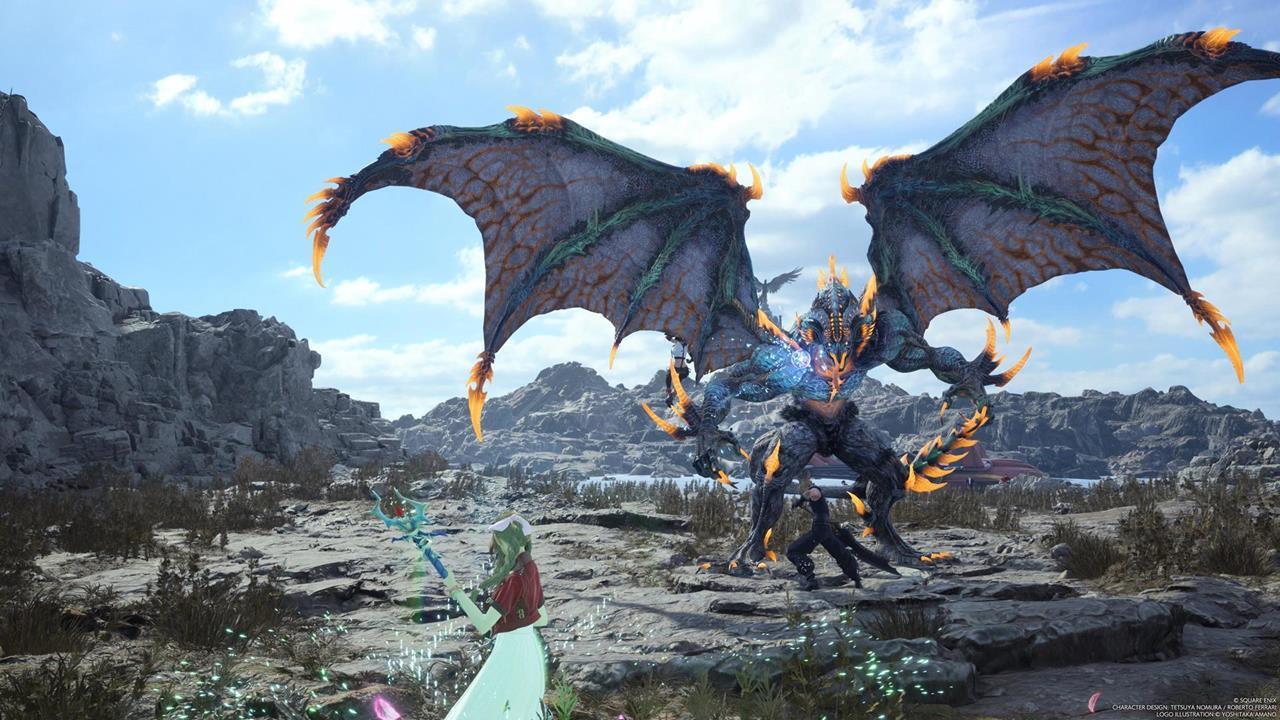
Cancel the Brineborn Demon’s Graviga cast by staggering it.
Advanced Combat Insight: Each grotto boss follows specific attack patterns that can be exploited. The Hueyacoatl, for instance, always performs three lightning strikes in sequence before becoming vulnerable. The Sea Dragon telegraphs its counterattacks with subtle fin movements that experienced players can learn to anticipate.
After successfully gathering all four Pirate’s Relics from the defeated grotto guardians, return to any crafting station to combine them into the Corsair’s Compass. This specialized navigation tool significantly enhances your oceanic exploration capabilities beyond the initial treasure hunt.
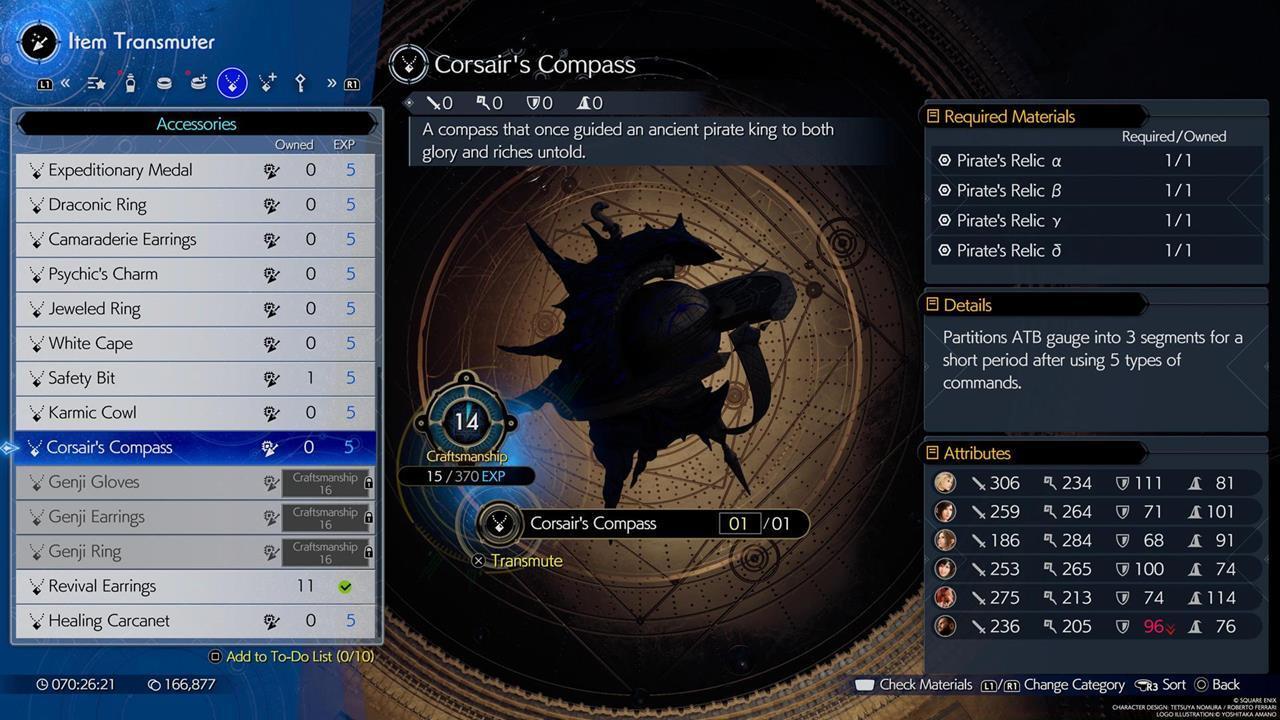
Use the Pirate’s Relics to craft the Corsair’s Compass.
The Corsair’s Compass functions as a permanent upgrade to your maritime exploration toolkit. The Corsair’s Compass will help you find more goodies in the ocean. This device reveals additional hidden treasures, submerged artifacts, and secret locations that remain invisible without its magical detection capabilities.
The Corsair’s Compass will help you find more goodies in the ocean.
Reward Analysis: Beyond the immediate satisfaction of completing this challenging side quest, the Corsair’s Compass provides ongoing value throughout your remaining gameplay. It automatically highlights undiscovered ocean content on your map, including rare crafting materials, powerful accessories, and additional lore elements that enrich the game’s narrative.
Time Investment: Completing all four grotto challenges typically requires 45-60 minutes, depending on your combat proficiency and navigation efficiency. The compass itself then enables approximately 2-3 hours of additional content discovery if you fully explore its revealed locations.
For players seeking to master other aspects of modern gaming experiences, our Complete Guide to Battlefield 6 provides comprehensive strategies for dominating multiplayer matches and understanding advanced game mechanics.
Action Checklist
- Reach Chapter 12 and access the Tiny Bronco at Costa del Sol docks
- Open the purple crossed swords chest to obtain the treasure map
- Navigate to each marked Pirate’s Grotto using map controls
- Defeat all four unique grotto bosses using specific strategies
- Collect all Pirate’s Relics and craft the Corsair’s Compass
No reproduction without permission:SeeYouSoon Game Club » Final Fantasy 7 Rebirth – Pirate King’s Treasure Guide Complete guide to finding the Pirate King's Treasure in Final Fantasy 7 Rebirth with battle strategies and rewards