TL;DR
- Navigate the first room by clearing Splinters of Fate and activating the Power Coil mechanism
- Solve the second room’s mirror puzzle using precise clockwise stone rotation sequence
- Complete the power path from back coil to center coil with specific turn counts
- Avoid common mistakes like incorrect rotation direction or skipping verification steps
- Use strategic positioning to minimize backtracking and complete puzzles efficiently
Embark on an exciting journey through the mysterious Cave of Wonders with our comprehensive walkthrough!
As you progress through the main storyline in Disney Dreamlight Valley’s A Rift in Time DLC expansion, you’ll inevitably encounter the legendary Cave of Wonders. Upon entering this mystical location, you’ll discover multiple intricate mirror-based puzzles that must be successfully solved to unlock the pathways leading toward the coveted Jewel of Time. This guide provides detailed strategies to navigate through every challenge and reach the final chamber successfully.
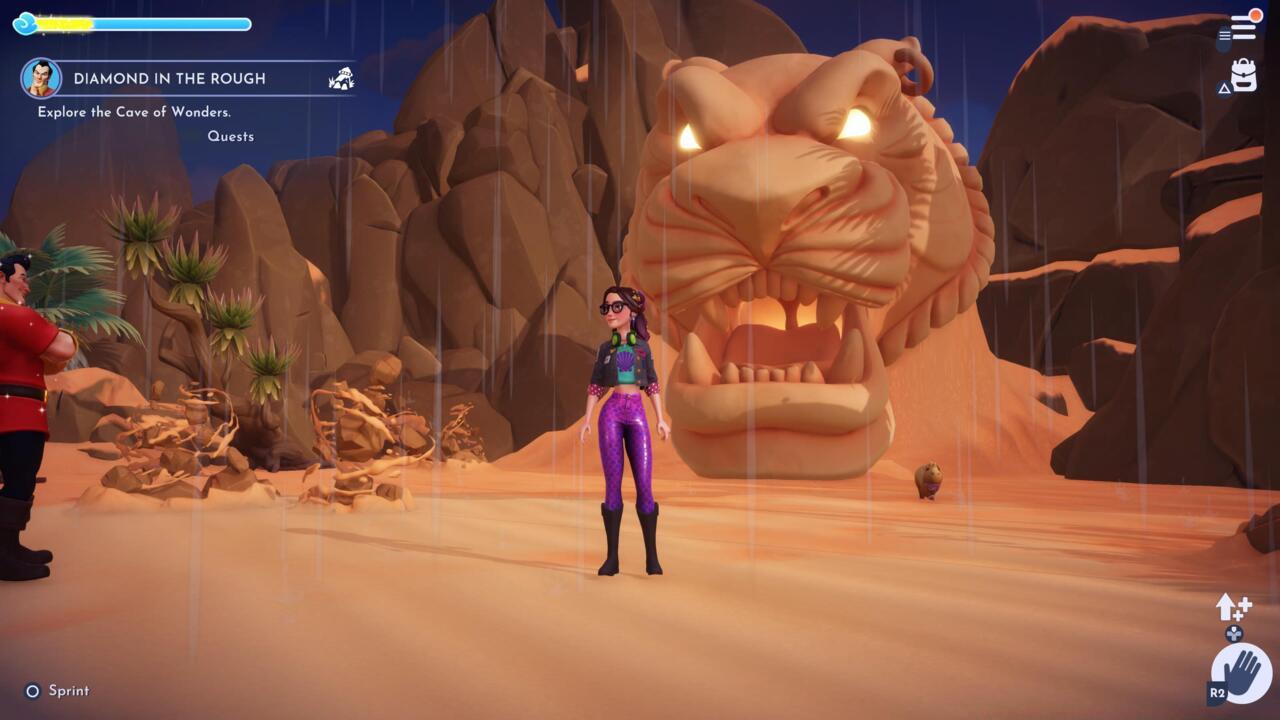
The Cave of Wonders entrance marks the beginning of your puzzle-solving adventure
Begin your exploration in the initial chamber of the Cave of Wonders by immediately heading leftward. Your first objective involves clearing the obstructive Splinters of Fate blocking your path – these magical fragments must be removed before proceeding further. Once cleared, locate and retrieve the Power Coil device, then carefully position it within the designated activation slot situated nearby.
Return to the central area of this opening room and operate the primary control switch to trigger the mechanism that opens the initial barrier door. This straightforward sequence establishes the fundamental puzzle mechanics you’ll encounter throughout the cavern.
Pro Tip: Before activating the switch, ensure you’ve collected any nearby resources, as backtracking through solved puzzles can be time-consuming. Most players complete this first section within 3-5 minutes when following the correct sequence.
Progress into the subsequent chamber and ascend the staircase located on your right side. Descend into the lower area containing an inactive Power Coil positioned at the room’s center. Your primary objective here involves establishing a complete energy conduit from the powered coil at the rear section to the unpowered central unit.
To accomplish this power transfer, interact systematically with the circular ritual stones encircling the dormant Power Coil. Follow this precise rotational sequence moving clockwise from the stone nearest to the activated coil in the back:
- Rotate the initial stone exactly one time
- Turn the subsequent stone precisely three times
- Adjust the third stone exactly two times
- Finalize with the fourth stone rotated one time
After completing this sequence, verify that the energy beam connects uninterrupted from the source coil to the destination. The successful connection will trigger audible and visual confirmation cues.
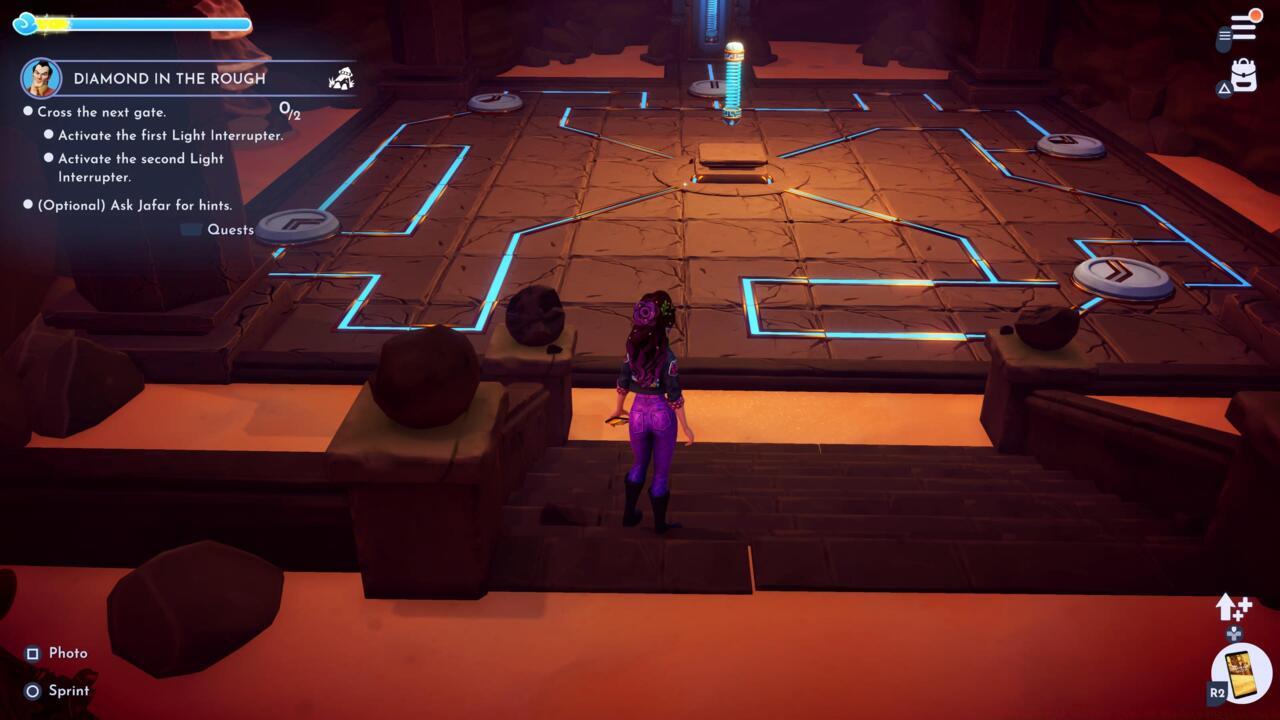
This visual reference demonstrates the correct power beam configuration when you’ve successfully activated the central Power Coil
Common Mistake: Many players miscount rotations or proceed counter-clockwise, resulting in failed activation. Always double-check your starting position relative to the powered coil.
Optimization Strategy: Position your character at optimal angles before interacting with stones to minimize adjustment time. Experienced players can complete the second room puzzle in under 8 minutes using proper positioning techniques.
Avoid these frequent errors: rotating stones beyond required counts, starting from incorrect reference points, or neglecting to verify beam connections between steps. Each miscalculation requires resetting the puzzle, adding significant time to your completion.
The mirror puzzles employ consistent mechanics throughout the Cave of Wonders. Mastering the power beam connection principle in these early rooms will prepare you for more complex variations ahead. The skills developed here translate directly to advanced puzzle-solving techniques found in other game areas.
Mechanics Insight: The circular stones function as beam redirectors, with each rotation changing the energy path direction by 45 degrees. Understanding this underlying principle helps troubleshoot when connections fail.
For players struggling with spatial puzzles, consider taking reference screenshots between rotations to track your progress. This approach significantly reduces confusion in more elaborate puzzle configurations later in the cavern.
Action Checklist
- Clear Splinters of Fate in first room left path
- Place Power Coil in activation slot and pull main switch
- Navigate to second room and locate circular stones
- Execute clockwise rotation sequence: 1-3-2-1 turns
- Verify power beam connection from back to center coil
No reproduction without permission:SeeYouSoon Game Club » Disney Dreamlight Valley: Cave Of Wonders Puzzles Guide Master the Cave of Wonders puzzles with expert strategies and time-saving solutions in Disney Dreamlight Valley