TL;DR
- Find five hidden Cayde’s Stash chests in the Pale Heart’s Lost City social zone
- Each chest grants one piece of high-stat Legend Veteran armor for your collection
- Complete The Final Shape campaign on each character to access the required location
- Use strategic navigation and environmental cues to locate all chests efficiently
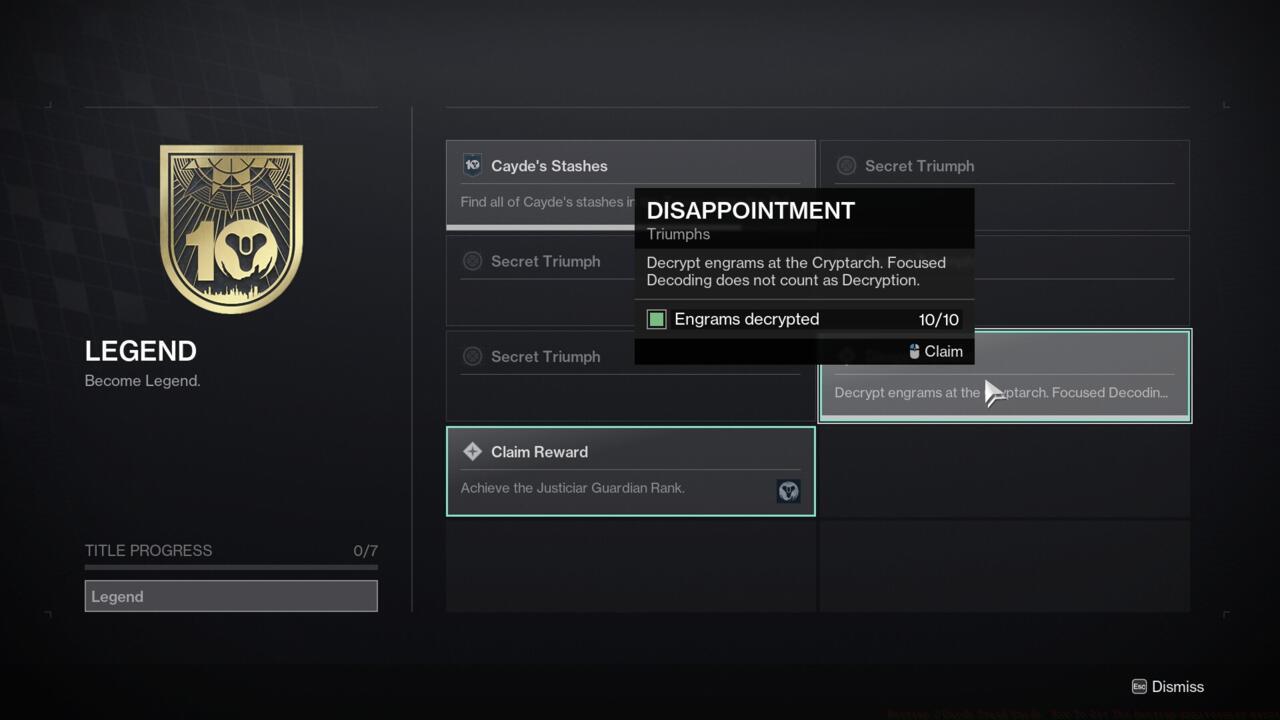
- Unlock the Legend Triumph seal and title by completing this anniversary challenge
GameSpot may receive revenue from affiliate and advertising partnerships for sharing this content and from purchases through links.
Bungie commemorates Destiny’s 10th anniversary by introducing the Legend Veteran armor set, directly inspired by original concept art from the franchise’s inception. This exclusive gear requires players to embark on a treasure hunt throughout the Pale Heart of the Traveler, locating five distinct Cayde’s Stash chests that each contain a specific armor piece.
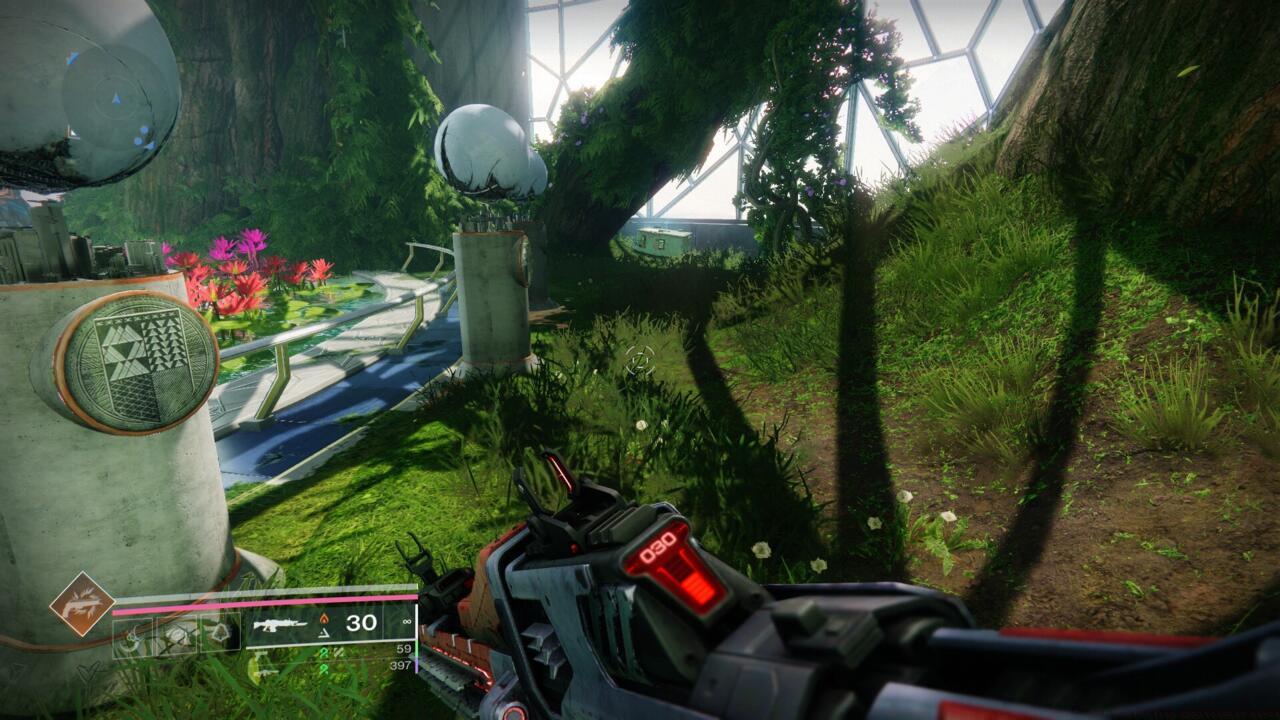
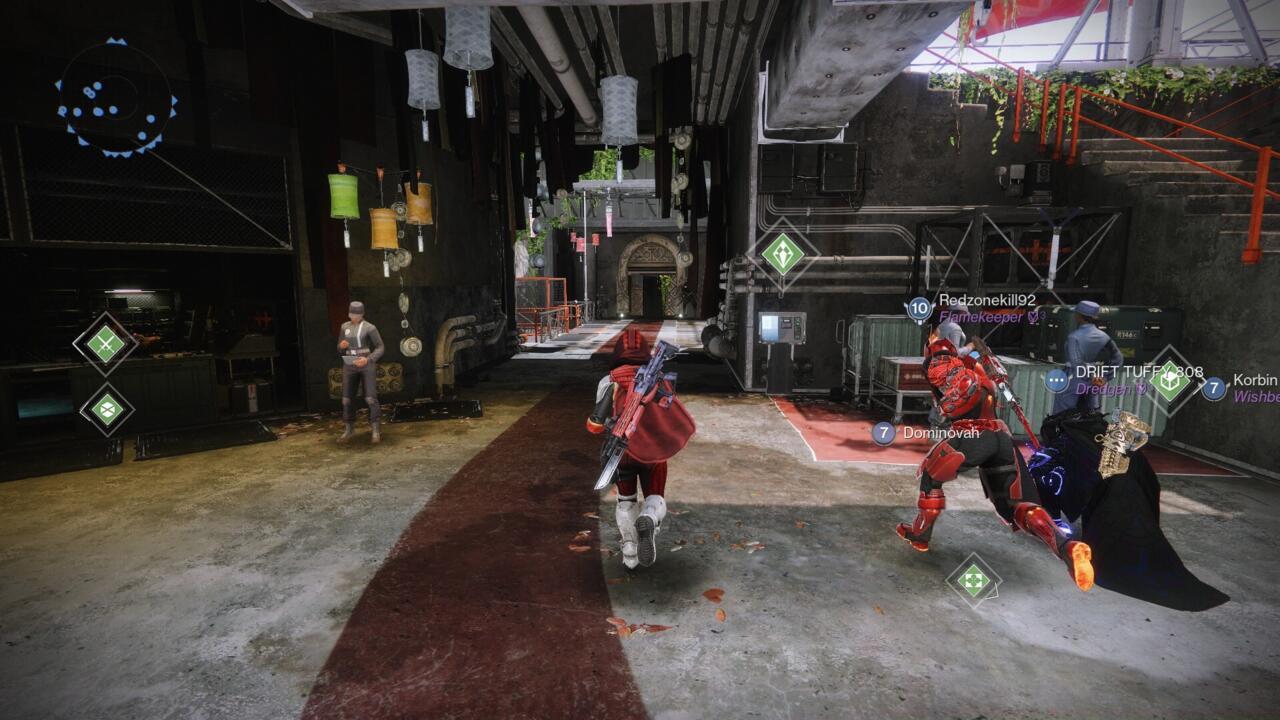
Your expedition leads you through the Lost City social zone within the Pale Heart, where you’ll discover five specially concealed Cayde’s Stash containers. Unlike previous iterations that featured audio logs and narrative elements from Cayde-6’s legacy, these anniversary chests focus purely on delivering the commemorative armor ensemble. Each opened container rewards you with a component of the complete Legend Veteran outfit, featuring impressively rolled statistics that make them viable for endgame builds.
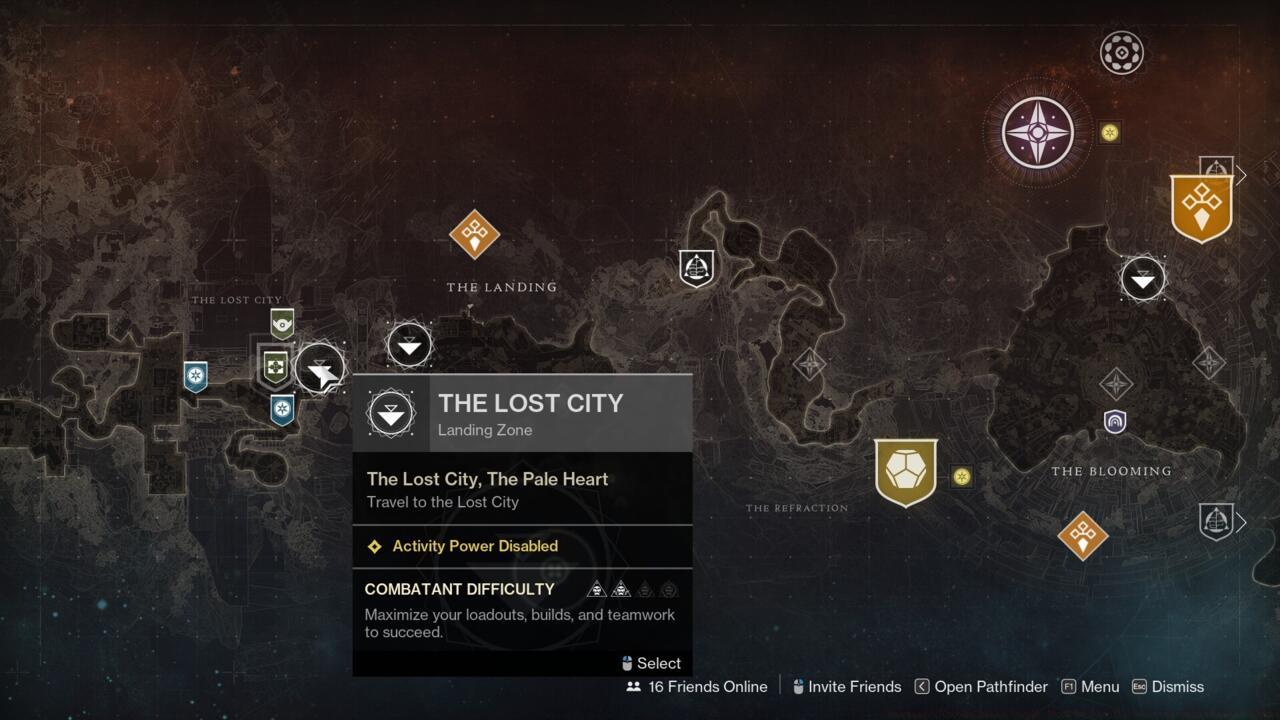
To initiate your search for Cayde’s Stashes, travel to the Pale Heart of the Traveler and navigate to the Lost City social space. While the containers are strategically hidden throughout the environment, you won’t encounter combat challenges during retrieval. Important note: Accessing the Lost City transmat zone requires progression through The Final Shape campaign on each individual character before you can begin hunting.
Below you’ll find comprehensive directions to each Cayde’s Stash treasure chest, enabling you to secure the Legend Veteran set while progressing toward the prestigious Legend Triumph seal and accompanying title.
Before embarking on your Cayde’s Stash treasure hunt, ensure you meet the necessary prerequisites. Each character on your account must individually complete The Final Shape campaign up to the point where the Lost City becomes accessible as a social space. This requirement means you cannot transfer progress between characters—each must reach this milestone independently.
For optimal efficiency, consider preparing a mobility-focused loadout. While no combat is required, increased movement speed and enhanced jump capabilities can significantly reduce travel time between chest locations. Equip weapons with movement perks or subclasses featuring teleportation abilities for the quickest navigation.
Time investment varies by familiarity with the Pale Heart layout, but most players complete the full circuit in 15-25 minutes once familiar with the route. First-time hunters should allocate 30-45 minutes to account for exploration and orientation within the environment.
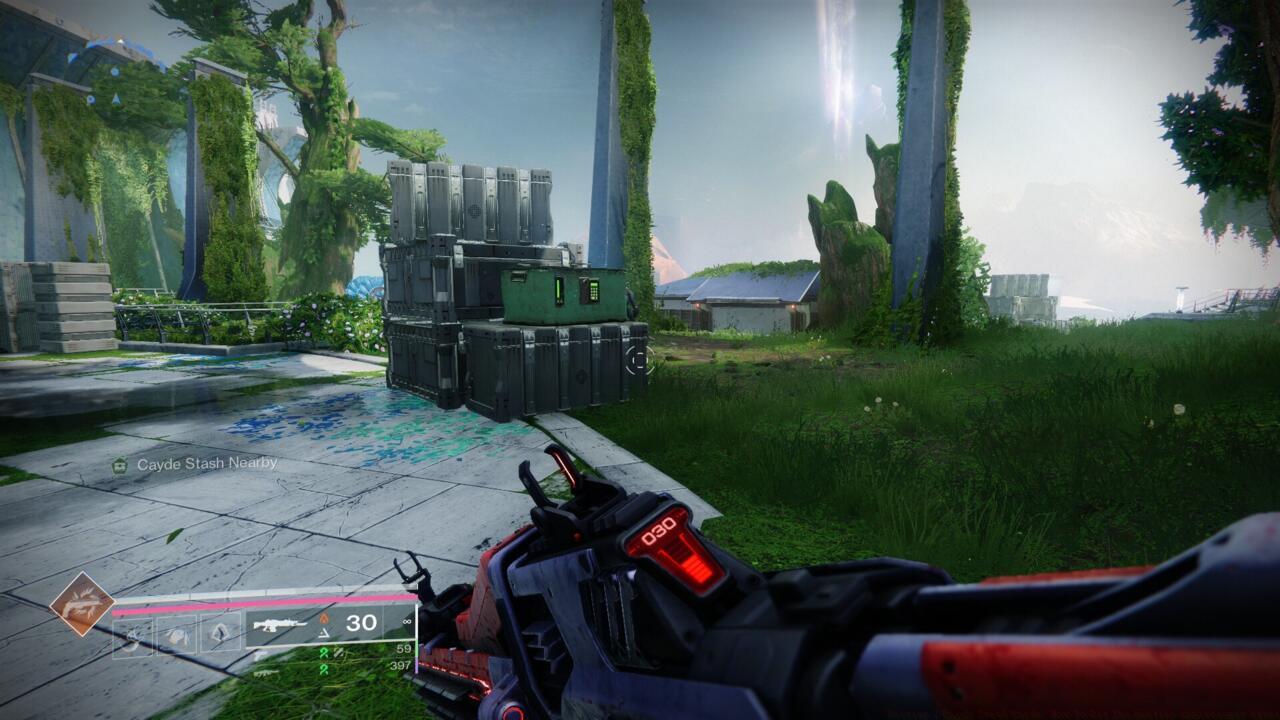
Stash 1: Crates Adjacent to Ghost
Upon spawning at the Lost City transmat point, position yourself near the perimeter railing facing Ghost’s vendor location. Proceed past Ghost toward the mailbox kiosk, where you’ll notice a stacked crate formation. This pile sits to the left of the tunnel entrance leading to the former Vanguard war room, currently housing Micah-10’s terminal. Navigate around the rear section of these crates to discover the first concealed stash container.

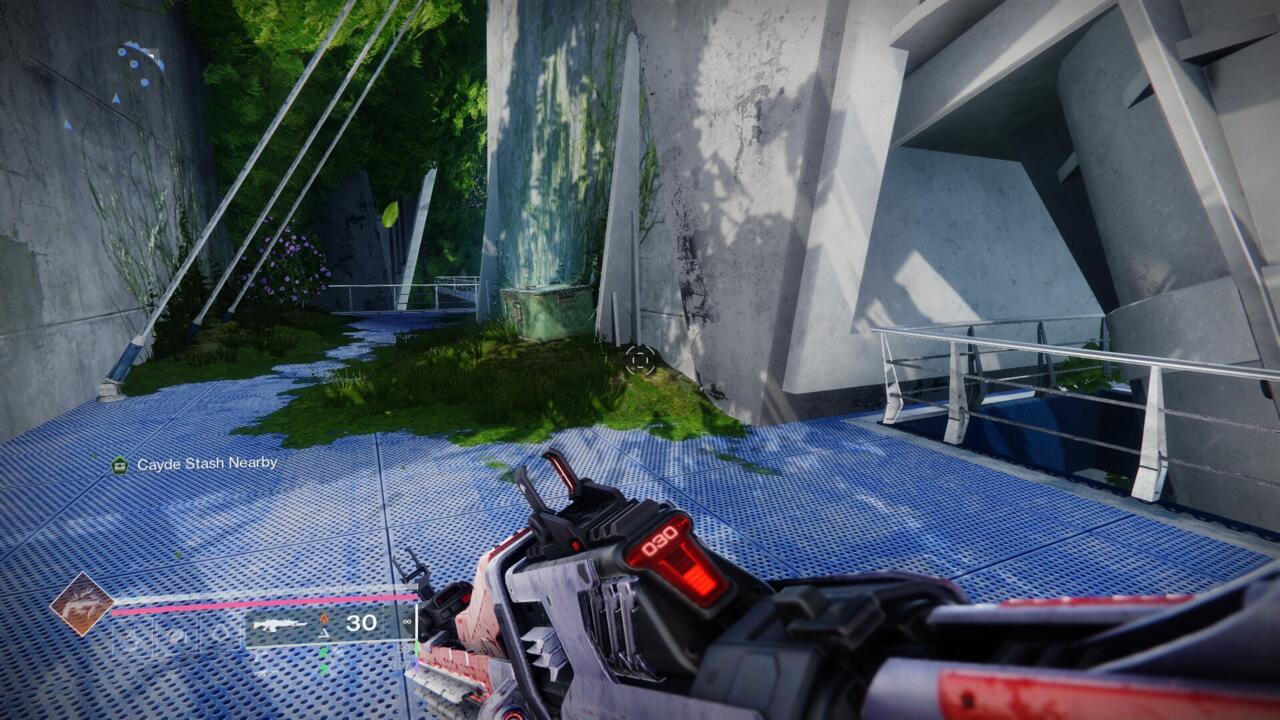
Stash 2: Eris Morn’s Historical Position
Descend into the tunnel adjacent to the crate cluster, following the passage toward Micah’s terminal interface. Immediately upon reaching the staircase base, you’ll encounter a structural wall requiring navigation around its perimeter. As you circumvent this obstacle, direct your attention toward the wall surface to locate the second Stash chest. Destiny 1 veterans will recognize this as Eris Morn’s former station within the Tower, where she served as vendor during The Dark Below expansion era.
Stash 3: Fan Switch Platform Area
Reverse your course from the tunnel and observe the Tower panorama as you exit. To your right stands an ascending staircase leading to an elevated platform—in the original Destiny, this location housed an interactive switch activating rooftop ventilation systems. The third Stash rests upon this platform behind the adjacent wall structure, near the historical switch location.
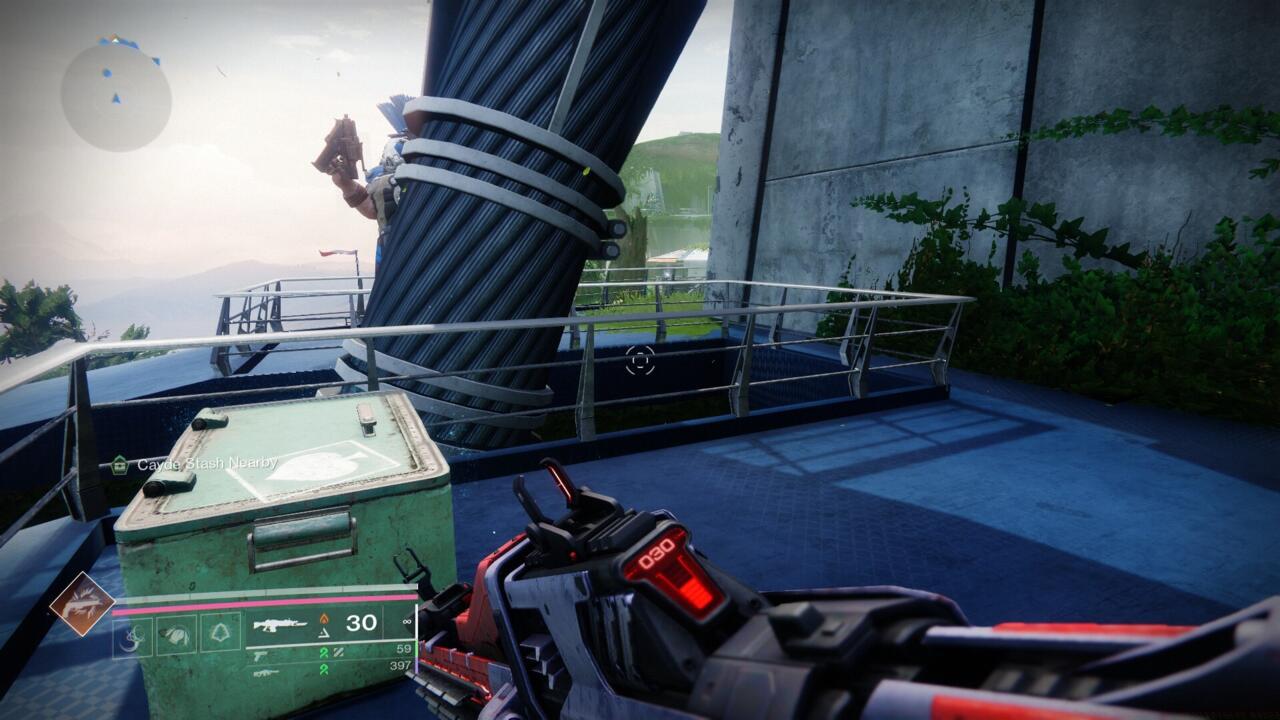
Stash 4: Hangar Proximity Zone
Position yourself facing the railing with the Vanguard war room at your back—the fan switch platform now appears on your right. Directly beneath this structure lies the passageway leading to the Speaker of the Traveler’s former chamber (now repurposed as a trophy display for Pale Heart collectibles). Approach the left boundary wall opposite the Speaker’s room access path, advancing toward the corner section near the railing edge. Navigate around the corner adjacent to a stationed Cabal guard position, where the fourth Stash awaits near substantial cabling on the available platform.
Stash 5: Speaker’s Chamber Interior
For your concluding Stash retrieval, proceed to the Speaker’s room via the passage on the area’s opposite side. Upon arrival, immediately orient right and scrutinize the right-side wall surface to locate the ultimate stash container, completing your Legend Veteran armor acquisition.
Seasoned Destiny 2 players can optimize their Cayde’s Stash runs through several advanced techniques. Activate Strand subclass grappling hooks or Dawnblade aerial mobility for rapid transit between locations. Many hunters overlook the strategic advantage of using third-person emote perspectives to peer around corners and identify chest locations before committing to movement.
A common mistake involves attempting these collections before completing The Final Shape campaign on each character, resulting in wasted time. Always verify Lost City access by confirming the transmat zone appears in your director for that specific character.
The Legend Veteran armor pieces typically feature stat distributions in the mid-60s range, with spikes in recovery and resilience making them particularly valuable for endgame content preparation. Consider these pieces for your Class Guide optimization strategies.
For players pursuing comprehensive Complete Guide to Destiny 2’s anniversary content, understanding these stash mechanics provides foundational knowledge for more complex in-game challenges.
Once acquired, the Legend Veteran armor can be transformed into universal ornaments, allowing aesthetic application to any legendary armor piece while retaining your preferred stat distributions—perfect complementing your Weapons Unlock progression for a fully coordinated Guardian appearance.
Action Checklist
- Complete The Final Shape campaign on each character to unlock Lost City access
- Travel to Lost City social zone via Pale Heart of the Traveler
- Collect Stash 1 behind crates near Ghost’s vendor location
- Retrieve Stash 2 at Eris Morn’s old position in the tunnel
- Secure remaining stashes 3-5 using provided location guides
- Claim Legend Triumph seal and title after collecting all five pieces
No reproduction without permission:SeeYouSoon Game Club » Destiny 2 Cayde Stash Guide: How To Get The Destiny Anniversary Armor Complete guide to finding Cayde's Stash chests and unlocking the Legend Veteran armor set in Destiny 2