TL;DR
- Purchase fuses exclusively from traders marked with dollar signs for 1,500 each
- Carry maximum three fuses simultaneously with no capacity upgrades available
- Zomproof Slayer Hoards contain guaranteed high-tier weapons and crafting materials
- Fuse rooms often feature tripwire traps requiring strategic clearing approaches
- Early game economic planning ensures consistent fuse availability for optimal looting
Within the first few hours of exploring Dead Island 2’s zombie-infested Los Angeles, you’ll encounter numerous locked doors that can only be accessed using specialized electrical components. These essential items function as specialized keys that grant access to some of the game’s most valuable weapon caches and resource stockpiles. Understanding their acquisition and deployment strategy becomes crucial for maximizing your combat effectiveness throughout the campaign.
Fuses represent the primary barrier between you and numerous secured chambers scattered across the game world. These electronic devices operate similarly to single-use access cards, permanently unlocking rooms containing premium equipment. Unlike many crafting materials in the survival horror genre, fuses cannot be manufactured at workbenches and must be acquired through specific commercial channels. Their non-craftable nature elevates their strategic importance significantly.
The game imposes strict inventory limitations, allowing you to carry only three fuses simultaneously regardless of your progression level or character upgrades. This carrying capacity restriction applies equally to medical supplies, creating consistent inventory management challenges. Early in your adventure, the 1,500 currency cost represents substantial investment, but by mid-campaign this amount becomes easily manageable through regular zombie elimination and side mission completion.
Acquiring fuses follows a straightforward but easily overlooked methodology. Visit any merchant operating within the game’s safe zones, identifiable by distinctive dollar symbol icons displayed on both your minimap and full world map. These commercial establishments typically reside within secured areas and trading posts distributed throughout the campaign’s various districts. Establishing regular trader visitation routines ensures you maintain optimal fuse inventory levels.
The pricing structure remains consistent across all vendors, with each fuse costing exactly 1,500 currency units regardless of your reputation or story progression. This fixed economic model encourages strategic financial planning, especially during early game when resources remain scarce. Prioritizing fuse purchases over cosmetic items or temporary upgrades yields substantial long-term benefits through access to superior weaponry.
Proactive economic management becomes essential for fuse acquisition efficiency. During initial gameplay hours, focus on completing side objectives and thoroughly looting environments to accumulate necessary funds. As you advance through the narrative, currency becomes increasingly abundant through main mission rewards and elite zombie encounters, transforming fuse costs from significant investments into routine expenses.
Behind each fuse-protected door awaits what the game designates as Zomproof Slayer Hoards—specially secured containers guaranteed to contain high-quality armaments. These weapon caches differ significantly from random world drops, offering predetermined superior-grade equipment with enhanced statistics and unique modifications. The terminology specifically references zombie-proof storage units rather than groups of undead enemies.
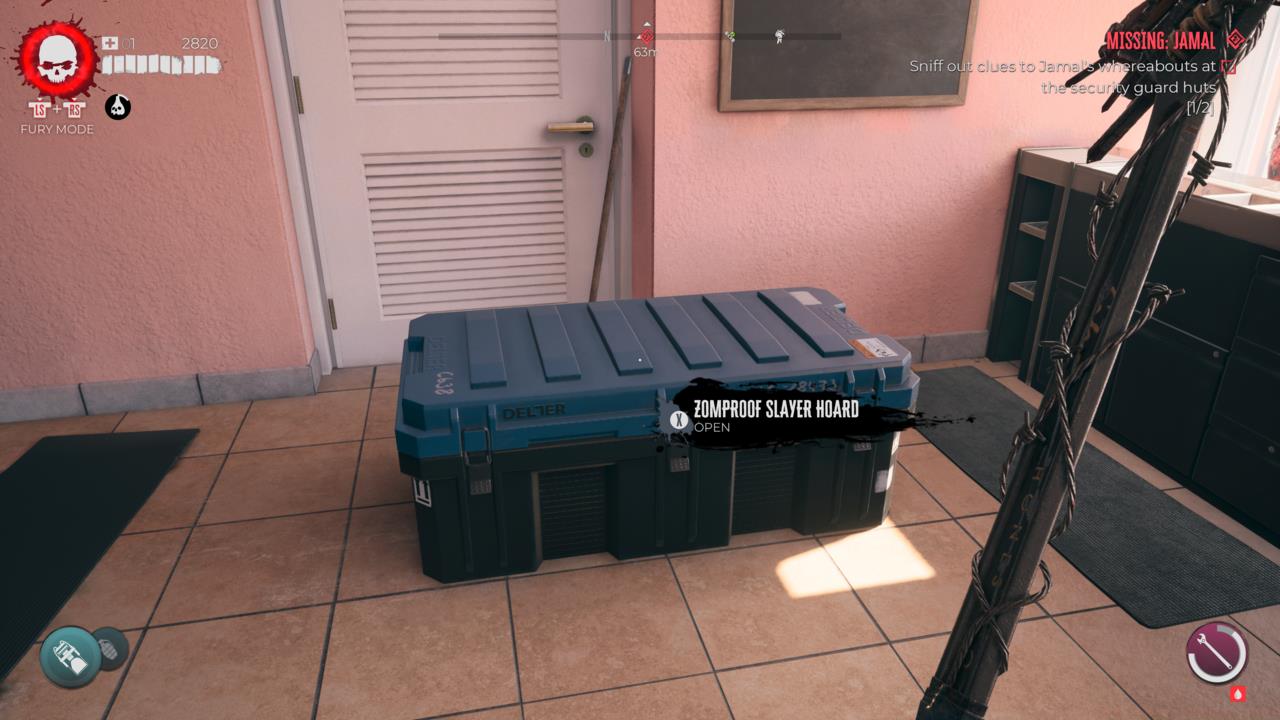
The centerpiece of any locked room requiring a fuse to open is the Zomproof Slayer Hoard containing one great weapon.
Beyond the primary weapon containers, these secured chambers contain substantial supplementary resources including crafting components, currency stacks, and ammunition reserves. The combined value typically far exceeds the initial fuse investment, making systematic room unlocking a cornerstone of effective resource acquisition. These locations often contain rare modification blueprints and specialized equipment not found elsewhere in the game world.
Weapon quality within these hoards scales with both player level and story progression, ensuring relevant gear acquisition throughout your journey. Later game fuse rooms may contain legendary-tier weapons with unique abilities, providing compelling reasons to maintain consistent fuse supplies even during endgame content.
Approach each newly opened fuse room with tactical caution, as many contain sophisticated security measures designed to eliminate intruders. Visible tripwire networks often crisscross these chambers at various heights, connected to explosive devices or environmental hazards. These defensive systems remain clearly identifiable through careful visual inspection before full entry.
You possess multiple options for neutralizing these threats safely. Employ ranged weapons to sever tripwires from secure positions in doorways or adjacent corridors. Alternatively, leverage the zombie population by luring undead into these traps through strategic positioning and environmental manipulation. The dropkick maneuver proves particularly effective for precisely directing zombies into trap activation zones.
Strategic trap utilization can effectively clear rooms of zombie threats while preserving your ammunition resources. Well-executed trap triggering often eliminates multiple enemies simultaneously, creating efficient combat solutions. Following trap neutralization, these chambers transform into secure looting environments filled with valuable resources awaiting collection.
Implement systematic inventory management by consistently maintaining your maximum three-fuse capacity. Regular trader visits between major missions ensure you never miss looting opportunities due to insufficient fuse supplies. This proactive approach maximizes your return on investment throughout the entire gameplay experience.
Early campaign financial prioritization should focus heavily on fuse acquisition, temporarily delaying non-essential purchases until economic stability improves. The guaranteed high-value returns from Zomproof Slayer Hoards provide substantial long-term benefits that outweigh temporary cosmetic or convenience sacrifices.
For comprehensive guidance on optimizing your overall gameplay approach, consult our Complete Guide covering fundamental mechanics and progression systems. Advanced weapon customization techniques can be found in our detailed Weapons Unlock resource, while character specialization strategies are detailed in our Class Guide for role optimization.
Maintaining awareness of fuse door locations during exploration allows efficient route planning when you acquire additional fuses. Many secured rooms contain environmental storytelling elements and hidden narrative details that enhance the overall game experience beyond mere loot acquisition.
Action Checklist
- Visit traders in safe zones (dollar sign icons) to purchase fuses for 1,500 each
- Maintain maximum inventory of three fuses at all times
- Prioritize fuse purchases over cosmetic items during early game
- Clear fuse room traps using ranged attacks or zombie manipulation before looting
- Systematically unlock all fuse doors encountered during exploration
No reproduction without permission:SeeYouSoon Game Club » Dead Island 2 – How To Get Fuses Master fuse locations, usage strategies, and loot optimization in Dead Island 2