TL;DR
- Complete map exploration and obtain the Jetgun Wonder Weapon within first 5-7 rounds
- Collect three LTG parts using the Jetgun’s vacuum function at specific locations
- Assemble the LTG device on the bank rooftop and activate three projectors
- Defeat the Mangler HVT and strategically place canisters using the Strauss Counter
- Coordinate team movements during the final boss encounter for optimal success
Embarking on the Liberty Falls main quest requires strategic preparation from the very beginning of your BO6 Zombies session. This comprehensive guide ensures you’re equipped with the knowledge to navigate this challenging storyline efficiently.
The return of round-based Zombies in Call of Duty: Black Ops 6 introduces Liberty Falls as one of two launch maps featuring intricate main quests. Success demands careful planning and execution of multiple interconnected steps.
While the Liberty Falls storyline can be tackled solo, certain phases become significantly more manageable with coordinated teammates. Communication and role assignment dramatically improve completion rates.
Your initial focus should be on map exploration during rounds 1-5. Prioritize opening critical pathways, activating the Pack-a-Punch machine, and securing the map’s exclusive Jetgun Wonder Weapon. Experienced players typically achieve these objectives by round 7.
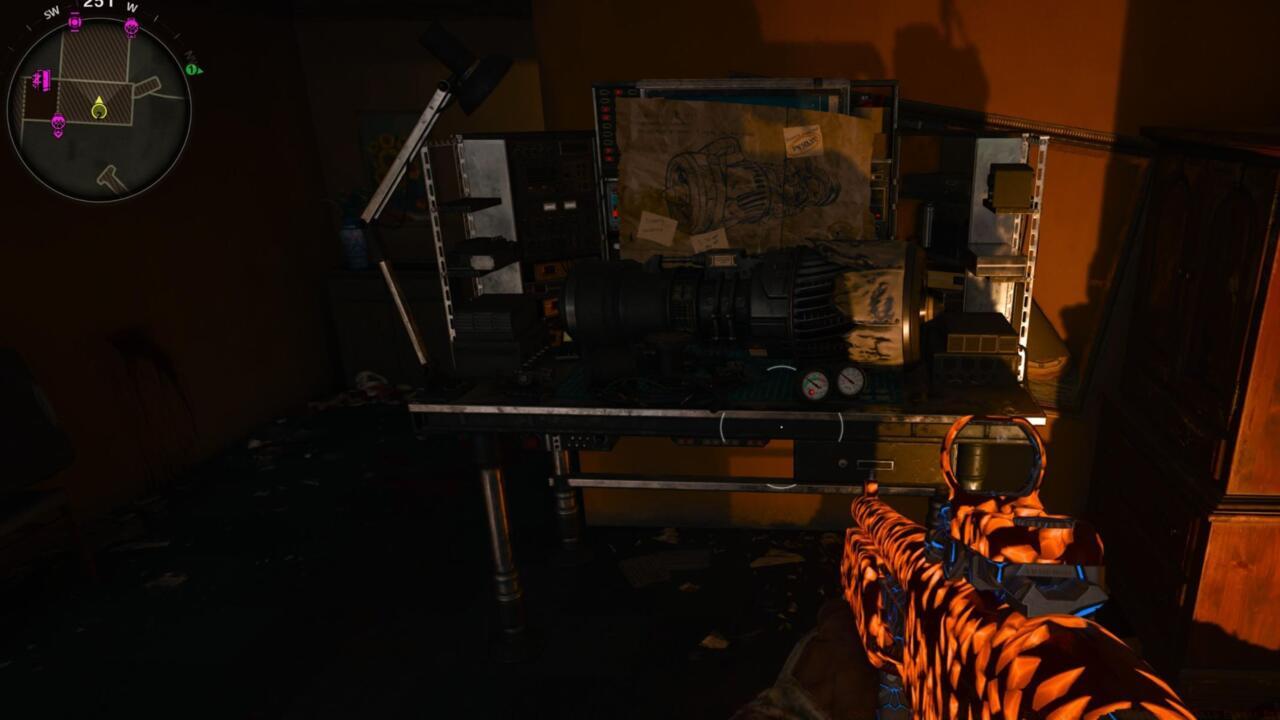
Jetgun crafting table in the Motel – Your primary objective in early rounds
Upon accessing the church interior, immediately interact with the mechanical console positioned on the right-hand side. This triggers essential narrative exposition and quest initialization.
Subsequent interaction with the same device reveals the blueprint for constructing the advanced Wonder Weapon necessary for progression.
Acquiring all three LTG device components requires precise navigation and utilization of the Jetgun’s unique capabilities. Each part occupies an otherwise inaccessible position.
Liberty Falls introduces an enhanced iteration of the classic Jetgun from Black Ops 2’s TranZit, featuring improved durability and more responsive handling without the frustrating breakdown mechanics.
The assembly process involves multiple stages, though obtaining the Jetgun through the Mystery Box remains a low-probability alternative. For guaranteed success, follow our dedicated Jetgun crafting guide.
The Jetgun’s vacuum functionality (activated by holding the right trigger) becomes essential for retrieving the elevated LTG components scattered throughout the map.

LTG church part – First component location near quest initiation point
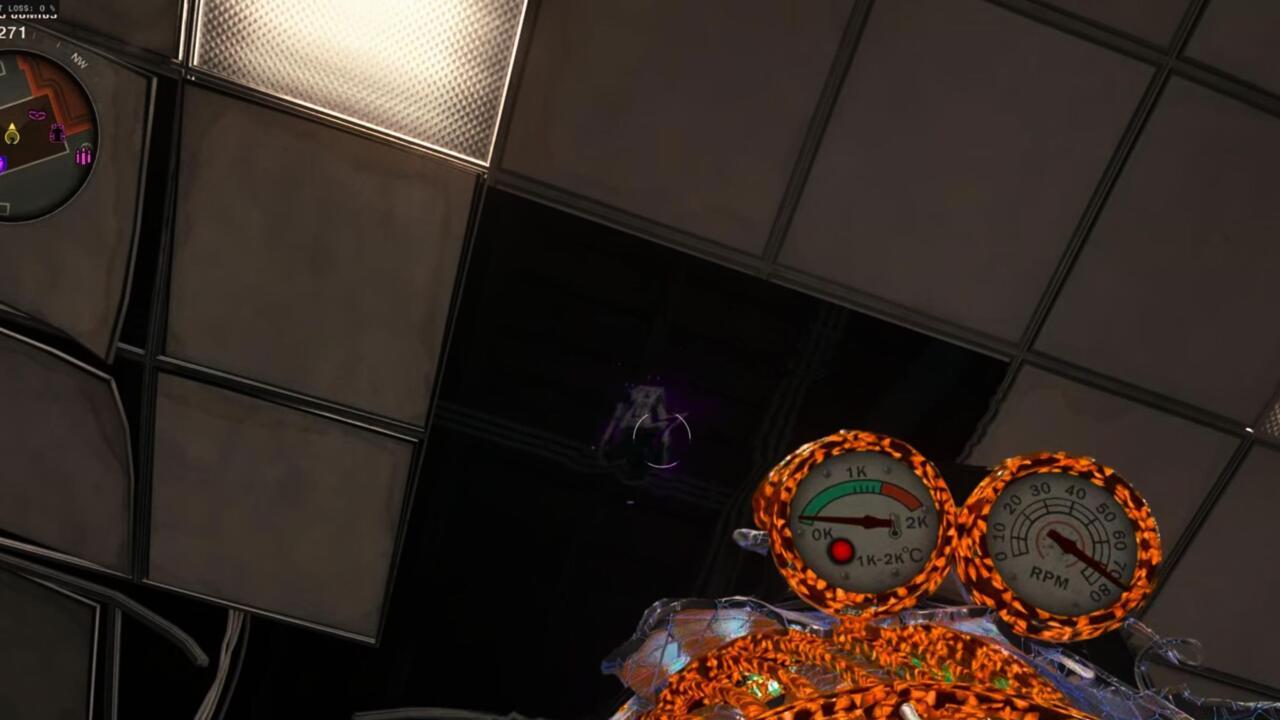
LTG part in comic book shop – Requires precise Jetgun positioning

LTG part in the top-right window of the barbershop – Most challenging retrieval location
Pro Tip: When collecting the barbershop part, position yourself at an angle to the window and use short, controlled vacuum bursts to avoid attracting excessive zombie attention.
Common mistakes during part collection include attempting retrieval without sufficient ammunition, neglecting round management, and failing to clear the area before attempting precise Jetgun maneuvers.
With all three LTG components secured, proceed to the designated assembly location on the bank rooftop. This elevated position provides strategic advantages for the upcoming activation sequence.
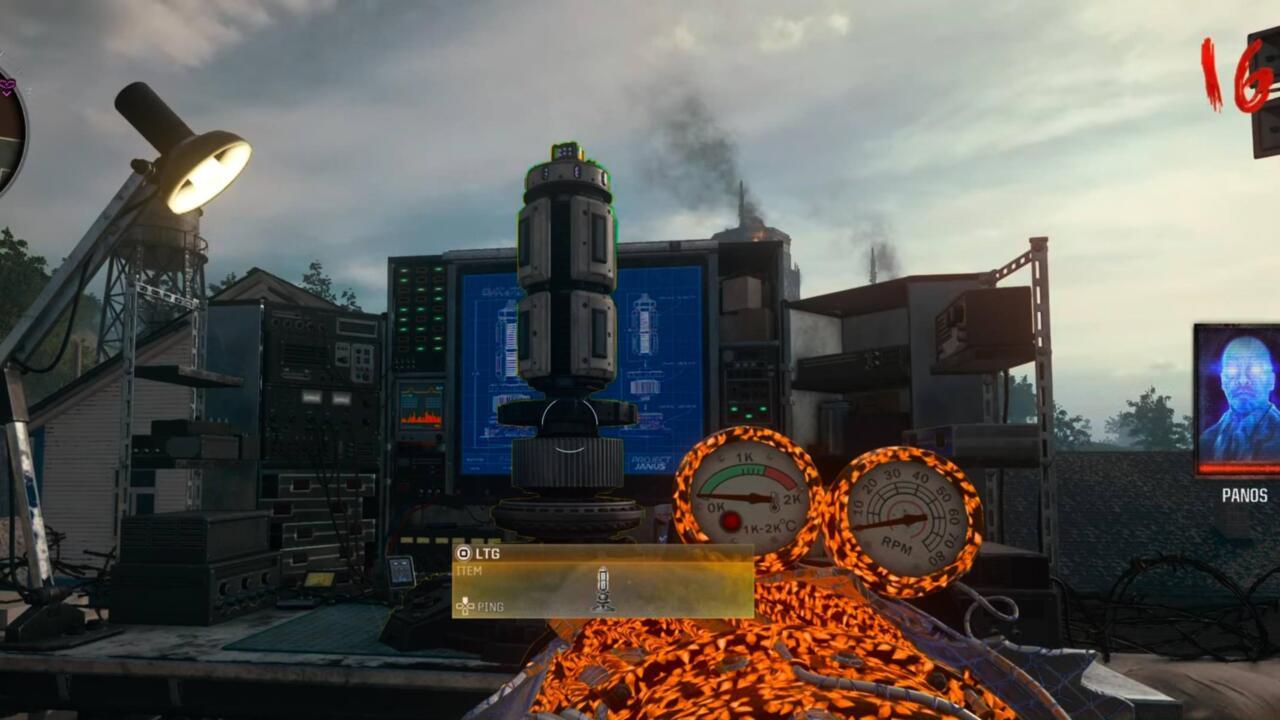
Build the LTG on bank rooftop – Central location with good visibility
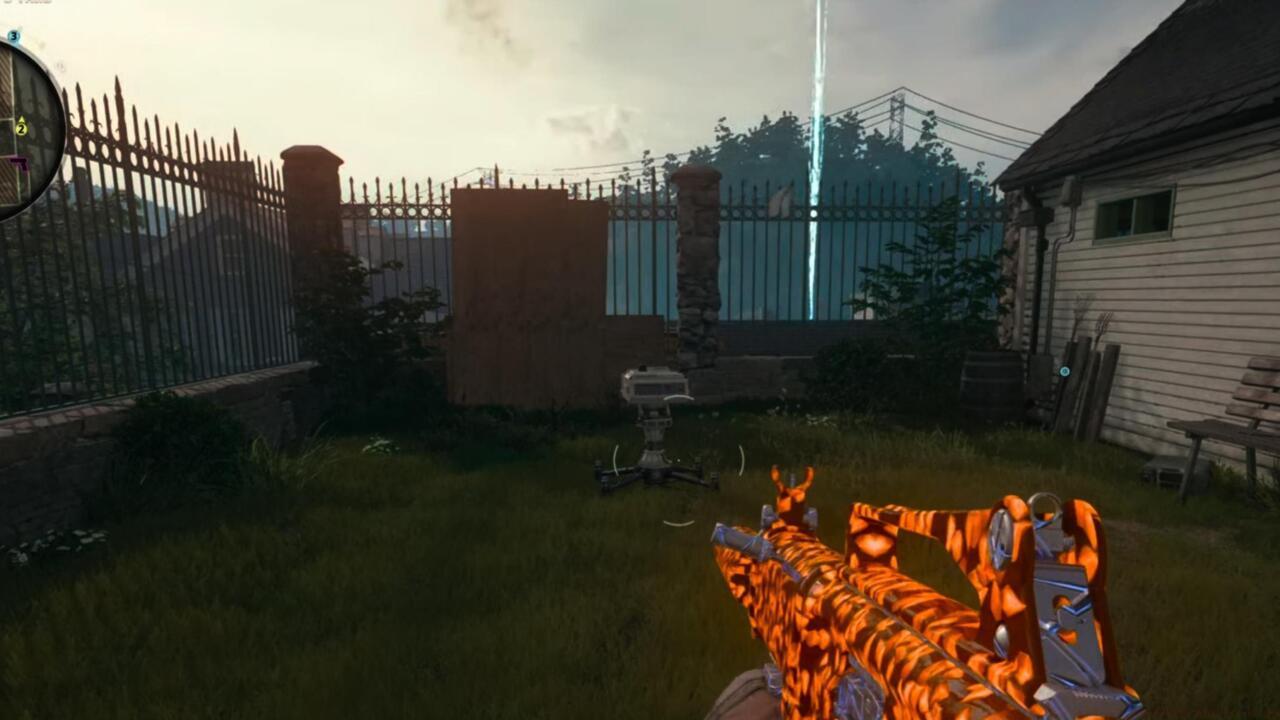
The LTG device activation triggers a three-stage projector sequence that must be completed within a limited timeframe. Each projector emits a distinct energy signature visible across the map.
Device on hillside leading down to the bowling alley – First projector location
Found behind the white house on the church street – Second projector requires careful navigation
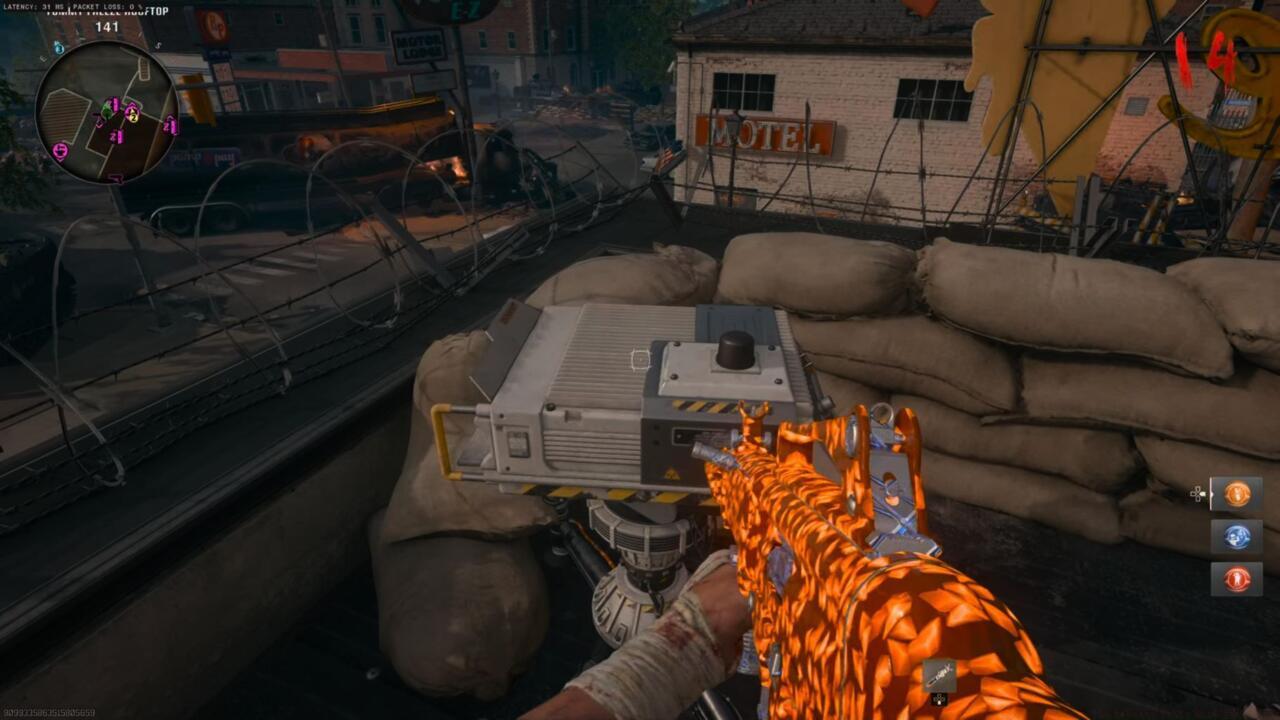
Rooftop device overlooking the gas station – Final projector with challenging access
Advanced Strategy: Coordinate with teammates to have one player defend the LTG device while others activate the projectors simultaneously to reduce time pressure.
Time estimates for projector activation: Hillside (45 seconds), White House (60 seconds), Rooftop (75 seconds). Plan your route accordingly to avoid being overrun during the process.
Following successful LTG activation, prepare for the Mangler High Value Target encounter. This mini-boss appears near the gas station trap and requires specific tactics to defeat efficiently.
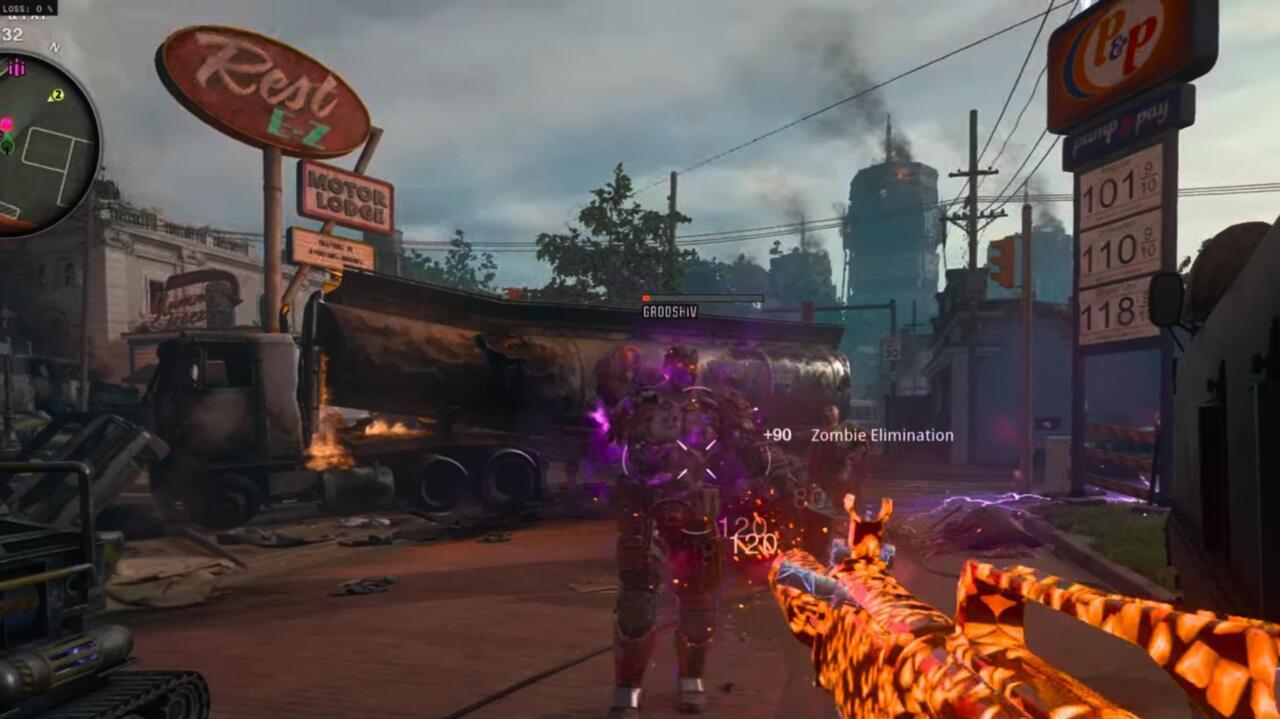
Mangler HVT at the gas station trap – Use environmental advantages
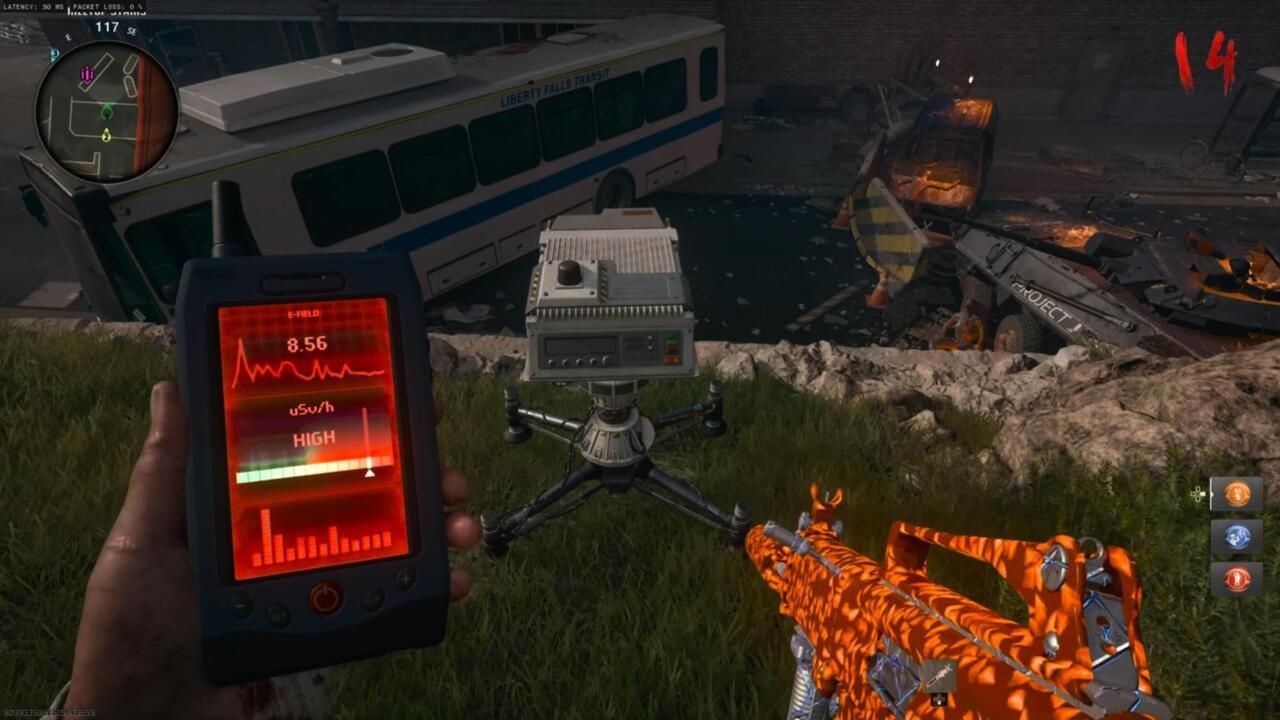
The Strauss Counter becomes available after defeating the Mangler HVT, providing critical tactical data for the final phase. This device reveals optimal canister placement locations essential for boss vulnerability.
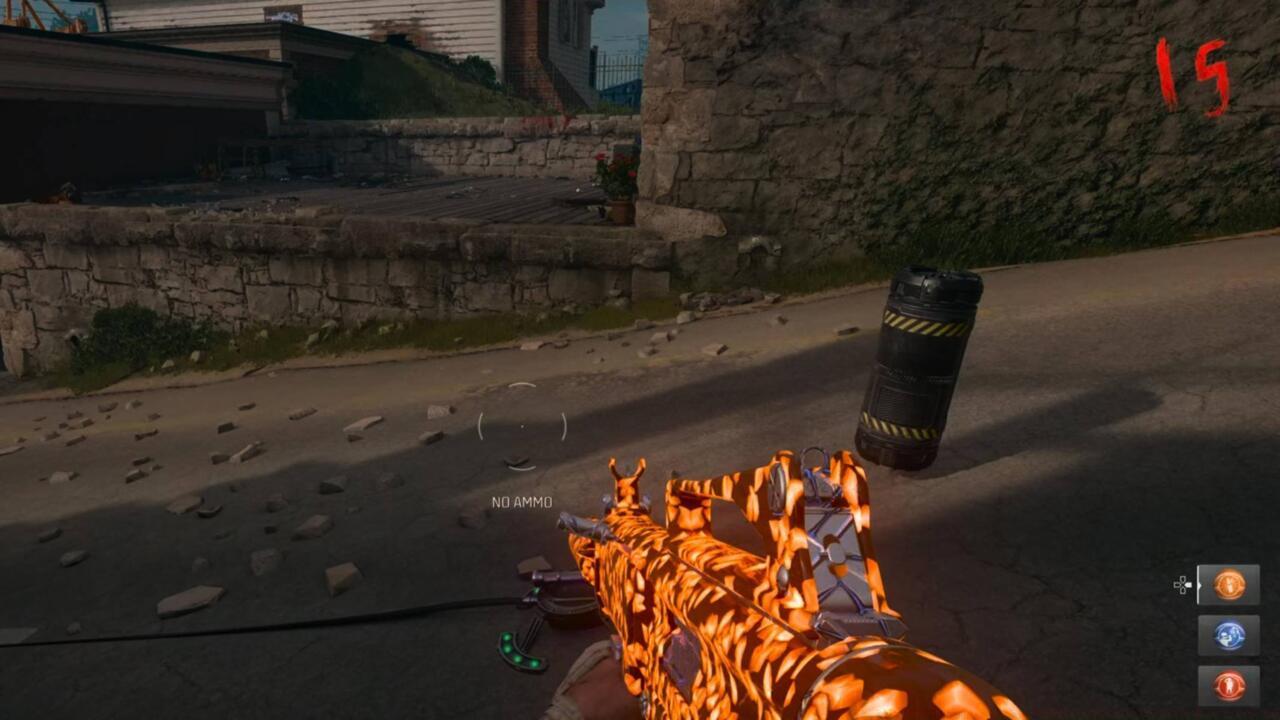
Place the canister next to the trap on the street downhill from the church – Strategic positioning maximizes effectiveness
Critical Preparation Steps:
- Ensure all players have Pack-a-Punched weapons
- Stockpile ammunition and specialist weapons
- Establish defensive positions around the final encounter area
- Assign specific roles (damage dealer, crowd control, support)
Optimization for advanced players includes pre-placing traps along zombie spawn routes, utilizing the Jetgun for area denial, and coordinating ultimate ability timing for maximum boss damage.
Common mistakes during this phase include improper canister placement revealed by the Strauss Counter, insufficient resource management, and poor communication during the HVT engagement.
The culminating boss encounter demands precise execution of all previously learned mechanics and strategies. Success requires seamless integration of individual roles and coordinated movement.
During the final battle, the boss employs distinct attack patterns that cycle every 90 seconds. Recognizing these patterns enables proactive positioning and damage optimization.
Team Coordination Essentials:
- Designate primary damage dealers with high-DPS weapons
- Assign support players to manage zombie crowds and activate environmental traps
- Coordinate defensive positioning to minimize crossfire and friendly fire incidents
- Establish clear communication protocols for phase transitions
Victory rewards include exclusive calling cards, weapon blueprints, and significant experience points. Completing the quest on higher rounds yields bonus rewards.
Pro Tip: Save your most powerful weapons and abilities for the final health segment when the boss becomes most aggressive.
For players seeking to master advanced Zombies content, our Complete Guide provides comprehensive strategies for all game modes.
Successful completion typically requires 45-60 minutes for experienced teams, while solo players may need 75-90 minutes depending on round progression and equipment availability.
Action Checklist
- Open main pathways and activate Pack-a-Punch by round 5-7
- Craft the Jetgun Wonder Weapon at the motel crafting table
- Collect all three LTG parts using Jetgun vacuum function
- Assemble LTG device on bank rooftop and activate three projectors
- Defeat Mangler HVT and use Strauss Counter for canister placement
- Execute coordinated boss fight strategy with assigned team roles
No reproduction without permission:SeeYouSoon Game Club » CoD: Black Ops 6 Zombies – How To Complete The Liberty Falls Main Easter Egg Master the Liberty Falls main quest with expert strategies, location guides, and boss fight tactics for BO6 Zombies