TL;DR
- Choose Airfield for vehicle access and Contracts in team modes
- Prioritize Mines for sniper-friendly sightlines and central control
- Select Peak for quick rotations and high-ground advantages
- Opt for Ruins or Lagoon when playing stealthy in solos/duos
- Always coordinate landing spots with teammates and monitor circle behavior
Success in Warzone’s Caldera begins with understanding the map’s strategic layout and how different zones cater to specific gameplay approaches. The tropical island’s diverse terrain creates distinct combat environments that demand tailored strategies.
Caldera’s geography features elevation changes, water barriers, and varying building densities that significantly impact combat flow. High-ground positions like Peak offer rotation advantages, while coastal areas like Ruins present early circle risks that require careful planning.

Caldera’s Airfield
Your landing decision should align with both your immediate squad composition and long-term match objectives. Aggressive players seeking rapid engagement will find different value propositions than tactical operators prioritizing survival and positioning.
For squads pursuing immediate action and resource accumulation, Caldera offers several high-yield zones that consistently deliver combat opportunities and valuable loot.
Airfield: Vehicle & Contract Hub – This location’s popularity stems from its concentrated vehicle spawns and abundant Contracts, making it ideal for Plunder mode and team play. The multiple hangars provide cover and loot concentration, while aircraft availability enables rapid map traversal. Teams should establish perimeter control before engaging Contracts to minimize third-party interruptions.
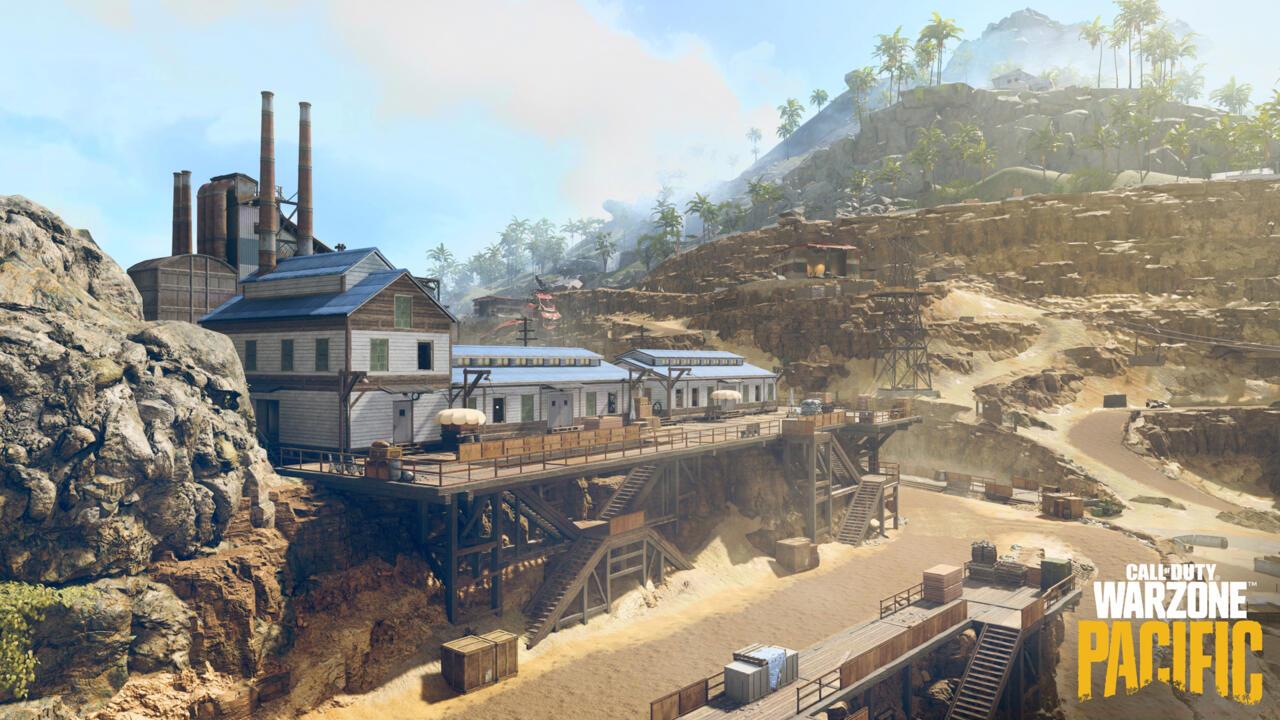
Caldera’s Mines
Mines: Sniper’s Paradise – The phosphate mining operation’s open sightlines create ideal conditions for marksmanship dominance. However, the exposed terrain demands careful movement and team coordination to avoid becoming easy targets. Advanced teams use the elevated positions to control rotations through the central map area.
Capital: Urban Warfare Playground – This metropolitan area’s building density allows for both aggressive pushes and tactical disengagement. The key to Capital success lies in mastering vertical combat and understanding rooftop rotation paths between structures.
The Capital
Position-focused players should prioritize zones that offer tactical advantages beyond immediate loot quality, considering circle positioning and rotation pathways.
Peak: Central High Ground – The volcanic summit provides unmatched elevation for assessing surrounding areas and planning glide rotations. While often contested initially, successful Peak control grants mid-game advantages that offset early risks.
Caldera’s Peak
Ruins: Stealth Approach – Western coastal positioning makes this area vulnerable to early circle collapses, requiring efficient looting and prepared exit strategies. The scattered structures offer adequate gear for solo and duo players preferring measured engagement pacing.
The Ruins
Lagoon: Low-Contest Rotation – This tropical area’s minimal popularity creates reliable looting opportunities without immediate combat pressure. The open sightlines facilitate threat detection while providing clear paths toward higher-action zones.
The Lagoon
Beyond basic location selection, mastering Caldera requires understanding advanced tactical concepts that separate consistent performers from occasional victors.
Team Coordination Protocols – Establish clear landing patterns before deployment, designating specific buildings or areas for each teammate to minimize loot competition and maximize coverage.
Circle Collapse Management – Always monitor the first circle location during descent and choose landing spots that provide multiple rotation options to anticipated safe zones.
Loot Efficiency Optimization – Prioritize buildings with multiple loot spawns and quick exit routes. Avoid structures that create movement bottlenecks or limit visibility upon exit.
Understanding these strategic layers will significantly improve your Caldera performance. For comprehensive tactical development, consult our Complete Guide to battlefield mastery.
These foundational principles apply across different combat scenarios. When optimizing your loadout choices, our Weapons Unlock guide provides essential weapon progression strategies.
Action Checklist
- Analyze flight path and identify 2-3 potential landing zones based on player density
- Coordinate specific building assignments with teammates during descent
- Monitor first circle location and adjust landing priority accordingly
- Execute rapid looting sequence focusing on essential weapons and armor
- Establish perimeter security and identify initial rotation path before engaging
No reproduction without permission:SeeYouSoon Game Club » Call of Duty: Warzone – Best Caldera Landing Spots For Season 1 Strategic Caldera landing zones for different playstyles with expert positioning and rotation tactics