TL;DR
- Complete Pack-a-Punch quest to unlock base Bastard sword access
- Collect stamps from helmet zombies starting at round 10 for statue activation
- Each elemental variant requires unique environmental interactions and puzzles
- Sword swapping is possible by returning upgraded weapons to statues
- Elemental swords provide specialized crowd control and boss damage capabilities
GameSpot may receive revenue from affiliate and advertising partnerships for sharing this content and from purchases through links.
The Citadelle des Morts Zombies experience arrives in Call of Duty: Black Ops 6 with Season 1 Reloaded, introducing a medieval castle environment packed with secrets. This expansive map features a comprehensive main storyline quest alongside four distinct elemental wonder weapons that dramatically alter gameplay dynamics. Each sword variant follows unique hidden activation sequences, and this comprehensive walkthrough details every step required to master all four powerful iterations.
Season 1 Reloaded also introduces the festive Merry Mayhem event with holiday-themed content. The event progression tiers reward dedicated players with valuable Zombies equipment, including the innovative Light Bend ammo modification and Tesla Storm field enhancement. While these supplemental items aren’t mandatory for Wonder Weapon acquisition, they significantly improve survival odds and combat efficiency within Citadelle des Morts’ challenging corridors.

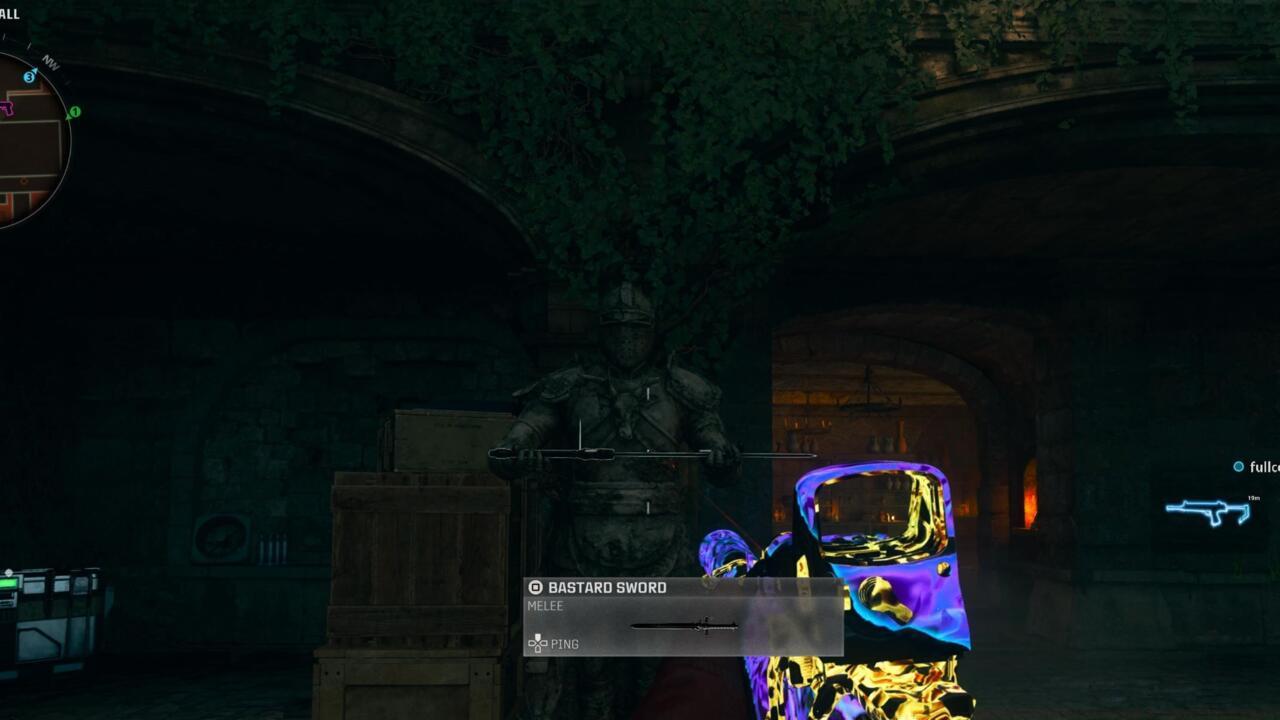
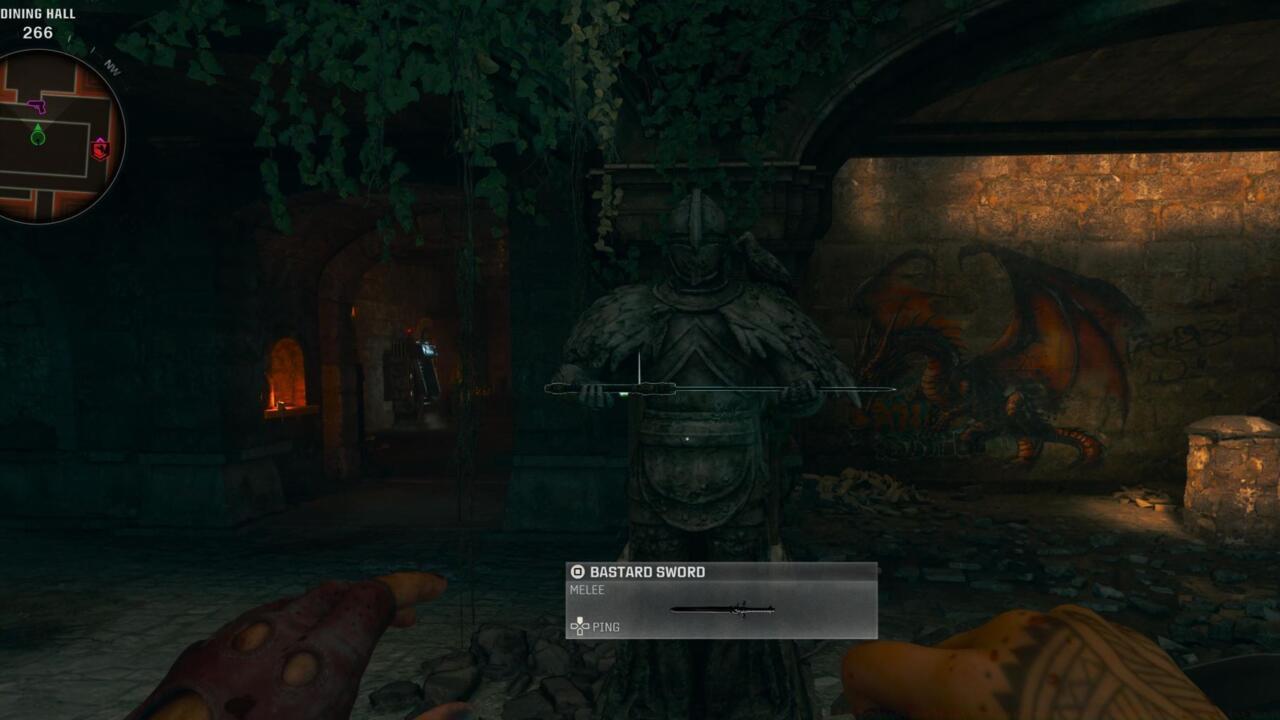
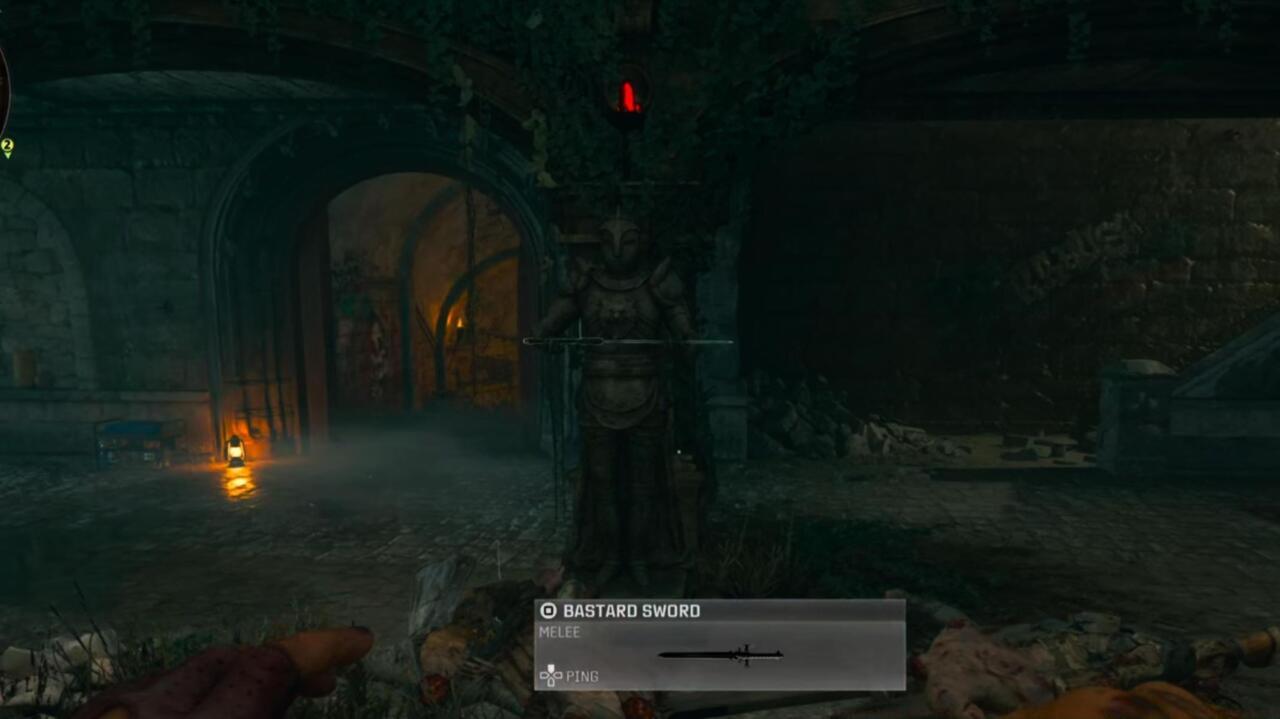
Perfectly complementing the medieval fortress atmosphere, Citadelle des Morts empowers players to wield the formidable Bastard sword Wonder Weapon. Your initial objective involves securing the standard version of this armament, classified as a Claymore-type melee implement. This versatile tool serves dual purposes: direct enemy engagement and projectile deflection capabilities. Its combat potential escalates exponentially when transformed into one of the four specialized elemental configurations.
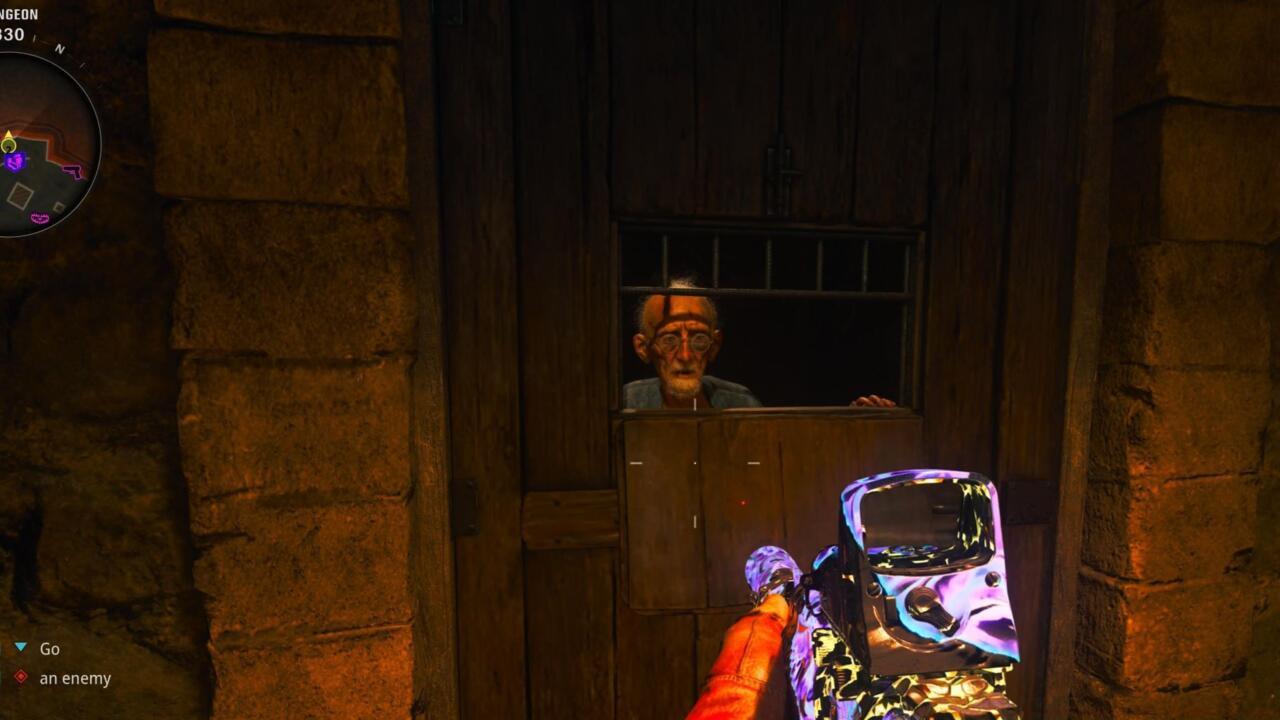
The map provides guided assistance during preliminary stages, leading you through castle passages to activate the essential Pack-a-Punch apparatus. Advancing through the Pack-a-Punch activation sequence demands navigation to the Oubliette Chamber and precise shooting to disable three locks securing a container. This action summons the map’s exclusive adversary classification known as the Doppelghast. Eliminate this spectral foe to obtain the Blood Aetherium Crystal quest artifact requiring collection. Subsequently, finalize the Pack-a-Punch machine activation procedure.
Following this accomplishment, proceed to the adjacent Quick Revive chamber and engage with the wooden barrier. This interaction facilitates communication with Gabriel Krafft and triggers cinematic exposition. At this juncture, you’re prepared to commence sword enhancement operations.
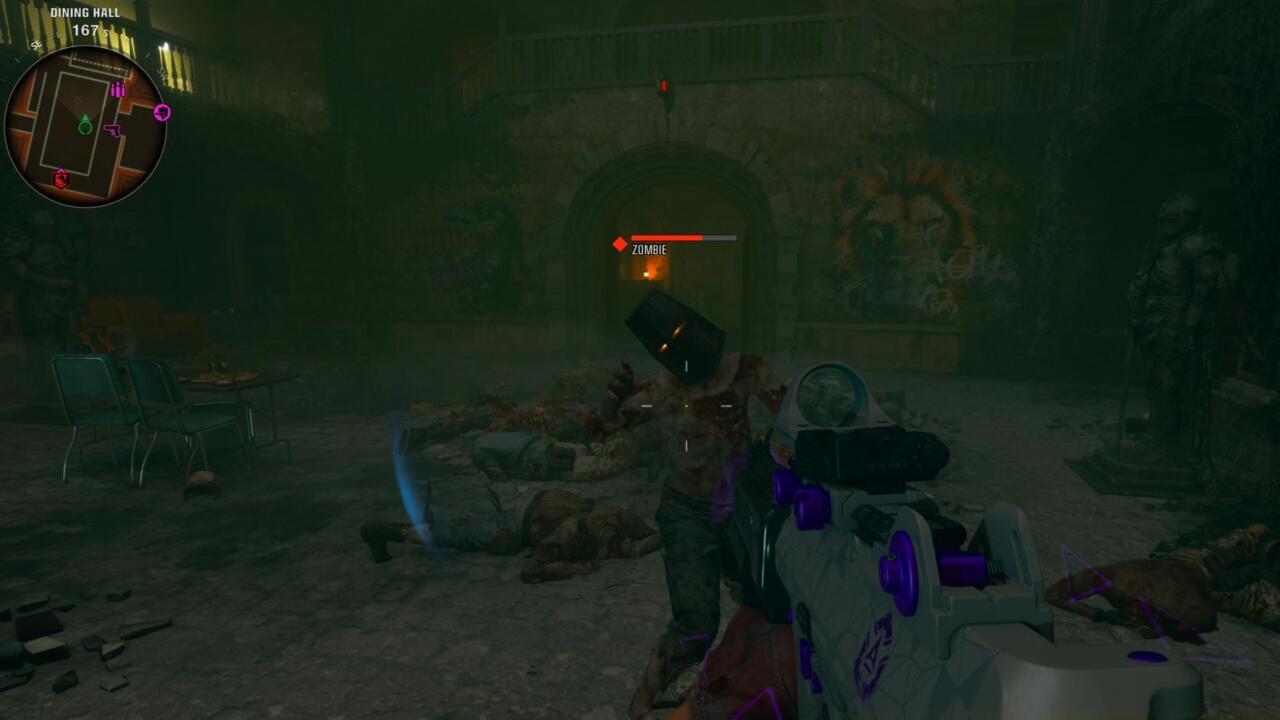
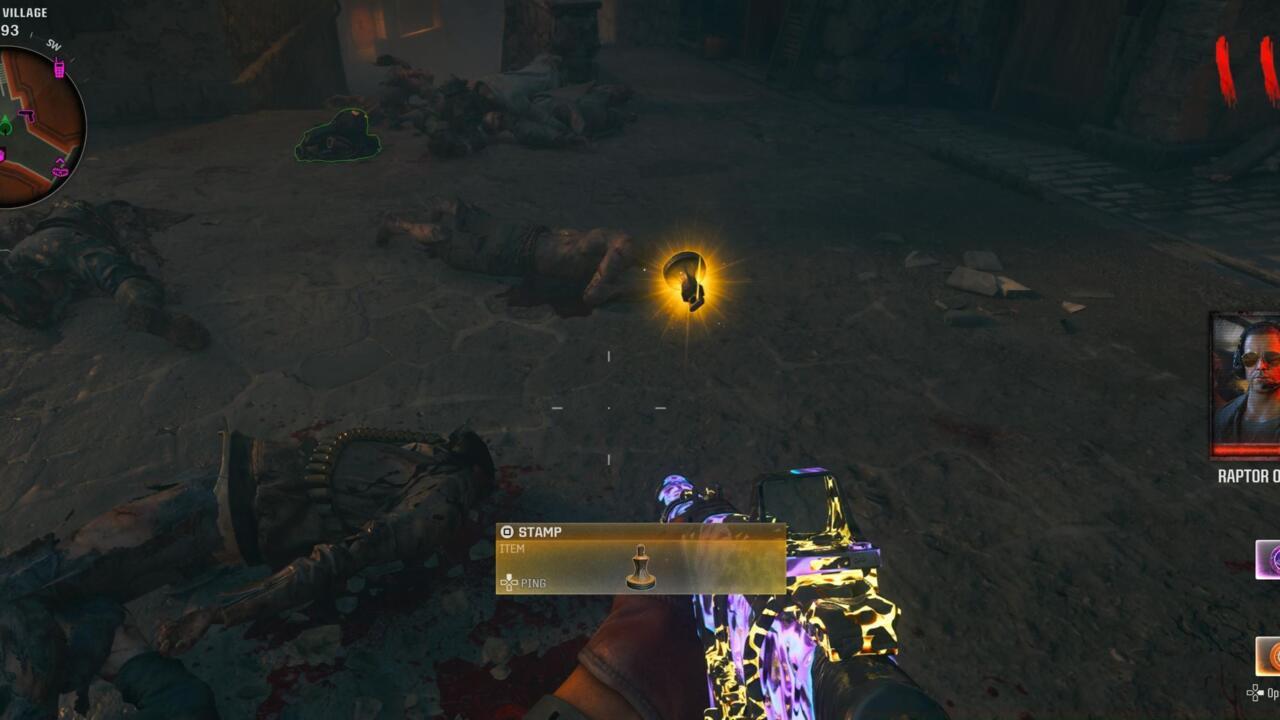
Around wave 10, you’ll begin encountering a specialized zombie classification sporting metallic head protection. This enemy visually resembles a bucket-headed combatant. Defeating this opponent yields a Stamp quest artifact requiring acquisition.
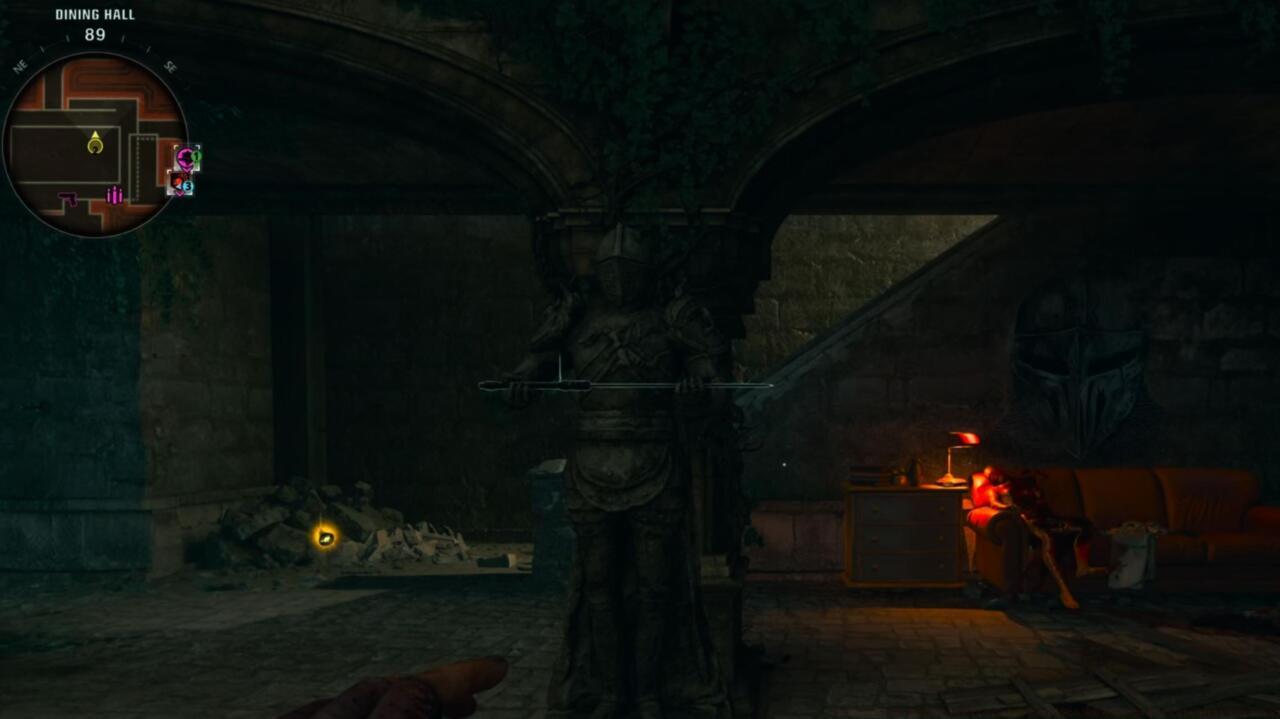
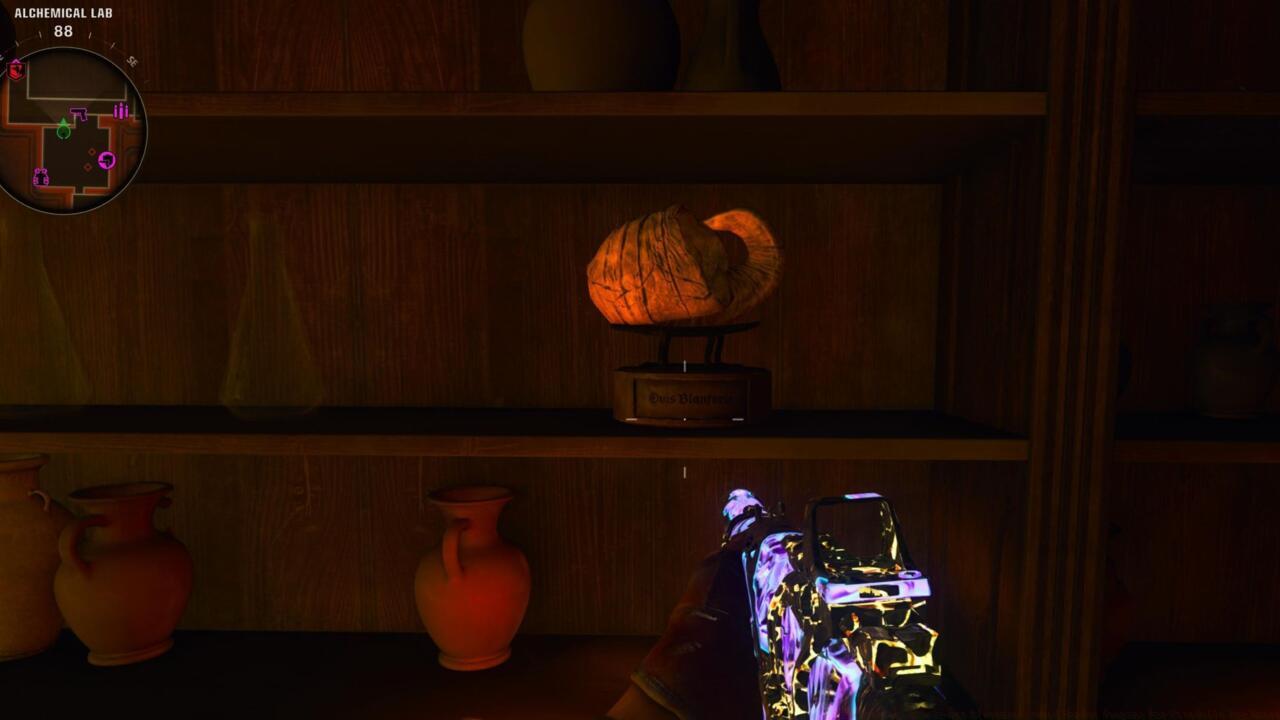
Return to the Dining Hall chamber—specifically the area housing the Vulture Aid apparatus. You can now utilize the collected Stamp artifact to interact with any of the four map statues, corresponding to your desired elemental sword selection. Each statue dispenses the foundational version of its associated sword. Subsequently, you must complete distinctive quest sequences to unlock your preferred variant.
Critical Note: Players may only equip one sword simultaneously, but upgraded weapons can be returned to statue receptacles to exchange for alternative versions. Furthermore, if you fall in combat and teammates successfully revive you the subsequent round, you may retrieve your sword from the originating statue.
You must acquire fresh stamps for every statue interaction. The helmet-equipped zombies appear with sufficient frequency that obtaining multiple stamps shouldn’t present significant difficulties.
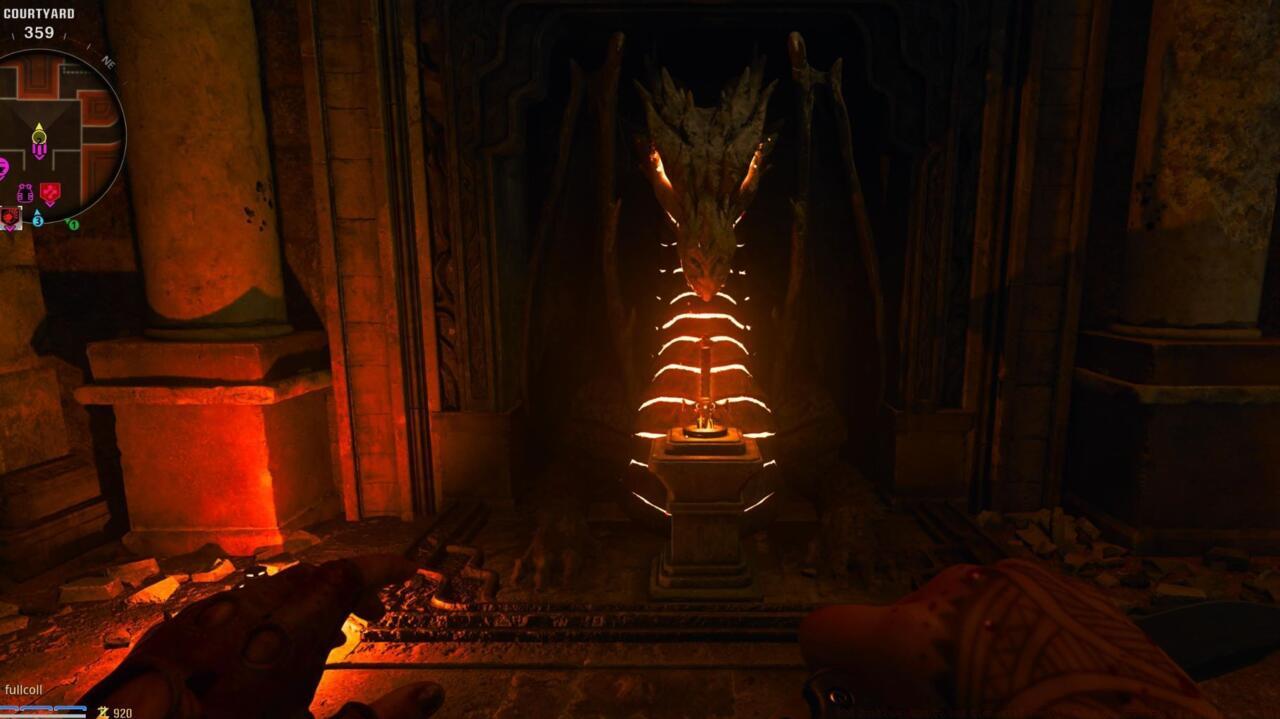
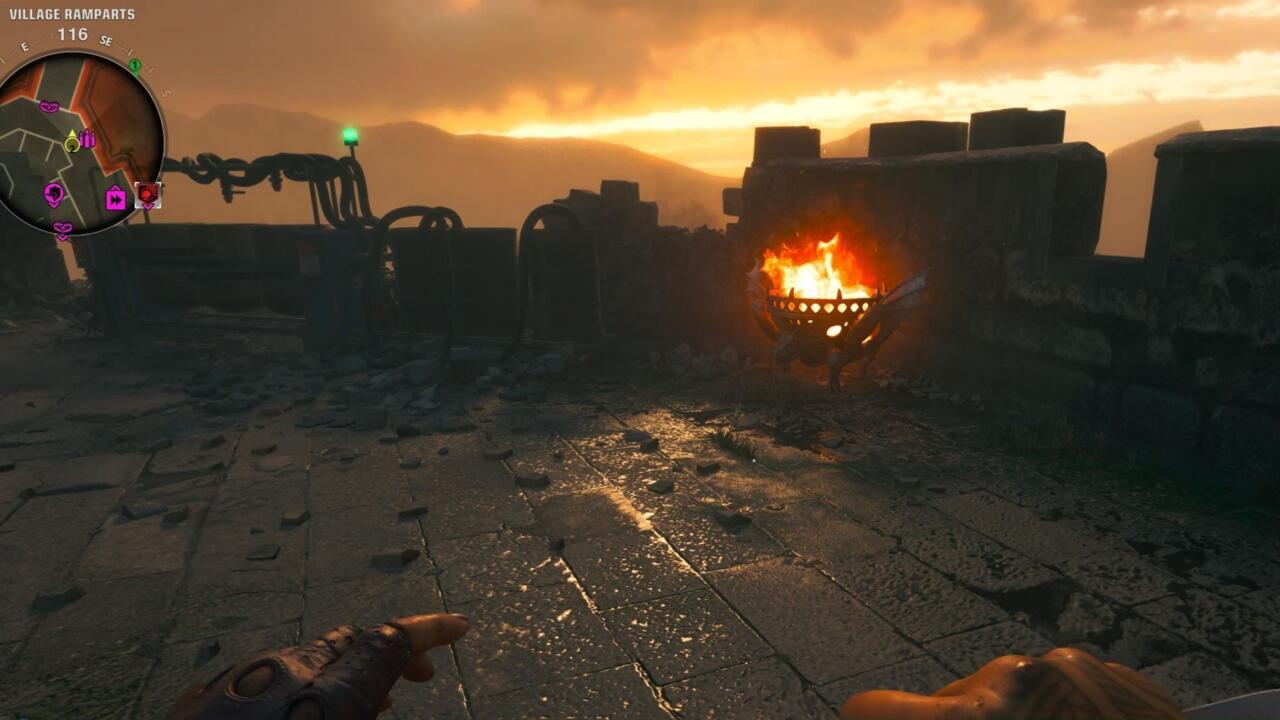
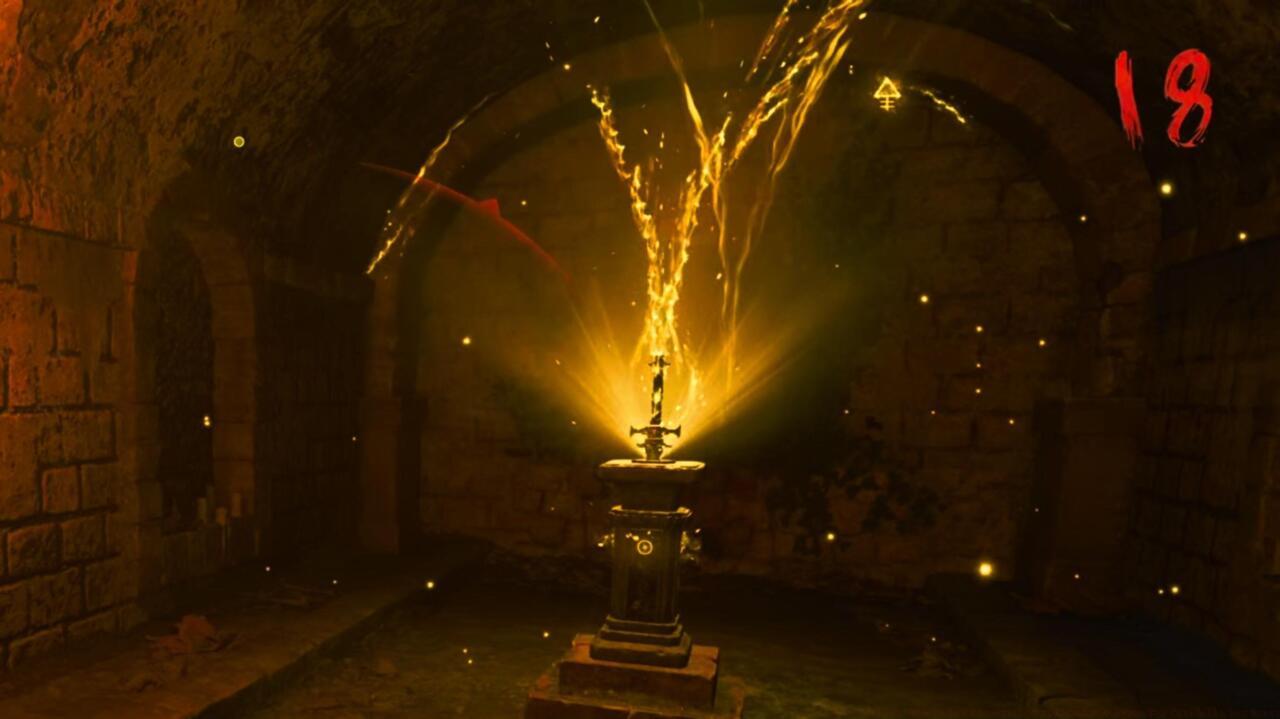
The Dragon statue, representing the fire element, demands specific environmental manipulation to unlock its full potential. Begin by locating the massive cauldron in the castle’s lower levels—this serves as your primary activation point. The transformation process requires precise timing and positioning to avoid taking damage from the intense heat.
Successfully charging the sword involves standing in designated heat zones while defending against escalating zombie assaults. The fully upgraded Dragon’s Wrath sword emits continuous area-of-effect fire damage and can ignite entire hordes with sweeping attacks. Advanced players should note that fire attacks prove exceptionally effective against armored enemies and boss health pools.
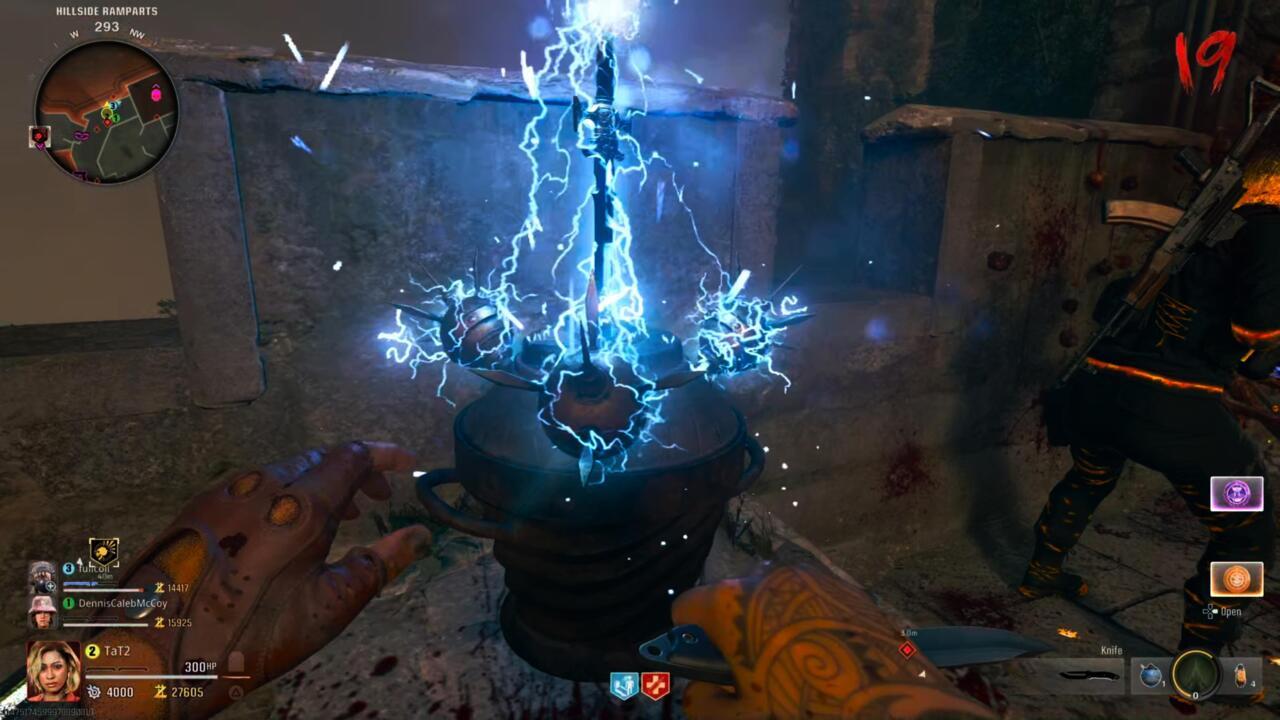
The lightning elemental variant, represented by the Stag statue, requires coordination with electrical components scattered throughout the castle. The upgrade sequence begins at the Speed Cola location where you’ll find the primary electrical conduit requiring activation.
Strategic placement of lightning rods becomes crucial during the charging process. The Stormcaller sword’s signature ability chains lightning between multiple targets, making it ideal for controlling large groups. Proper positioning near the Deadshot Daiquiri machine enhances the weapon’s critical strike potential against special enemy types.
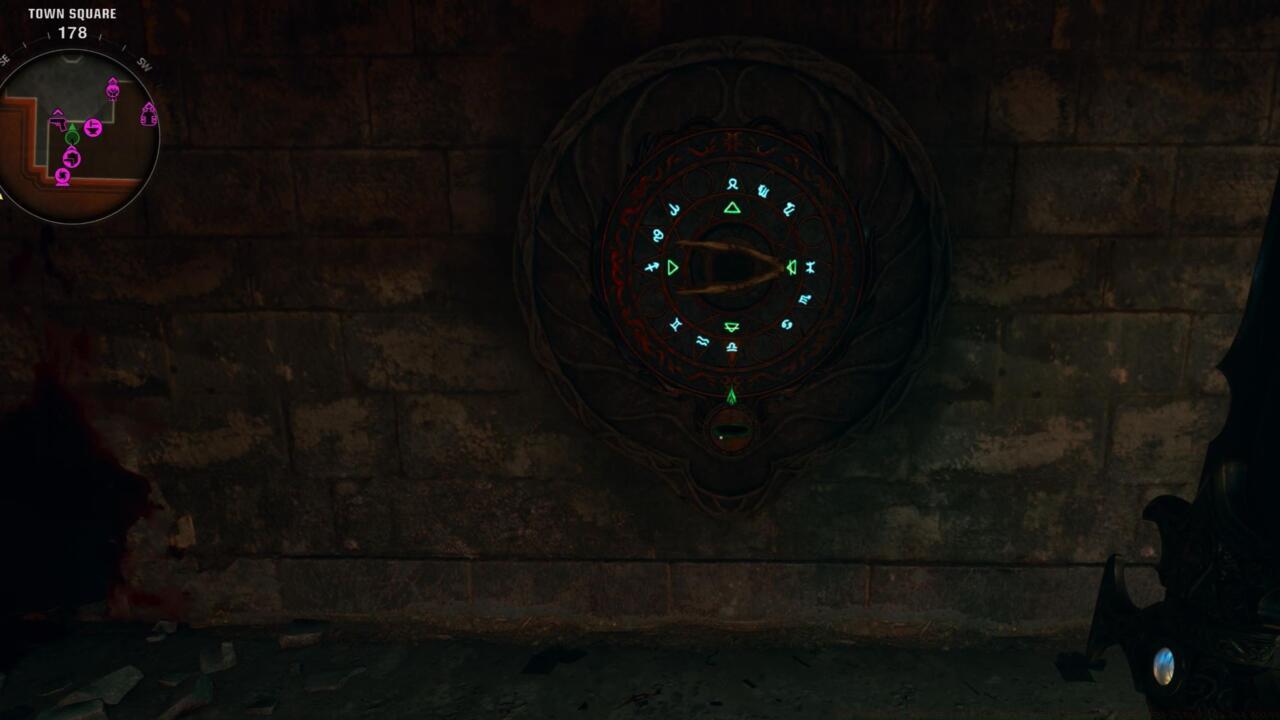
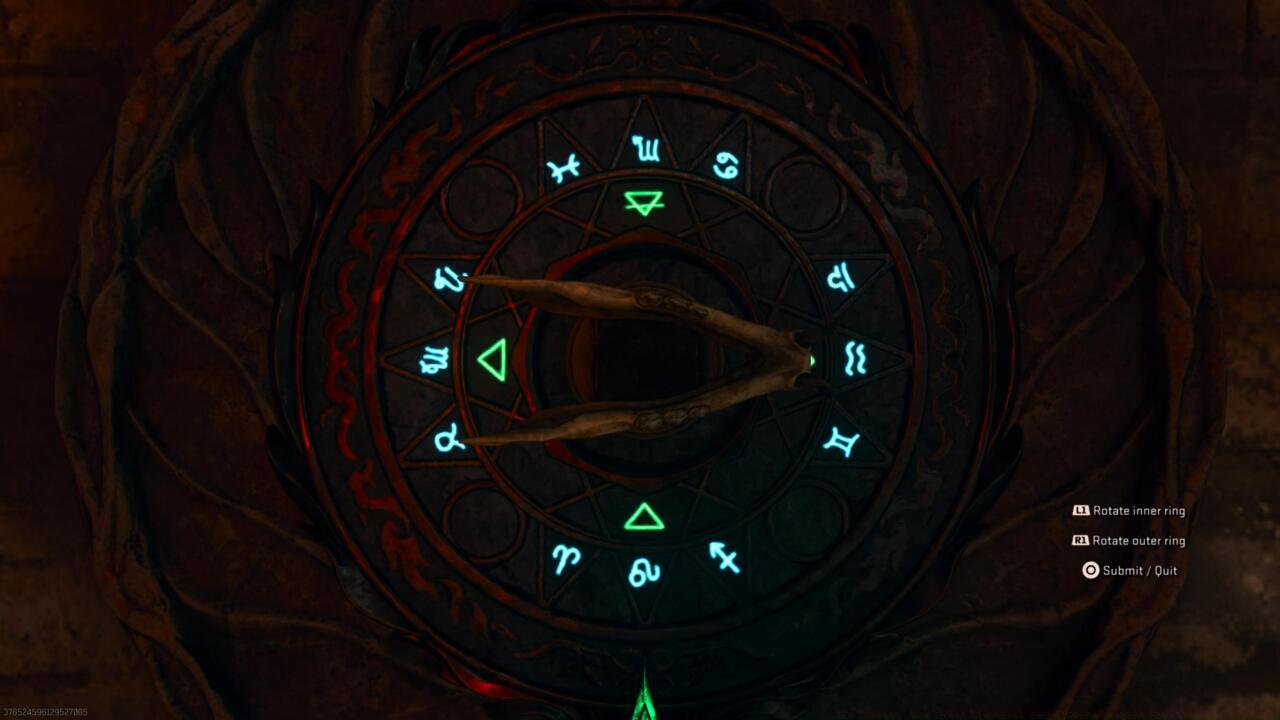
The Raven statue governs the void element, demanding puzzle-solving skills and environmental awareness. The upgrade process involves collecting scattered armor pieces and solving a complex dial-based puzzle near the castle’s upper levels.
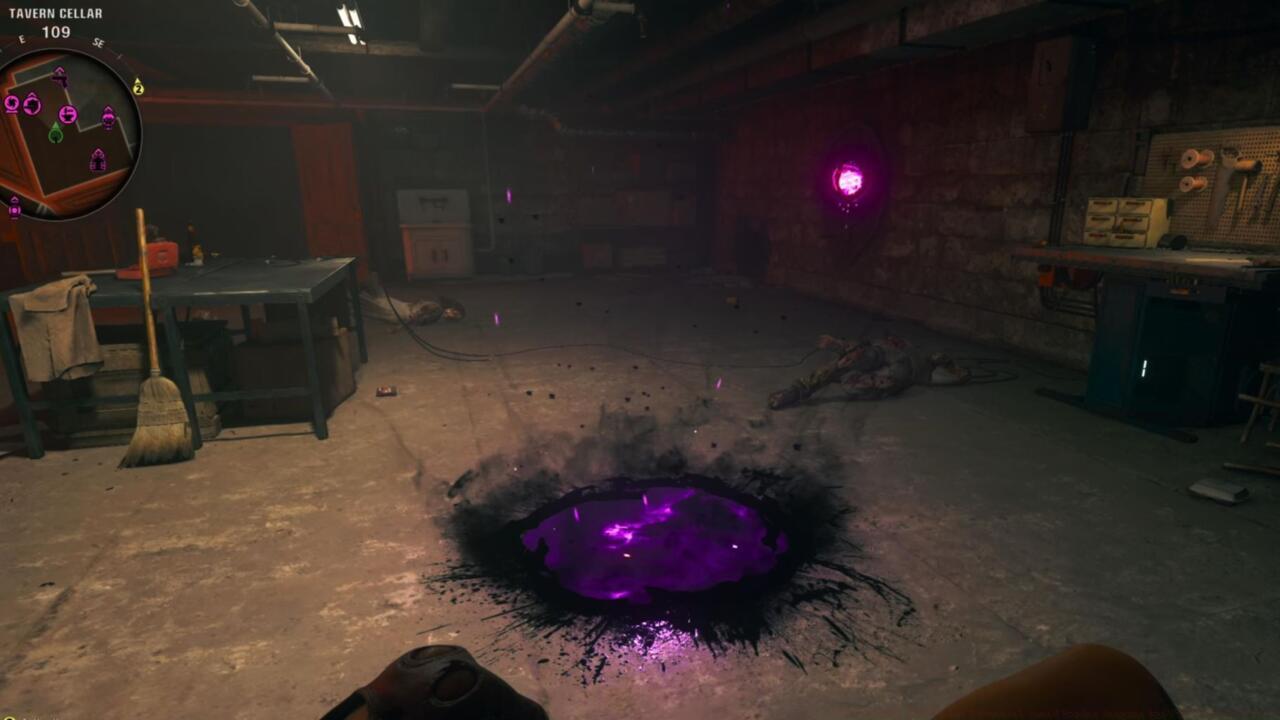
The completed Raven’s Shadow sword creates temporary portals that can transport players or damage enemies passing through them. This variant excels at battlefield control and strategic repositioning during intense combat scenarios.

The Lion statue controls the light element, requiring precise activation sequences and timed interactions. The upgrade begins at a specific pedestal location that must be charged through consecutive zombie eliminations.
The Lion’s Radiance sword emits blinding flashes that temporarily stun enemies, creating strategic openings during overwhelming encounters. This variant proves particularly effective against the map’s most dangerous special enemy types.
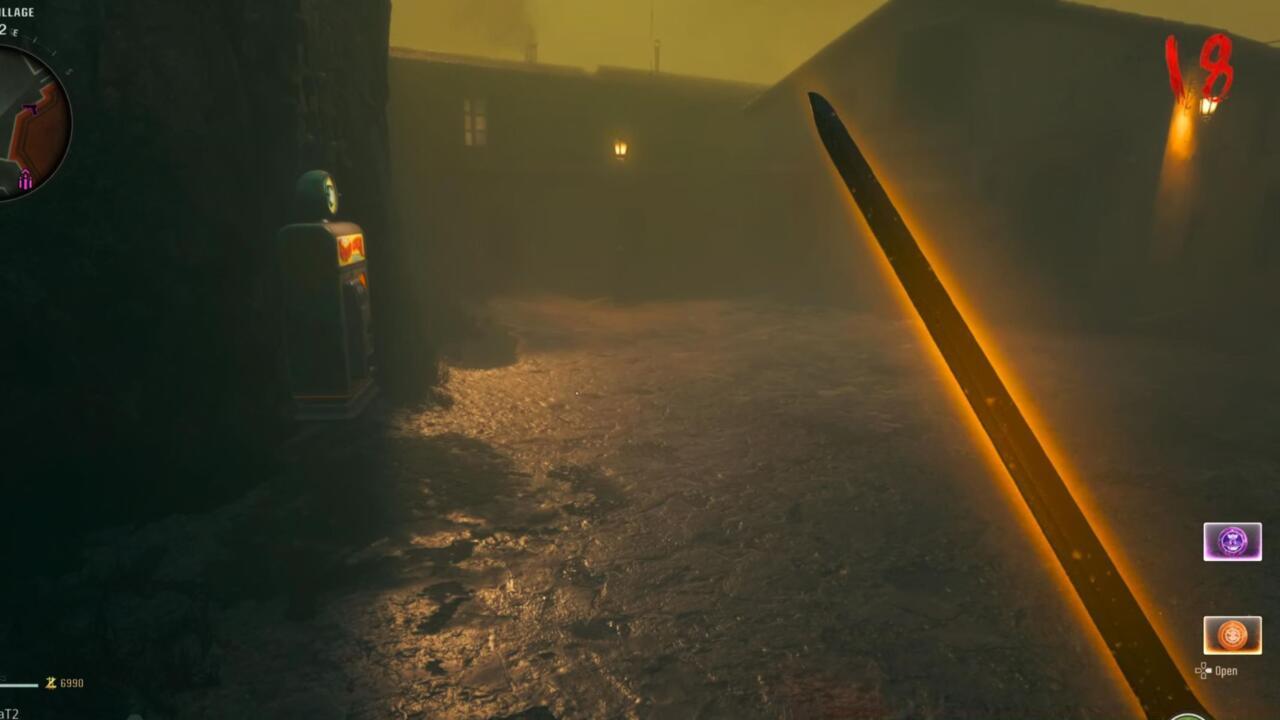
Mastering all four elemental swords transforms your strategic approach to Citadelle des Morts. Each variant offers distinct advantages against specific enemy types and situations, making strategic sword selection crucial for high-round attempts. For comprehensive weapons unlock strategies across Black Ops 6, explore our dedicated guide covering all available armaments and their acquisition methods.
Action Checklist
- Complete Pack-a-Punch quest and defeat Doppelghast for Blood Aetherium Crystal
- Interact with wooden door in Quick Revive room to trigger Krafft cutscene
- Collect stamps from helmet zombies starting at round 10
- Choose desired elemental statue in Dining Hall and insert stamp
- Complete specific environmental puzzles for each sword variant
- Return upgraded swords to statues to swap between elemental variants
No reproduction without permission:SeeYouSoon Game Club » BO6 Zombies: How To Get Elemental Sword Wonder Weapons For Citadelle Des Morts Complete guide to unlocking all four elemental Bastard swords in Black Ops 6 Zombies Citadelle des Morts