TL;DR
- Start at Basilisk Gate Barracks and investigate the Blushing Mermaid tavern
- Help hag survivors at Old Garlow’s Place to obtain crucial crafting knowledge
- Craft Hag’s Bane using alchemy system before confronting Auntie Ethel
- Use potion to force Vanra’s release then destroy blue mushrooms permanently
- Claim legendary Duelist’s Prerogative rapier and complete character storylines
During Baldur’s Gate 3’s climactic third act, the Save Vanra quest emerges as a critical narrative thread that connects back to earlier campaign events. This mission not only resolves a compelling character storyline but also provides access to one of the game’s most powerful legendary weapons. Your previous decisions, particularly those involving the Save Mayrina quest in Act 1, will significantly influence how certain interactions unfold.
Pro Tip: Players who completed the Save Mayrina quest with specific outcomes may encounter familiar faces with altered motivations, making each playthrough uniquely challenging.
This comprehensive guide covers the complete rescue operation, including advanced combat tactics, alchemy crafting mechanics, and strategic approaches to maximize your rewards. Be aware that this article contains detailed spoilers regarding character fates and boss encounters.
Initiate the Save Vanra quest by traveling to the Basilisk Gate Barracks, conveniently located adjacent to the waypoint. Here you’ll encounter Lora, a distraught mother whose daughter Vanra disappeared after visiting the Blushing Mermaid tavern. Her desperation is palpable, setting the stage for a complex investigation.
Proceed to the Blushing Mermaid and locate Captain Grizly on the second floor at coordinates X:-120; Y:-80. When Grizly demands Lora’s execution, respond with the principled refusal: “Absolutely not – I refuse to do your dirty work.” This triggers the dramatic revelation of her true identity.
Critical Insight: Captain Grizly transforms into Auntie Ethel, the notorious swamp hag from Act 1’s Save Mayrina quest. She confesses to having swallowed Vanra, who is undergoing a gradual transformation into a hag. Ethel’s threat is genuine – killing her would simultaneously end Vanra’s life, requiring an alternative approach.
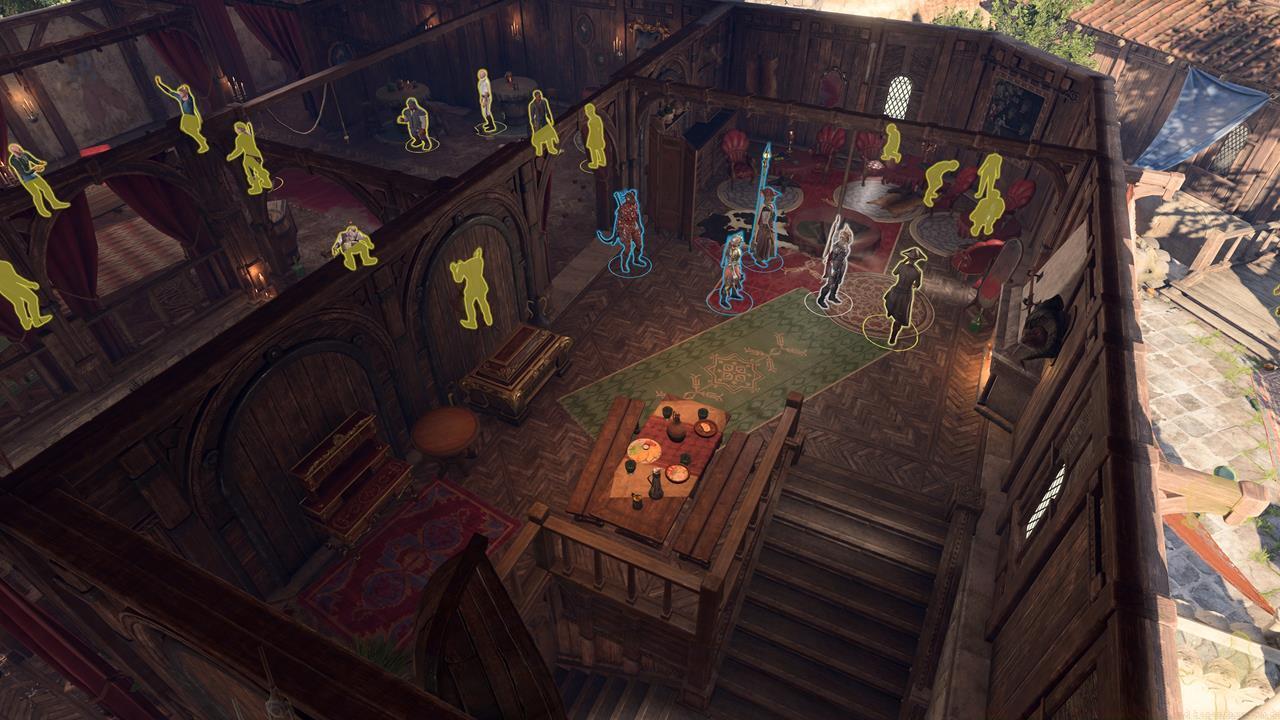
Captain Grizly’s true identity as Auntie Ethel makes this encounter particularly dangerous.
After Ethel teleports away, you’ll face several tavern patrons revealed as redcaps in disguise. Eliminate these threats, then access the cellar through the door beside the barkeep. Navigate to the barrels and succeed on an Investigation check to detect an illusory wall, granting passage to the caverns beyond.
Strategic Note: The cavern contains four masked enemies, including the authentic Captain Grizly, all under Ethel’s mental domination. While you must neutralize these threats, avoid entering Ethel’s lair until properly prepared with the essential countermeasures.
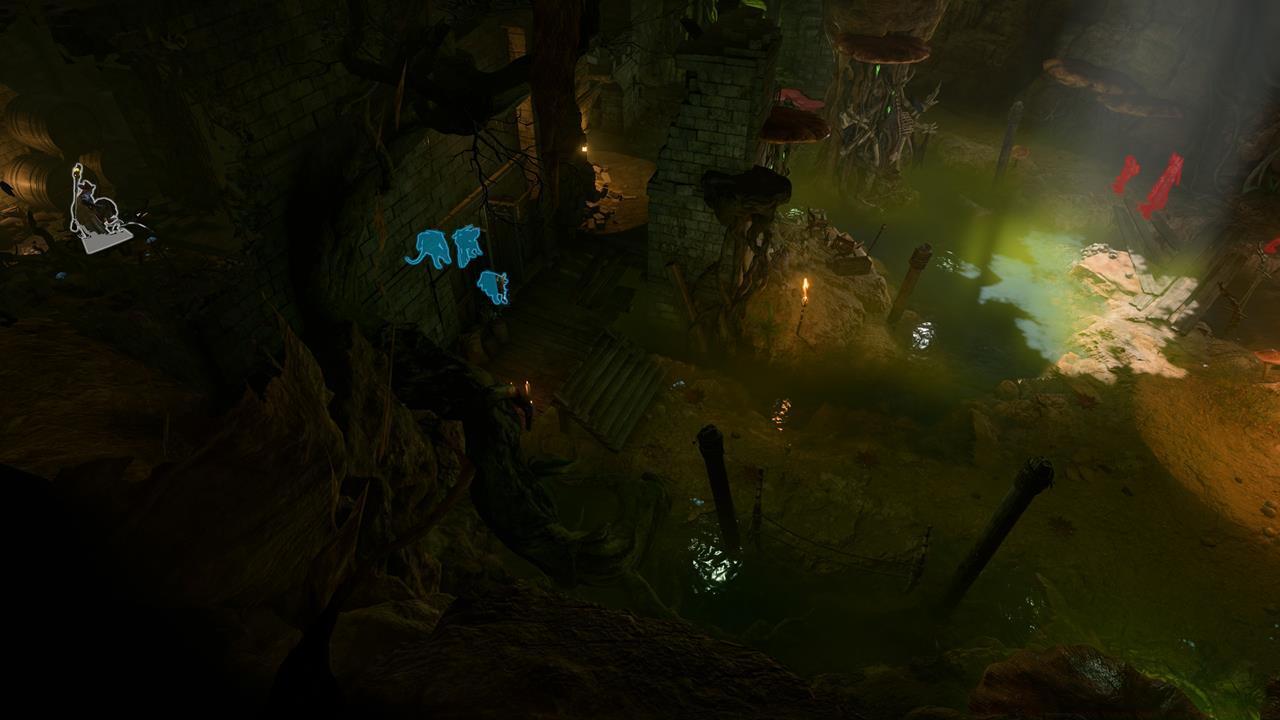
Eliminating Ethel’s controlled minions now prevents them from reinforcing her during the final confrontation.
Progress to Old Garlow’s Place, situated east of the Counting House at X:-51; Y:-145. This dilapidated structure houses three individuals traumatized by Ethel’s machinations. Employ persuasion or intimidation tactics to secure their cooperation without conflict.
Ascend to the second floor to discover a peculiar scene: a zombie and sheep companion, representing Mayrina and her reanimated husband from your earlier adventures. Their current predicament underscores the hag’s enduring malevolence.
Essential Actions:
- Destroy the voodoo doll concealed in the corner to reverse Mayrina’s ovine transformation
- Remain vigilant as the Dragonborn companion reveals himself as Ethel’s redcap infiltrator – eliminate him to obtain the key to her sanctum
- Converse with Mayrina on the ground floor to access the wall safe containing vital intelligence
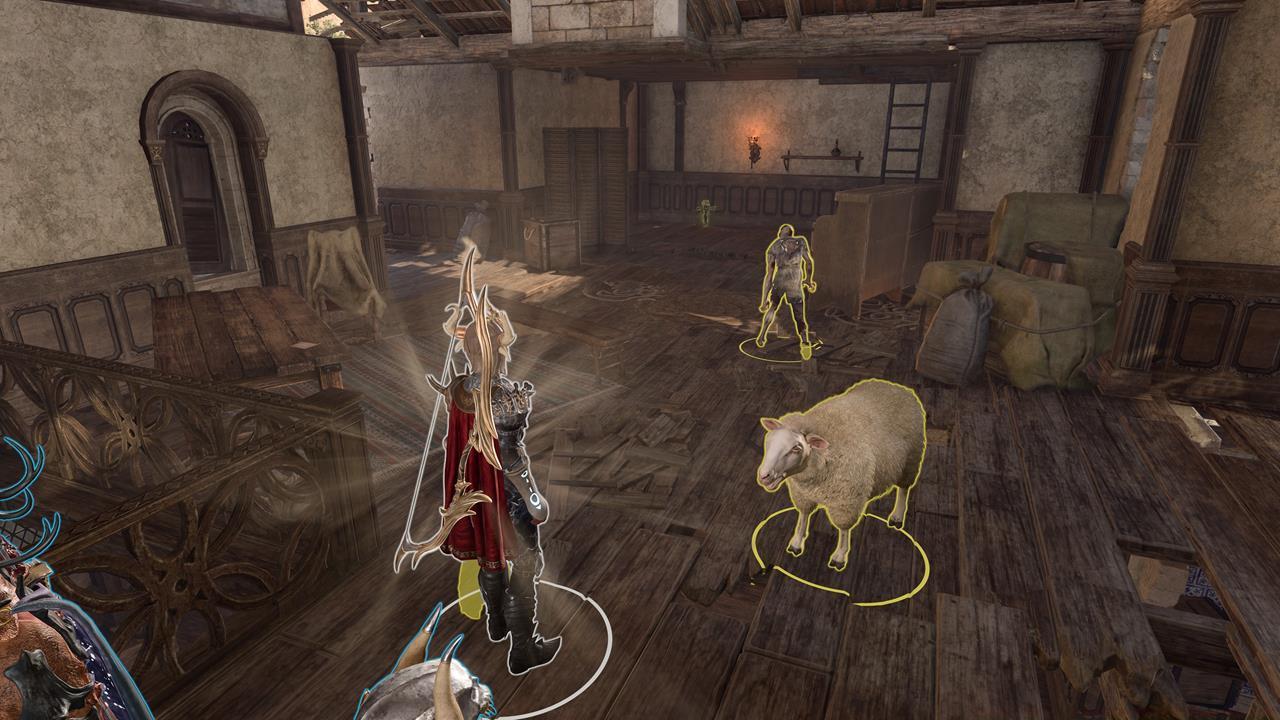
Targeting the voodoo doll immediately reverses Mayrina’s magical transformation.
Advanced Tactics: Players who previously revived Mayrina’s husband using the wand from Act 1 will witness different dialogue options and character dynamics. These narrative branches demonstrate Baldur’s Gate 3’s sophisticated consequence system.
Access the wall safe to retrieve two critical texts: A Hunter’s Guide to Hags and Tear-Stained Journal. The former details permanent hag elimination methods, while the latter provides Hag’s Bane creation instructions – a specialized potion forcing targets to regurgitate consumed children.
Crafting Procedure:
- Activate the Alchemy interface by pressing the “H” key, then combine Ashes of a Dried Fey Flower with any Essence type
- The Ashes ingredient is conveniently located within the safe itself
- For Essence acquisition, navigate to the Essences category in your Alchemy menu to view available types based on collected components
- Select the Extract function to produce the required Essence
- Switch to Grenades category and select Hag’s Bane recipe
- Finalize the crafting process by merging Ashes of a Dried Fey Flower with your prepared Essence

The Alchemy system provides intuitive crafting interfaces for creating specialized combat items.
Optimization Strategy: Collect multiple Essence types during your journey to ensure availability. Different Essence varieties don’t affect Hag’s Bane potency, but having backup ingredients prevents unnecessary delays.
Return to the Blushing Mermaid cellars equipped with Hag’s Bane and enter Ethel’s chamber. The confrontation begins immediately upon detection, requiring precise execution of your prepared strategy.
Combat Mechanics:
- Ethel generates three mirror image duplicates – tactical observation suggests the authentic version typically positions nearest the ladder, with illusions dissipating after single strikes
- Critical Warning: Directly killing Ethel results in Vanra’s simultaneous death; conventional non-lethal attacks also prove ineffective despite appearing successful
- Execute the critical maneuver: right-click Hag’s Bane and accurately throw it at Ethel, triggering the vomiting sequence that safely extracts Vanra
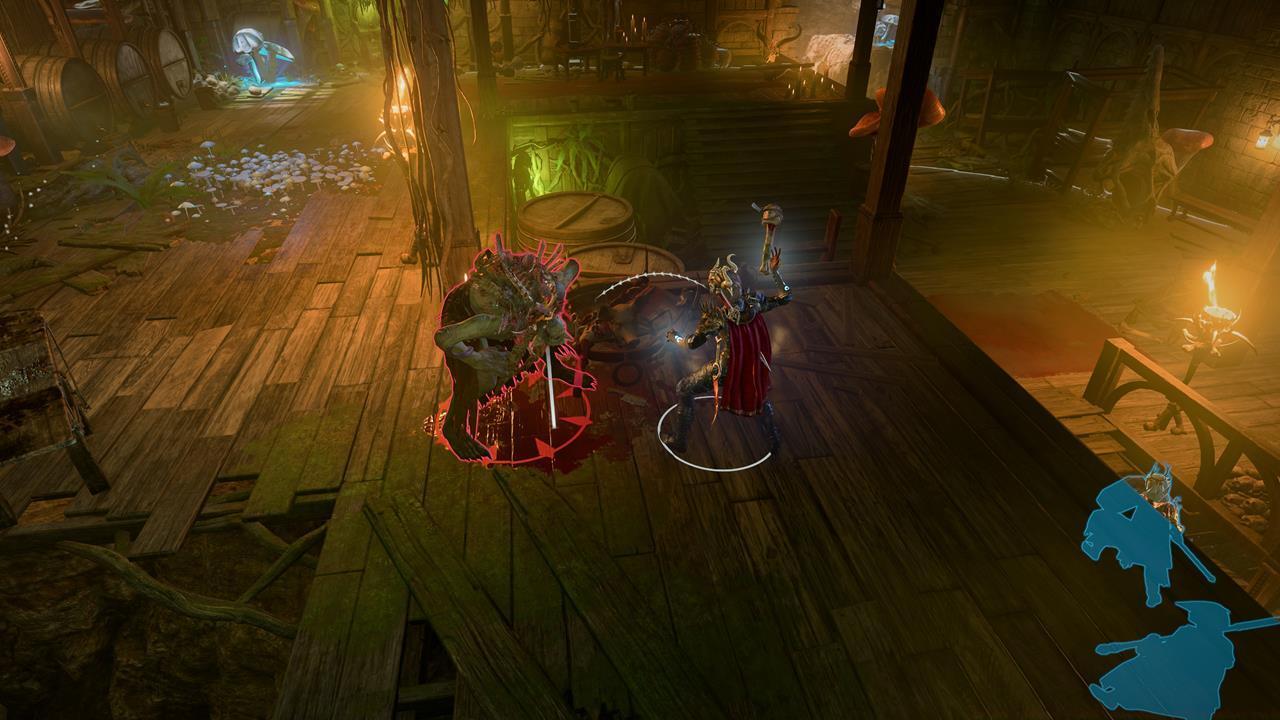
Precise Hag’s Bane application ensures Vanra’s survival while neutralizing Ethel’s primary threat.
After securing Vanra’s escape, focus on Ethel’s permanent elimination. As detailed in A Hunter’s Guide to Hags, she maintains resurrection capability through nearby blue mushrooms. Systematically destroy all fungal growths using fire-based spells or attacks to prevent her regeneration.
Advanced Combat Tip: Position spellcasters with area-effect fire magic to target multiple mushrooms simultaneously, reducing Ethel’s recovery opportunities.
Visit Lora at her residence southwest of Lower City Central waypoint (X:-61; Y:-91) to deliver the successful outcome. Her gratitude manifests in substantial rewards, including the Amulet of Windrider featuring Gust of Wind and Ride the Wind spells.
The pinnacle reward is Lora’s personal weapon: the legendary Duelist’s Prerogative rapier with exceptional combat capabilities.
Weapon Specifications:
- Damage Output: 1d8+8 piercing enhanced by +2 piercing modifier
- Elegant Duelist: Critical hits activate on roll of 19 when no off-hand item equipped; provides additional reaction per combat round
- Withering Cut: Reaction ability dealing supplementary necrotic damage following melee strikes
- Enchantment Level: +3 weapon enhancement
- Spell Integration: Challenge to Duel enchantment
- Special Action: Dueler’s Enthusiasm combat maneuver
Conclude narrative threads by informing Mayrina about Ethel’s demise. She provides an additional magical amulet, completing this multi-act character arc. For comprehensive gaming strategies, explore our Class Guide to optimize your character builds.
Progression Note: This quest exemplifies Baldur’s Gate 3’s sophisticated interweaving of character stories across multiple acts. The resolution provides not only powerful gear but also satisfying narrative closure for characters encountered throughout your journey.
Action Checklist
- Begin investigation at Basilisk Gate Barracks and speak with Lora about her missing daughter
- Confront Captain Grizly at Blushing Mermaid and refuse assassination request
- Navigate cellar illusions and neutralize Ethel’s mind-controlled operatives
- Visit Old Garlow’s Place, assist hag survivors, and obtain safe access
- Craft Hag’s Bane using alchemy system with Ashes and Essence components
- Return to Ethel’s lair, apply Hag’s Bane precisely, then eliminate blue mushrooms permanently
- Claim rewards from Lora and complete Mayrina’s storyline
No reproduction without permission:SeeYouSoon Game Club » Baldur’s Gate 3 – Save Vanra Quest And Legendary Guide Complete guide to rescuing Vanra from Auntie Ethel with strategic combat and alchemy tips