TL;DR
- Habitat features two distinct POIs: open Nest area and covered Cave with strategic elevation changes
- Valkyrie’s aerial reconnaissance provides critical intel on enemy positioning and movement patterns
- Ziplines enable rapid map traversal for flanking maneuvers and resource collection efficiency
- Circle location dictates optimal weapon selection – long-range for Nest, close-quarters for Cave
- Advanced timing strategies exploit enemy predictability for material advantage and positioning dominance
Mastering Habitat’s tropical battlefield requires understanding its unique layout and strategic resource distribution for competitive advantage.
Unlike standard battle royale engagements, Apex Legends’ 3v3 Arenas mode on Habitat delivers intense close-quarters combat across a compact island environment. This map’s distinctive features include rapid rotation options and clear positional trade-offs that reward tactical decision-making.

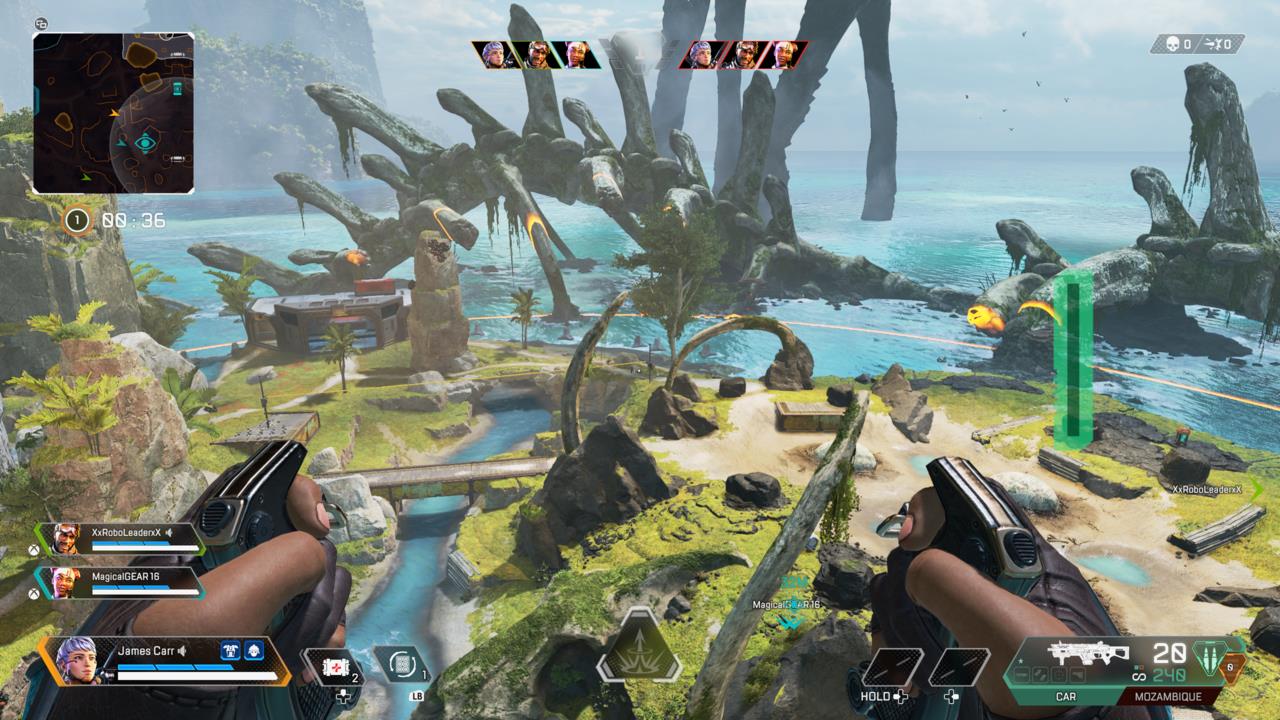
Strategic overview of Habitat’s key locations and sightlines
Habitat presents two primary combat zones with contrasting tactical profiles. The Nest offers expansive sightlines but minimal overhead protection, creating ideal conditions for marksman engagements. Meanwhile, the Cave provides layered elevation changes and rock formations that facilitate stealthy positioning and close-range ambushes. Both locations contain essential supply bins with two shield batteries, one medkit, and a phoenix kit alongside material containers. An additional resource cache sits beneath the central waterfall, serving as a high-risk acquisition point.
The map’s distinctive zipline network enables unprecedented mobility between combat zones. These horizontal traversal systems originate near spawn points, allowing teams to rapidly reposition without committing to full engagements. This mobility advantage creates opportunities for unexpected flanking maneuvers and resource denial strategies.
Valkyrie’s vertical reconnaissance provides critical intelligence on enemy movements
Habitat’s minimal structural cover makes aerial intelligence gathering exceptionally valuable. Valkyrie becomes a strategic necessity rather than optional pick due to her vertical scouting capability. Launching immediately at round start typically reveals enemy squad positioning and rotation intentions. The Cave remains the sole blind spot, but even this limitation provides actionable intelligence through process of elimination. This reconnaissance advantage also amplifies the effectiveness of area-denial ultimates from legends like Bangalore and Gibraltar.
The initial circle placement follows one of three patterns: Cave-focused, Nest-centered, or middle-ground positioning. Savvy teams exploit predictable enemy behaviors—many squads instinctively rush circle control, creating opportunities for counter-strategies. The zipline network enables sophisticated material collection routes where teams can secure resources from uncontested areas before rapidly returning to strategic positions.
Weapon selection should directly correlate with circle positioning intelligence. Exit the purchase interface briefly to assess circle location, then optimize your loadout accordingly. The Nest’s open sightlines favor precision weapons like the G7 Scout or 30-30 Repeater. The Cave’s confined spaces demand close-range specialists like the R-99 or Peacekeeper. Middle circles typically devolve into perimeter skirmishes where weapons like the Flatline or R-301 excel.
Advanced players should consider how their Class Guide selection complements their chosen engagement strategy on Habitat’s varied terrain.
Mastering Habitat requires understanding advanced rotation timing and common positional errors that cost rounds.
Rotation Mastery: Time your zipline usage during enemy reload periods or ability cooldowns. Advanced teams often send one player to create distraction while others secure materials or superior positioning.
Material Priority: The central waterfall container provides crucial resources but exposes players to multiple sightlines. Coordinate team coverage when attempting this high-value acquisition.
Common Errors: Avoid predictable spawn rushing—experienced teams anticipate this and set up crossfires. Don’t overcommit to initial circle control without scouting enemy positions first.
Loadout Flexibility: Even with circle intelligence, maintain versatile weapon combinations. A close-range primary with medium-range secondary adapts to evolving combat situations better than specialized loadouts.
Understanding these Complete Guide principles will significantly improve your Arenas performance across all maps.
For weapon-specific strategies, consult our Weapons Unlock guide for optimal Habitat performance.
Action Checklist
- Deploy Valkyrie for immediate aerial reconnaissance at round start
- Check circle location before finalizing weapon purchases
- Coordinate zipline usage for distraction and material collection
- Establish crossfire positions anticipating enemy spawn rushing behavior
No reproduction without permission:SeeYouSoon Game Club » Apex Legends: Habitat Map Tips Master Apex Legends Habitat map with strategic positioning, loadout optimization, and advanced combat tactics