TL;DR
- Level 10 contains four distinct collectibles: two codex entries, one toy, and one weapon skin
- The secret key is essential for accessing three of the four collectible locations
- Strategic tower destruction timing affects access to the Nightmare Cycler Skin
- Shield jump mechanics are crucial for reaching the initial key location
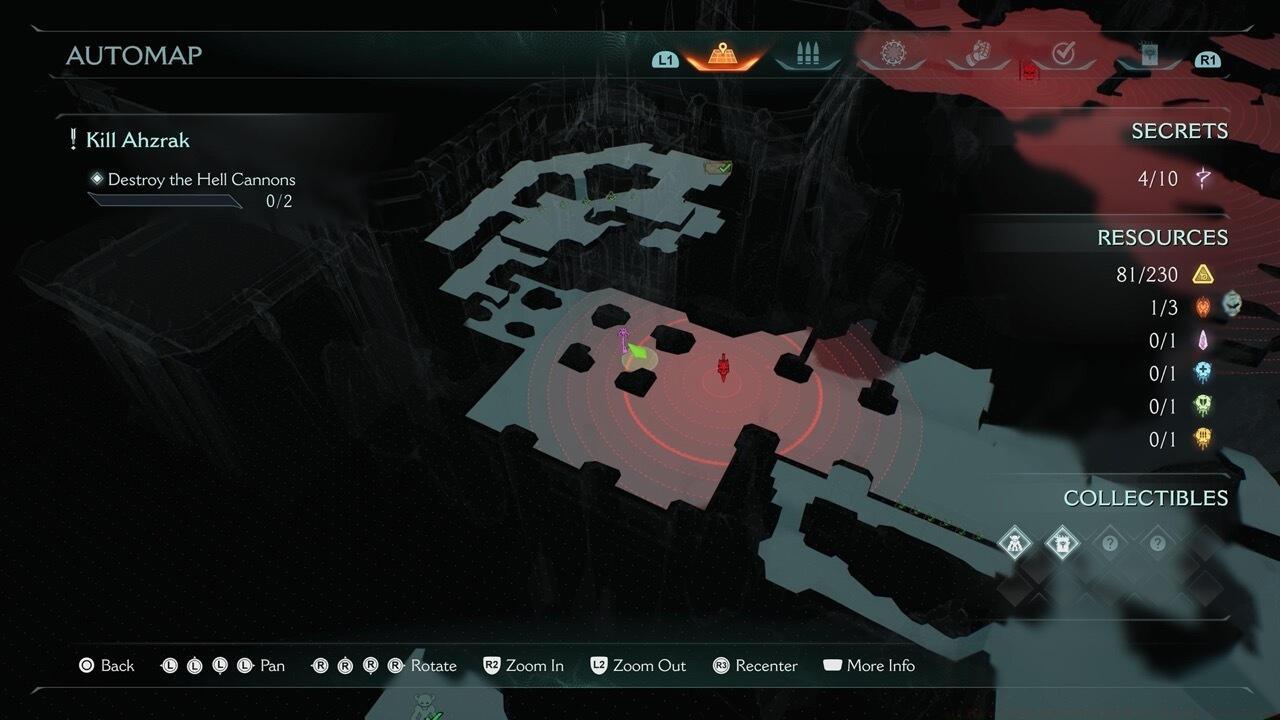
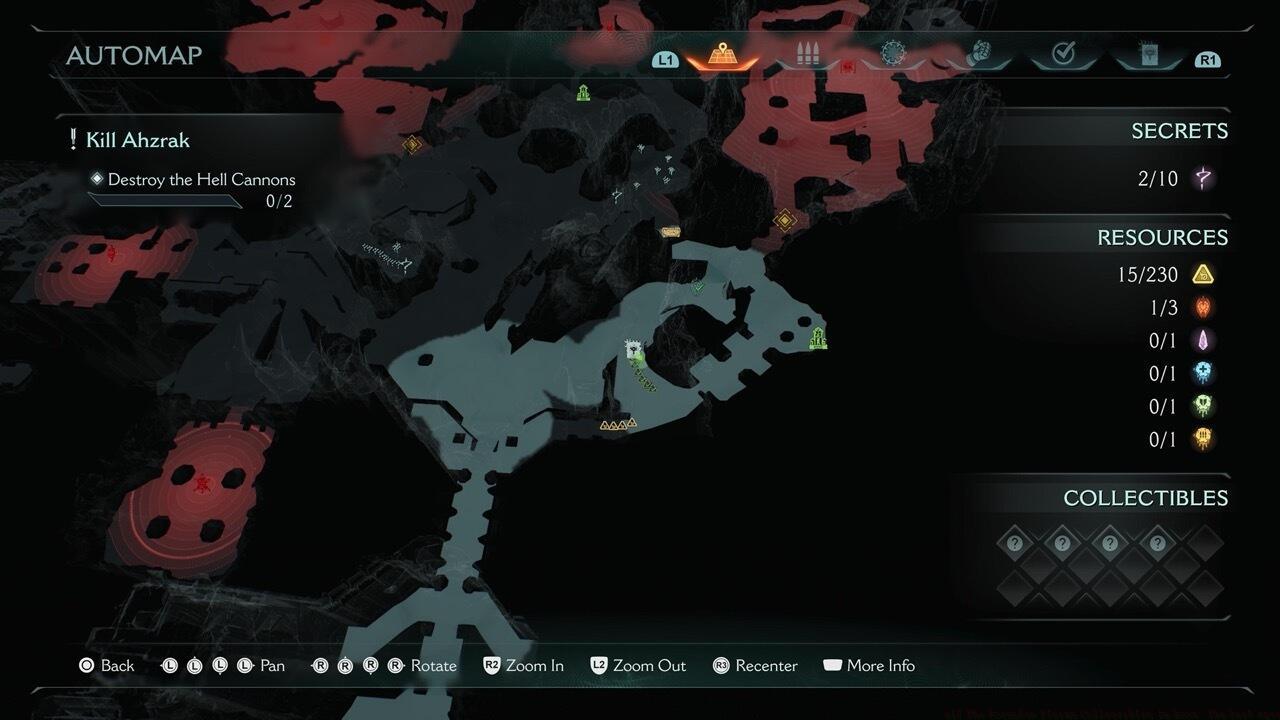
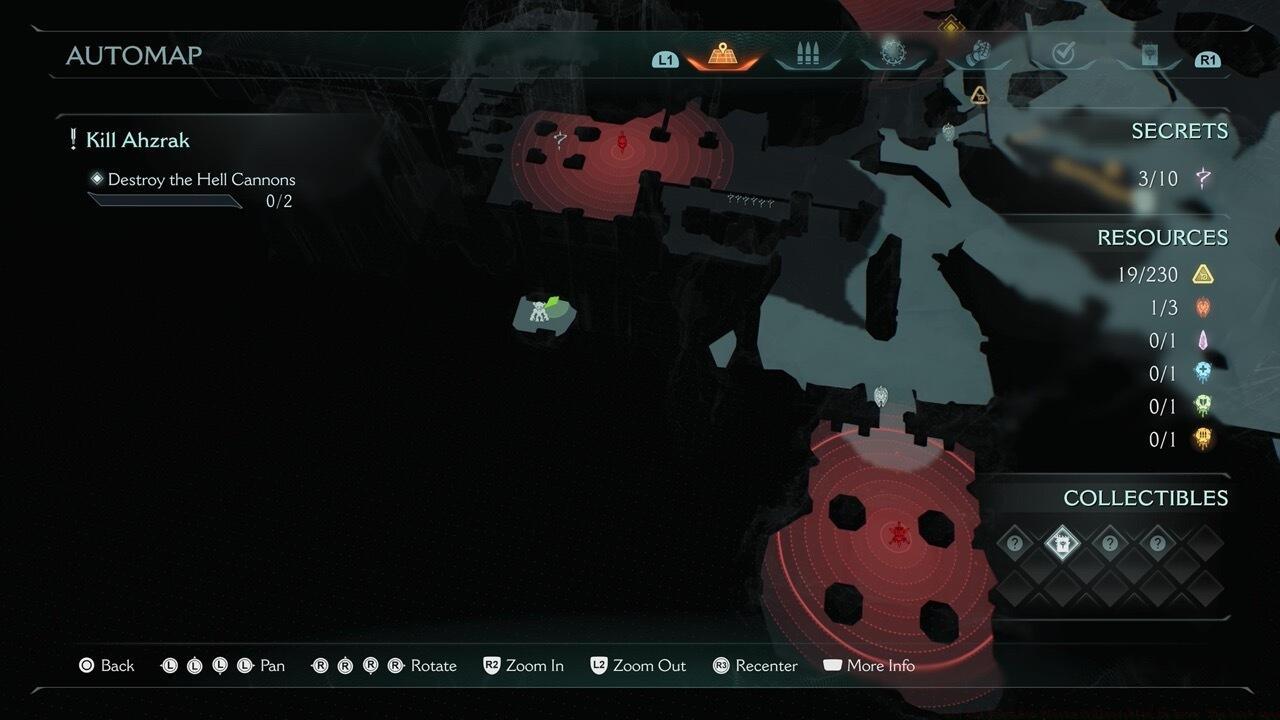
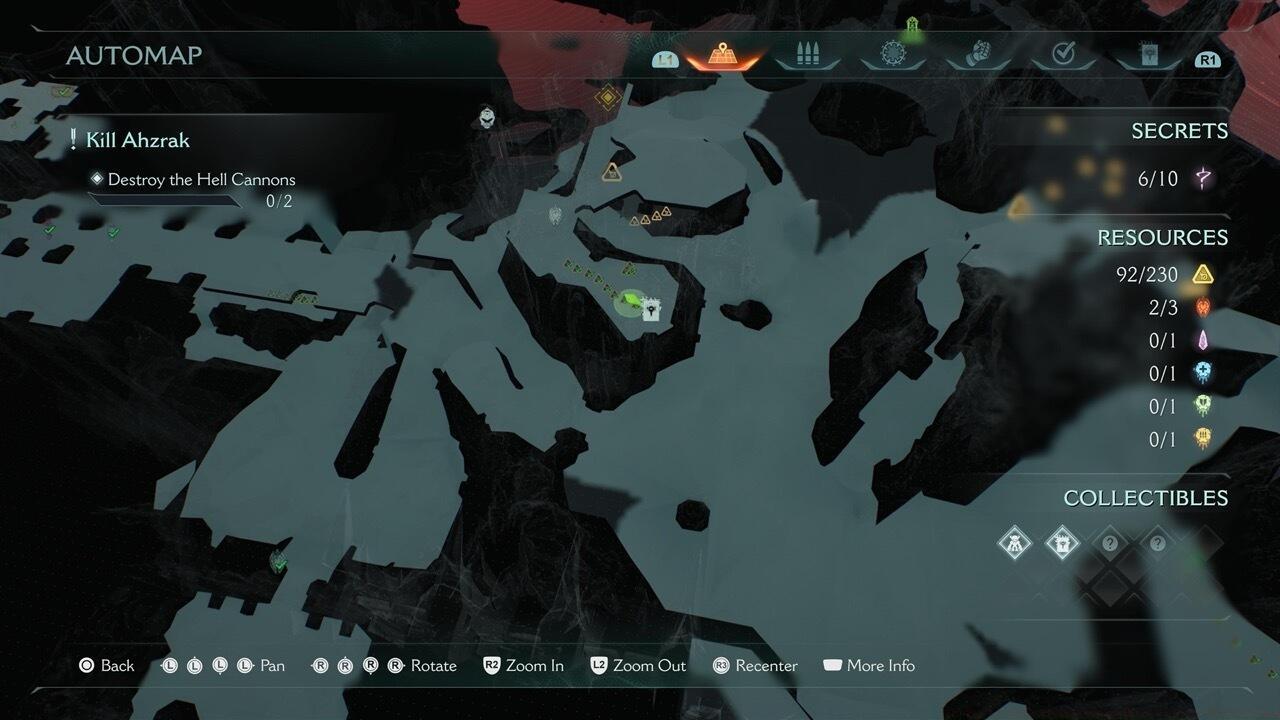
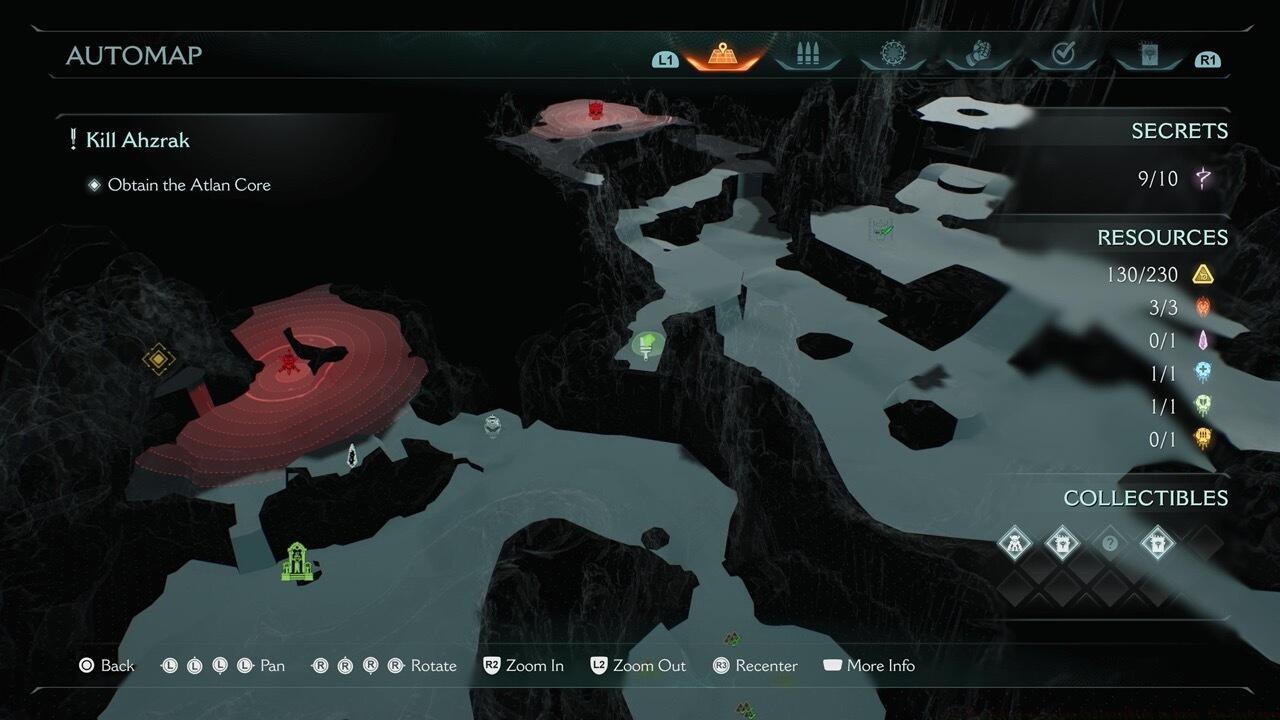
- Map tracking system helps monitor your collection progress in real-time
GameSpot may receive revenue from affiliate and advertising partnerships for sharing this content and from purchases through links.
The tenth mission in Doom: The Dark Ages presents players with four distinct collectible items strategically placed throughout the level’s challenging environments. These optional treasures include two codex entries that expand the game’s lore, one collectible toy figure, and one exclusive weapon skin for customization. Your progress is conveniently tracked on the mission map screen, which displays both the total available collectibles and those you’ve successfully acquired.
For comprehensive coverage of all levels, explore our Complete Guide to similar collection systems in modern shooters.
Understanding the distribution of these items is crucial for efficient collection. Codex entries typically provide background story elements, while toys and weapon skins offer visual customization options for your arsenal. The map interface serves as your primary navigation tool, clearly indicating both collected and missing items to streamline your hunting process.
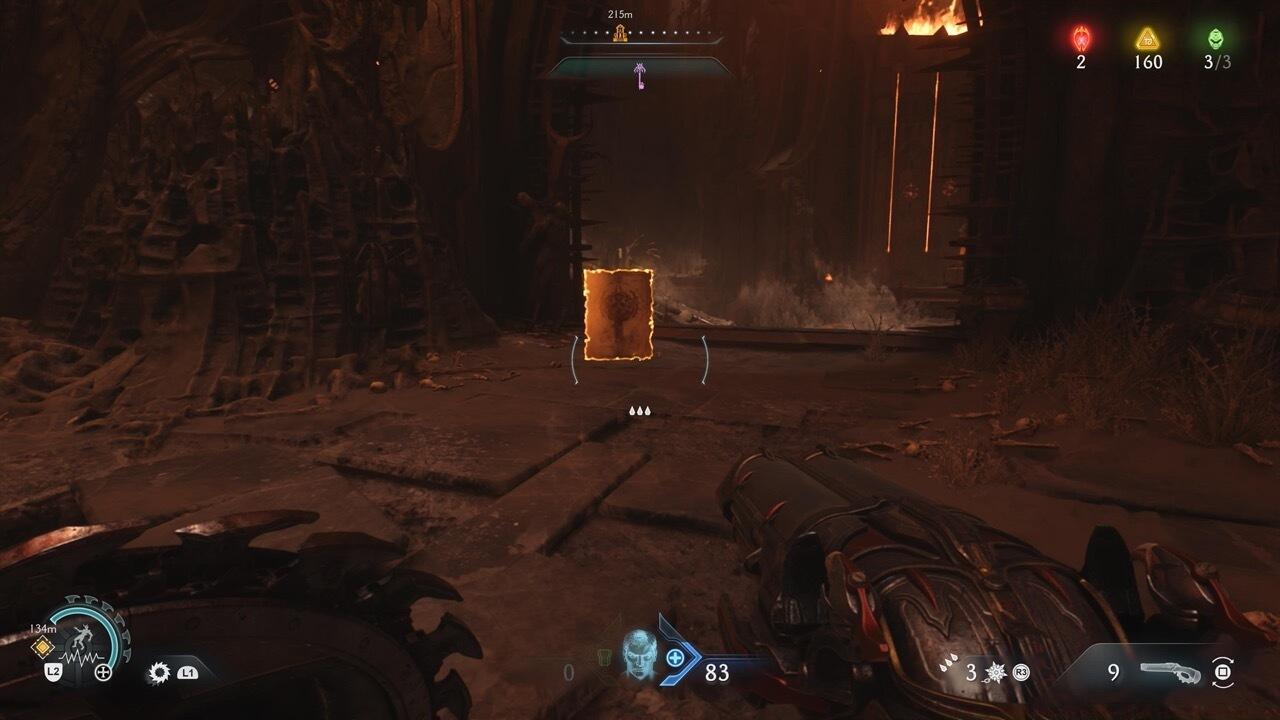
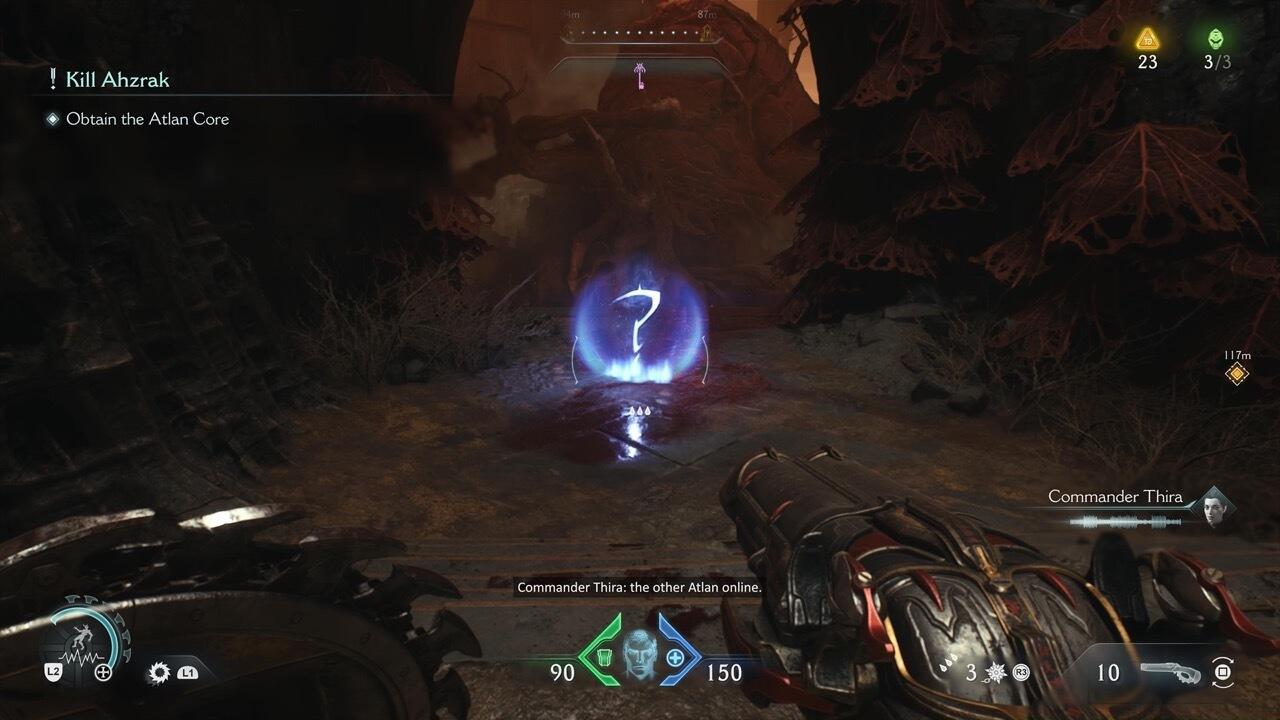
Your collection journey begins at the western fortress area where you’ll encounter multiple defensive turrets requiring destruction. The essential secret key resides within a secured cell that demands precise platforming skills to access. Success here requires utilizing a shield jump statue positioned strategically behind the cell structure.
Mastering the shield jump technique is fundamental – time your leap from the statue’s elevated position, then carefully drop down into the previously inaccessible cell chamber. This initial challenge sets the tone for the level’s emphasis on environmental navigation and combat integration.
Pro tip: Clear the surrounding turrets before attempting the platforming sequence to avoid interruptions. The key remains permanently in your inventory once collected, enabling access to multiple locked areas throughout the level.
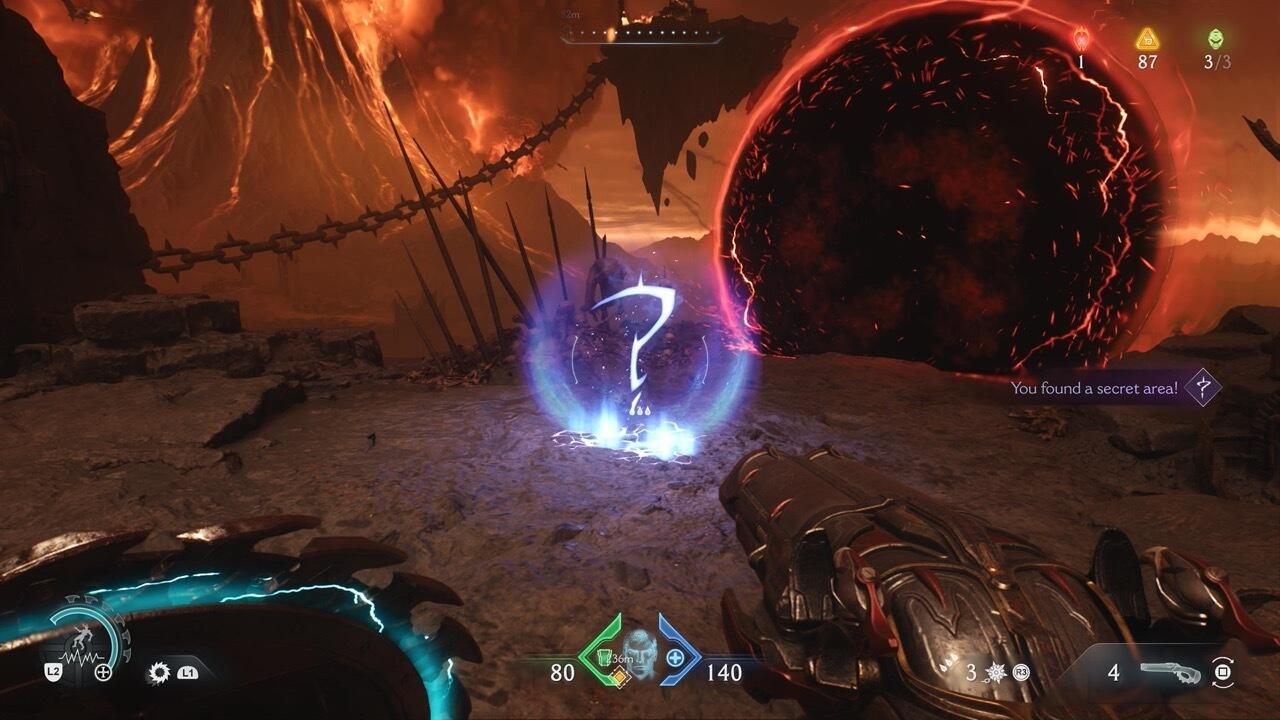
After securing the rocket launcher in the expansive main combat arena, immediately navigate to the right-hand sector from your entry point. You’ll discover a concealed cave entrance housing an upgrade shrine – this marks the beginning of the collection path.
Proceed cautiously through the cave system, remaining alert for environmental traps and ambush points. The codex page awaits at the terminus of this hazardous pathway, rewarding careful navigation and situational awareness.
Advanced players should note that the upgrade shrine provides permanent benefits beyond the immediate collection objective. For more weapon enhancement strategies, consult our Weapons Unlock guide covering similar progression systems.
Venture to the left sector of the primary combat zone where you’ll encounter an arena sealed by secret key authorization. Beyond this secured area, locate a subtle ledge that permits descent to a lower platform housing an elevation mechanism.
The lift system transports you vertically to an isolated platform where the Cyber Demon toy awaits collection. This collectible represents one of the more challenging finds due to its multi-stage access requirements.
Common mistake: Players often overlook the subtle ledge drop-off point. Ensure thorough environmental scanning to identify the correct descent location. The toy collection contributes to your overall completion percentage and may unlock additional cosmetic options.
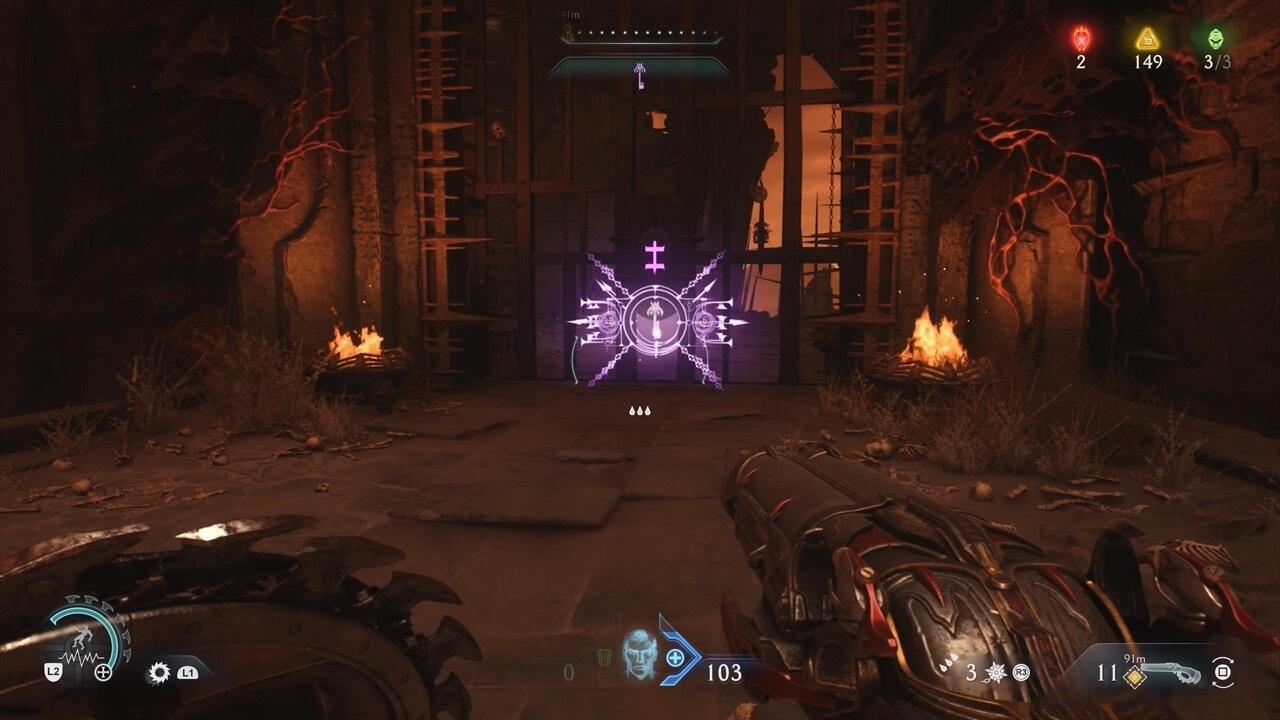
Within the left hemisphere of the level, approximately central to the overall layout, you’ll discover another door requiring secret key access. Utilize your previously acquired key to unlock this passage and follow the linear path to secure the Prince Ahzrak codex entry.
This location typically features minimal resistance, allowing focused collection without significant combat interruptions. The codex provides valuable narrative context about game characters and world-building elements.
Strategic insight: Complete this collection after dealing with major enemy encounters to ensure uninterrupted exploration. For character-specific strategies, our Class Guide offers complementary tactical approaches.
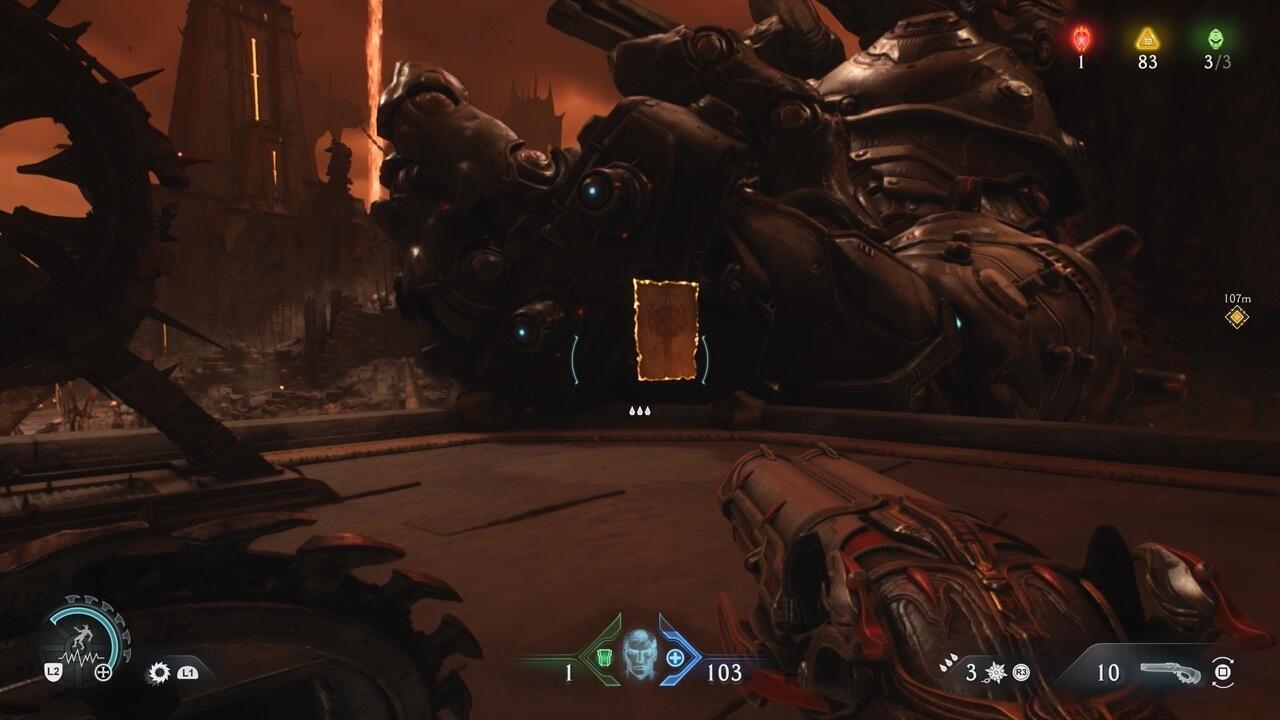
The final collectible positions itself adjacent to the far right tactical tower designated for destruction. A protective energy barrier prevents access until you successfully demolish the corresponding tower structure.
Important clarification: Eliminating this tower won’t automatically conclude your mission, even if it represents your second structural takedown. This design intentionally allows completion of collection objectives before advancing to primary mission conclusion.
Pro strategy: Prioritize tower destruction based on collectible access needs rather than linear progression. This weapon skin application modifies your cycler’s visual appearance while maintaining its combat effectiveness.
For maximum efficiency, establish a systematic route that minimizes backtracking through hostile territories. Begin with the secret key acquisition, then proceed to codex entries before tackling the more complex toy and skin locations.
Avoid these common pitfalls: attempting collections during heavy combat, overlooking subtle environmental cues, and misprioritizing tower destruction sequences.
Time investment: Most players require 15-25 minutes to locate all four collectibles on initial attempts. Subsequent playthroughs typically reduce this to 8-12 minutes with practiced route execution.
Advanced mechanics: The game’s collection system integrates with broader progression metrics, potentially influencing unlockable content and completion rewards. Mastery of these collection techniques enhances overall gameplay efficiency and completionist satisfaction.
Action Checklist
- Acquire secret key from western fortress cell using shield jump technique
- Collect Forsaken Plains Codex from right-side cave after rocket launcher acquisition
- Secure Cyber Demon toy from left arena via ledge drop and lift activation
- Obtain Prince Ahzrak Codex from central key-locked door
- Destroy far right tower to access Nightmare Cycler Skin
- Verify collection completion via map tracking system before mission conclusion
No reproduction without permission:SeeYouSoon Game Club » All The Forsaken Plains Collectibles In Doom: The Dark Ages Complete guide to finding all four collectibles in Doom: The Dark Ages Level 10 with expert strategies