TL;DR
- Secret key is essential for accessing all four collectibles in this mining level
- Use shield abilities strategically to break chains and manipulate platforms
- Platform jumping requires precise timing and environmental awareness
- Weapon skin and final codex are found together in the underground section
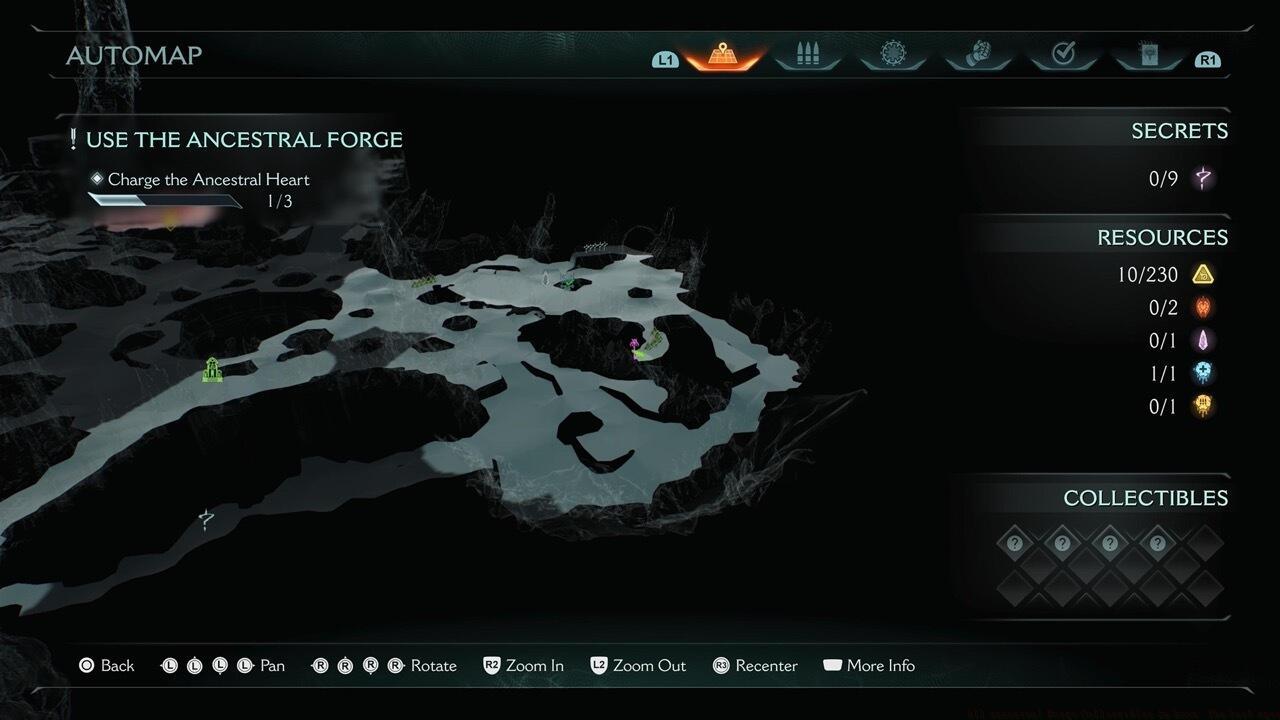
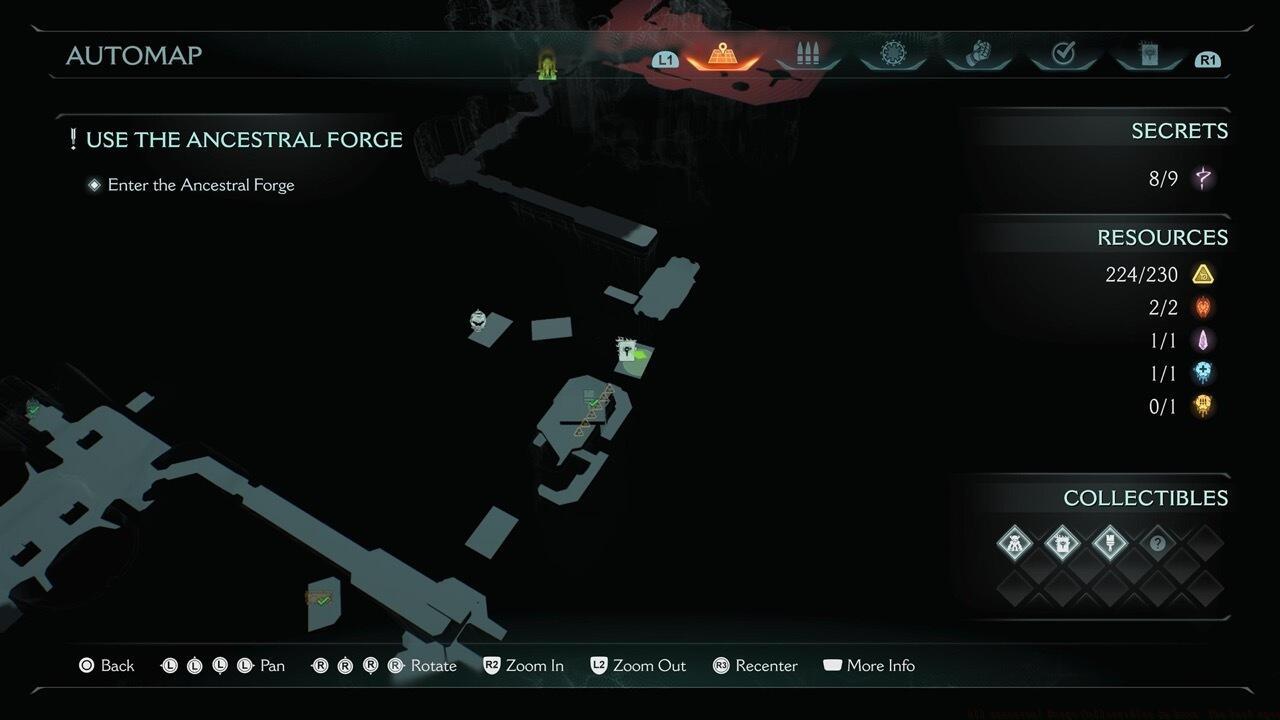
- Map tracking system helps monitor your collection progress in real-time
GameSpot may receive revenue from affiliate and advertising partnerships for sharing this content and from purchases through links.
The Ancestral Forge represents the ninth campaign level in Doom: The Dark Ages, primarily unfolding within an expansive underground mining complex. This challenging environment houses exactly four distinct collectible items, comprising demonic toys, ancient codex manuscripts, and exclusive weapon cosmetic upgrades concealed throughout hidden chambers. Players can efficiently monitor their acquisition progress using the integrated map interface, which dynamically displays both total available items and those already secured in your inventory.
For comprehensive coverage of all campaign levels, explore our Doom: The Dark Ages Collectibles Guides Hub containing detailed walkthroughs for each stage.
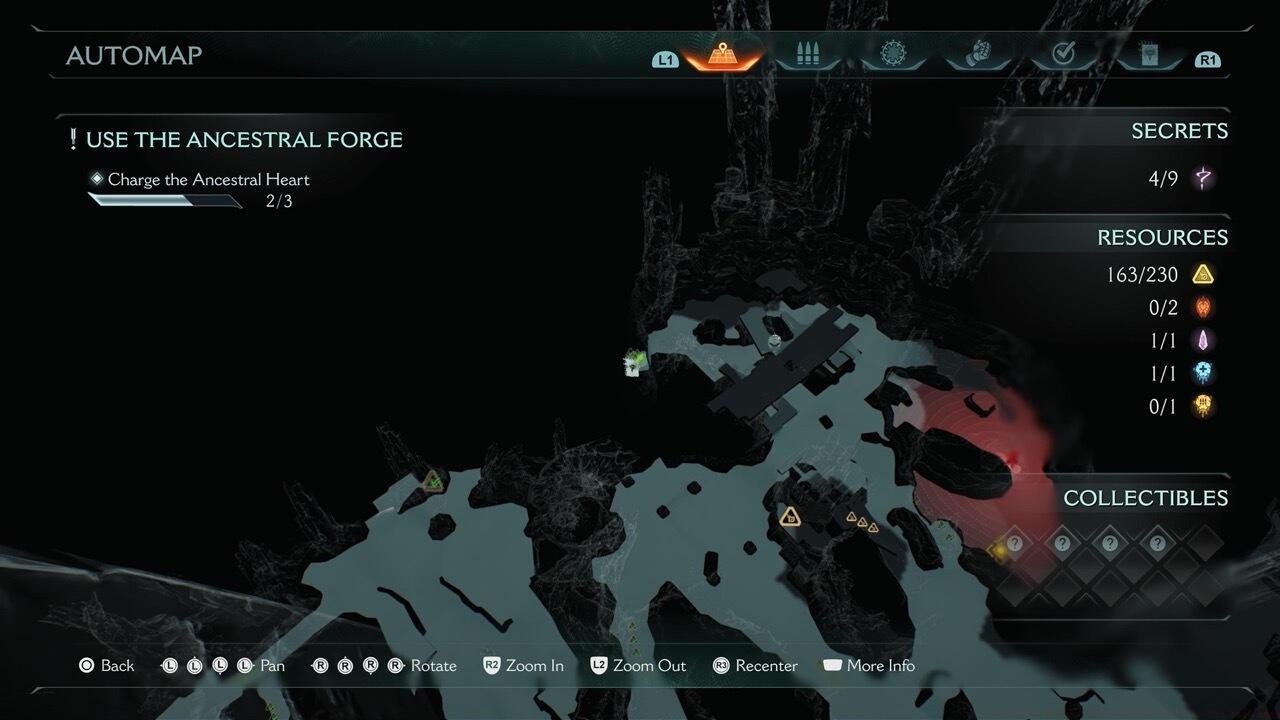
Acquiring the mystical secret key proves absolutely mandatory for obtaining every hidden treasure within this mining facility. Veteran players should prioritize locating this essential item during the initial main objective phase, specifically when activating the trio of control switches. The crucial key artifact rests conspicuously adjacent to the final switch mechanism positioned in the eastern sector.
Pro Strategy: Before engaging with any switches, thoroughly scout the perimeter areas for visual indicators like shimmering gold particles or unusual rock formations that often signal hidden passage entrances. Many newcomers mistakenly rush the main objective, inadvertently locking themselves out of optional content areas that require the secret key for access.
Positioned within the map’s northwestern quadrant, this valuable codex fragment demands precise platforming execution. From the main pathway, identify the conspicuous ledge overlooking a lower terrace and execute a carefully timed leap downward. The target platform appears deceptively small, requiring accurate landing precision to avoid overshooting into the abyss below.
Movement Tip: Approach the ledge edge slowly and use the game’s momentum physics to your advantage. A common error involves sprinting directly off the edge, which typically results in overshooting the intended platform. The ideal technique combines a walking approach with a jump at the very edge for maximum control.
Initiating from the western switch mechanism required for primary mission progression, identify the adjacent rocky outcrop that supports traversal. Execute a calculated jump across to this secondary ledge where gleaming gold deposits illuminate the pathway toward the secured key chamber. Proceed through the revealed doorway and ascend the vertical surface directly ahead.

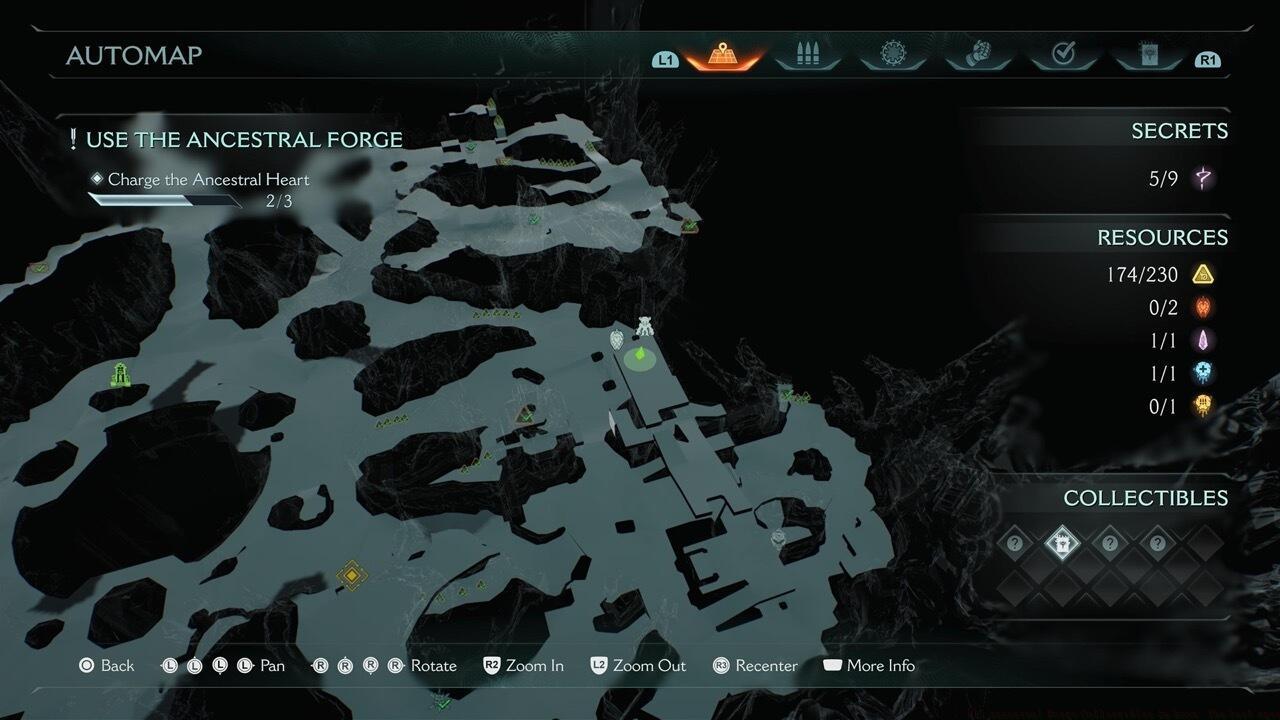
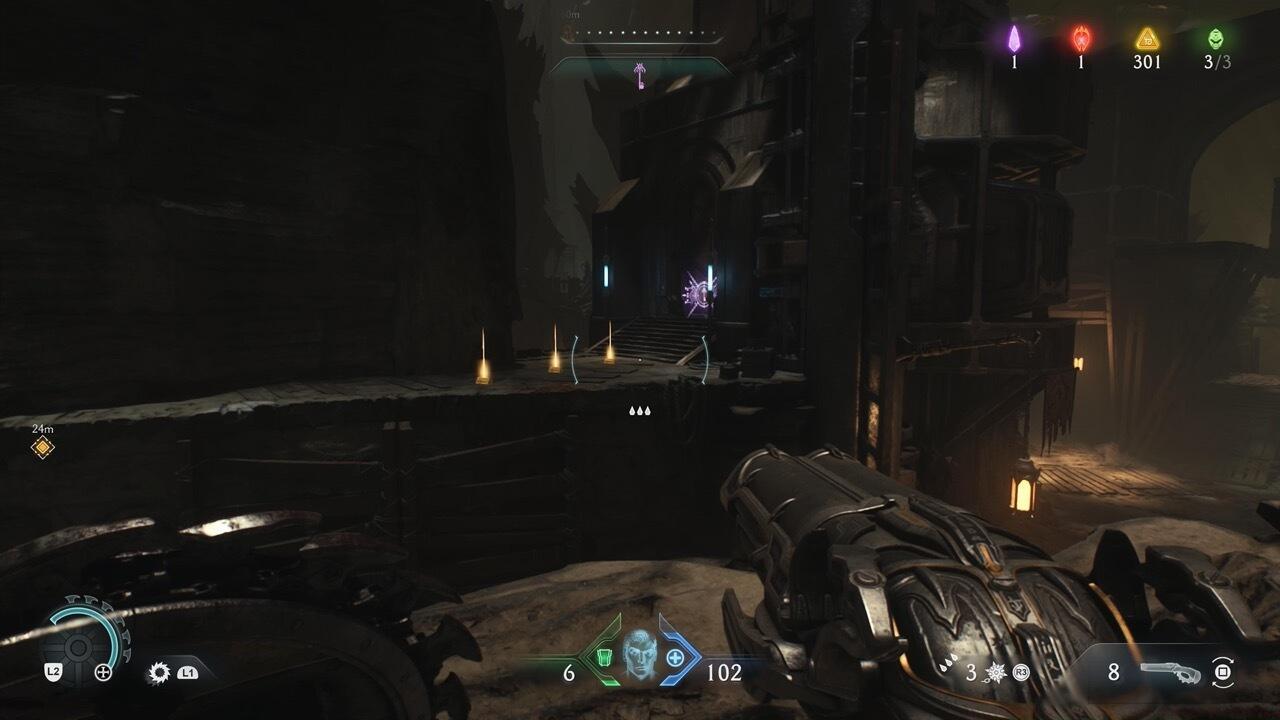
Follow the ascending route to the summit of this subterranean structure, where you’ll encounter the magnificent Ruby Sentinel statue guarding the prized Vagary Toy collectible.
Navigation Advice: The gold trail serves as both illumination and directional marker—if you lose visual contact with the gleaming particles, backtrack until they reappear. This collectible typically requires 3-5 minutes to secure once the secret key is obtained.
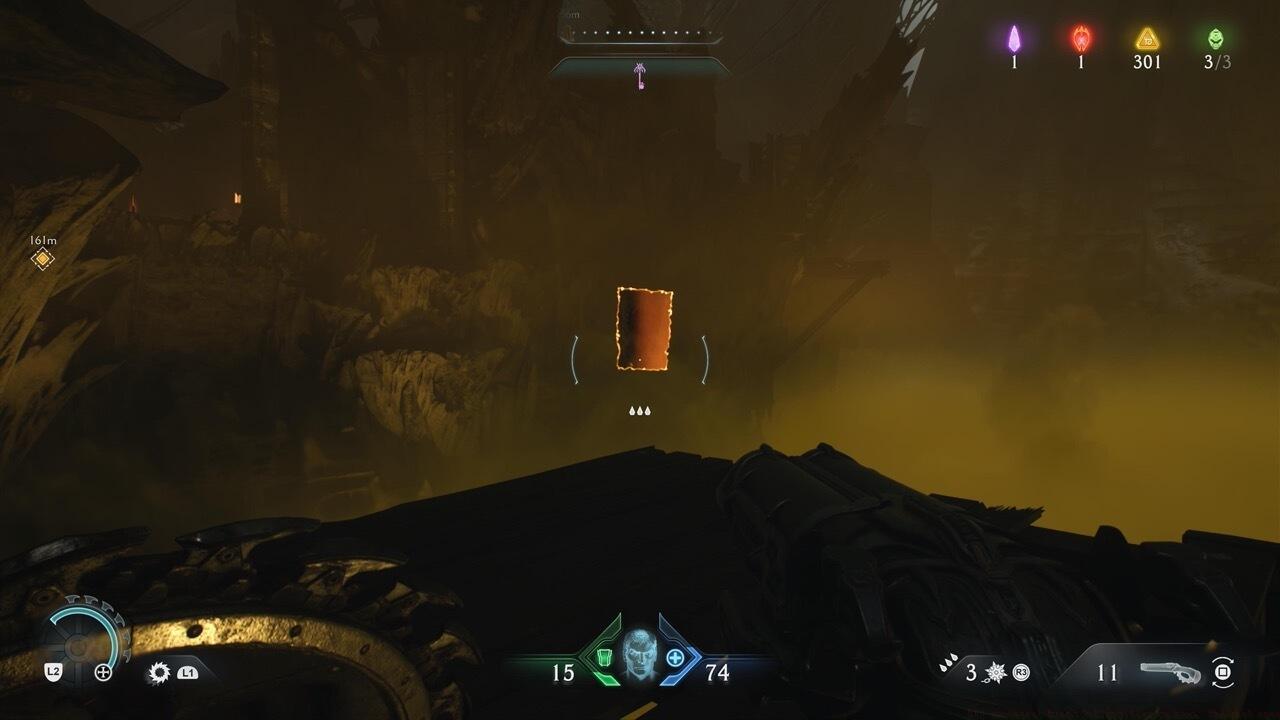
During the concluding segment of the underground expedition, following the heart activation sequence, direct your attention upward to identify the metallic suspension chain. Employ your shield projectile capability to shatter this obstruction, consequently descending an adjacent elevator platform to accessible height.
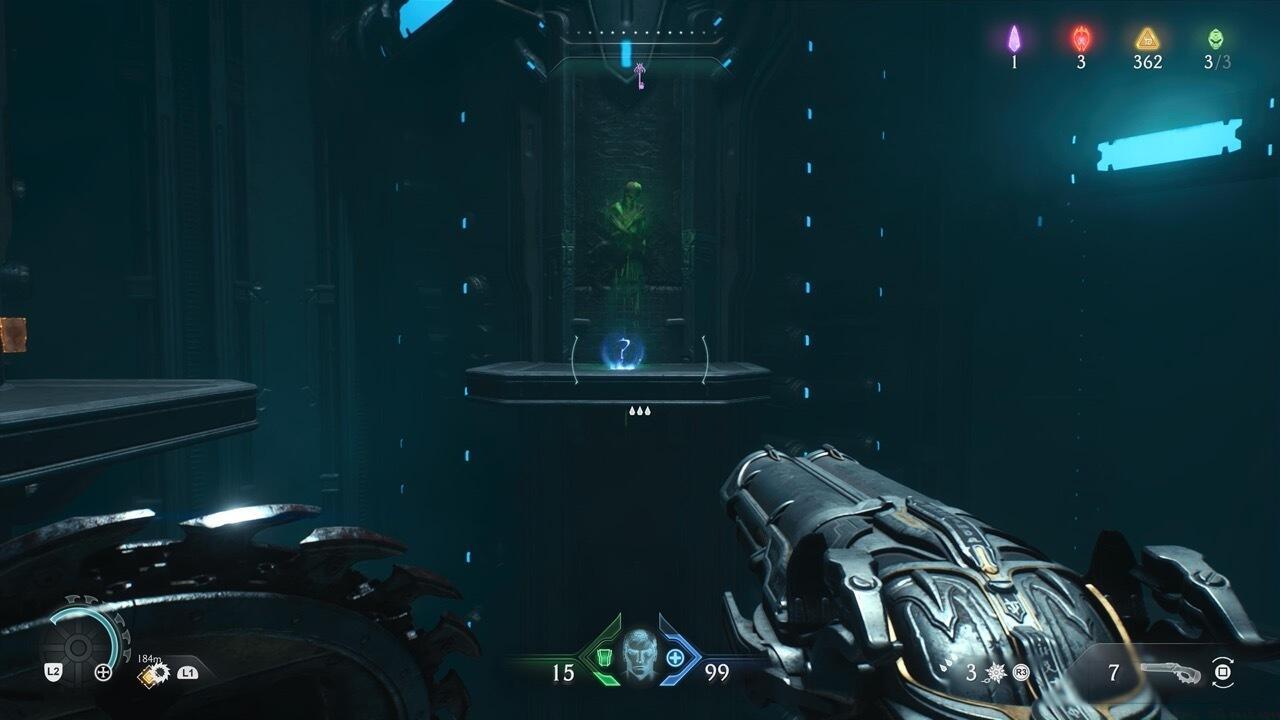
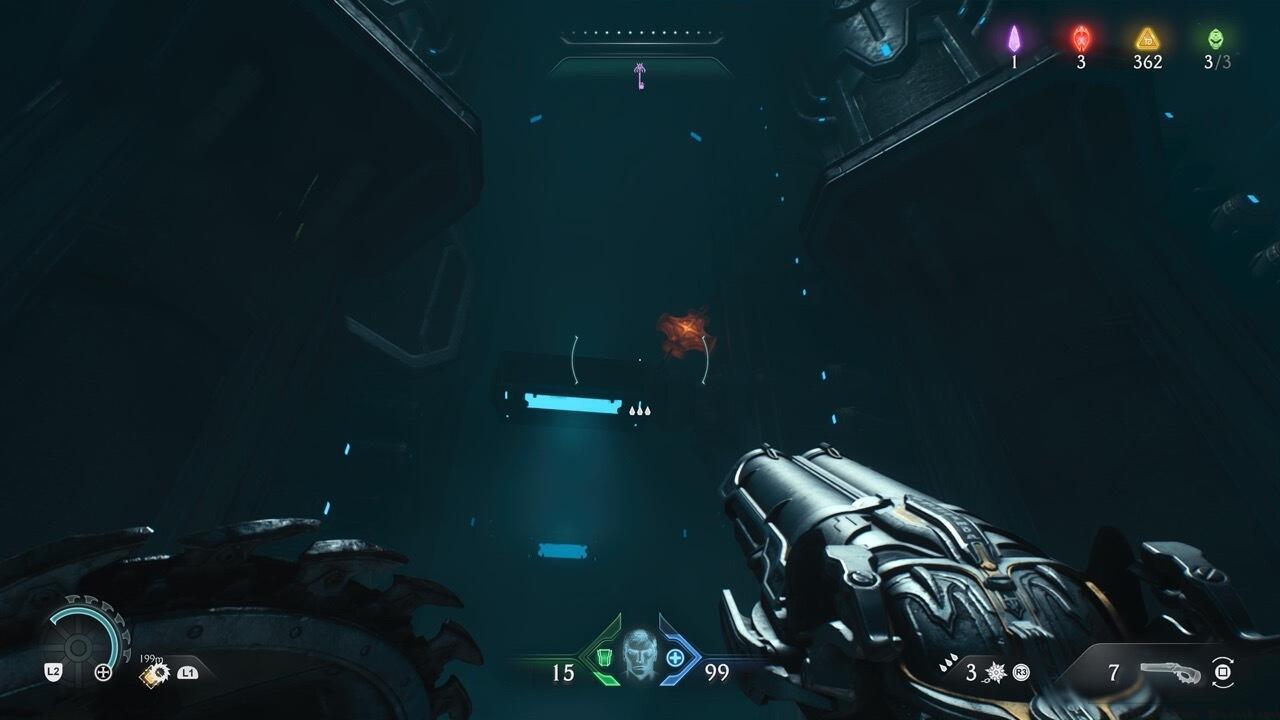
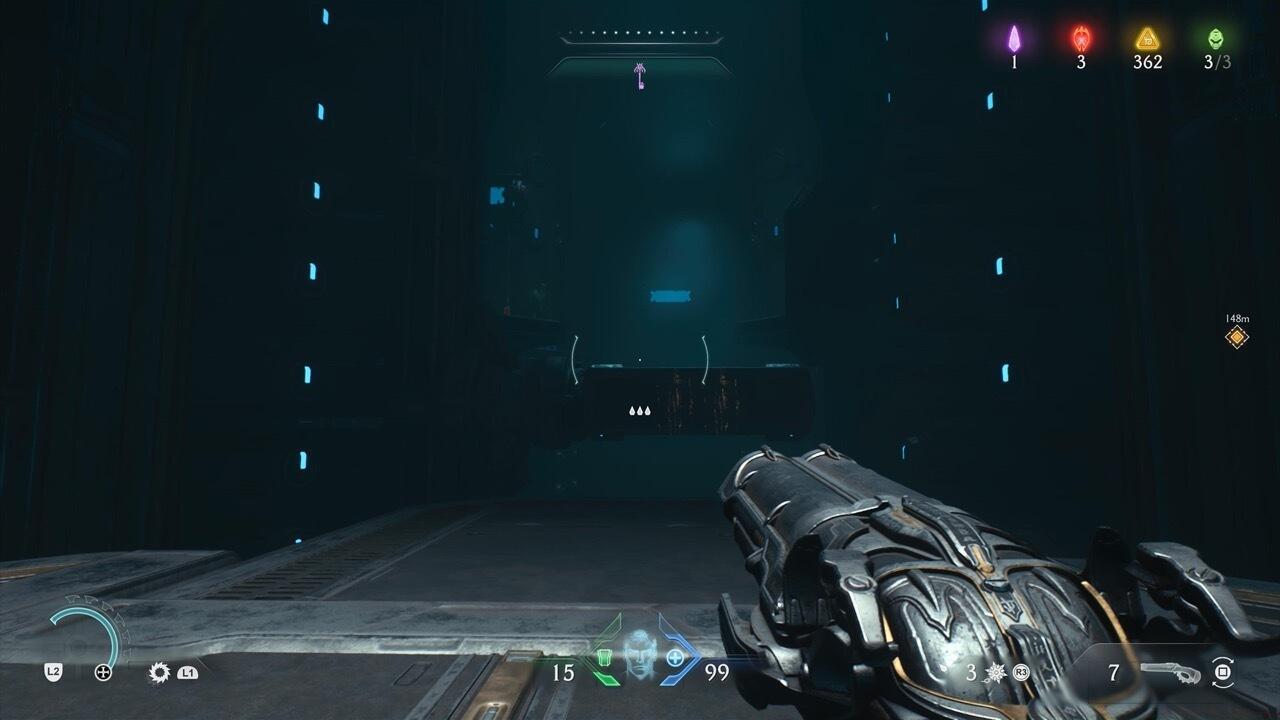
Advance forward and manipulate the shield-activated control mechanism to elevate the primary platform, then immediately pivot 180 degrees. Execute a precision jump to the recently lowered secondary platform and utilize the overhead verdant statues as shield-jump accelerators to reach the upper tier.
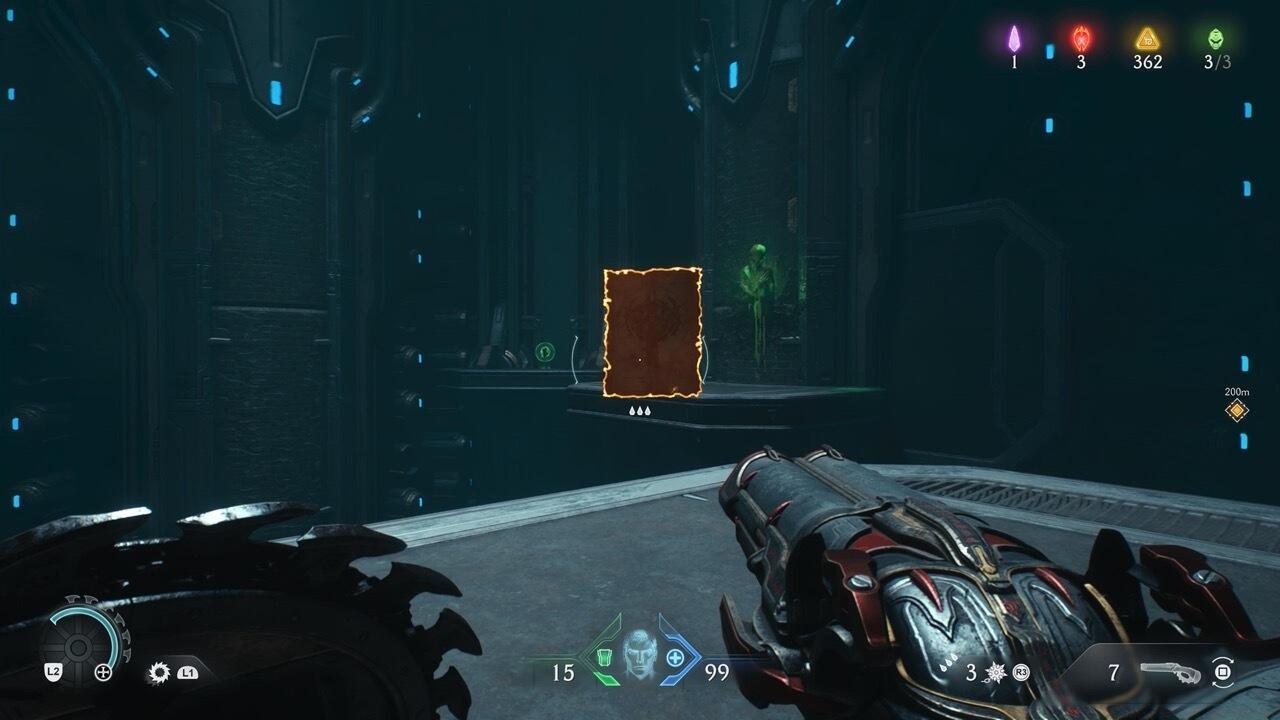
The coveted Nightmare weapon skin awaits discovery in this elevated sanctuary, while the complementary codex manuscript rests conveniently on the adjacent platform surface.
Advanced Technique: The shield jump requires precise timing—activate your shield ability at the peak of your standard jump for maximum vertical propulsion. Many players fail their initial attempts by activating too early or too late in the jump arc.
Action Checklist
- Locate secret key near eastern switch during main objective
- Collect northwestern codex via precision platform jump
- Follow gold trail from western switch to obtain Vagary Toy
- Break overhead chain with shield after heart charging sequence
- Execute shield jumps using green statues to reach weapon skin
- Collect final codex from platform adjacent to weapon skin
No reproduction without permission:SeeYouSoon Game Club » All Ancestral Forge Collectibles In Doom: The Dark Ages Complete guide to finding all four collectibles in Doom: The Dark Ages Ancestral Forge level with expert strategies