TL;DR
- Pauline’s outfits provide unique passive bonuses that significantly enhance gameplay mechanics
- Fossils required for purchases vary by location, with rare fossils needed for top-tier outfits
- Strategic outfit selection can make challenging levels much more manageable
- Mix and match Donkey Kong’s cosmetics while Pauline’s are single-piece sets
- Prioritize outfits that complement your playstyle and current progression needs
GameSpot may receive revenue from affiliate and advertising partnerships for sharing this content and from purchases through links.
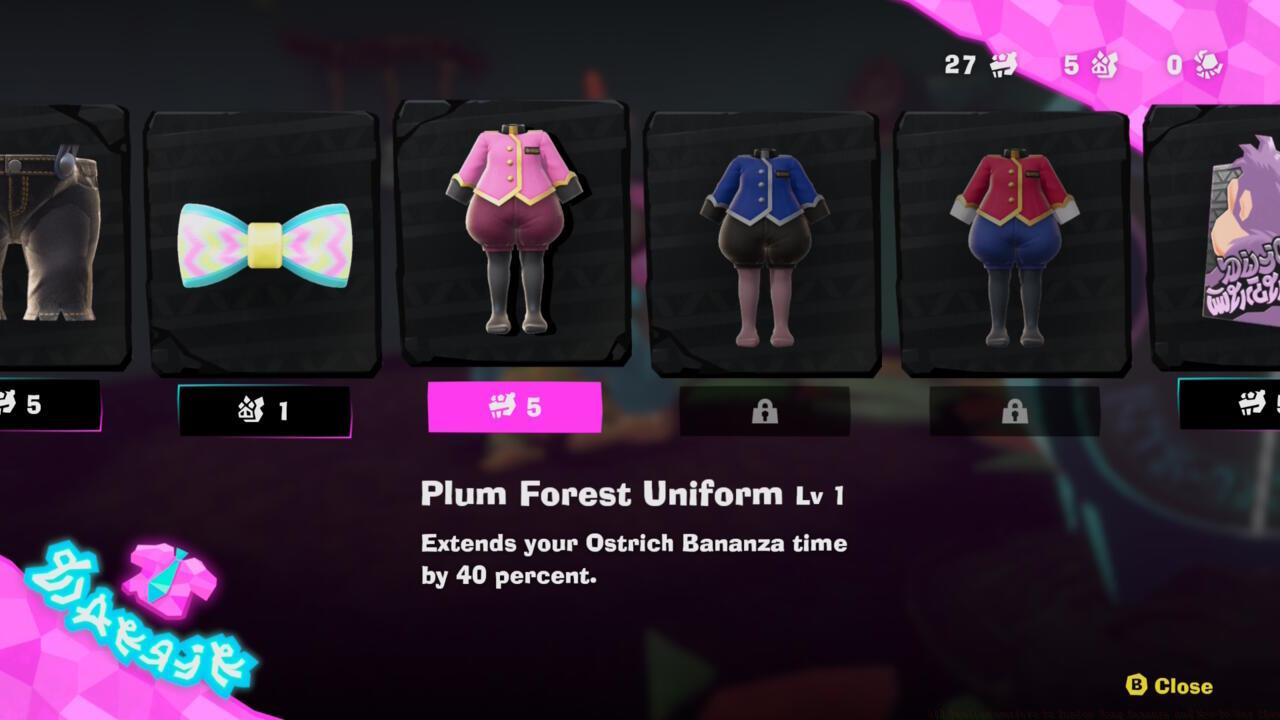
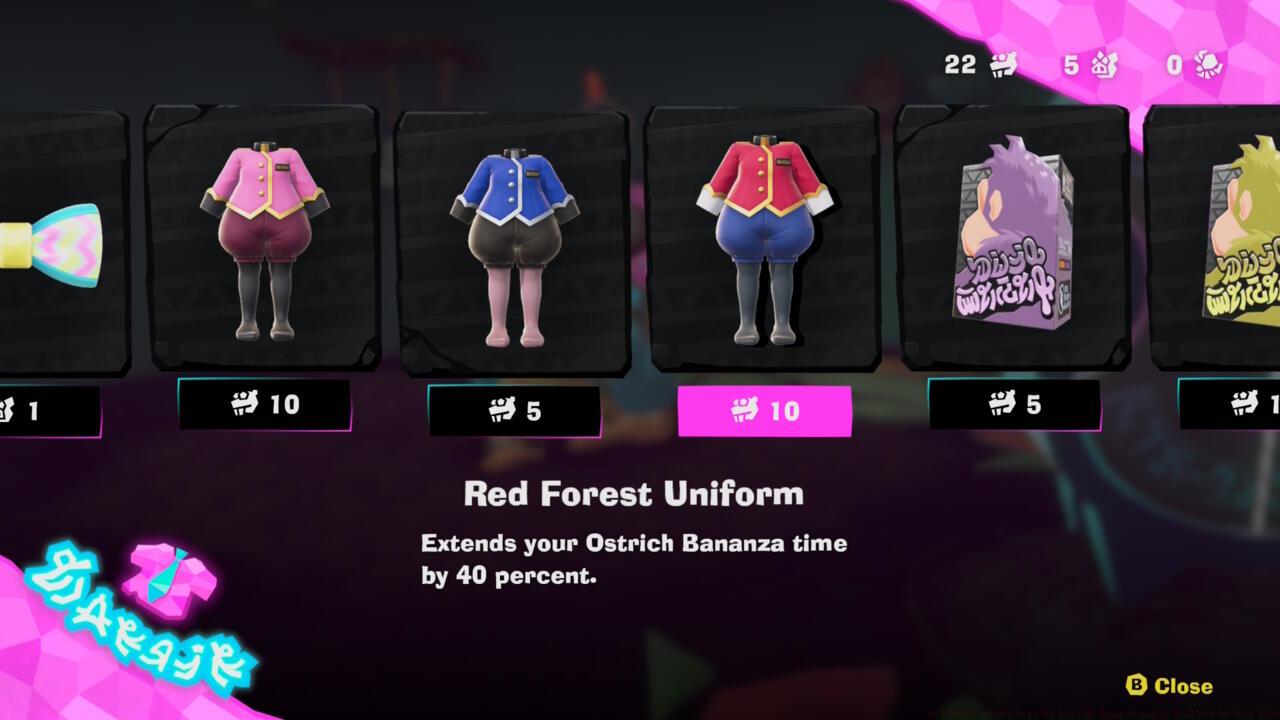
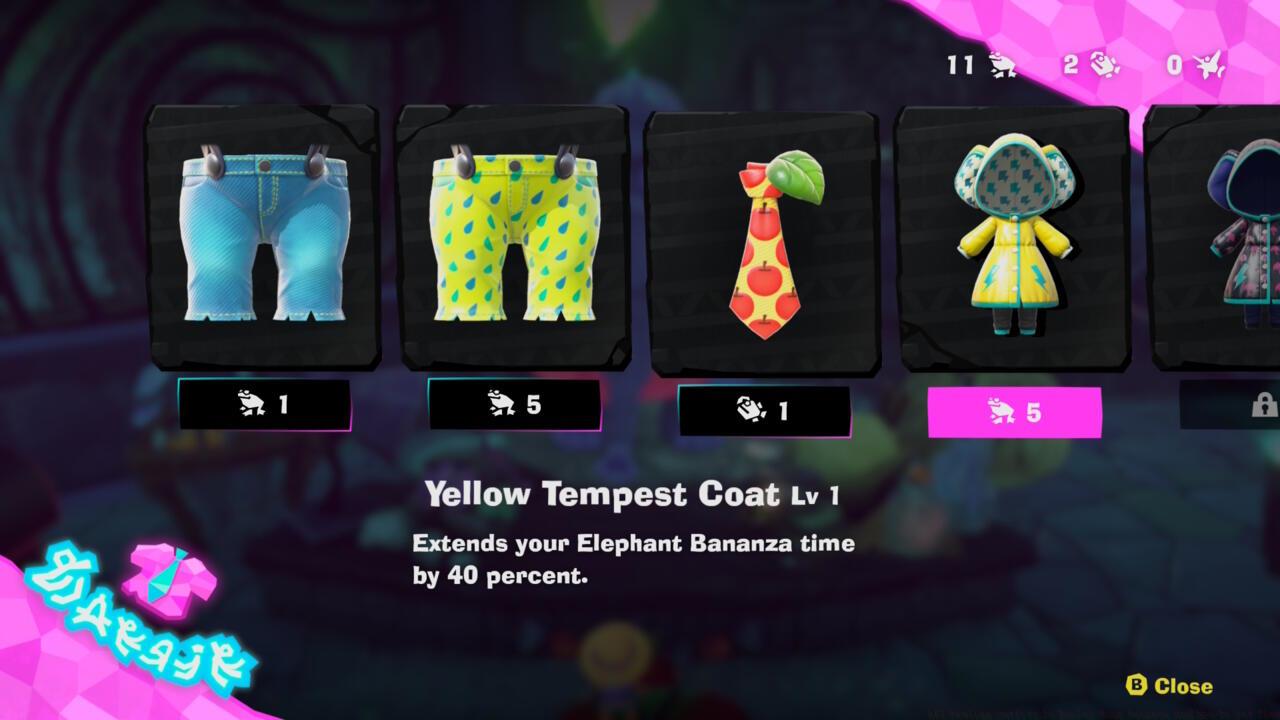
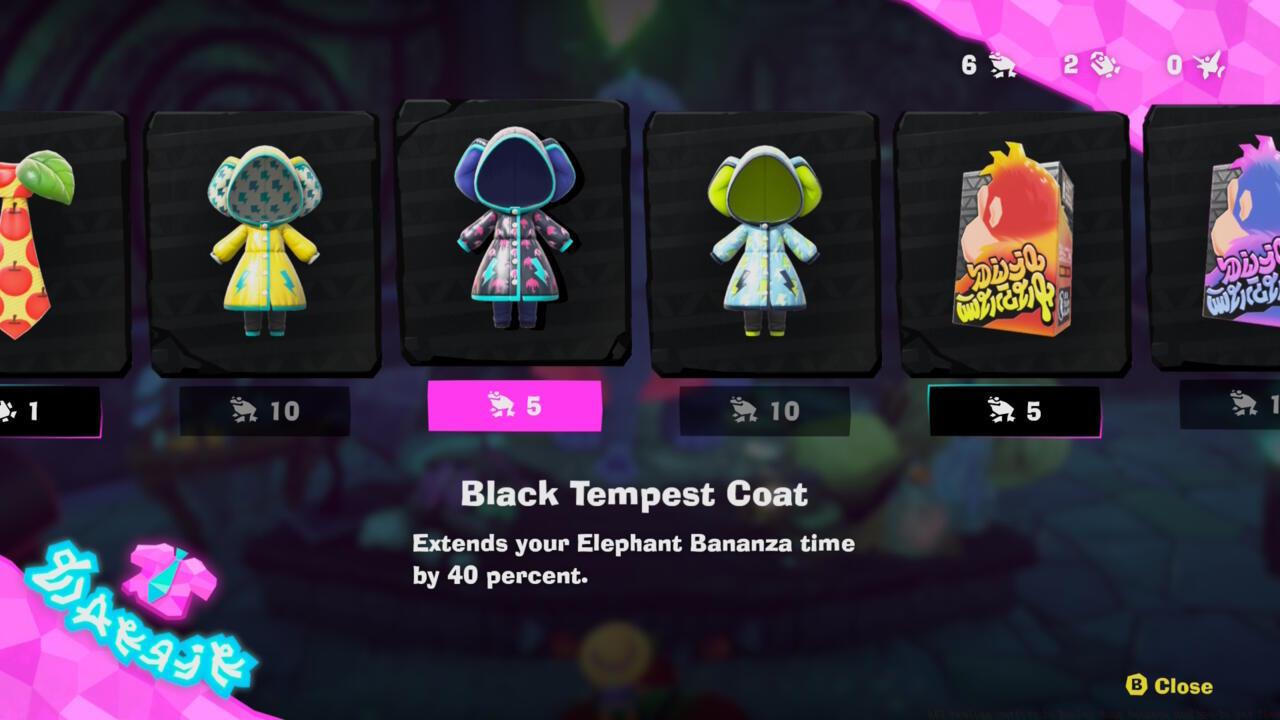
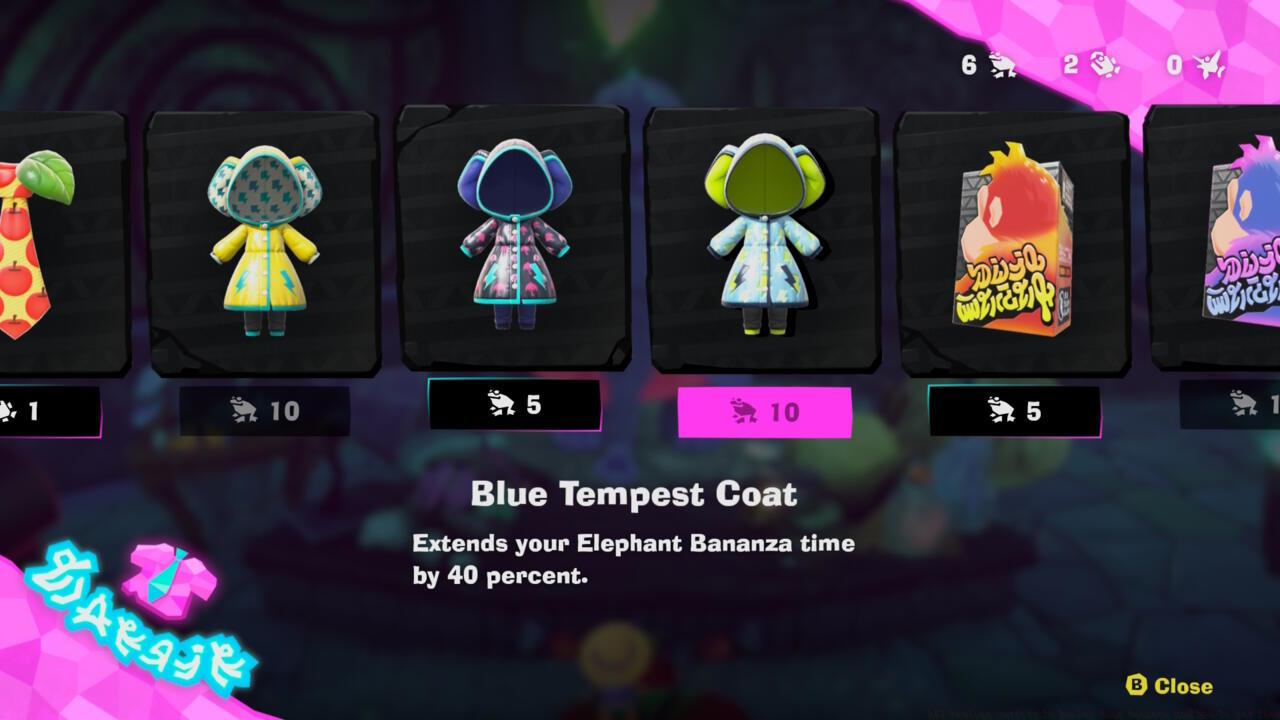
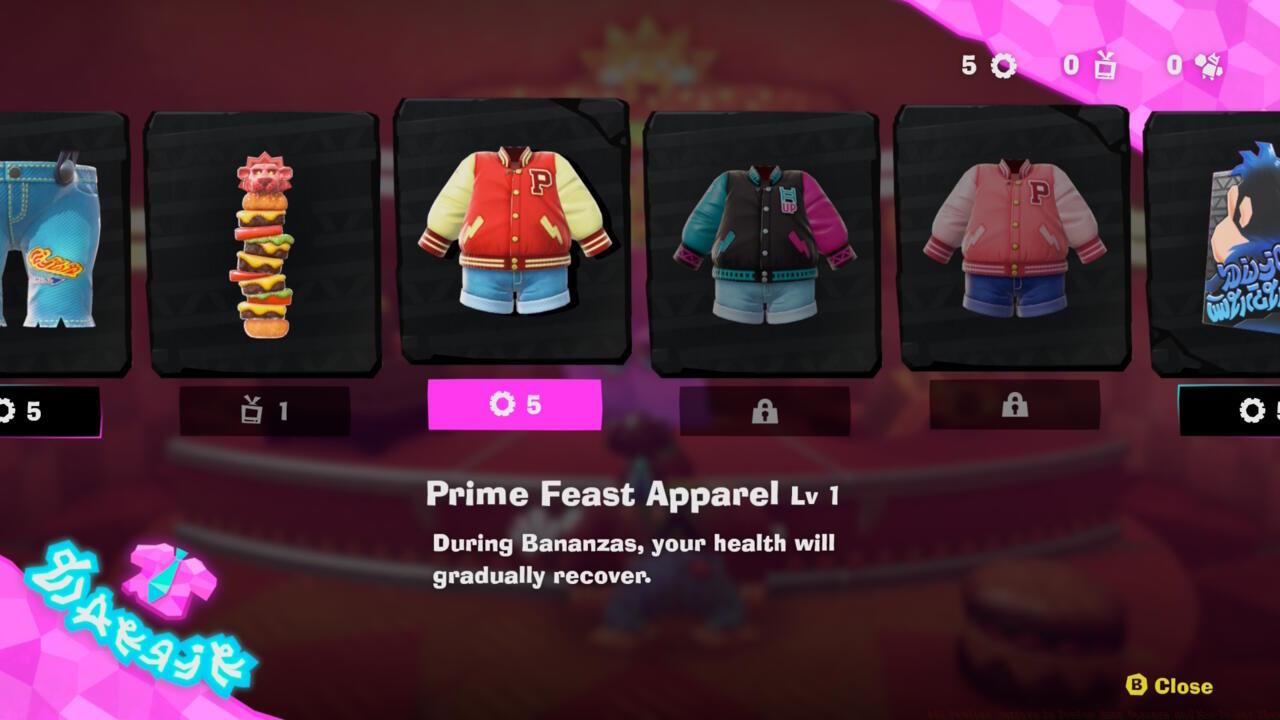
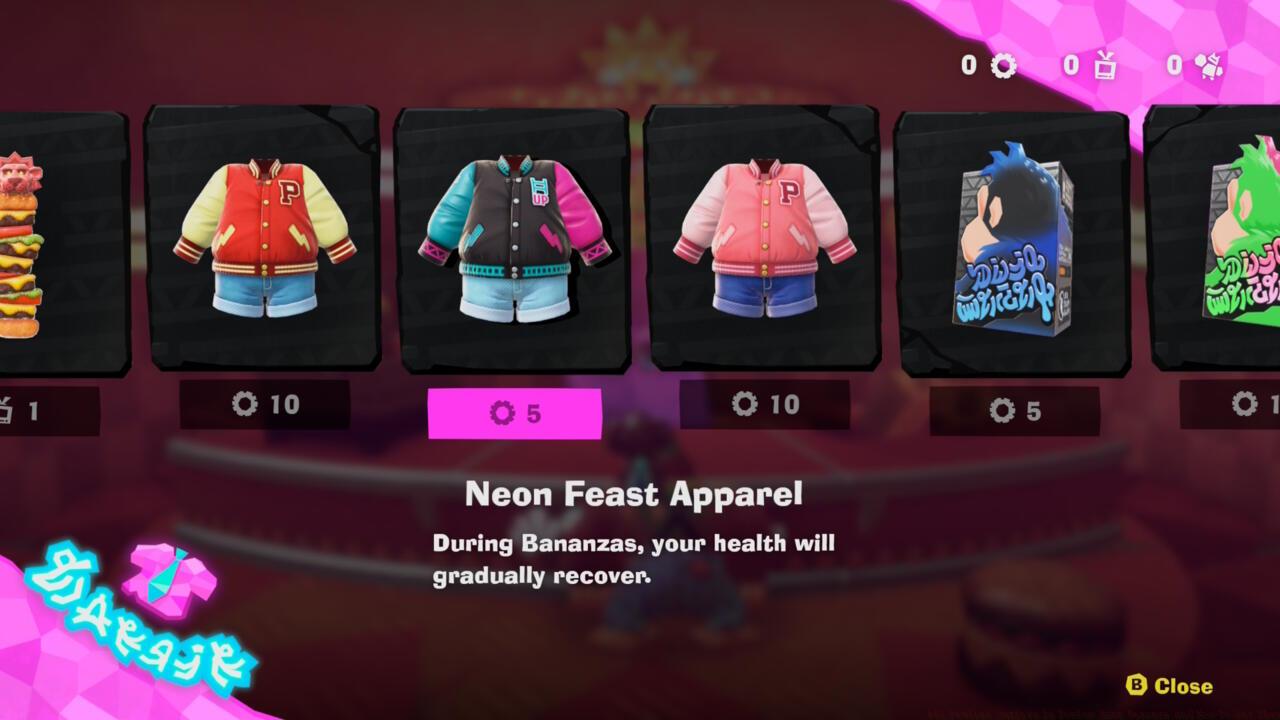
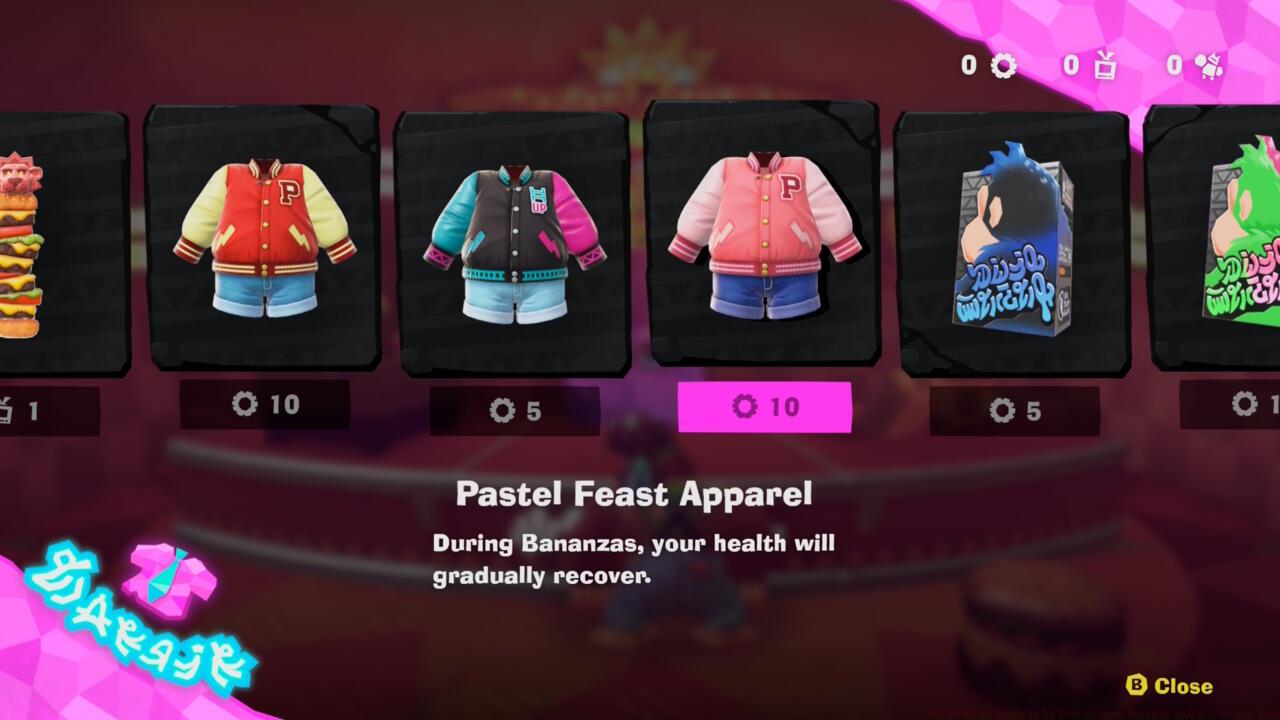
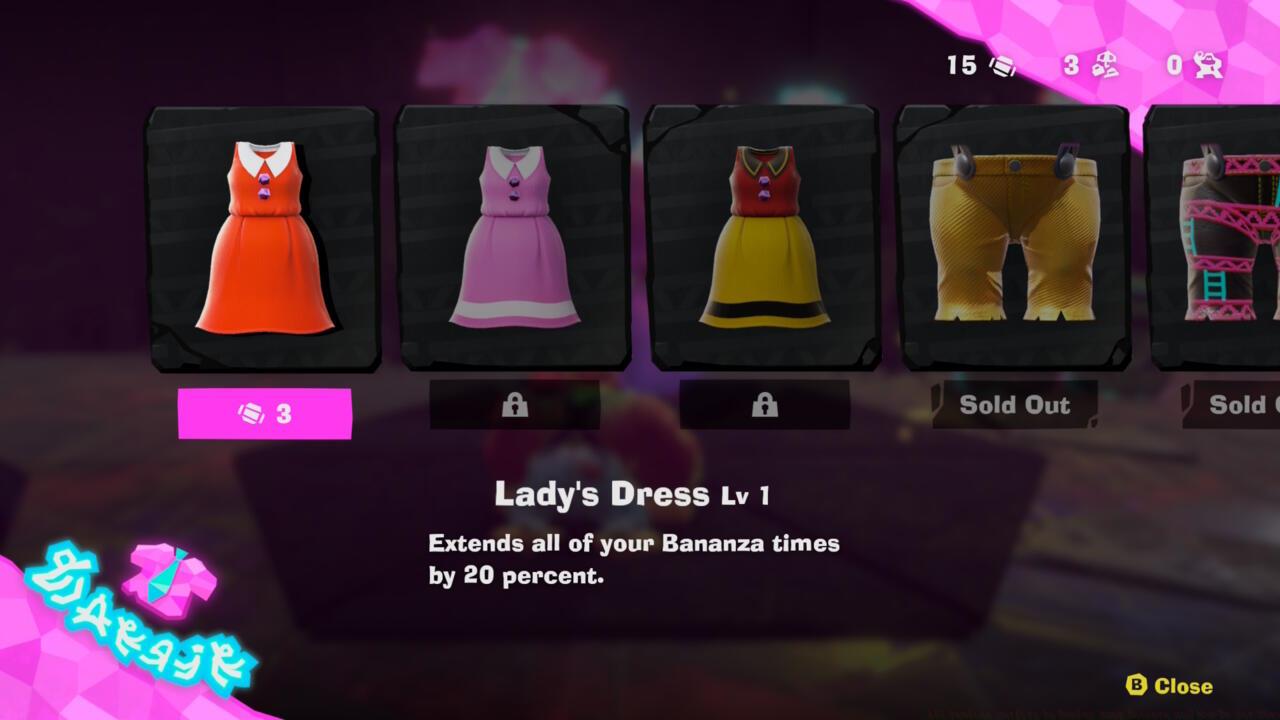
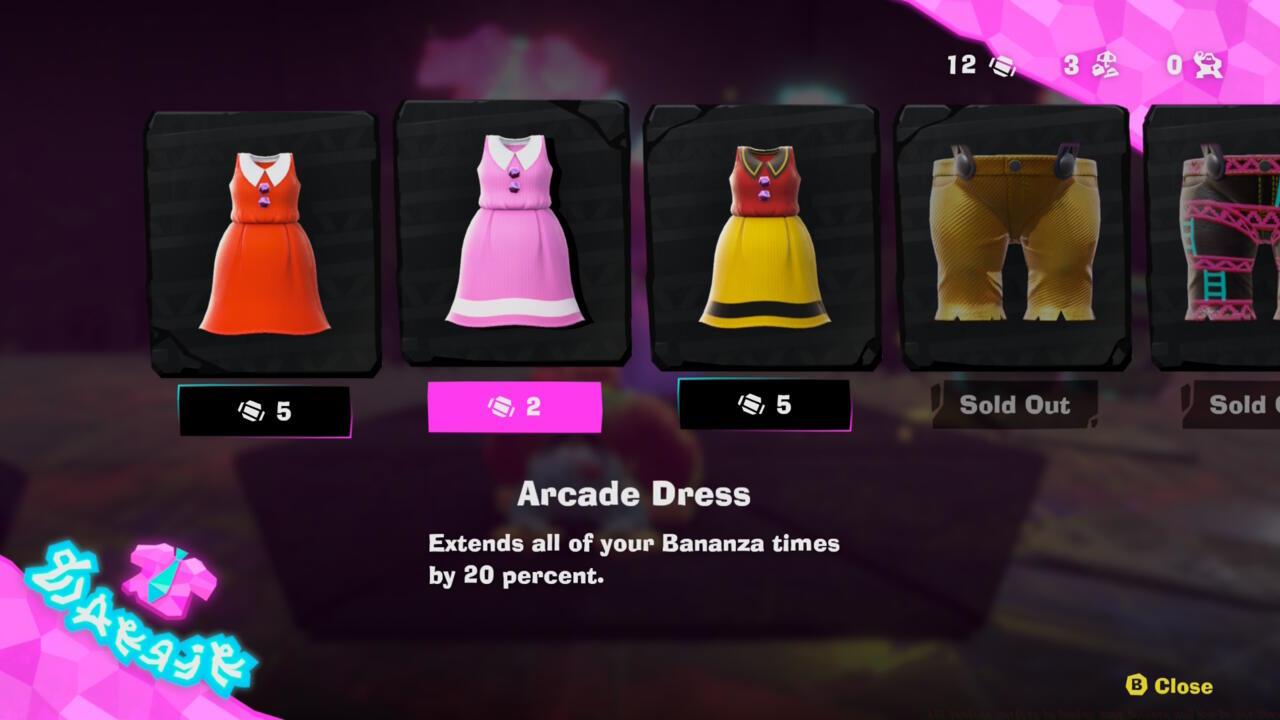
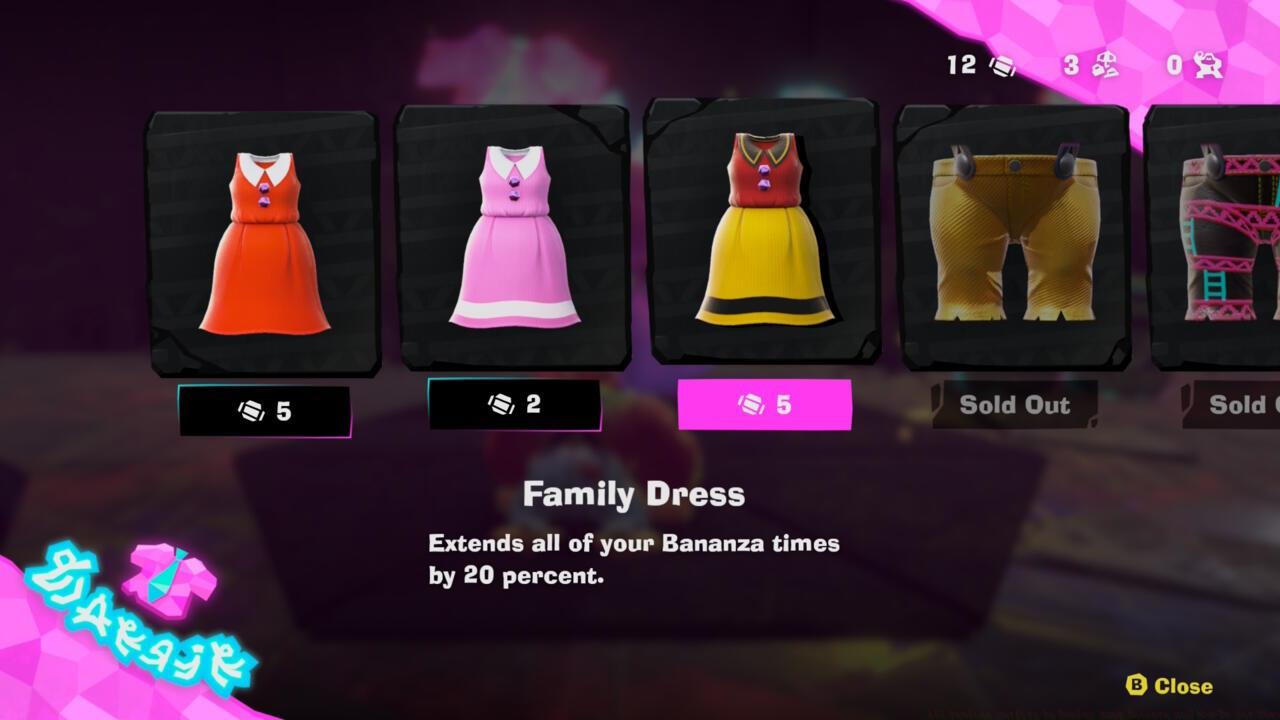
Throughout your Donkey Kong Bananza adventure, you’ll discover Style Shops offering cosmetic items for both the main protagonist and his companion Pauline. These shops provide more than just visual customization—they deliver tangible gameplay advantages through passive bonuses attached to each outfit. While Donkey Kong’s wardrobe consists of modular pieces allowing for creative combinations, Pauline’s ensembles function as complete sets with unified benefits.
Acquiring new attire for Pauline requires exchanging fossils discovered across various maps. The rarity and type of fossils needed escalate with outfit quality, creating a compelling progression system. This guide details every available Pauline costume alongside their locations, costs, and strategic applications to maximize your gaming experience.
Fossil Collection Strategy: Focus on systematic exploration of each biome to gather the specific fossils needed for your desired outfits. Ammonite Fossils are common in aquatic areas, while Anomalocaris Fossils appear in specific challenge zones. Efficient fossil farming can cut your outfit acquisition time by 30-40%.
Common Mistake: Many players waste fossils on lower-tier outfits early game, then struggle to collect enough for premium costumes later. Prioritize based on your current gameplay needs rather than collecting everything immediately.
Lagoon Layer Style Shop
Level 1 – Expands your sonar range during a Bananza by 20 percent (5 Ammonite Fossils)
Level 2 – Expands your sonar range during a Bananza by 60 percent (10 Ammonite Fossils)
Level 3 – Expands your sonar range during a Bananza by 100 percent (3 Anomalocaris Fossils)
Lagoon Layer Style Shop
Matches the level and abilities of Cyan Lagoon Vest (5 Ammonite Fossils)
Lagoon Layer Style Shop
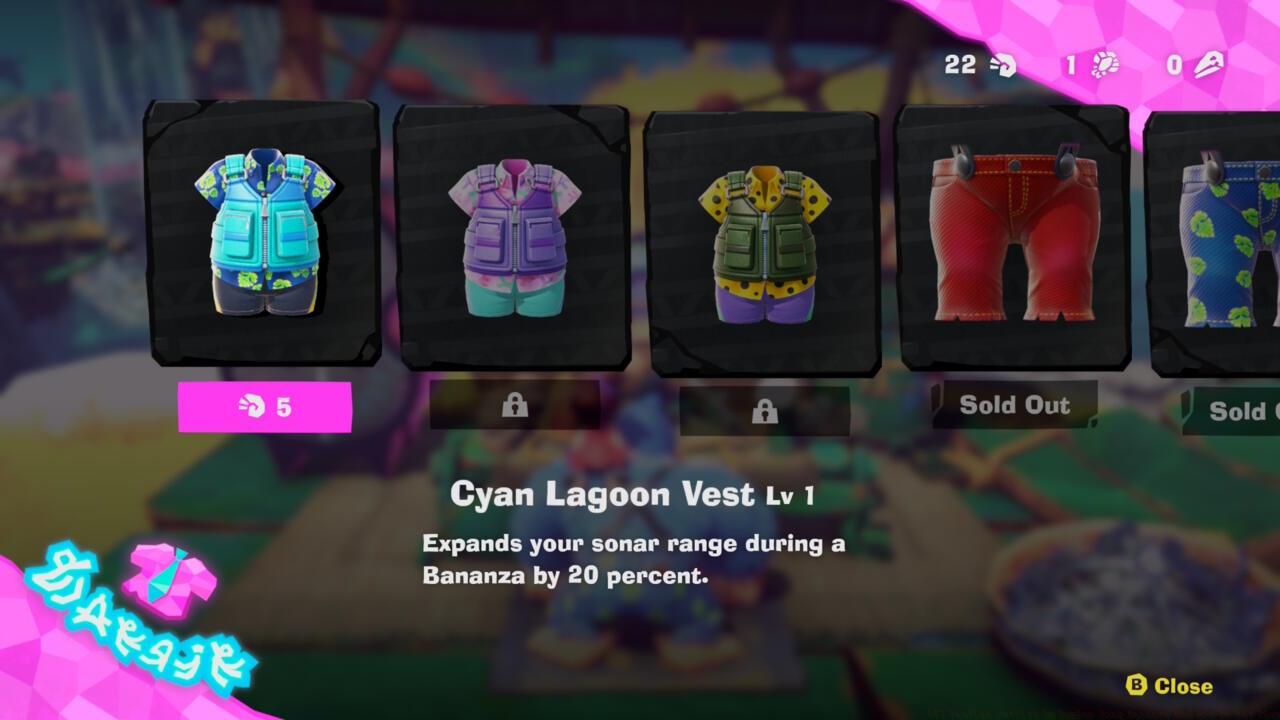
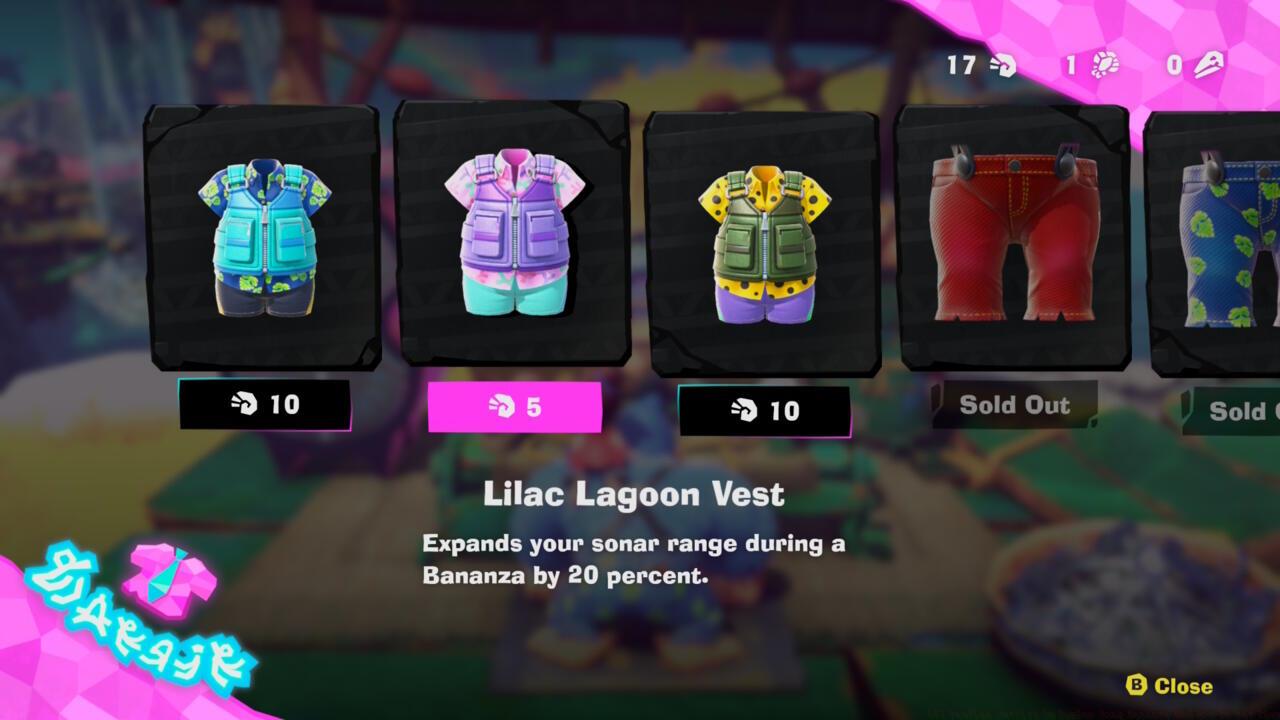
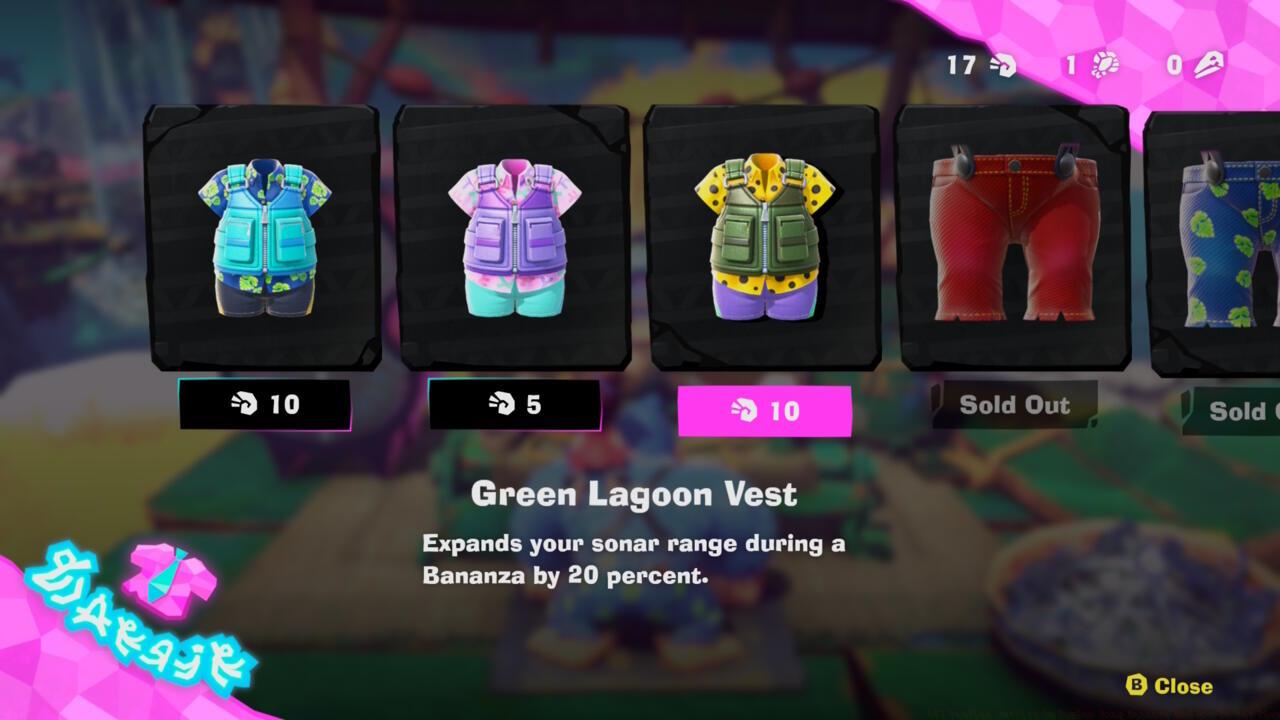
Strategic Application: The sonar range expansion becomes crucial in later underwater levels where hidden collectibles are scattered across vast areas. The Level 3 outfit can reduce exploration time by up to 45% in aquatic zones.
Optimization Tip: Combine Pauline’s sonar outfits with Donkey Kong’s aquatic abilities through our Complete Guide to maximize efficiency in water-based challenges.
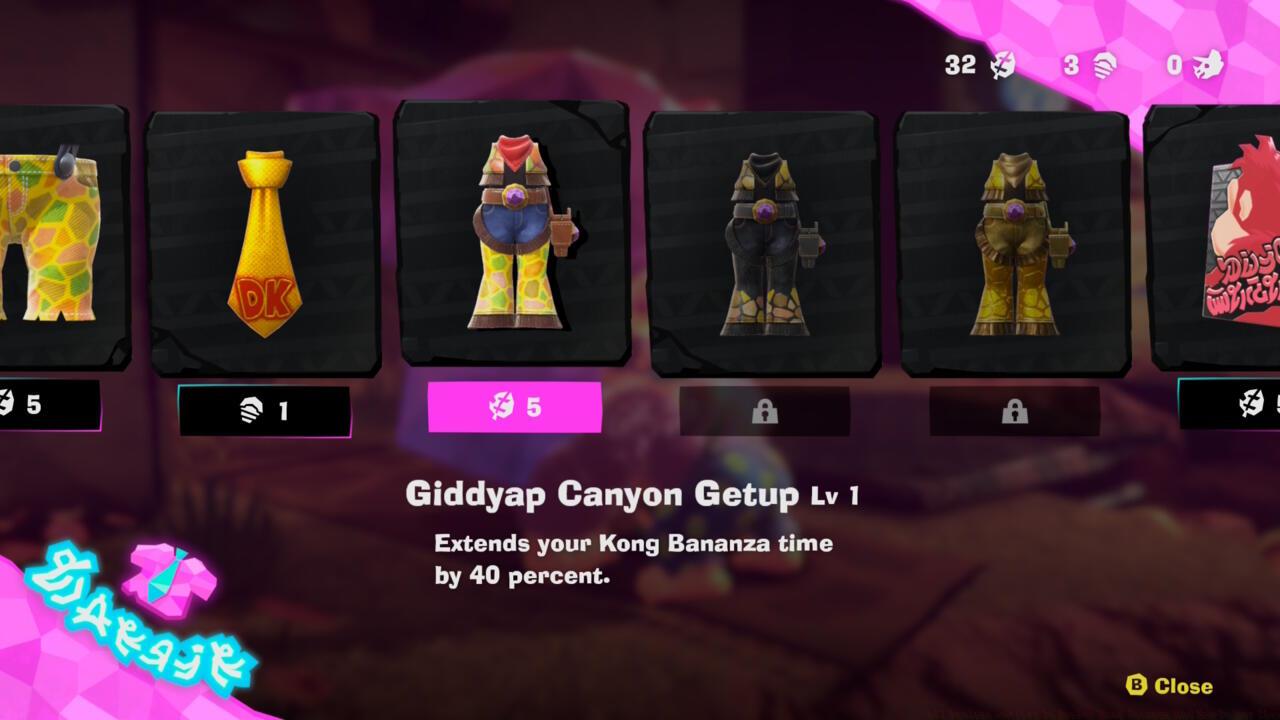
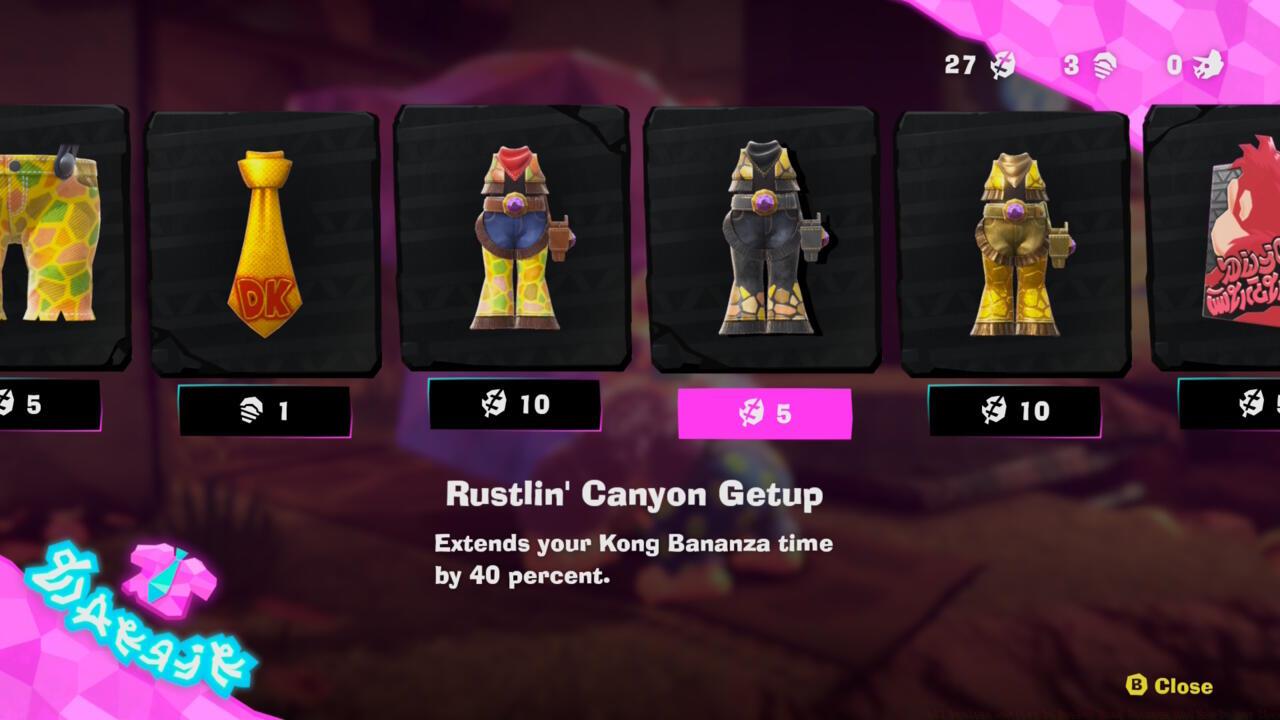

Movement Bonuses: Canyon outfits provide enhanced mobility through difficult terrain. The Gold Canyon Getup offers the most significant movement advantages, particularly in timed challenges.
Acquisition Strategy: These outfits typically require fossil combinations from both canyon and adjacent areas. Plan your route to collect multiple fossil types efficiently.
Common Pitfall: Players often underestimate the value of movement bonuses until facing platforming challenges that become nearly impossible without them.
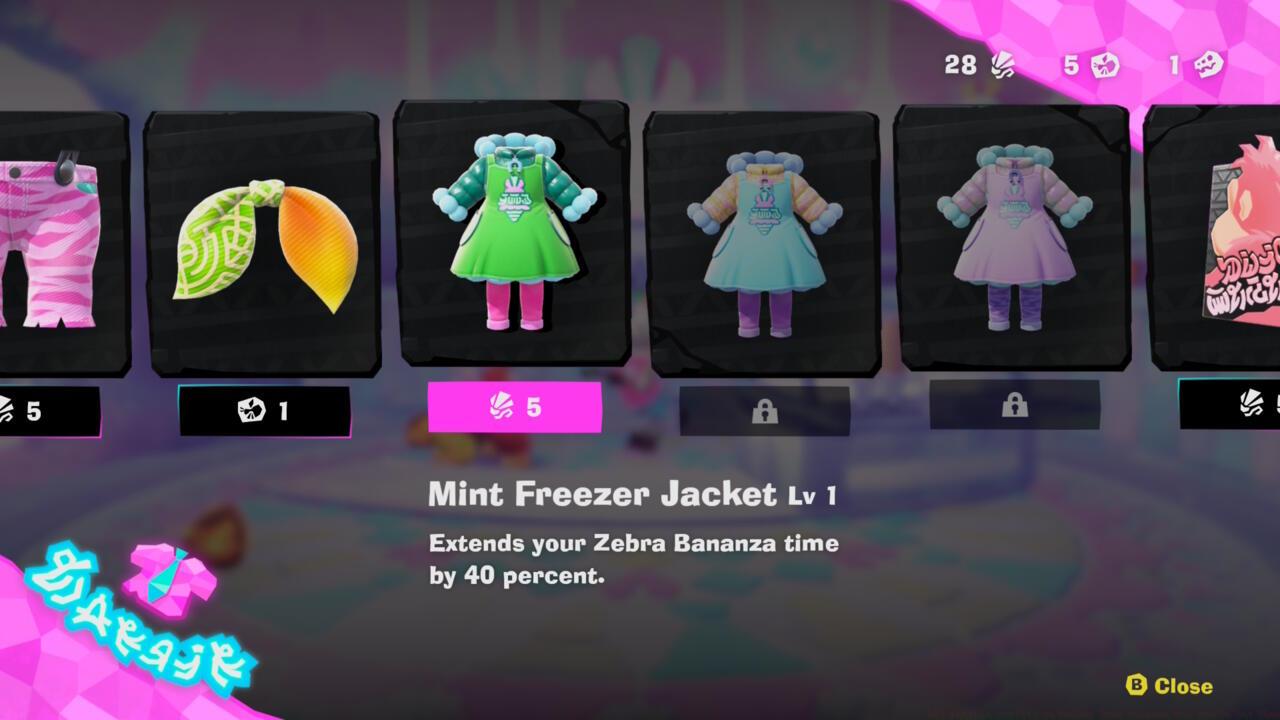
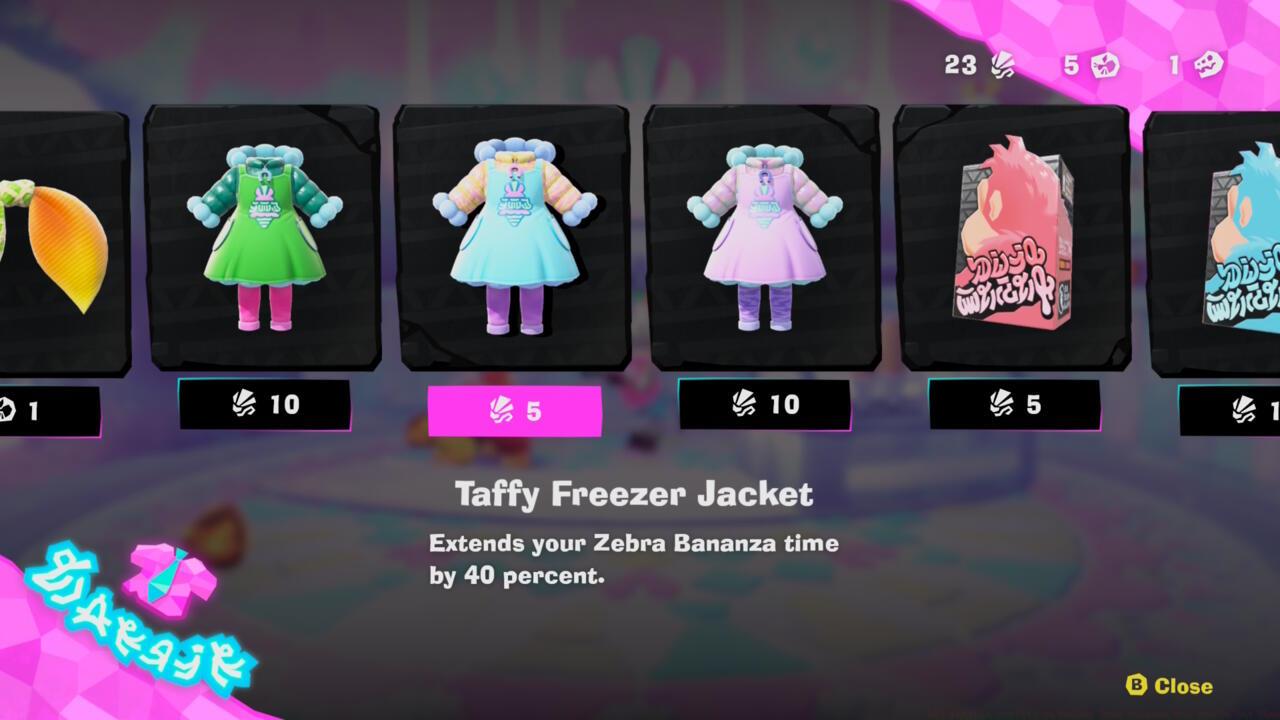
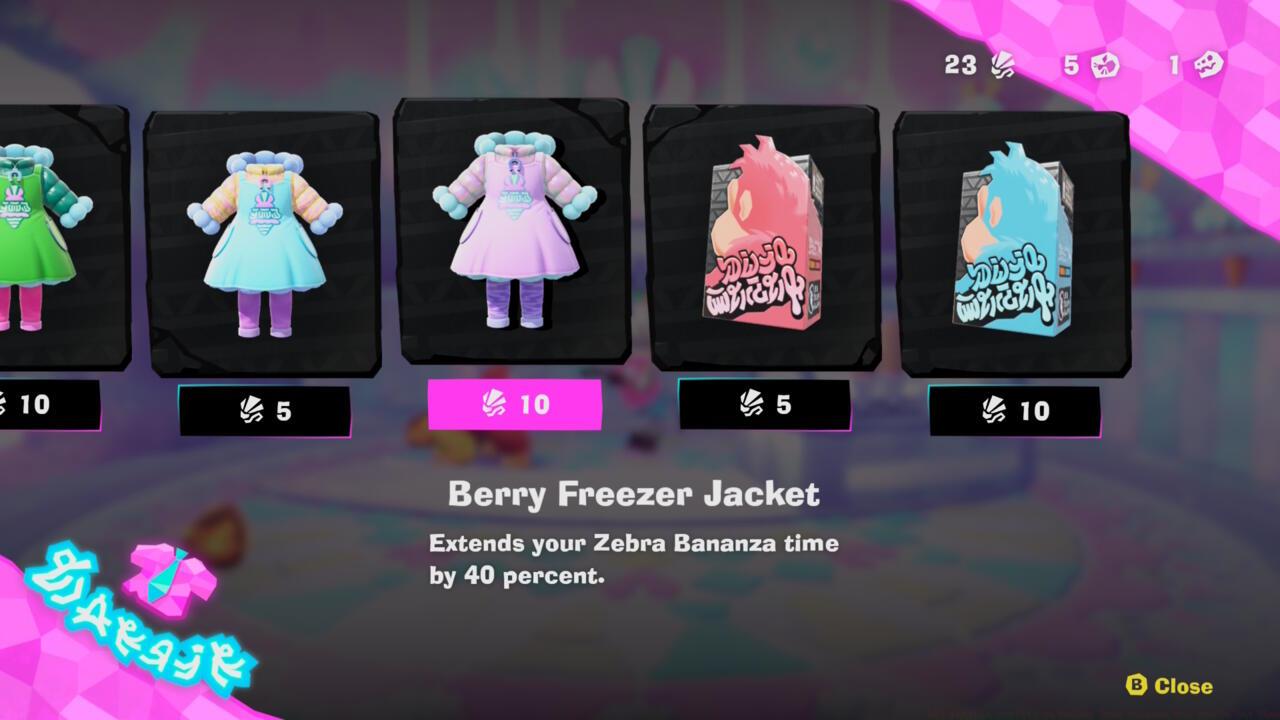
Environmental Resistance: Freezer Jackets provide protection against cold-based environmental hazards. The Berry Freezer Jacket offers the highest resistance level.
Mechanics Insight: These outfits don’t just reduce damage—they prevent movement impairment from freezing effects, maintaining your platforming precision in icy conditions.
Advanced Tip: Combine freezer protection with appropriate Class Guide selections to create specialized builds for winter-themed levels.

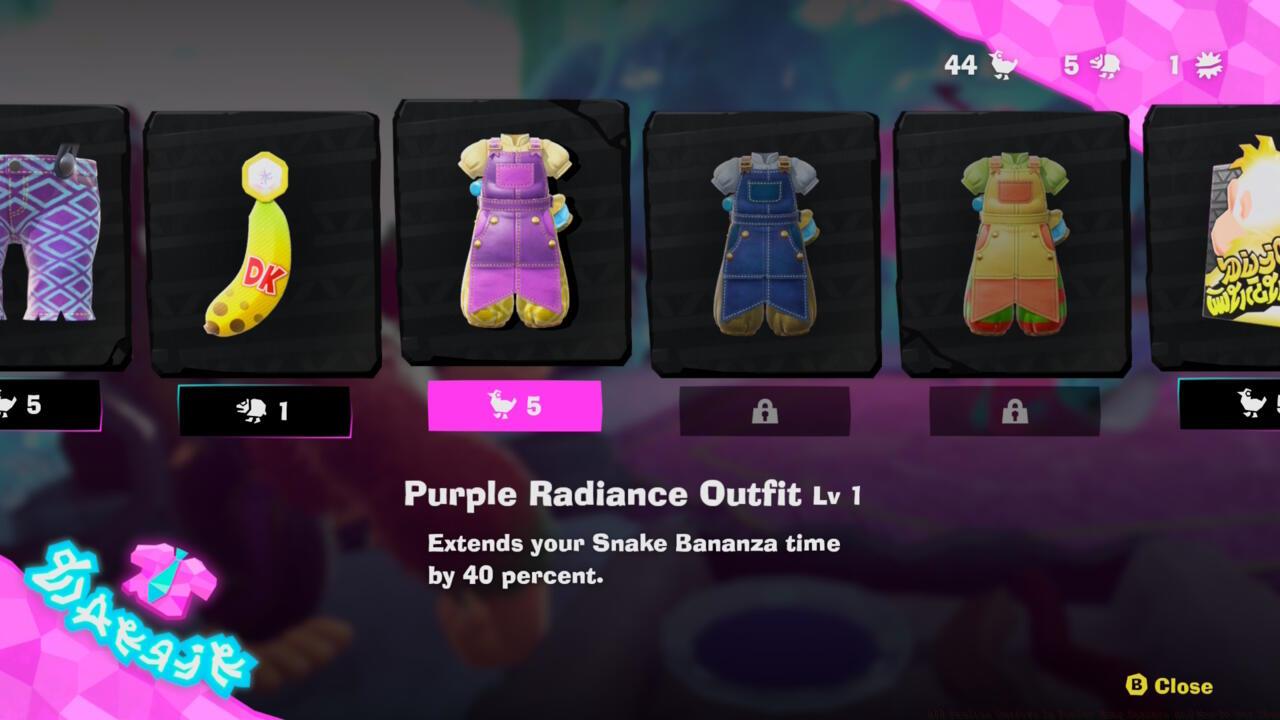
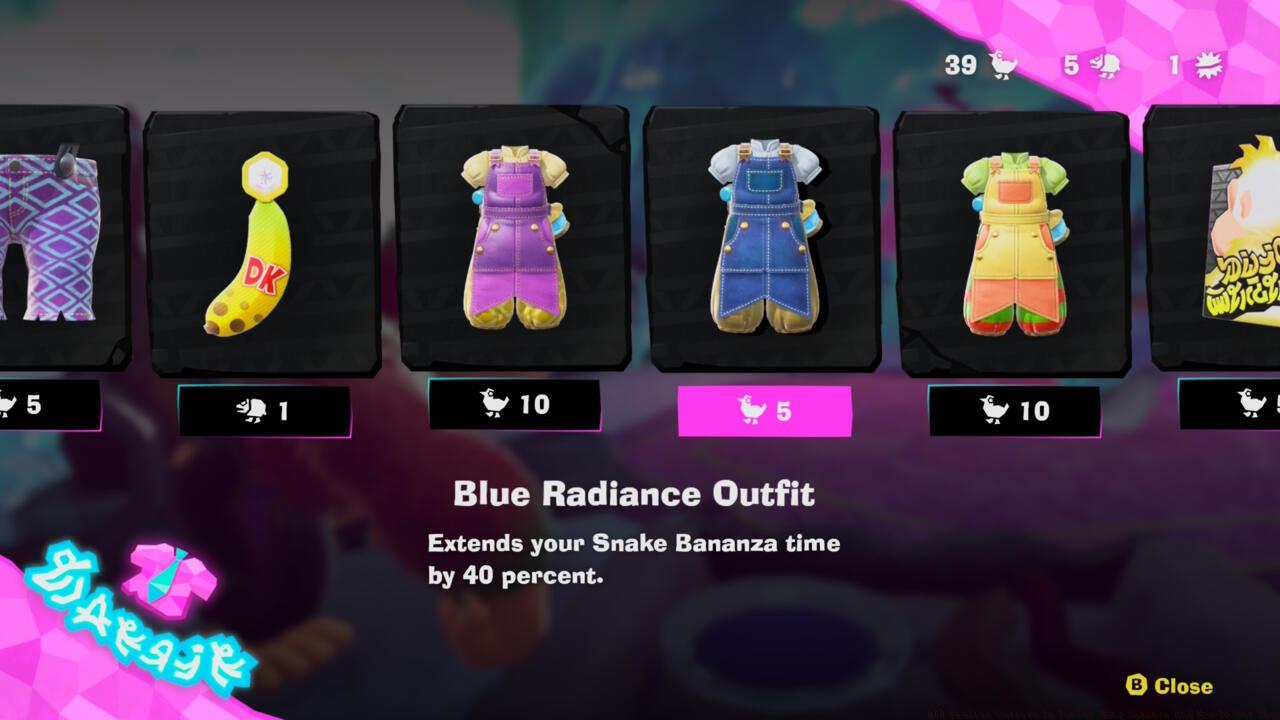
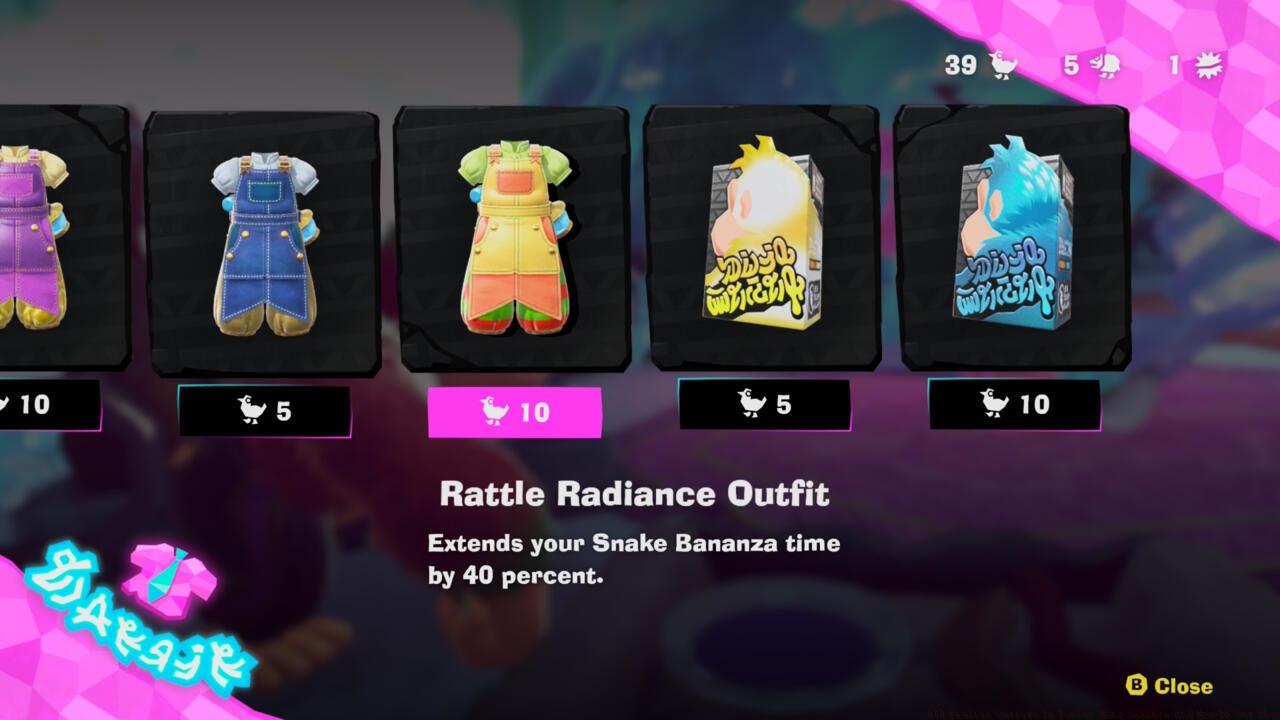
End-Game Benefits: These premium outfits provide compound bonuses affecting multiple gameplay systems simultaneously. The Radiance series, for example, combines exploration enhancements with defensive capabilities.
Acquisition Timeline: Expect to spend 8-12 hours specifically farming fossils for these top-tier outfits once you’ve reached the appropriate progression point.
Strategic Priority: Focus on outfits that complement your preferred Weapons Unlock strategies and playstyle preferences.
Optimization for Completionists: If aiming for 100% completion, prioritize outfits that reveal hidden collectibles or provide movement advantages in hard-to-reach areas.
Action Checklist
- Identify which biome-specific fossils you need for desired outfits
- Prioritize 2-3 key outfits that match your current progression needs
- Systematically explore target areas while completing main objectives
- Exchange fossils strategically—avoid wasting rare fossils on low-tier outfits
- Combine Pauline’s outfit bonuses with Donkey Kong’s cosmetics for maximum effect
No reproduction without permission:SeeYouSoon Game Club » All Pauline Outfits In Donkey Kong Bananza And How To Get Them Complete guide to Pauline's outfits in Donkey Kong Bananza with fossil costs and strategic benefits