TL;DR
- Activate tutorial quests manually through Challenge tab for essential early-game guidance
- Establish base near traders and water sources to optimize resource gathering efficiency
- Prioritize Fortitude skill tree perks for enhanced survival capabilities and stamina management
- Claim tutorial rewards manually for valuable XP boosts and progression acceleration
- Use first six days strategically to prepare for the inevitable day seven horde night
GameSpot may receive revenue from affiliate and advertising partnerships for sharing this content and from purchases through links.
Following nearly 12 years in early access development, 7 Days to Die has officially launched its complete PC version 1.0, with next-generation console editions arriving on PlayStation 5 and Xbox Series X|S shortly. This zombie survival sandbox presents significant challenges for newcomers, making our comprehensive guidance essential for establishing your foothold in this brutal post-apocalyptic world.
Both PC and console iterations feature identical content and gameplay mechanics, ensuring these survival strategies apply universally across platforms. Returning veterans from previous PlayStation 4 and Xbox One versions will encounter dramatically transformed gameplay systems and content. The overhauled experience introduces numerous innovative features that fundamentally change survival approaches. Our guide provides crucial orientation for navigating these substantial updates.
Important Note: Legacy console editions for PS4 and Xbox One have been removed from digital storefronts and are no longer available for purchase. Existing owners can continue playing the outdated versions, but accessing the enhanced next-generation experience requires purchasing the newly released edition.
Begin addressing in-game objectives immediately upon spawning into the world. The initial tutorial sequence may not automatically activate, requiring manual intervention through your menu’s Challenge tab. Activate the tutorial quest chain promptly to initiate fundamental learning.
This systematic approach guarantees you’ll master basic crafting mechanics and survival principles during the critical early hours. Your primary objective involves utilizing the initial six-day period to prepare for the inevitable seventh-day horde assault, making efficient time management absolutely essential in 7 Days to Die.

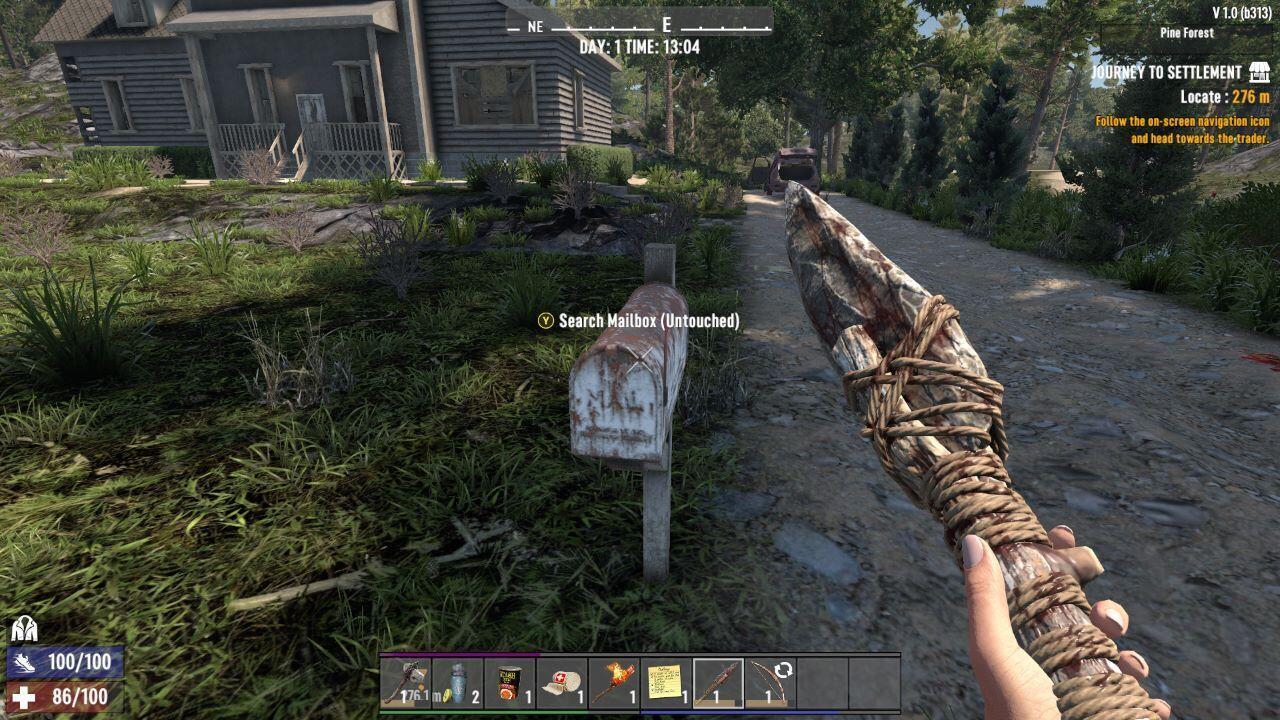
Upon finishing tutorial objectives, return to the Challenge interface to manually collect your completion rewards. This manual claiming process provides substantial experience points crucial for early progression. The tutorial’s concluding phase directs you toward map-indicated trader locations. Prioritize visiting the nearest trading post since temporal efficiency remains paramount during initial gameplay stages.
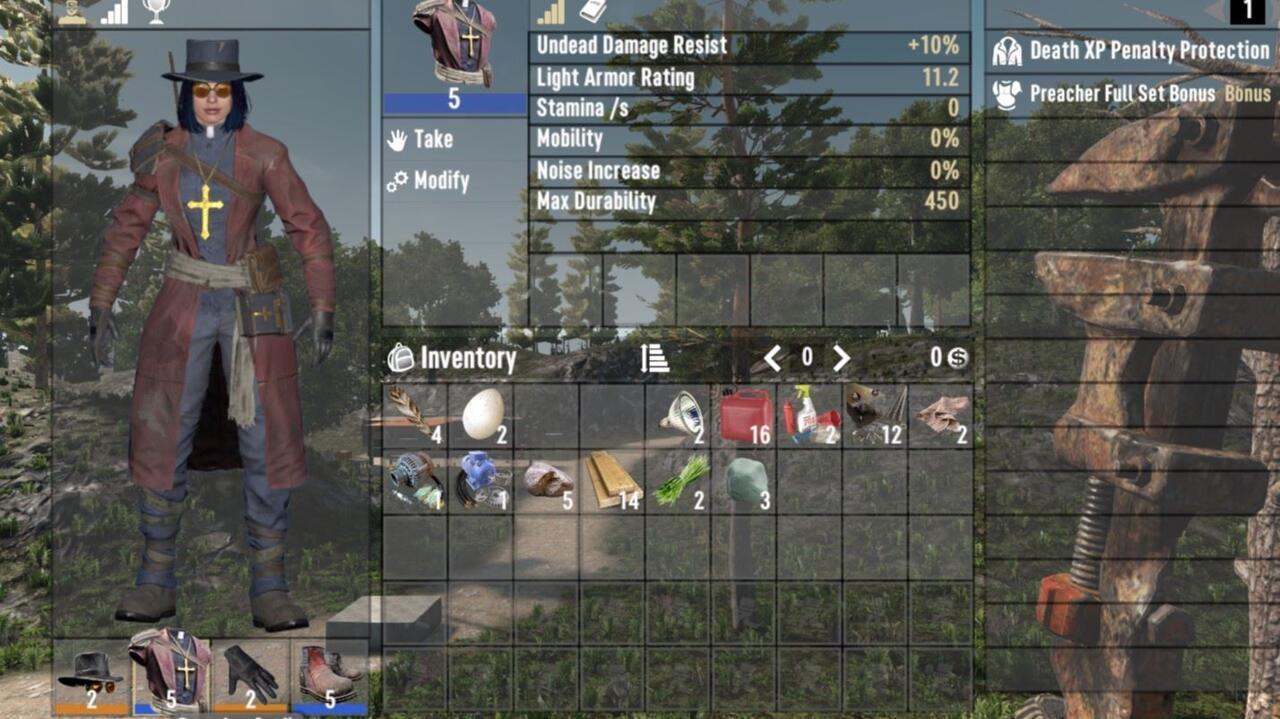
Establish your operational headquarters in proximity to your selected trader, ideally adjacent to water sources when feasible. While later-game water collection systems become available, beginning near natural water reserves offers significant hydration advantages until you construct advanced solutions like Dew Collectors.
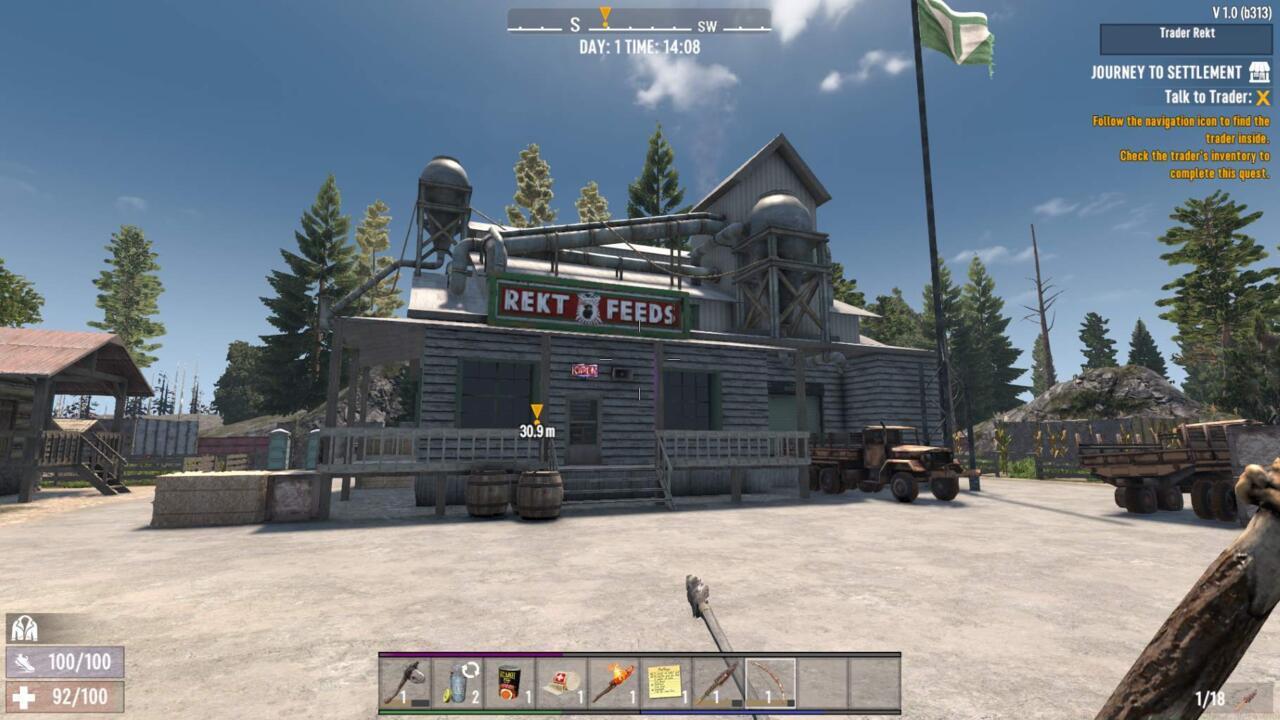
Strategic positioning near traders facilitates regular quest acquisition, equipment trading, and emergency shelter access. Water adjacency enables consistent hydration maintenance, preventing debilitating dehydration penalties that severely impact stamina regeneration and health recovery rates. Consider establishing temporary bases near poi (point of interest) locations that offer both structural advantages and resource proximity.
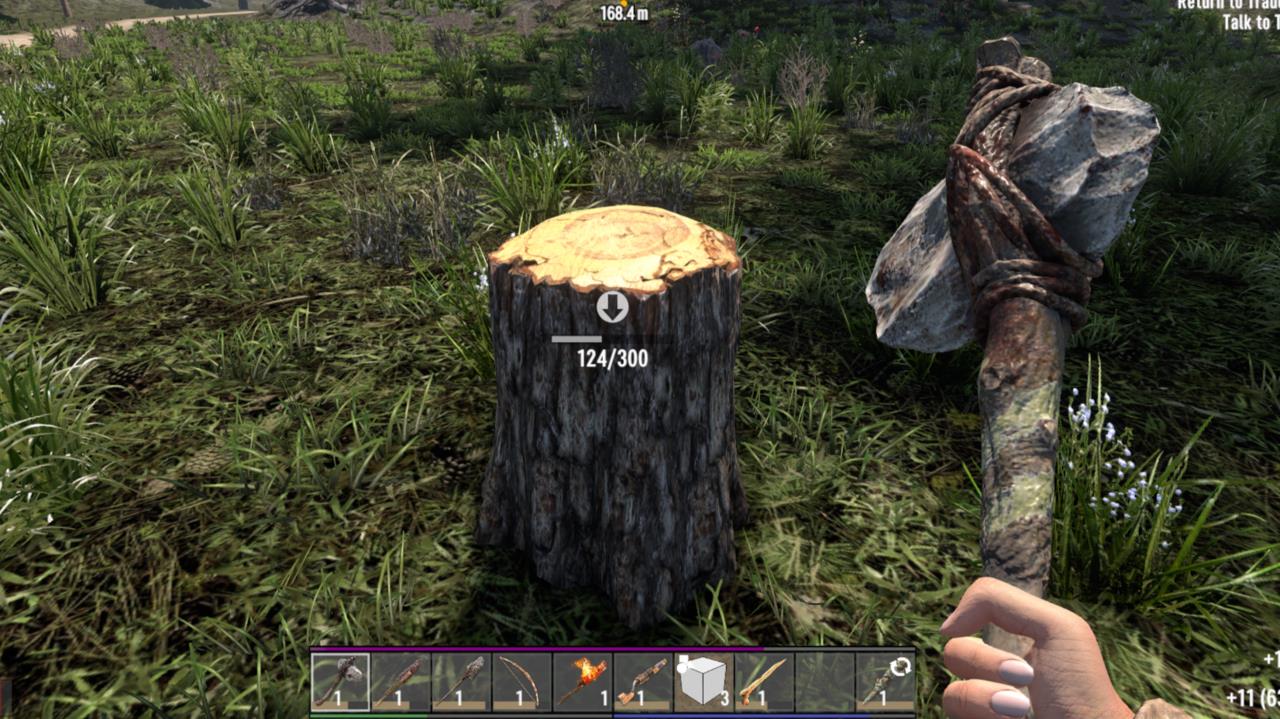
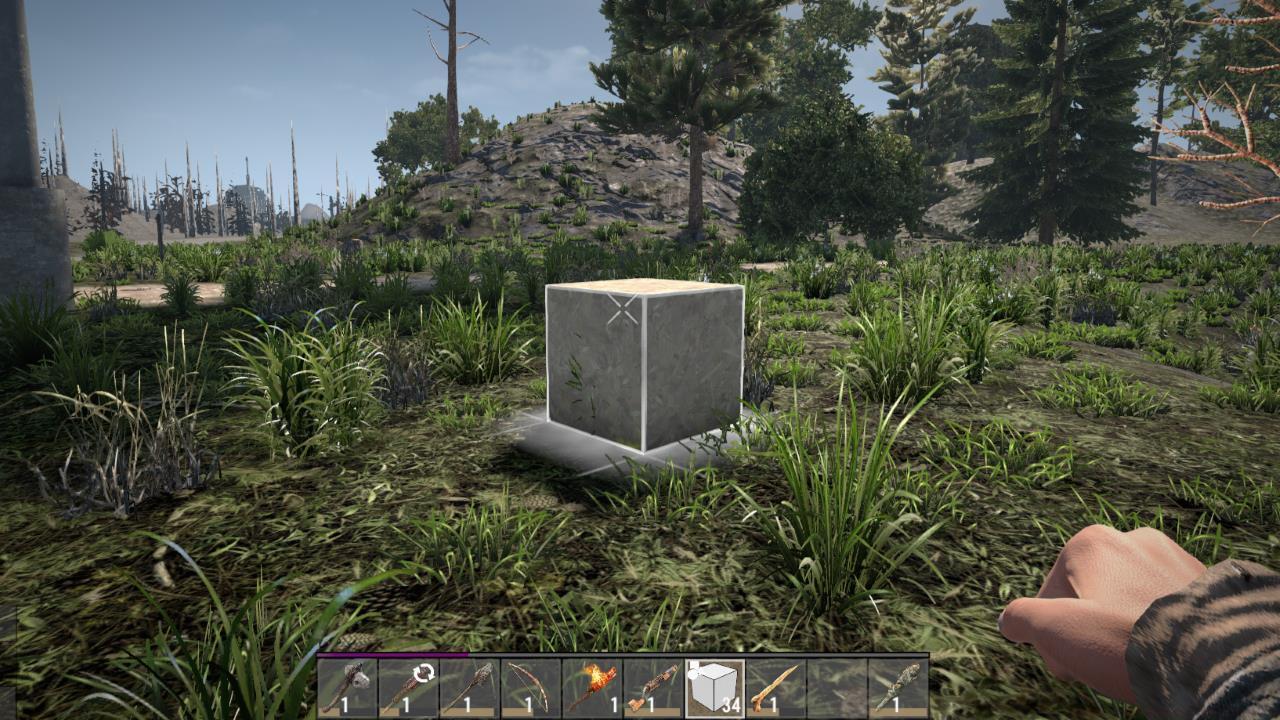
Resource collection efficiency dramatically improves through proper tool selection and perk specialization. Beginners should prioritize gathering wood, stone, and plant fibers during daylight hours, reserving nighttime for base fortification and crafting activities. This approach optimizes your preparation timeline for the impending horde confrontation.
The most advantageous starting perks reside within the Fortitude attribute tree, specifically focusing on:
As your character advances, you can allocate maximum five points into these recommended perk specializations. Ultimate maximization delivers optimal survival enhancements including diminished health deterioration, complete stun immunity from enemy attacks, accelerated health restoration, reduced sustenance consumption during physical activity, enhanced stamina reserves, and numerous additional benefits.
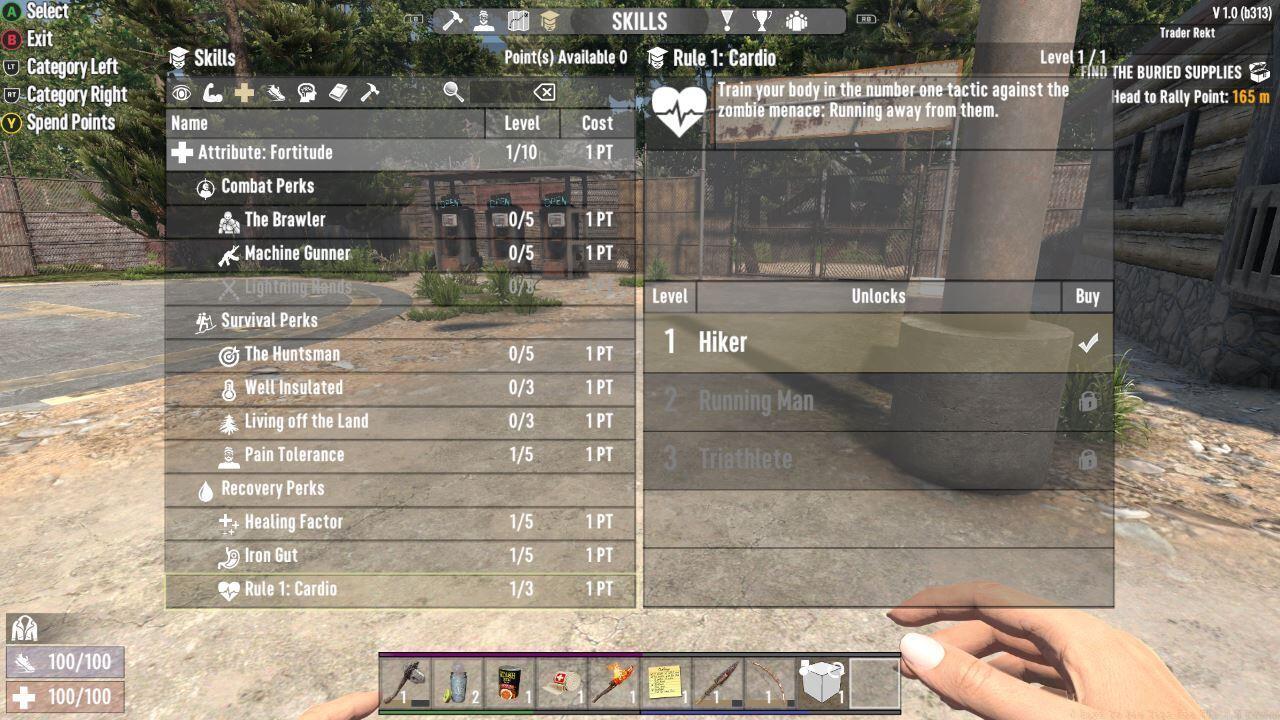
Fortitude-based abilities provide foundational survival statistics that new players often underestimate. The Healing Factor perk significantly improves natural health regeneration, while Well Insulated reduces environmental temperature effects. Pain Tolerance offers crucial damage mitigation, especially valuable during early-game weapon limitations.
Strategic perk investment follows progressive unlocking patterns rather than immediate specialization. Begin with single-point investments across multiple essential abilities before committing to maximum specialization. This diversified approach prevents early-game vulnerability while establishing well-rounded capabilities.
Advanced players should coordinate perk selections with weapon specialization trees for synergistic combat effectiveness. The Class Guide principles of role specialization apply similarly here – identify your preferred survival archetype (scavenger, builder, combat specialist) and align perk choices accordingly.
Horde night preparation represents the core gameplay cycle, requiring systematic resource allocation and structural planning. Begin basic fortifications by day three, escalating defensive preparations as the seventh day approaches. Common beginner errors include underestimating zombie pathing intelligence and overextending resource gathering operations.
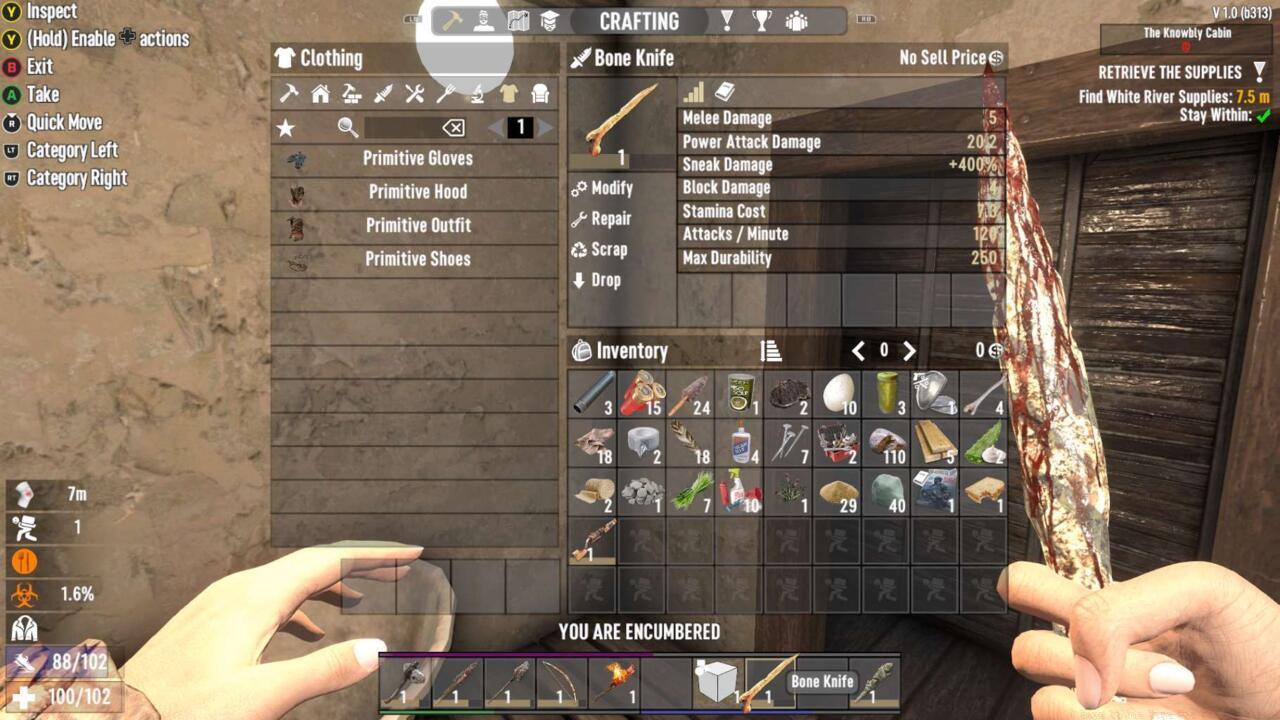
Essential early-game crafting priorities include stone axes for efficient resource harvesting, basic medical supplies for emergency treatment, and rudimentary defensive structures.
Structural integrity principles dictate reinforced entry points and elevated defensive positions. Zombies exhibit sophisticated destruction capabilities, targeting weakest structural elements during assaults. Like mastering Weapons Unlock systems in other games, understanding 7 Days to Die’s crafting progression tree is essential for efficient advancement.
Advanced players should explore electrical systems integration for automated defenses and quality-of-life improvements. The Complete Guide mentality applies here – comprehensive knowledge of game systems creates survival advantages.
Common survival mistakes include neglecting hunger management during intensive activities, failing to establish multiple resource stockpiles, and underestimating nighttime mobility restrictions.

Action Checklist
- Manually activate tutorial quests through Challenge tab immediately upon spawning
- Claim tutorial rewards manually for essential XP boost and early-game progression
- Establish base location near trader and water source
- Prioritize Fortitude skill tree perks with initial skill points
- Begin basic fortification construction by day three for horde preparation
- Coordinate daytime resource gathering with nighttime crafting and base improvement
No reproduction without permission:SeeYouSoon Game Club » 7 Days To Die Tips For The 1.0 Launch Master 7 Days to Die with essential survival strategies, base building tips, and horde night preparation techniques