TL;DR
- Four distinct fast travel systems cover sky, surface, and underground regions
- Strategic shrine activation creates permanent network for efficient backtracking
- Lightroots provide critical safety in the dangerous Chasm environment
- Travel Medallions enable custom waypoints for farming and exploration
- Proper fast travel planning reduces 40-60% of traversal time
Understanding the core mechanics of fast travel in The Legend of Zelda: Tears of the Kingdom transforms your exploration efficiency across Hyrule’s expanded world. This comprehensive system enables instant transportation between activated locations, dramatically cutting down on repetitive travel time.
The fast travel functionality becomes accessible early in your adventure once you complete the initial tutorial segment. From that point forward, accessing your map screen reveals all previously unlocked teleportation points marked with distinctive icons. Simply target any available location and confirm selection using the designated action button to initiate immediate transportation.
Notably, the game maintains exceptional flexibility regarding when you can utilize these travel options. Whether you’re navigating urban centers, soaring through atmospheric layers, submerged in aquatic environments, or engaged in most other activities, teleportation remains available. This accessibility proves invaluable when you need to escape dangerous situations or quickly return to civilization for supplies.
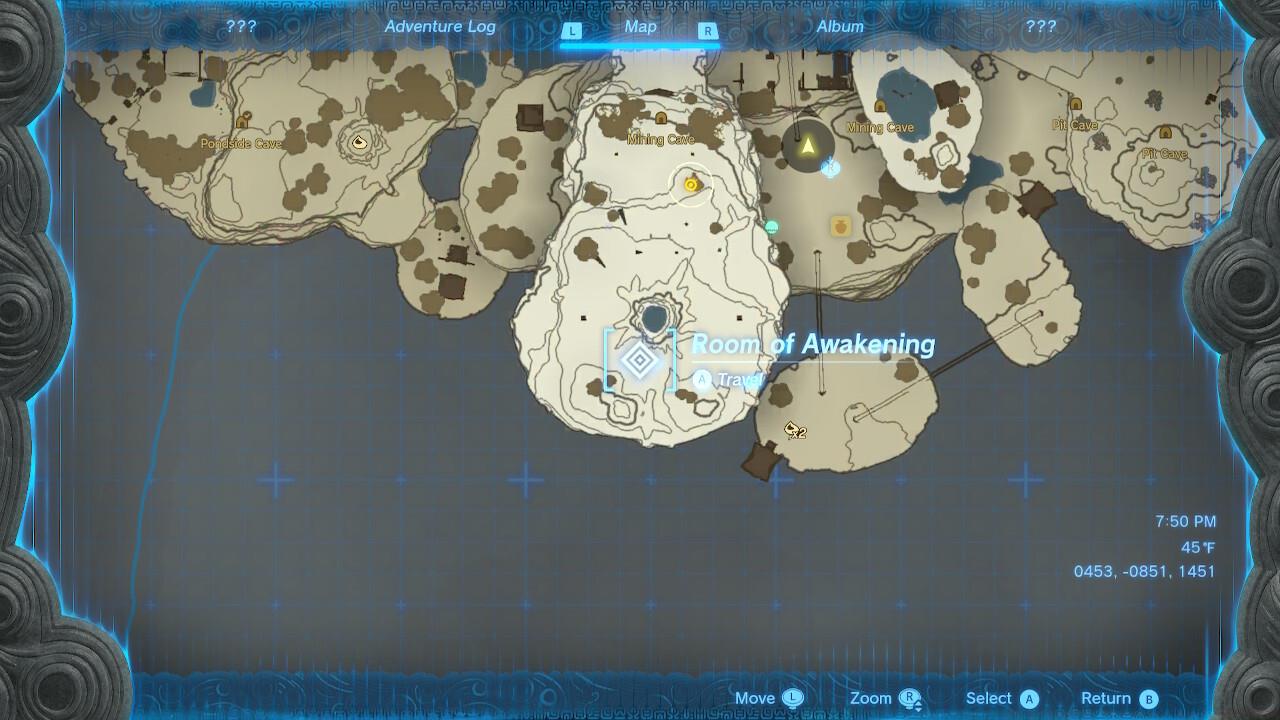
Mastering the map interface is crucial for efficient navigation across Hyrule’s vast landscapes.
The shrine network forms the backbone of Tears of the Kingdom’s transportation infrastructure. During your initial hours on the Great Sky Island, you’ll encounter numerous shrines housing puzzle chambers and ability tutorials. Each entrance features a distinctive blue circular pattern on the ground that serves dual purposes.
Initially, these markings simply indicate shrine locations, but their true function as teleportation nodes becomes clear as you progress. The critical activation process involves approaching the glowing green glyph at each shrine’s entrance and interacting with it. This action permanently registers the location within your fast travel network, enabling return visits from anywhere in the game world.
Strategic shrine activation deserves careful consideration. Prioritize shrines near valuable resources, difficult terrain crossings, or important story locations. Many players overlook that activated shrines provide safe havens during severe weather conditions or enemy encounters. For optimal coverage, aim to activate at least one shrine per major geographical region early in your playthrough.
Skyview Towers represent the aerial component of Hyrule’s travel network, offering unique advantages for vertical mobility and reconnaissance. Each tower contains an interactive terminal that, when activated, unlocks both the tower itself as a fast travel destination and triggers a regional mapping sequence.
The tower activation process launches Link skyward in a dramatic ascent that provides unparalleled visibility. This aerial perspective reveals nearby surface landmarks, sky islands, and often hidden secrets that would otherwise remain unnoticed. The strategic value comes from using these elevated positions to plan precise glide paths to distant objectives.
Advanced players should note that tower activations simultaneously reveal corresponding surface and sky maps. This dual-layer cartography proves essential for planning complex routes that incorporate both horizontal travel and vertical transitions between elevation levels.
The Chasm presents Hyrule’s most hazardous environment, a massive underground realm blanketed in perpetual darkness where standard navigation methods fail. Lightroots emerge as beacons of safety within this oppressive landscape, appearing as luminous tree-like structures with distinctive yellow glow patterns.
Approaching and interacting with a Lightroot’s central stem activates it as a permanent fast travel waypoint. Beyond mere transportation, each activation dispels the dangerous Gloom debuff that permanently reduces your heart containers until cleansed. This dual functionality makes Lightroot hunting a priority for serious exploration beneath the surface.
The illumination provided by activated Lightroots gradually reveals the surrounding terrain on your Depths map. This progressive mapping counteracts the region’s inherent disorientation. Strategic placement near valuable Zonaite deposits or key underground locations can save hours of frustrating navigation through hostile territory.
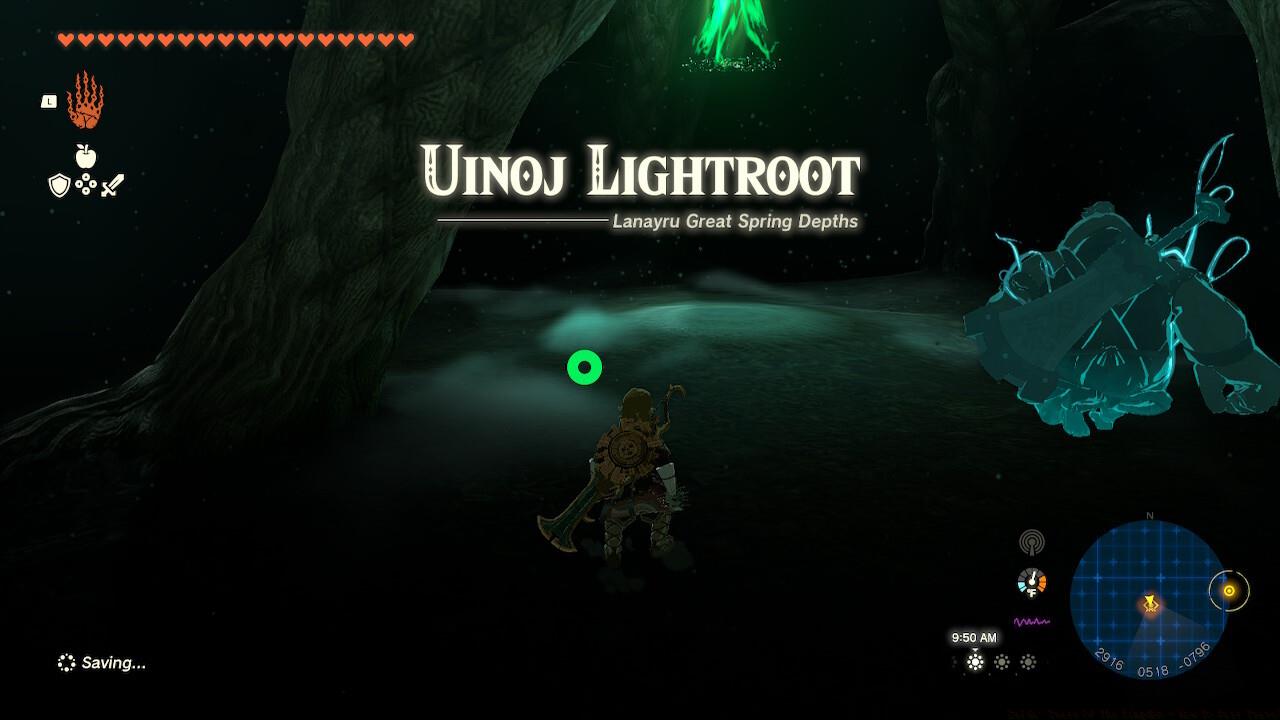
Lightroots provide essential illumination and safety in the treacherous underground realms of the Chasm.
Travel Medallions represent the most flexible fast travel option, allowing you to create custom waypoints at any accessible location. Unlocking this functionality requires completing a specific quest chain for Robbie, which becomes available after progressing through the main story objectives.
Upon completion, you receive three medallions that can be strategically placed throughout the world. The deployment process involves selecting the item from your inventory and placing it at your current position, instantly creating a new fast travel destination.
The true strategic advantage comes from the ability to recover and reposition medallions as your exploration needs evolve. Common advanced applications include placing medallions near rare resource spawns, difficult shrine puzzles requiring multiple attempts, or dangerous enemy encampments where quick escape options prove valuable. Proper medallion management can reduce backtracking time by up to 70% for specific farming routes.
Master players combine all four travel systems to create optimized routes that minimize wasted movement. A typical efficient loop might involve teleporting to a Skyview Tower, gliding to a surface objective, then using a nearby shrine to return to the tower for repetition. This methodology proves particularly effective for material farming and enemy respawn exploitation.
Strategic planning should account for the verticality of Tears of the Kingdom’s world design. Create mental connections between sky, surface, and underground waypoints to facilitate seamless transitions between elevation layers without excessive climbing or searching for alternate routes.
Common beginner mistakes include neglecting to activate shrines encountered during main story progression, underestimating the value of Lightroots for underground safety, and poor Travel Medallion placement that doesn’t align with actual gameplay patterns. Regularly audit your fast travel network to ensure it supports your current objectives rather than past ones.
Action Checklist
- Activate every shrine encountered during main progression
- Prioritize Skyview Towers in each region for map completion
- Place Travel Medallions near high-value resource nodes
- Systematically activate Lightroots to counter Gloom debuff
- Create optimized farming loops using combined travel methods
No reproduction without permission:SeeYouSoon Game Club » Zelda: Tears Of The Kingdom – How To Fast Travel Master Tears of the Kingdom's fast travel system with strategic shrine, tower, and medallion placement techniques