TL;DR
- Ekochiu Shrine requires mastery of Rewind and Ultrahand abilities in sequence
- Position boxes strategically to counter water currents when retrieving the hidden chest
- The Level 11 Zonaite Shield provides significant defensive benefits worth obtaining
- Time your Rewind ability carefully to avoid falling during platform transitions
- Complete both main path and optional chest within 8-12 minutes using optimized routes
Conquer the gravitational challenges of Ekochiu Shrine with strategic ability combinations!
The Ekochiu Shrine presents one of the more complex puzzle sequences in Tears of the Kingdom, demanding precise execution of multiple abilities. Success requires not just the Paraglider but also mastery of both Rewind and Ultrahand in coordinated sequences. This comprehensive guide breaks down each chamber with proven strategies to navigate the Rise and Fall mechanics efficiently.
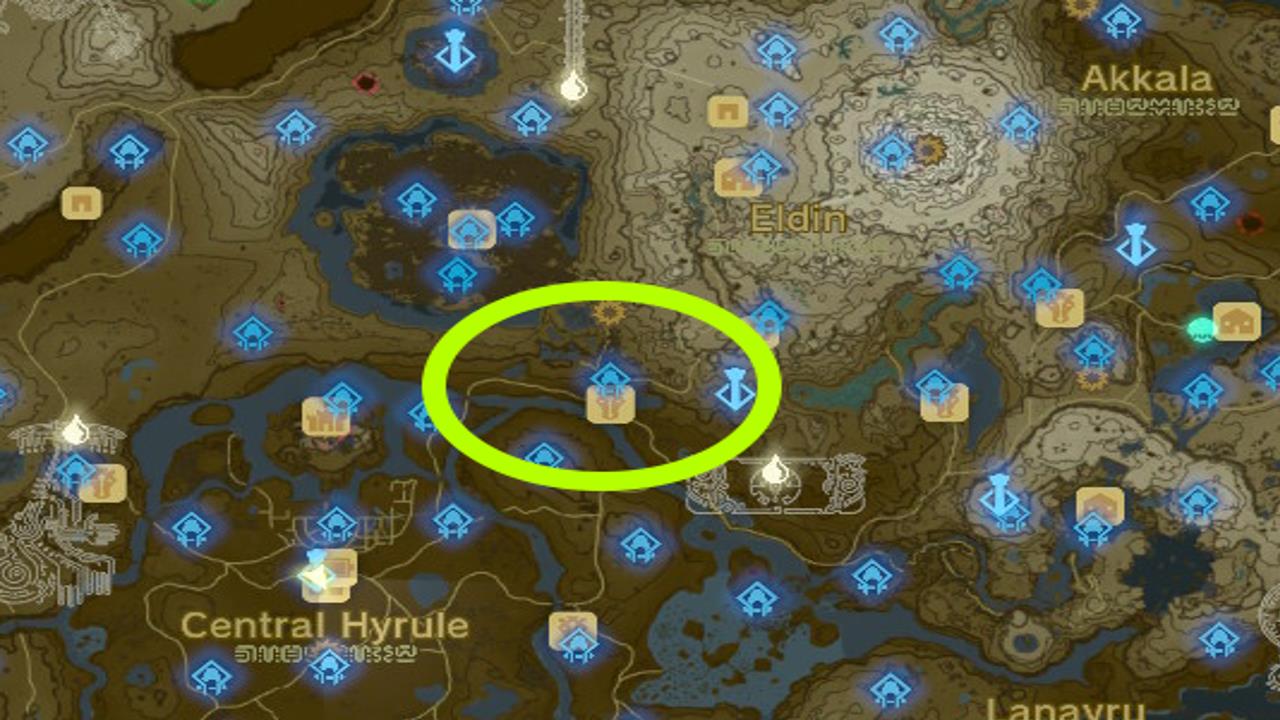
Located within the dense woodland of Great Hyrule Forest, Ekochiu Shrine tests your spatial reasoning and timing skills. Before attempting this shrine, ensure you’ve acquired the Paraglider from the main story progression and practiced both Rewind and Ultrahand abilities in less demanding environments.

Strategic navigation through Great Hyrule Forest leads to Ekochiu Shrine’s entrance.
Upon entering the shrine’s initial chamber, you’ll encounter a substantial gap blocking your path forward. Activate the floor button mechanism to initiate the moving platform sequence. This sends a stone block traveling across the chasm automatically.
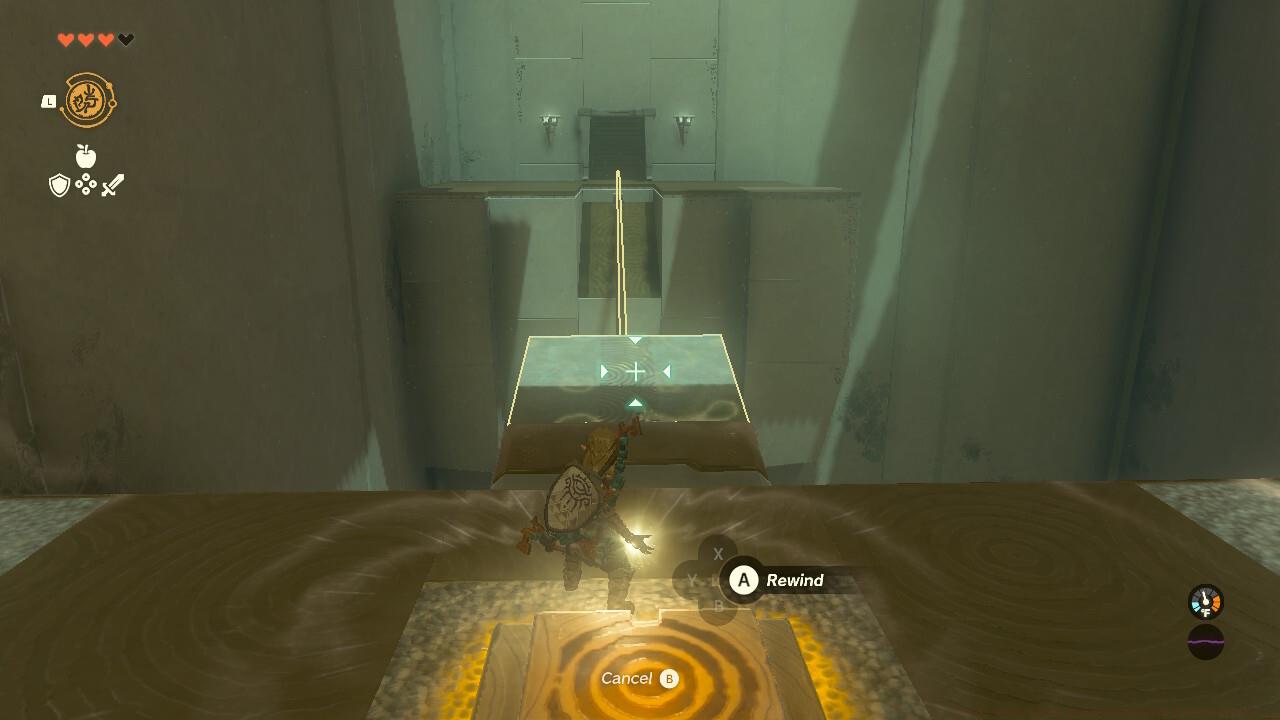
Wait patiently for the platform to complete its journey to the far side and begin returning toward your position. As it approaches, time your jump carefully to land precisely on the moving surface. Immediately activate your Rewind ability to reverse the block’s trajectory, carrying you safely to the opposite ledge.

Strategic Rewind activation transforms moving platforms into reliable transportation.
Advanced players can optimize this section by positioning themselves at the platform’s edge before activating Rewind, reducing transition time between chambers. Common mistakes include activating Rewind too early (before fully landing) or too late (risking platform departure).
The subsequent chamber introduces hydraulic mechanics with a flowing water channel and periodically descending containers. This room contains both your primary path progression and an optional treasure reward for thorough explorers.
The concealed chest resides on an elevated platform to the right of the main puzzle element. To access this reward, you’ll need to manipulate the environment using Ultrahand with precision.
Strategic positioning reveals the hidden chest location overlooking the water channel.
Employ your Ultrahand capability to relocate one of the descending boxes toward the right-side platform. Critical positioning technique: angle the container so only partial contact occurs with the water flow. Complete immersion allows current forces to displace your platform, while proper angling creates stable access.
Ascend your carefully positioned container and leap to the adjacent ledge to claim your reward. Within the chest awaits a Level 11 Zonaite Shield, providing substantial defensive capabilities with durability exceeding standard shields. This equipment proves valuable for upcoming combat encounters throughout Hyrule.
Proper Rewind sequencing elevates you to the shrine’s completion platform.
For experienced players seeking optimization, several techniques can reduce completion time significantly. In the initial chamber, position yourself at the platform’s forward edge before Rewind activation to minimize movement delay. When retrieving the hidden chest, pre-position the container during its descent phase rather than retrieving it from the water channel.
The most frequent errors involve mistiming Rewind sequences or improper Ultrahand placement. Ensure the moving platform has fully reversed direction before disembarking, and verify container stability before attempting ascent. The Level 11 Zonaite Shield obtained provides exceptional defensive utility, making the detour worthwhile for progression-focused players.
Mastering button-cube interactions is essential for efficient shrine navigation.
Typical completion times range from 8-12 minutes depending on skill level and whether players pursue the optional chest. Those familiar with Tears of the Kingdom’s physics systems can complete both objectives in under 10 minutes with proper execution. For comprehensive gameplay enhancement, consult our Complete Guide to master advanced mechanics.
Action Checklist
- Activate floor button and await platform return
- Board platform and activate Rewind for crossing
- Position container partially in water using Ultrahand
- Retrieve hidden chest containing Zonaite Shield
No reproduction without permission:SeeYouSoon Game Club » Zelda: Tears Of The Kingdom – Ekochiu Shrine Puzzle Guide Master the Ekochiu Shrine's Rise and Fall puzzles with expert strategies and hidden chest locations
