Complete guide to solving the Blind to the World puzzle quest in Where Winds Meet with expert strategies
Quest Overview and Preparation
Where Winds Meet features numerous captivating side adventures, with Blind to the World standing out as particularly rewarding. This quest involves assisting Doctor Tian in resolving several intricate puzzles for a contracted assignment. Since he’s already received payment, timely completion becomes crucial. As the protagonist, you’re uniquely positioned to help. This mission completely avoids combat scenarios while teaching underwater swimming techniques and emphasizing sensory awareness beyond visual perception.
PRO TIP: Before beginning this quest, ensure you have adequate healing items and consider upgrading your swimming stamina. The sensory-based puzzles require careful observation rather than brute force approaches.
Lake Draining Puzzle Solution
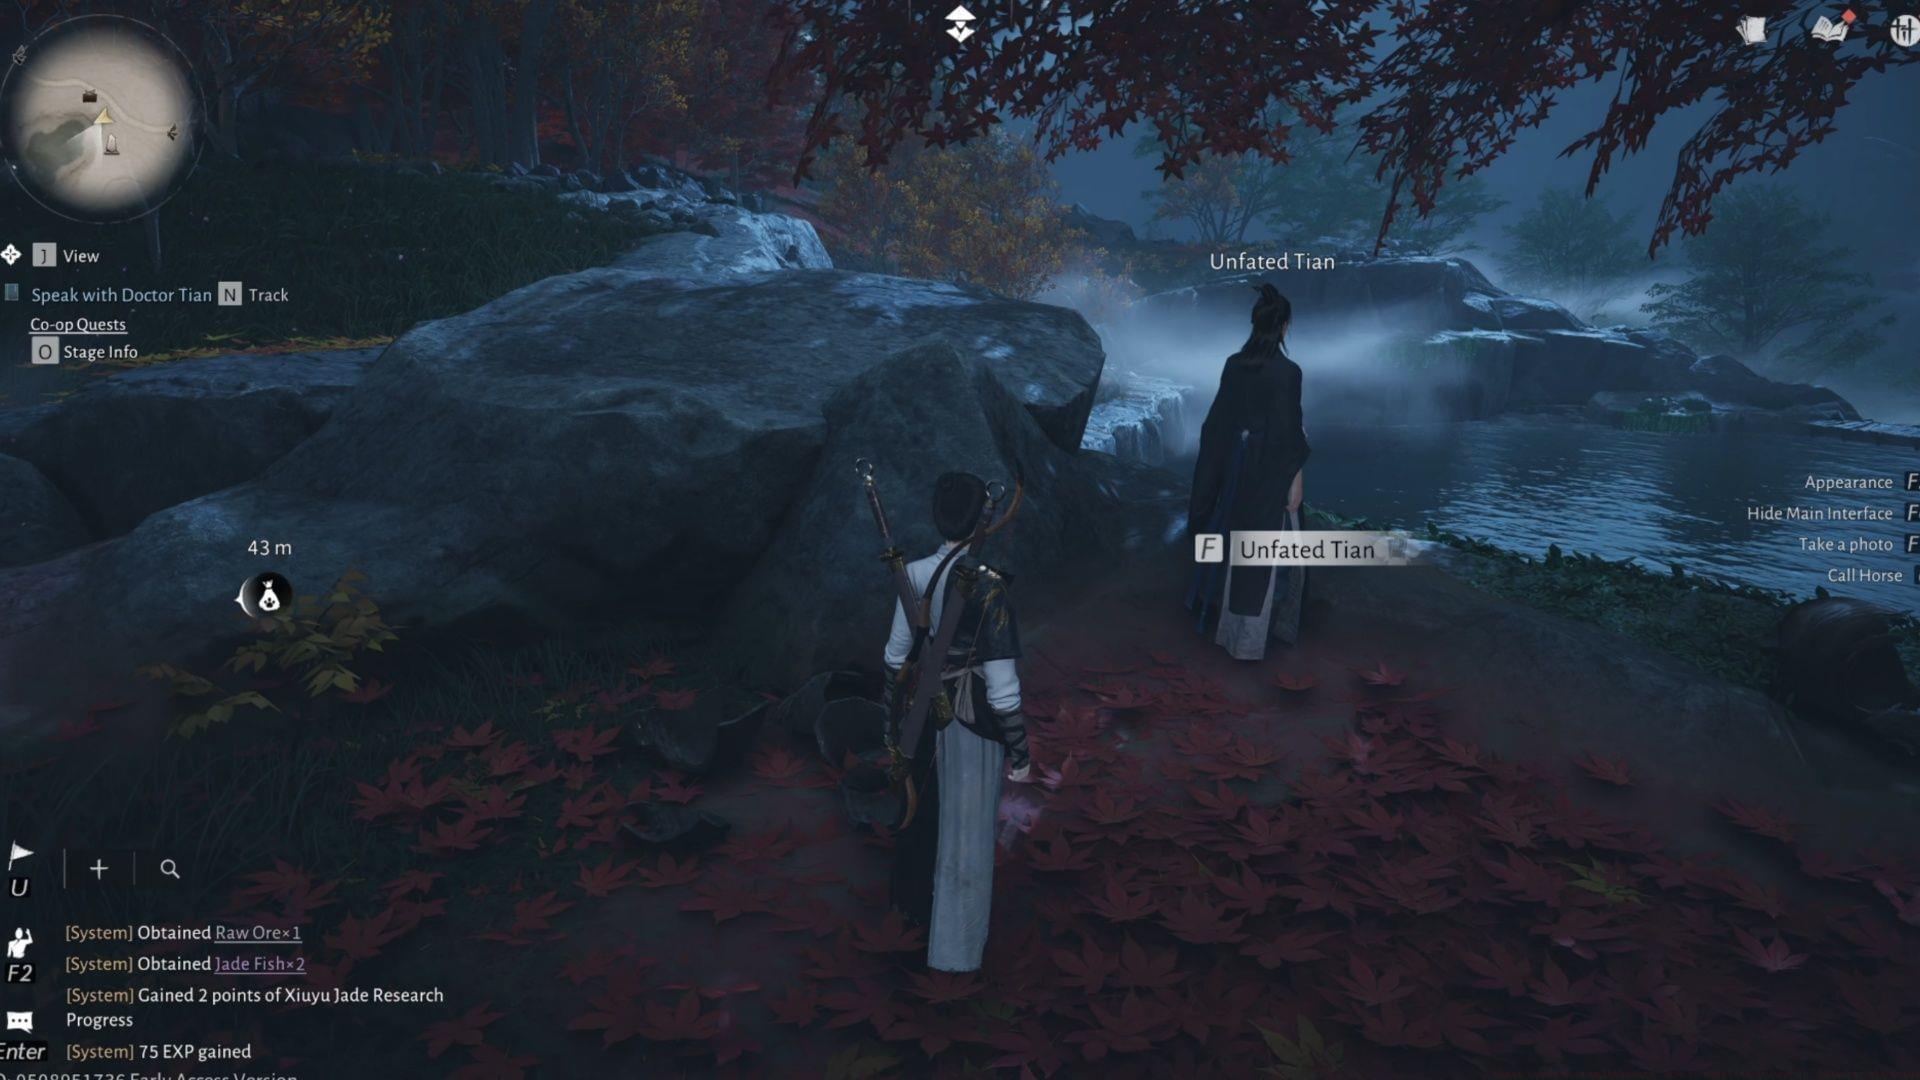
After your initial discussion with Doctor Tian, he’ll provide a letter for review. The primary challenge involves accessing the area beneath the lake without succumbing to drowning. Descend into the main body of water and respond to the interface prompt to submerge.
While submerged, engage Wind Sense. This ability significantly reduces oxygen consumption, granting extended exploration time. Drowning consequences are severe, with health depletion occurring rapidly.
Three distinct levers require activation to empty the lake. Treasure collection beforehand remains optional, though these items typically persist post-drainage.
COMMON MISTAKE: Many players exhaust their oxygen by exploring extensively before locating levers. Prioritize lever discovery, then collect treasures systematically.
Don’t hesitate to surface for oxygen replenishment when necessary. Upon completion, descend to the statue location to advance the Blind to the World narrative progression.
You’ll reappear on the cliff alongside Doctor Tian, where humorous commentary precedes your descent into the now-empty lake basin. Avoid the murky, swampy terrain as it impedes movement. Utilize double/triple jump combinations with air dash maneuvers to traverse efficiently.
Blind Girl Statue Puzzle
Upon reaching Doctor Tian at the platform, direct attention to analyzing the peculiar Blind Girl sculpture. Position yourself on the illuminated platform to initiate the puzzle sequence.
From the starting position (glowing platform), trace the activated stones in clockwise fashion, commencing from the second leftward tile and completing the circular pattern. Reference imagery provides visual confirmation.
ADVANCED STRATEGY: The puzzle resets if you step off sequence. Move deliberately and note the sound cues that indicate correct tile activation.
Successful completion unseals the cavern entrance, permitting entry through the gateway with Doctor Tian. This represents the initial puzzle in a series, with comprehensive guidance provided for each subsequent challenge.
Fabric Trap Navigation
Fire Arrows prove essential here, typically obtainable from corpses near the entrance. Numerous fabric strips obstruct the path during independent exploration in Blind to the World. These function as traps, inflicting fire damage upon contact.
Adopt cautious progression, eliminating each fabric obstruction with fire arrows. The path conclusion features a treasure container and significant chasm. Examine the bridge corpse to acquire a Written Message.
Subsequently, discover an alternative route across. Notable observation: interaction with blue flowers dims the screen while revealing temporary luminous circles ahead, illuminating the pathway.
This mechanics emphasizes sensory navigation beyond sight. Rather than crossing the bridge directly, proceed rightward (leftward from bridge perspective), interact with a flower, and pursue the glowing indicators along the aquatic route. Video reference available at 9:24 timestamp.
OPTIMIZATION TIP: Fire arrows have limited quantity. Use precise aiming to conserve ammunition. The fabric traps don’t respawn, allowing safe passage after clearance.
Underwater Pathway
You’ll find yourself submerged, so traverse the path conclusion and submerge through the water passage. Remember to reactivate Wind Sense for respiratory conservation. Multiple treasure containers await underwater discovery, though path adherence remains recommended. A pale current visible in the water provides directional guidance.
If disoriented, swim toward a flower to trigger screen darkening, revealing the current pathway again. Reach the passage terminus and ascend to prevent drowning.
Swim from the water passage, where subsequent Blind to the World progression reveals Doctor Tian’s inexplicable prior arrival.
Request updates from Doctor Tian via dialogue, learning that area corpses perished three years prior due to Lunar Goddess involvement. However, puzzle resolution remains necessary for advancement.
NAVIGATION TECHNIQUE: The white current indicates optimal pathing. Following it directly minimizes oxygen consumption and ensures you don’t miss critical treasure locations along the main route.
Bell Puzzle Solution
Corpse examination throughout the area remains recommended, though solution simplicity emerges for attentive players recognizing quest themes.
To resolve the stone gate mechanism puzzle in Blind to the World, approach the cliff within this region.
At the cliff summit, traverse a blue flower and engage the cliff-edge stone pillar. This activates four illuminated buttons above the overhead bells. Employ Fire Arrows to strike these bells in proper sequence. Initial flower interaction before pillar engagement yields different combinations than direct pillar interaction, reinforcing the quest’s distrust-of-vision theme.
Consult provided imagery for this Blind to World puzzle solution. Numbering bells left-to-right as 1 through 4, shoot Buttons 3, 4, 1, 2 sequentially for puzzle resolution. Subsequently, descend and open the door to continue.
EXPERT INSIGHT: The puzzle randomizes between playthroughs, but the flower-interaction method consistently provides the solvable pattern. Without flower interaction, the sequence becomes unsolvable, emphasizing the ‘blind’ theme.
Final Lunar Goddess Encounter
Beyond the door, a cliff displays the Lunar Goddess’s slumped form. After cinematic sequence, acquire the Ice Jade Box holding her eyes and inspect the desk.
Present the Eye Container to Doctor Tian, discovering this doesn’t fulfill the Lunar Goddess’s actual desire. One final puzzle requires resolution.
You must identify the Lunar Goddess’s genuine desire. Interaction reveals Resolve ancient pledge option, ineffective without proper item. A downward path leads to additional water areas containing Lunar Goddess personal artifacts.
Several easily accessible treasure containers line the descent path. Discovering three letters from various corpses and containers enables book compilation for the Lunar Goddess, though optional.
Ensure acquisition of the large glowing container near Lunar Goddess literature for additional quest rewards.
In this area, two highlighted items appear (reference image). Both remain collectible, though only one proves necessary. The knife remains optional, while the blue flower represents the essential quest-completion item. Collect it and return to the Lunar Goddess.
Post-cinematic sequence, Blind to the World technically concludes, though reward acquisition requires exit path following. Pursue the quest marker to locate the exit, unlocking Blinding Mist ability alongside additional quest rewards upon emergence.
REWARD OPTIMIZATION: The Blinding Mist skill provides combat advantages in later game sections. Collect all optional treasures during your initial run to maximize rewards without needing to backtrack.
Explore additional Where Winds Meet guidance resources
No reproduction without permission:SeeYouSoon Game Club » Where Winds Meet walkthrough: How to complete Volume IV: Blind to the World Complete guide to solving the Blind to the World puzzle quest in Where Winds Meet with expert strategies