Complete guide to acquiring the Architect Crest in Hollow Knight Silksong with expert strategies and navigation tips
Understanding the Architect Crest’s Power
The Architect Crest in Hollow Knight Silksong represents one of the most impactful late-game enhancements specifically engineered for tool-oriented combat approaches. Its unique Silk Bind capability automatically restores ammunition for Hornet’s specialized Red Tools, enabling sustained offensive sequences with minimal recovery intervals between attacks.
This crest fundamentally transforms combat pacing by allowing players to maintain aggressive pressure without the typical resource management constraints. The strategic value increases exponentially in extended encounters where continuous tool usage becomes essential for survival against resilient opponents.
Navigation to the Grand Bellway
Begin your journey at the Grand Bellway landmark and proceed consistently leftward until encountering an obstruction. From this barrier point, maintain leftward progression while initiating vertical ascent maneuvers. The elevated platforms throughout this region host numerous minor hostile entities, though engaging them proves unnecessary for progression objectives.
Expert Navigation Tip: Master the art of strategic evasion by studying enemy patrol patterns. Most creatures follow predictable routes that create temporary safe passage windows. Time your movements between their patrol cycles to minimize unnecessary combat encounters and preserve health resources for mandatory battles ahead.
Upon reaching superior elevation tiers, you’ll discover an expansive platform featuring an unmistakable pathway diverging toward the right. This transition point marks critical progression toward your ultimate destination.
Boss Encounter Preparation
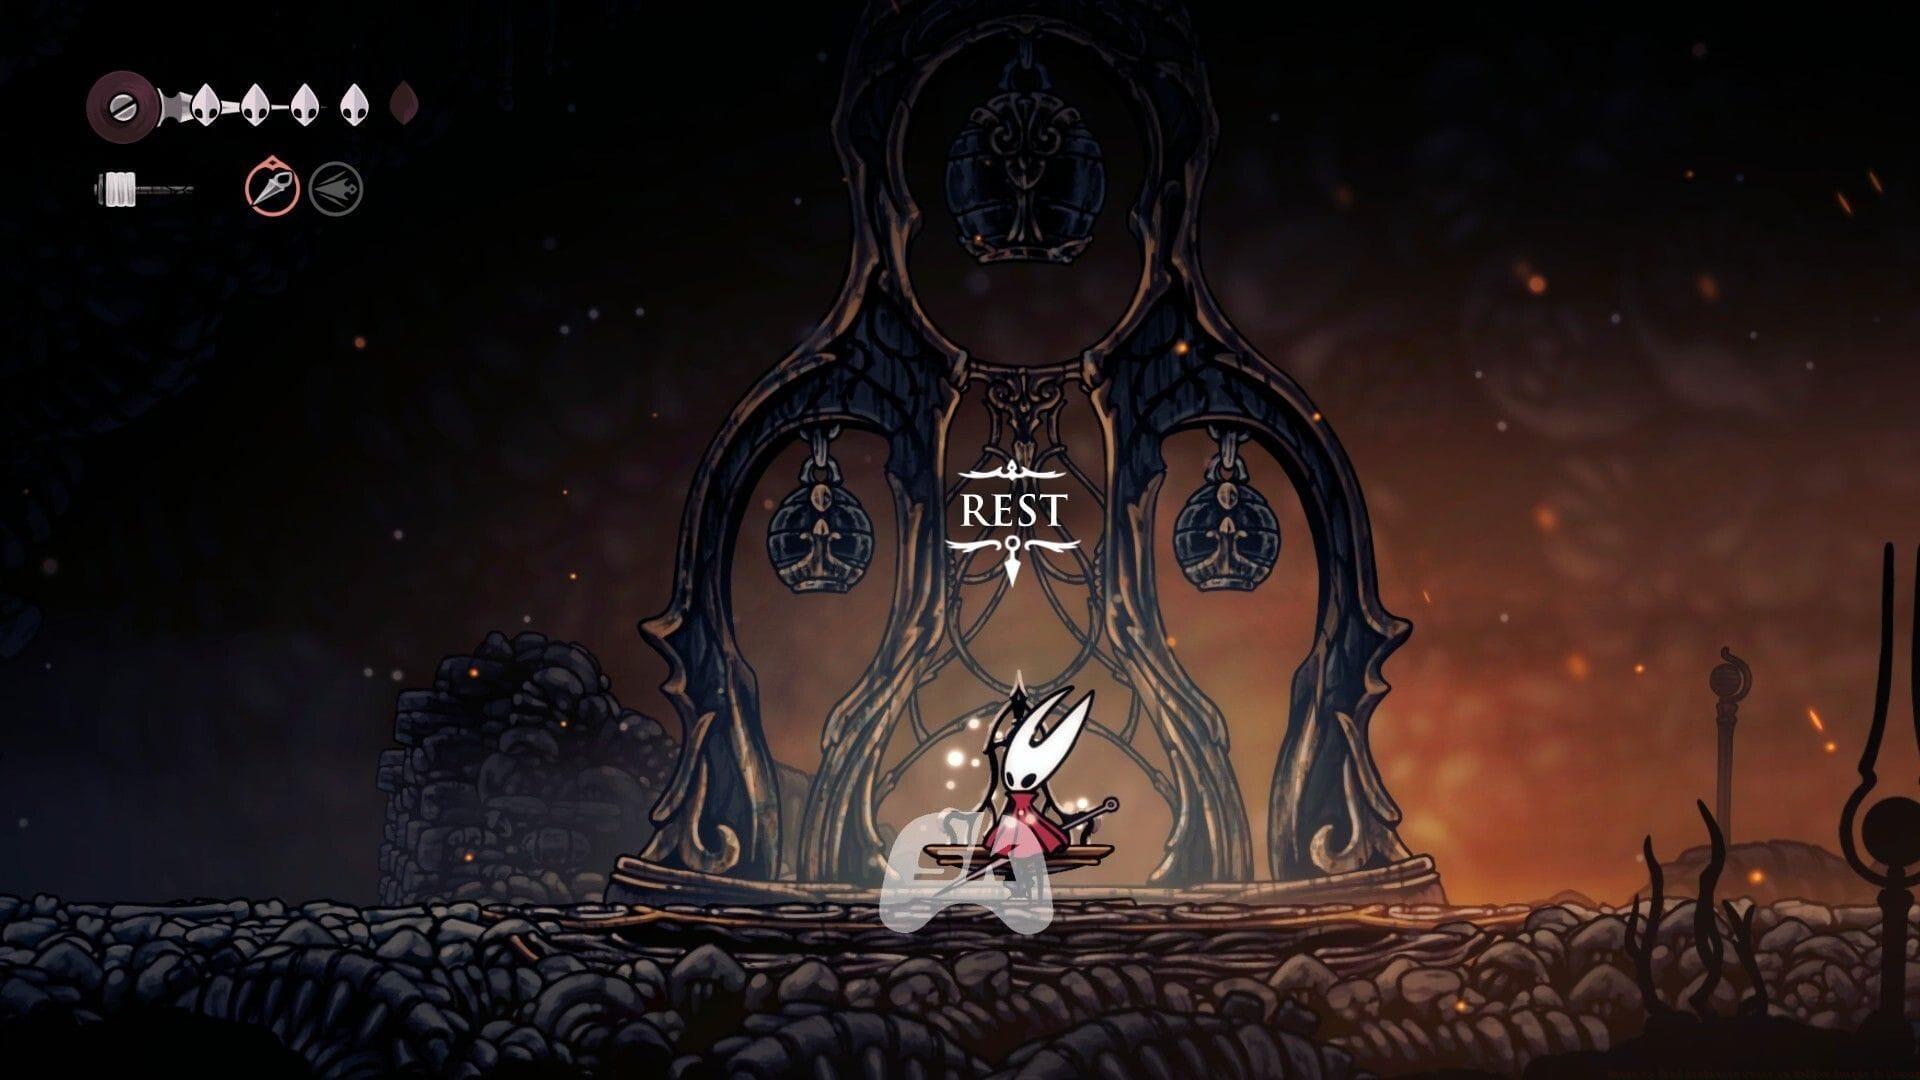
The correct route becomes identifiable through distinctive circular architecture containing three teardrop-shaped ornamental heads. Advancement beyond this landmark frequently activates a compulsory boss confrontation, necessitating thorough combat readiness before proceeding further.
Common Mistake Avoidance: Many players underestimate the boss’s attack patterns and enter unprepared. Ensure your health is maximized and you have adequate healing resources. Study the boss’s telegraphing animations – most powerful attacks have distinct wind-up sequences that allow for strategic positioning.
Successful navigation through this combat challenge unlocks access to subsequent areas essential for crest acquisition. Preparation proves significantly more valuable than reaction in this critical engagement.
Platform Navigation Challenges
After conquering the boss arena, you’ll access an elevator mechanism. Activate its descent function, then navigate left into complex multi-tiered platform structures. Persist through this challenging terrain until discovering a rest bench; utilize this recovery point comprehensively since subsequent navigation presents considerable complexity.
Advanced Movement Technique: The stacked platforms require precision jumping and often incorporate environmental hazards. Practice alternating between quick dashes and deliberate positioning. Many players fail here by rushing – instead, methodically analyze each platform’s safe zones before committing to movements.
This intermediate checkpoint serves as both recovery opportunity and strategic planning position for the technically demanding sequence awaiting beyond.
Finding the Twelfth Architect
Observe the aerial environment above to identify an acrobatic-style ring suspended in midair. Deploy the Clawline grappling tool to ascend vertically and attain the superior right-side platform. Upon reaching this elevation, engage the control lever mechanism to summon the Twelfth Architect merchant.
Tool Optimization Insight: The Clawline has limited uses before requiring cooldown. Time your grapples to maximize distance covered per use. Advanced players can chain multiple grapples together by identifying anchor points in sequence, significantly reducing traversal time through difficult vertical sections.
This enigmatic vendor offers various valuable commodities, though your primary objective remains securing the essential access key from their inventory.
Architect’s Key Requirements
The merchant inventories multiple beneficial items including Scuttlebrace enhancements and Cogwork Wheel components, but your essential acquisition remains the Architect’s Key. This critical item carries a price point of approximately 110 Rosaries accompanied by a stringent prerequisite: You must assemble a collection of 25 distinct tools before purchasing authorization unlocks.
Resource Management Strategy: Rosary accumulation becomes more efficient when focusing on completion of side quests and exploration of hidden areas. Many players struggle with the tool collection requirement – systematically track your acquired tools and prioritize areas with multiple tool opportunities. The 25-tool threshold positions this acquisition firmly within mid-to-late game progression rather than early accessibility.
Strategic planning around both currency accumulation and tool collection proves essential for timely key acquisition.
Final Path to the Crest
After securing the essential key, progress rightward from the merchant’s chamber. Employ the key to unseal the secured gate positioned above their room, then ascend and navigate leftward. Eventually, you’ll encounter a locked portal operable exclusively with the Architect’s Key.
Navigation Precision: The final path contains several branching routes that can confuse unprepared explorers. Create mental markers of distinctive environmental features to maintain orientation. The locked door typically appears after passing through two similar-looking chambers – don’t mistake earlier doors for your destination.
Within this secured chamber resides the coveted Architect Crest, completing your acquisition objective and unlocking enhanced tool combat capabilities.
Advanced Optimization Strategies
Combat Efficiency Enhancement: Once obtaining the Architect Crest, revolutionize your approach to extended engagements. The continuous tool ammunition regeneration enables aggressive playstyles previously unsustainable. Combine with complementary crests that enhance tool damage or effect duration for multiplicative combat effectiveness.
Proactive Resource Management: Experienced players recommend completing the Grand Bellway navigation sequence with maximum health and tool reserves. The boss encounter becomes significantly more manageable when entering with full resources. Consider completing easier areas first to build your tool collection before attempting this challenging sequence.
Sequence Breaking Possibilities: Advanced movement techniques may allow skilled players to reach certain areas earlier than intended. While the 25-tool requirement remains fixed, efficient route planning can minimize backtracking and optimize overall progression time toward crest acquisition.
No reproduction without permission:SeeYouSoon Game Club » Where to find Architect Crest in Hollow Knight Silksong Complete guide to acquiring the Architect Crest in Hollow Knight Silksong with expert strategies and navigation tips