TL;DR
- Bonemass requires Iron-tier gear and careful preparation to overcome its devastating poison attacks
- Locate the boss altar through Sunken Crypt rune stones and summon with 10 Withered Bones
- Frost arrows provide optimal ranged damage while poison resistance mead is essential for close combat
- The boss arena should be prepared beforehand by clearing nearby enemies and creating escape routes
- Victory grants the Wishbone item, unlocking silver veins and new biome progression opportunities
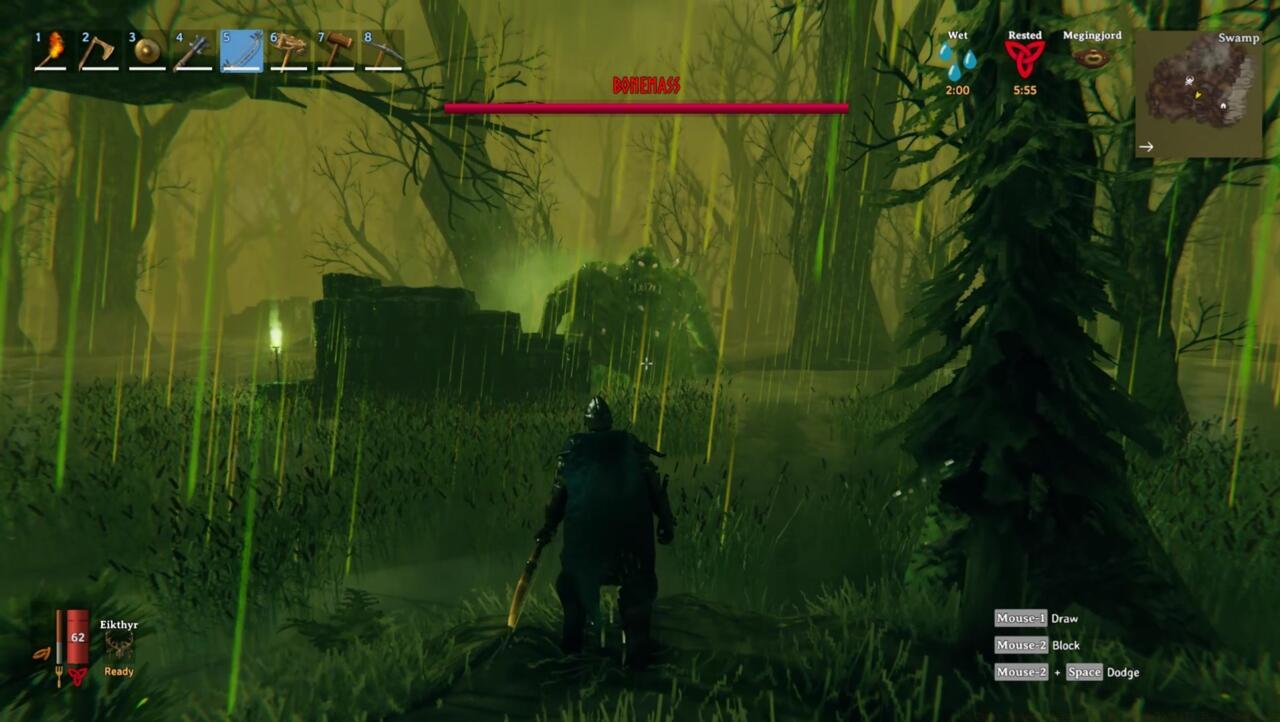
Valheim’s third major boss encounter presents one of the game’s most significant difficulty spikes. Bonemass, a massive toxic blob dwelling in the Swamp biome, employs devastating area attacks and persistent poison effects that can overwhelm unprepared Vikings. Understanding its attack patterns and environmental advantages is crucial for survival.
This gelatinous behemoth dominates its territory with three distinct attack methods that require different evasion strategies. Its close-range swipe can stagger even heavily armored players, while the ranged vomit attack creates lingering poison clouds. Most dangerously, Bonemass periodically summons skeletal minions and blob allies to swarm combatants, turning solo encounters into multi-target engagements.
Progression gates lock this encounter behind previous boss victories. You must first defeat Eikthyr to access basic metalworking, then conquer The Elder to obtain the Swamp Key necessary for accessing Sunken Crypts. Attempting Bonemass without completing these prerequisites will almost certainly result in failure.
The hit-and-run approach can work against Bonemass, but expect it to take a long time. Be careful you don’t trigger other enemies as you play keep-away with the boss.
Finding Bonemass requires systematic exploration of the Swamp’s most dangerous structures. Unlike earlier bosses, its location isn’t revealed through Vegvisir stones in burial chambers but through specialized rune stones hidden within Sunken Crypts. These dungeon complexes contain the crucial navigation data needed to pinpoint the boss altar.
Sunken Crypts serve dual purposes: they’re primary sources for Iron ore and the exclusive locations for Bonemass rune stones. Efficient explorers should combine resource gathering with boss location hunting to maximize their swamp expeditions.
The summoning ritual demands specific components found within these crypts. You’ll need to collect 10 Withered Bones, which appear as ground loot or can be extracted from Muddy Scrap Piles using any pickaxe. Allocate at least 2-3 crypt explorations to gather sufficient bones while simultaneously stockpiling Iron resources.
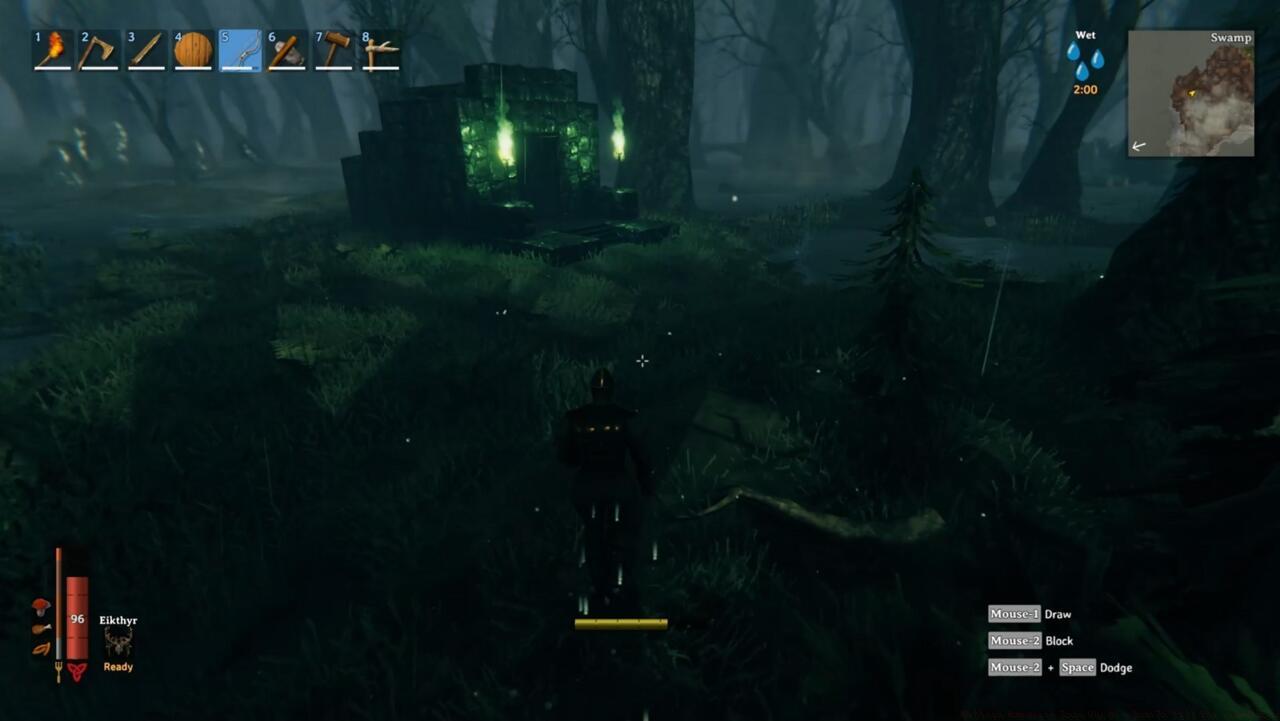
The same Sunken Crypts you pilfer for Iron will sometimes contain rune stones that will direct you toward Bonemass’s location.
Strategic preparation of the boss arena significantly impacts fight difficulty. Before summoning, clear surrounding areas of Draugr, Leeches, and Blobs to prevent additional enemies joining the battle. Construct raised earthen walls using the hoe for emergency cover and create multiple escape paths through the surrounding trees.
Gearing for Bonemass requires prioritizing specific damage types and resistance mechanics. The boss exhibits significant resistance to pierce damage, rendering most arrow types ineffective. However, it possesses notable vulnerability to frost and blunt damage, dictating your weapon selection and upgrade priorities.
Armor selection should focus squarely on Iron tier equipment. A full set of Iron armor provides the necessary protection to survive direct hits, while upgraded pieces offer marginal but potentially life-saving improvements. For those struggling with Iron acquisition, consider our Complete Guide for efficient resource management strategies.
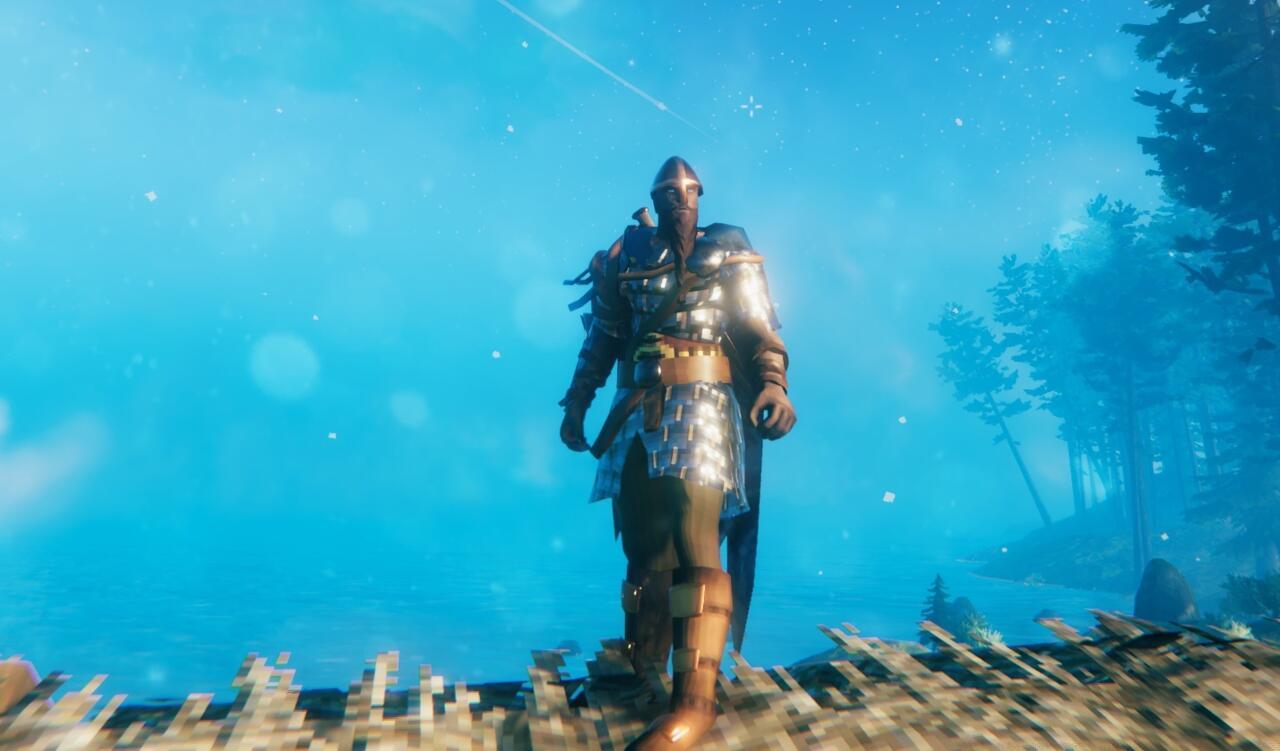
Outfit yourself in as much Iron gear as you can manage before going after Bonemass, and make sure you bring Poison Resistance Mead if you expect to fight him up close.
Frost arrows represent the optimal ranged solution, though their crafting demands significant preparation. You’ll need to venture into Mountain biomes to harvest Frost Glands from Drakes and mine Obsidian deposits. Budget approximately 3-4 hours for gathering sufficient materials for 200+ arrows when planning your solo attempt.
Consumable preparation often determines victory margins. Poison Resistance Mead is absolutely essential, providing 10 minutes of protection against the swamp’s pervasive toxin effects. Additionally, Health and Stamina meads offer crucial sustainability during extended combat phases.
Weapon selection should favor Iron maces for their blunt damage synergy with Bonemass’s weaknesses. The Stagbreaker, while less efficient, can help manage summoned minions through its area damage capabilities.
Successful Bonemass engagements employ methodical positioning and attack timing. The boss follows predictable attack rotations that experienced players can exploit for damage windows while minimizing risk exposure.
Melee combat demands careful stamina management and precise dodging. Time your attacks during Bonemass’s recovery animations after its major attacks. The three-hit combo with an Iron mace followed by immediate repositioning proves most effective for consistent damage application.
Ranged strategies using Frost arrows allow safer engagement but require extensive ammunition reserves. Position yourself on elevated terrain or behind indestructible trees to create firing lanes while limiting the boss’s direct approach options.
Environmental mastery separates proficient hunters from repeated casualties. Utilize the boss altar itself as a barrier, circling to force Bonemass into slower turning maneuvers. Pre-built tree houses or raised ground platforms can provide temporary safe zones, though the boss can eventually destroy these structures.
Common tactical errors include inadequate poison resistance management, failure to clear additional enemies beforehand, and stamina depletion during critical evasion moments. For optimized Weapons Unlock approaches, consider how different playstyles might adapt these core strategies.
Solo combat requires meticulous preparation and execution, typically lasting 10-15 minutes. Team strategies allow role specialization with one player drawing aggression while others focus damage, potentially reducing encounter duration to 5-8 minutes.
Advanced techniques include kiting Bonemass to nearby Fire Geysers for additional damage or using Ooze bombs to handle summoned skeletons efficiently.
Victory against Bonemass grants the Wishbone, a crucial progression item that enables silver vein detection in Mountain biomes. This artifact emits audible pulses and visual effects when near buried treasure or ore deposits, fundamentally changing resource acquisition capabilities.
The trophy dropped by Bonemass serves as your key to accessing the next biome challenges. Offering it at the spawn altar unlocks powerful new crafting recipes and materials necessary for advancing to the game’s later stages.
Strategic planning for post-Bonemass progression should include Mountain biome preparation. Frost Resistance Mead becomes your next crafting priority, requiring establishment of Fermenter infrastructure if not already completed.
The Wishbone’s utility extends beyond silver detection, also revealing buried treasure throughout various biomes. This makes exploration significantly more rewarding and can help offset the resource costs incurred during Bonemass preparation. For comprehensive Class Guide approaches to character development, consider how these new resources might influence your build decisions.
Immediate post-victory priorities include establishing Mountain footholds, crafting Wolf armor, and preparing for the next boss encounter. The progression from Bonemass to Mountain content represents one of Valheim’s most satisfying power transitions.
Action Checklist
- Defeat The Elder to obtain Swamp Key for Sunken Crypt access
- Explore 3-4 Sunken Crypts to collect Withered Bones and Iron resources
- Craft full Iron armor set and upgrade to level 3
- Prepare Poison Resistance Mead and gather materials for Frost arrows
- Clear Bonemass arena of additional enemies and construct emergency cover
- Execute combat strategy with proper positioning and consumable management
No reproduction without permission:SeeYouSoon Game Club » Valheim Bonemass Boss Guide – How To Kill The Swamp Boss Master the swamp biome with proven strategies to locate, prepare for, and defeat Valheim's formidable Bonemass boss