TL;DR
- Assassin’s Cowl provides invisibility and health restoration on melee kills and finishers
- Invisibility duration scales with enemy difficulty from 6-13 seconds
- Combination Blow creates chain lightning effects for area clearing
- Strategic engagement sequencing maximizes survivability in close-quarters combat
- Proper mod and ability selection enhances the build’s damage output and sustainability
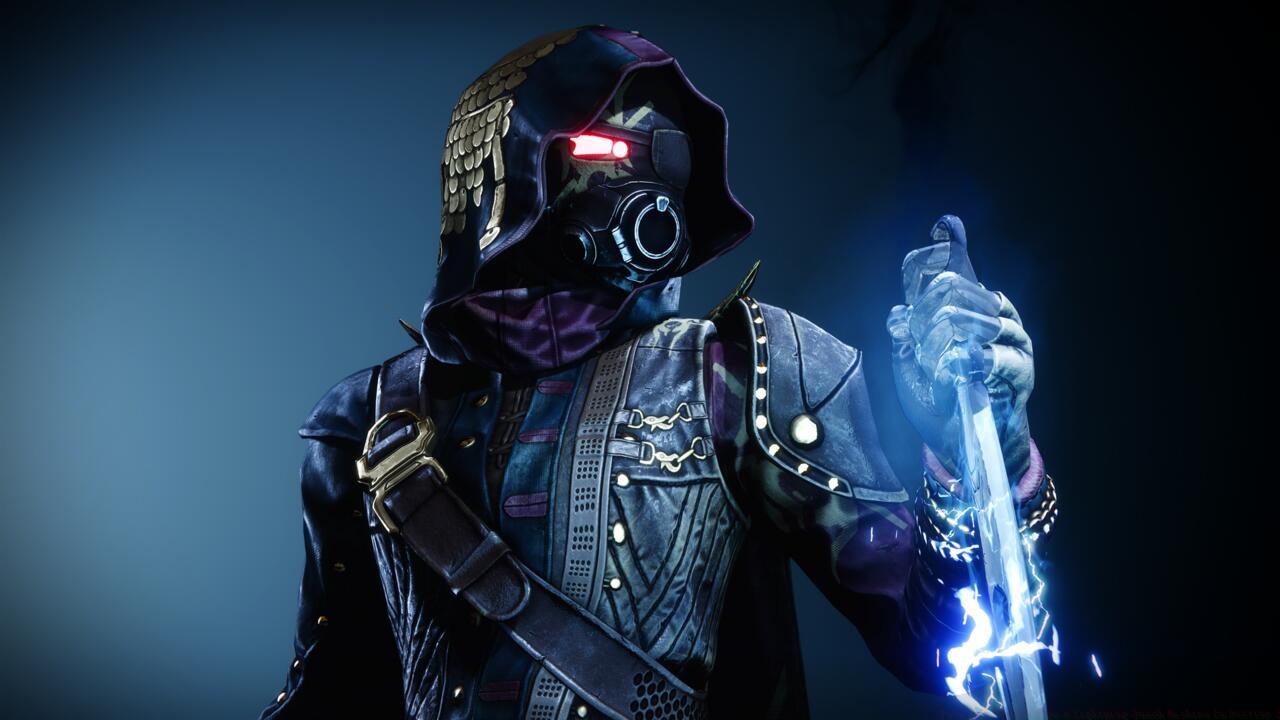
Master the art of lightning-fast combat with this Season of Plunder Hunter configuration that transforms you into an electrifying close-range specialist. This build emphasizes aggressive positioning and devastating melee combinations that will shock your opponents.
Hunters in Destiny 2 excel as highly mobile combatants, designed for rapid strikes and tactical repositioning through well-executed evasion maneuvers. The introduction of Arc 3.0 has amplified these core attributes, making Guardians significantly more agile during intense firefights while introducing new synergistic capabilities.
For adventurers seeking a more bold combat approach, this specific combination of abilities paired with the ideal Exotic armor converts your Hunter into a short-distance brawler, able to deliver catastrophic damage through consecutive powered punches. Let’s break down the mechanics behind this powerful setup.
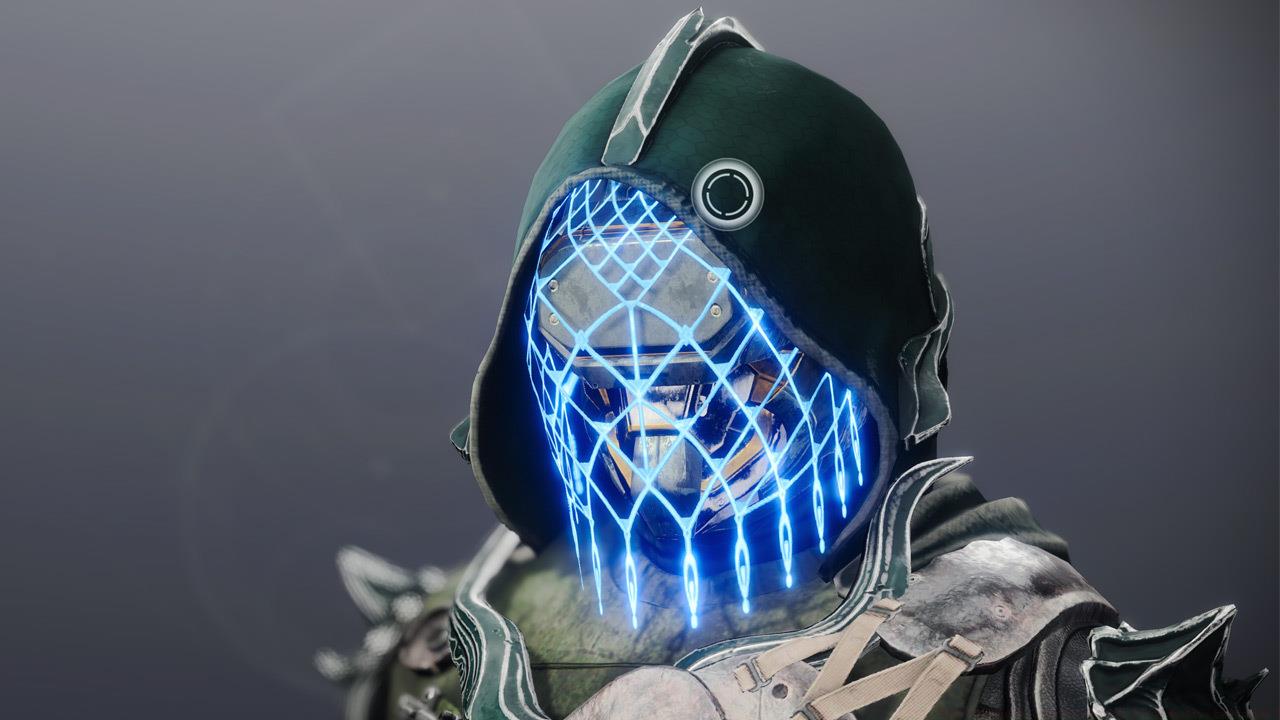
Assassin’s Cowl provides the essential survival mechanics for this aggressive playstyle.
Essential Exotic: Assassin’s Cowl
The foundation of this high-impact Hunter configuration centers around Assassin’s Cowl, a Shadowkeep-era Exotic helmet that grants temporary invisibility following successful powered melee eliminations or execution moves. Additionally, this exotic provides immediate health and shield regeneration upon securing those final blows. Crucially, performing finishers and landing killing strikes against more challenging adversaries prolongs both the invisibility effect and the restorative benefits.
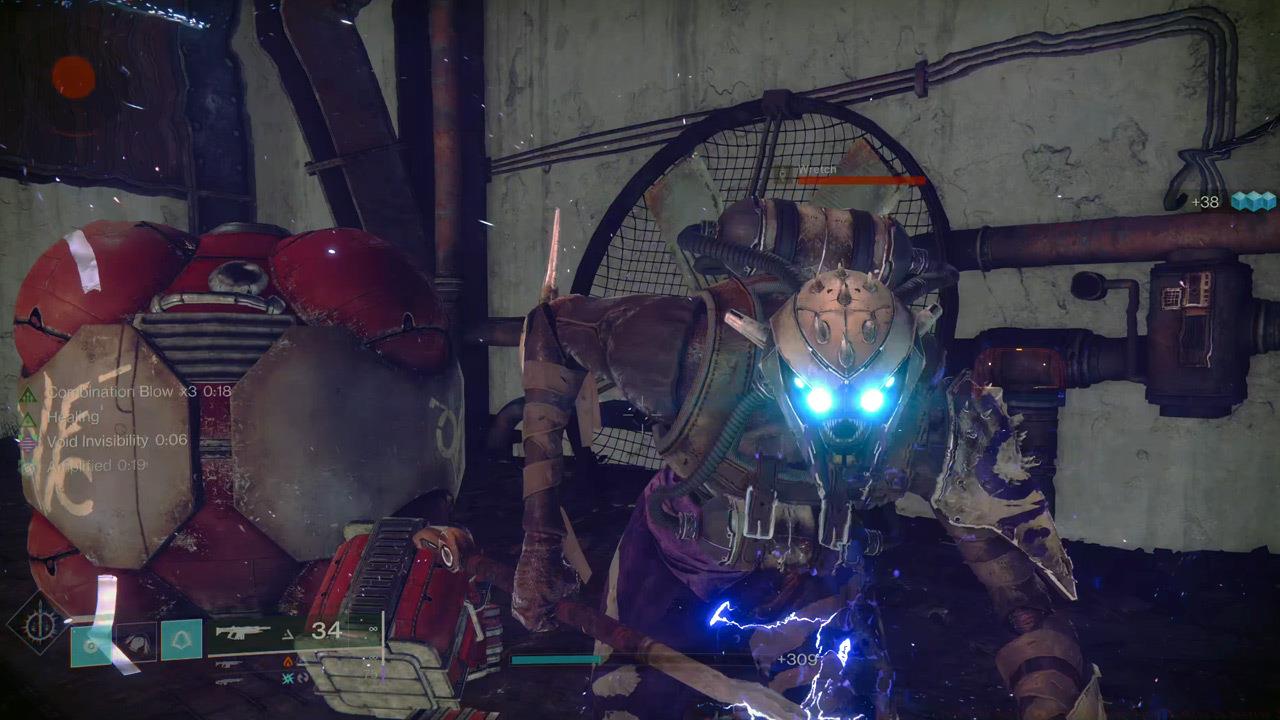
Combination Blow transforms your melee attacks into area-clearing chain lightning generators.
The Combination Blow melee ability serves as your primary damage source, creating arc energy chains that jump between nearby targets. Each successive powered melee kill increases the damage multiplier, allowing you to quickly eliminate groups of enemies with escalating force. This creates a devastating feedback loop where each kill empowers your next strike while triggering your exotic’s benefits.
Understanding the precise timing windows for your invisibility effects is crucial for planning engagements and managing cooldowns effectively. The duration scales significantly based on enemy rank and the method used to secure the elimination.
- Minor combatants — 6 seconds via melee, 10 seconds through finishers
- Elite adversaries — 9 seconds for melee strikes, 13 seconds using execution moves
- Miniboss-tier enemies – 12 seconds from melee attacks, 13 seconds via finishers
- Major bosses — 13 seconds for both melee final blows and finishing maneuvers
Strategic Application: Against standard enemies, prioritize finishers for extended invisibility when repositioning is critical. For tougher targets, melee kills provide nearly identical duration with faster execution, allowing quicker follow-up attacks. The health restoration scales similarly, with more powerful enemies providing greater regenerative benefits that can fully restore your health bar in dangerous situations.
Proper timing against different enemy types ensures maximum uptime on both offensive and defensive benefits.
Engagement Sequencing: Initiate combat with a powered melee against weaker enemies to trigger invisibility, then use the safety window to position for finishers on more dangerous targets. This creates a chain of consecutive invisibility periods that minimize your exposure to return fire.
Common Mistakes to Avoid: Don’t waste your Combination Blow stack on single targets when groups are available. Avoid engaging majors without first building your damage multiplier on lesser enemies. Never initiate your melee attack from outside its effective range, as whiffing leaves you vulnerable.
Advanced Optimization: Pair with mods that generate melee energy on grenade damage or class ability use. The Weapons Unlock guide can help you select complementary firearms that cover this build’s range limitations. For players mastering this setup, consider consulting the Complete Guide for additional advanced tactics.
Game Mechanics Deep Dive: The invisibility provided by Assassin’s Cowl not only breaks enemy targeting but also reduces aggro generation, allowing you to reset encounters that would otherwise be overwhelming. This makes the build exceptionally strong in high-density content where continuous combat would normally be unsustainable.
When properly executed, this Hunter configuration excels in endgame activities where survivability and burst damage are paramount. The Class Guide offers additional insights into how this build compares to other specialization options available to Guardians.
Action Checklist
- Acquire and equip Assassin’s Cowl exotic helmet
- Select Combination Blow as your melee ability in the Arc subclass
- Practice engagement sequencing: melee weak enemies first, then finisher stronger targets
- Configure mods for melee energy regeneration and damage amplification
- Master invisibility timing against different enemy tiers in patrol zones
No reproduction without permission:SeeYouSoon Game Club » Turn Your Hunter Into A Lightning-Punch Machine In Destiny 2 Master close-range combat with this Arc 3.0 Hunter build featuring invisibility tactics and devastating melee damage