TL;DR
- Jormungandr’s poison attacks create persistent hazards that drain both health and mana resources
- The circular arena severely limits movement, requiring constant positional awareness and dodging
- Ranger class excels with ranged attacks while all players need backup weapons for poison zones
- Immunity Potions neutralize poison effects but won’t prevent direct orb damage
- Tail attacks provide alternative damage opportunities when the head becomes inaccessible
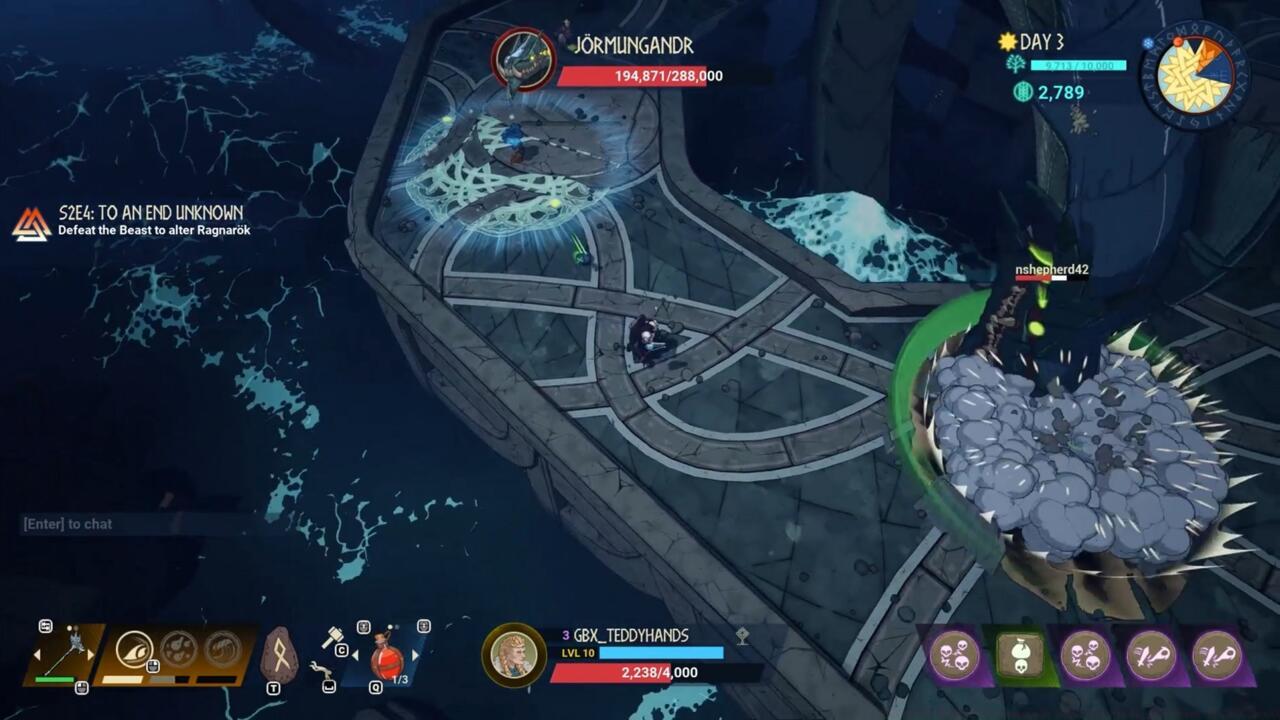
Confronting Jormungandr in Tribes of Midgard’s Serpent Saga presents a fundamentally different combat experience compared to the Fenrir encounter from Season 1. This colossal mythological serpent emerges within the Open Seas biome, demanding entirely new tactical approaches from Viking warriors determined to prevent Ragnarok’s arrival.
The boss arena itself creates significant strategic constraints—a narrow, ring-shaped stone platform encircling Jormungandr’s head offers minimal maneuvering space. This compact battlefield becomes particularly hazardous when the serpent unleashes its signature poison assaults, transforming limited safe zones into deadly terrain. Unlike Fenrir’s mobile combat style, Jormungandr remains largely stationary, forcing players to adapt to environmental threats rather than chasing a moving target.
Strategic positioning during Jormungandr’s vulnerable moments can turn the battle’s tide in your favor.
Jormungandr employs three primary attack patterns that create compounding challenges throughout the encounter. The most visually distinctive are the venomous green orbs projectile from its mouth—these present immediate impact damage while simultaneously generating persistent poison puddles that degrade both health points and mana reserves over time.
The serpent’s tail introduces a deceptive secondary threat, often striking from unexpected angles outside the ring perimeter. This appendage can emerge suddenly while you’re focused on frontal assaults, crashing down with substantial area coverage. However, this tail mechanism also presents strategic opportunities—when it lands within the arena, it becomes vulnerable to counterattacks, allowing damage dealing while avoiding the primary poison zones.
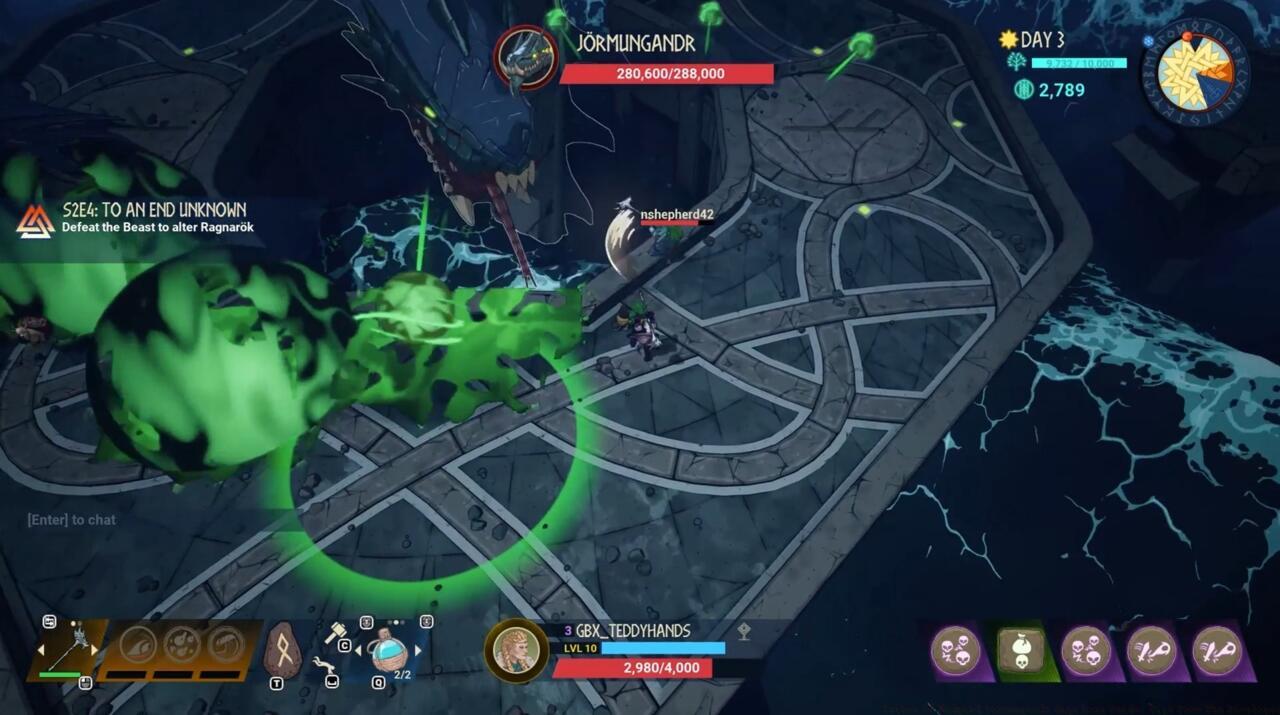
Recognizing poison orb trajectories early is crucial for maintaining maneuverability in the constrained space.
Many players underestimate the mana drain effect from standing in poison pools, which can cripple spell-dependent classes. The dual resource depletion (health and mana) makes positioning errors particularly punishing, especially for Seer and Guardian roles that rely heavily on magical abilities.
Weapon diversity proves absolutely essential against Jormungandr, as the constantly shifting poison zones frequently invalidate certain attack ranges. Rangers equipped with bows maintain consistent damage output regardless of ground hazards, making them exceptionally valuable for this encounter. Their sustained ranged pressure allows them to capitalize on attack windows that melee specialists cannot safely access.
Regardless of your chosen class specialization, carrying secondary weapons that cover different engagement ranges significantly improves adaptability. When poison puddles block access to Jormungandr’s head, having alternative damage options prevents DPS downtime. For comprehensive class optimization, consult our detailed Class Guide for role-specific loadout recommendations.
Team composition should ideally include at least one dedicated Ranger for consistent damage during poison-heavy phases. Warriors and Berserkers should position themselves to capitalize on tail strike opportunities, while Seers focus on area cleansing and support abilities to mitigate the environmental hazards.
Proper consumable preparation often determines victory against Jormungandr’s relentless poison assault. While Health Potions remain standard for any major boss engagement, Immunity Potions deliver exceptional value by completely neutralizing the poison status effect alongside other potential debuffs. However, players must recognize that immunity to poison doesn’t equate to invulnerability—direct hits from green orbs still inflict substantial damage regardless of potion effects.
Seasoned players recommend bringing at least three Immunity Potions per attempt, with additional Health Potions to cover unavoidable damage. The serpent’s Head Slam attack creates a valuable recovery window—after executing this move, Jormungandr becomes temporarily stunned, allowing safe healing and concentrated damage phases.
Common strategic errors include over-committing to head attacks during active poison phases and failing to monitor tail positioning. Successful teams assign one player as tail spotter while others focus on frontal assault coordination. For broader game mastery, our Complete Guide offers comprehensive progression strategies, while the Weapons Unlock guide ensures optimal gear progression.
Advanced tactics involve baiting tail strikes to create predictable vulnerability windows. By positioning specific players at the arena’s outer edges, you can trigger predictable tail responses that the team can anticipate and punish collectively.
Action Checklist
- Stock 3+ Immunity Potions and 5+ Health Potions before engaging
- Equip primary and secondary weapons covering different engagement ranges
- Assign team roles: Ranger for consistent damage, Warrior for tail punishment, Seer for support
- Designate tail spotter and establish communication protocols
- Practice dodging tail strikes in initial phase to learn timing patterns
No reproduction without permission:SeeYouSoon Game Club » Tribes Of Midgard Jormungandr Saga Boss Guide: Tips From The Developer Master the Jormungandr boss fight in Tribes of Midgard with expert strategies for poison management and arena control