![]() 2
2TL;DR Junker Queen excels as an aggressive tank-DPS hybrid using wound mechanics for sustain Master ability combos like Jagged Blade pulls into Carnage for maximum burst damage Pos...
![]() 2
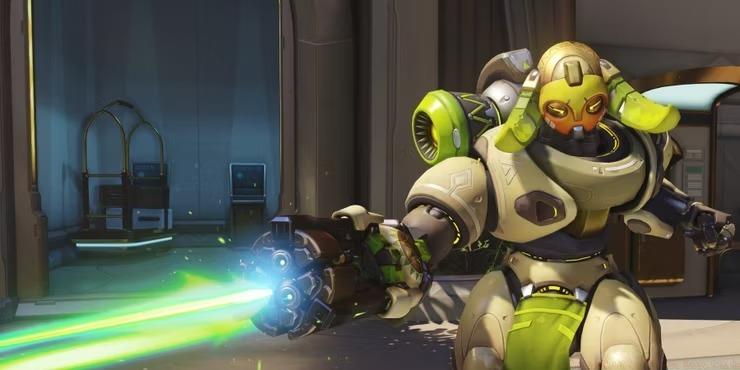
2TL;DR Orisa transformed from defensive anchor to aggressive frontliner with complete ability rework Master close-range combat with Augmented Fusion Driver while using Energy Javeli...
![]() 1
1TL;DR Master shield management with strategic deployment and regeneration timing Coordinate Earthshatter with team positioning for maximum impact Balance defensive protection with ...
![]() 2
2TL;DR Wrecking Ball received significant defensive buffs including +50 armor and enhanced Adaptive Shield radius Mastering grapple physics and momentum conservation separates avera...
![]() 1
1TL;DR Baptiste excels as a hybrid support capable of both substantial healing and respectable damage output Master the timing and placement of Immortality Field to counter enemy ul...
![]() 1
1TL;DR Brigitte excels as a hybrid support-tank who controls space through melee pressure and area denial Her Repair Pack management separates novice from expert players – pri...
![]() 2
2TL;DR Kiriko combines main healer throughput with off-healer mobility and utility Protection Suzu’s cleanse ability counters key enemy ultimates and debuffs Swift Step enable...
![]() 1
1TL;DR Lucio provides continuous area healing and speed boosts without cooldowns through his Crossfade ability Proper positioning within 12-meter radius and line of sight is critica...
![]() 1
1TL;DR Master beam prioritization: heal critical targets first, damage boost high-value DPS Utilize Guardian Angel tech for unpredictable positioning and survival Time Resurrections...
![]() 1
1TL;DR Zenyatta excels as a hybrid support dealing damage while healing from safe distances Proper orb management requires constant target prioritization and situational awareness P...
 2
2