Master Hazel’s confrontation with Two-Toed-Tom in Chapter 5 with advanced strategies, collectible secrets, and boss-fight breakdowns.
Chapter 5 Overview: Everything That Rises
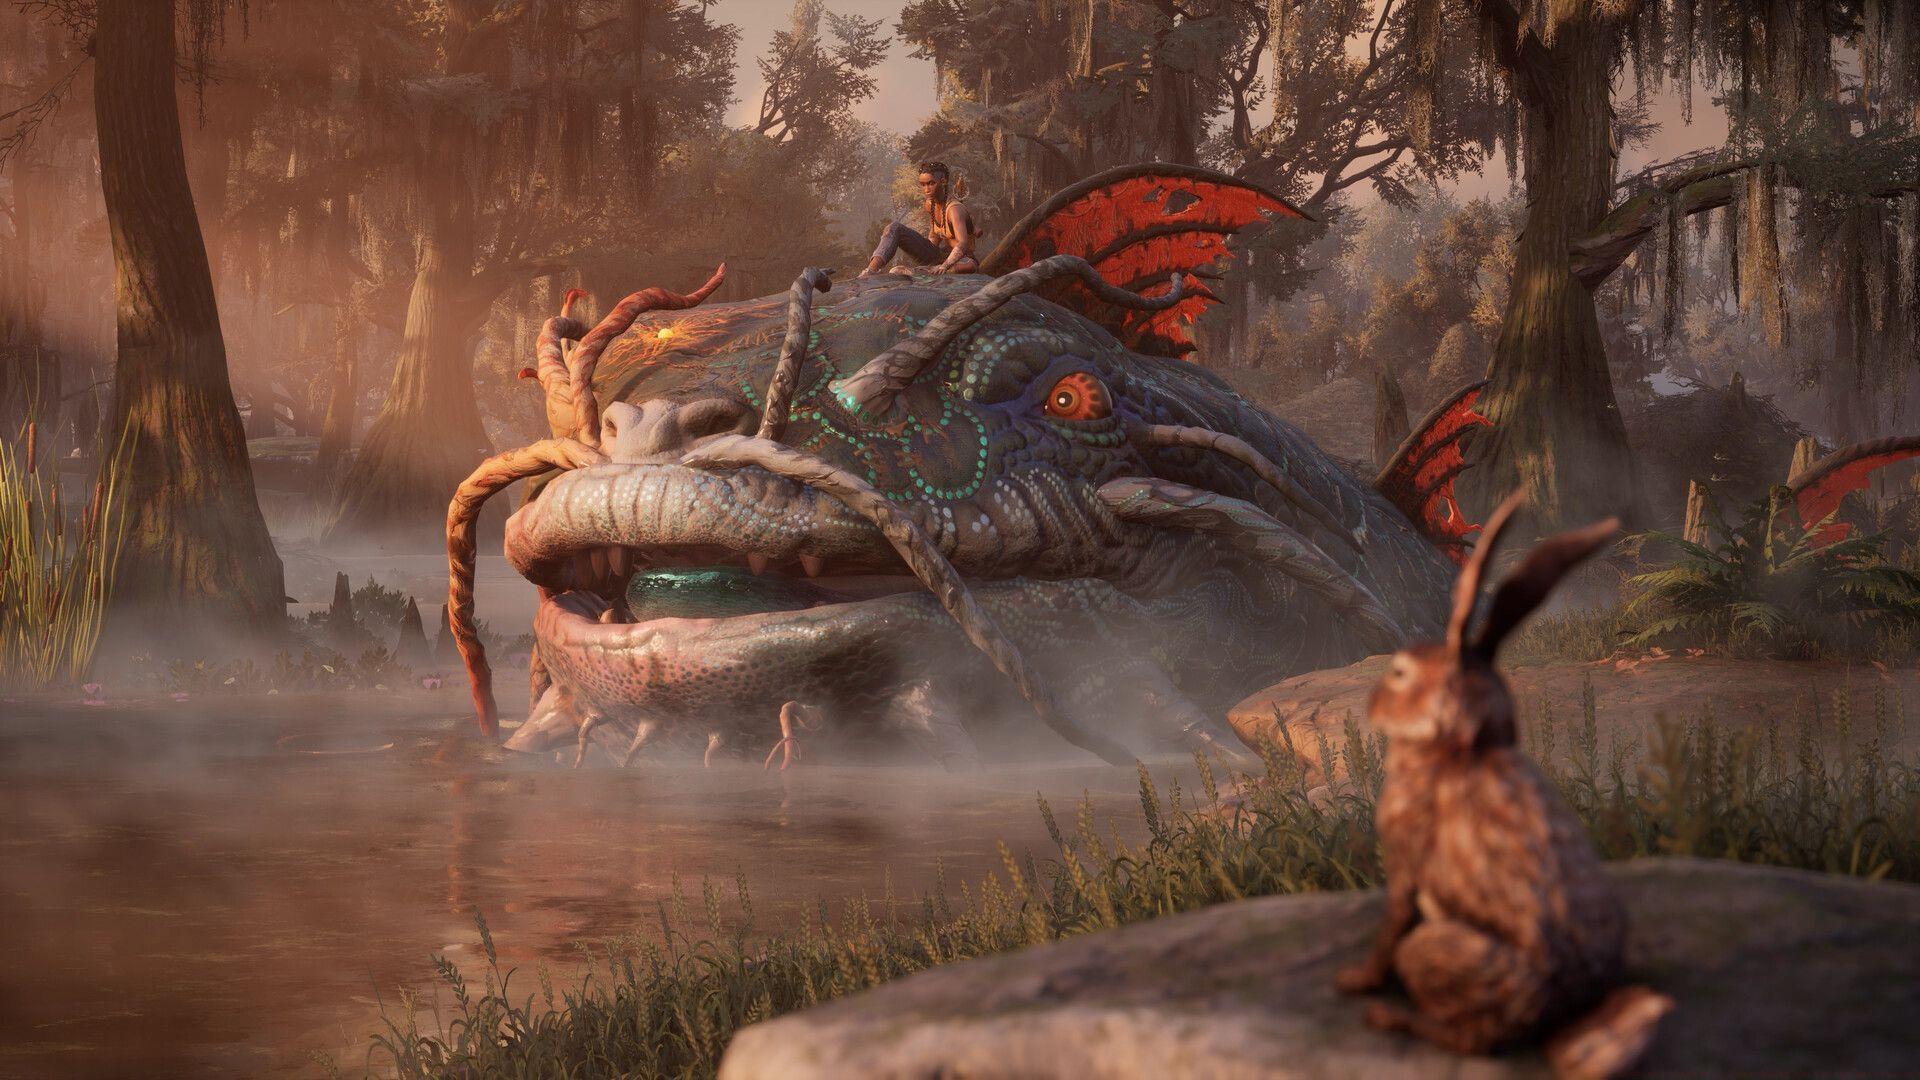
Everything That Rises represents the fifth and pivotal chapter in South of Midnight, serving as a lengthy main quest that shifts the narrative into high gear. The journey begins with Hazel riding a colossal catfish to a new, hostile territory. Having previously encountered Two-Toed-Tom from a distance, you now invade the massive gator’s domain for a decisive showdown. This chapter is densely packed with environmental puzzles, numerous hidden collectibles, and some of the game’s most demanding combat sequences, demanding both exploration finesse and combat prowess.
Also read: South of Midnight Chapter 2: Other Voices, Other Looms walkthrough
Acquiring and Mastering Crouton
Upon arrival, a cutscene introduces Crouton, Hazel’s childhood stuffed toy from the first chapter. Far from mere nostalgia, Crouton is the final essential magical artifact you obtain. This character functions as a key to environmental puzzles.
Crouton’s primary ability is to access confined spaces impossible for Hazel to enter. Your inaugural use involves clearing obstructive bramble by having Crouton burrow beneath the surface to dismantle the stigma (magical roots) from below. A pro tip: always scan your environment for faint, shimmering outlines or hearable squeaks, as these indicate hidden Floof clusters only Crouton can reveal, making him indispensable for resource farming.
When direction is unclear, activate your Guiding Strand to illuminate the critical path forward. Be mindful of pervasive environmental threats like unstable platforms and submerged hazards that can cause significant setbacks if you rush.
Navigation and Early Puzzles
Follow the primary route until you encounter a derailed train car blocked by thick bramble. Inspect the lower-right section and employ Strand Push to fracture a small opening just large enough for Crouton. Direct him through to dismantle the stigma on the far side.
After clearing the path, immediately glance back to your left. A substantial, luminous deposit of Floofs will be visible on a separate platform. Execute a double jump followed by a glide to reach this lucrative cache before returning to the main objective. A common mistake here is proceeding without looking back, missing this easy collectible haul.
Progress leads to a waterlogged section. You must toss Crouton across the gap to an accessible ledge. Switch control to him, unravel the stigma there, and create a path for Hazel to cross. Continuing along this route inevitably triggers a combat encounter.
Combat, Lore, and Collectible Hunting
After dispatching the enemies, Catfish provides deeper narrative context regarding Two-Toed-Tom’s origins. With the path cleared, vigilant explorers will spot more glowing Floof deposits. These require agile platforming and sometimes backtracking to acquire. Your efforts lead to a church and a meeting with Mrs. Pearle.
Following a brief cinematic, Jolene advises patience, but Hazel’s determination drives the solo mission forward. The subsequent village area is predominantly flooded. Utilize your ability to materialize grappling points to swing across chasms, combining this with precise jumps to avoid the water below.
This traversal culminates in another combat arena. Victory unlocks a new area requiring ledge climbing, leading to a grapple-and-jump sequence that ends with a battle against an enhanced Slug Haint. This tougher variant tests your upgraded abilities; if struggling, consider revisiting earlier areas to farm Floofs for power enhancements. The linear path eventually guides you to a house containing vital clues and collectibles—search thoroughly before departing.
The Linear Journey and Key Events
Chapter 5 is extensive yet straightforward in design. While collectible hunting can extend playtime, story-focused players can navigate the critical path with relative speed. Descend and use Strand Push to breach a barn door. Traverse the muddy field, where you’ll hear a distressed pig—a scripted event you cannot prevent, which ultimately advances the narrative.
The ensuing area presents a combat arena. Upon winning, you’ll find one of the chapter’s few optional exploration branches. Investigate the nearby barn (note the hidden Floof perched above the entrance) before proceeding to the next mandatory fight. Clear all foes and the associated stigma to progress.
A cutscene delves deeper into Jolene’s history with the gator. Afterwards, scour the opposite house for more artifacts. Continuing the story triggers a shift to a metaphysical plane featuring light parkour, before returning you to the physical world near farmlands.
Approaching the Pig Farm and Final Preparations
Your target is the pig farm, the potential location of Hazel’s trailer. Activate your Guiding Strand to follow the trail to a locked barn. Summon Crouton to break through the wooden barricade, allowing him to enter and power up a generator within.
Inside the farm, a grim scene of stacked pig carcasses sets the tone. Press forward, using Crouton again to widen a narrow passage for Hazel. On the other side, after clearing another stigma, you’ll sight your trailer home—only to witness Two-Toed-Tom consuming it, dashing hopes of finding Lacey there.
Boss Strategy: Two-Toed-Tom’s Three Phases
The climactic battle against Two-Toed-Tom unfolds across three distinct phases, each requiring adapted tactics.
Phase 1: The core strategy involves ringing a bell at the precise moment to stun the gator, exposing a glowing weak spot on its body. Unleash melee attacks on this spot, but retreat immediately before it detonates, causing area damage. When the boss’s health bar radiates a yellow glow, it becomes temporarily invincible and will execute a tail whip before submerging. It then surfaces to hurl rocks at you—maintain the bell-ringing strategy to whittle down its health.
Phase 2: This stage mirrors the first phase’s attack patterns. Consistency and timing are key. Repeat the stun-and-strike process until its health depletes further.
Phase 3: The arena changes, and the bell is now positioned farther away. You can no longer pull it directly. Instead, you must pick up and hurl a rock to strike the bell and achieve the stun effect. Master this new ranged requirement while dodging the gator’s more aggressive assaults.
Conclusion and Aftermath
Upon the gator’s defeat, you are swallowed and enter its belly, discovering crucial clues about Lacey’s location. A unique interaction follows where you must find and heal the creature’s wounds, prompting it to expel you near your restored mobile home. A final cutscene features Lacey reflecting on Hazel’s past, followed by Catfish appearing to discuss Huggin’ Molly, thus concluding Chapter 5.
South of Midnight is available on Xbox Series X/S, PC, and GeForce Now. For more related articles, check these out:
No reproduction without permission:SeeYouSoon Game Club » South of Midnight chapter 5: Everything that Rises walkthrough Master Hazel's confrontation with Two-Toed-Tom in Chapter 5 with advanced strategies, collectible secrets, and boss-fight breakdowns.