TL;DR
- Jinfeng requires circular movement patterns rather than direct approaches
- Blocking increases both player and boss Structure – use strategically
- Phase two demands tighter distance control at 15-foot optimal range
- Strong Sweep Focus attacks dramatically accelerate damage output
- Complete the attack cycle 4-5 times to break Structure in each phase
Success against Jinfeng hinges on recognizing her unique combat design that punishes conventional boss strategies. Unlike previous encounters where aggression often prevails, this battle demands calculated positioning and timing awareness.
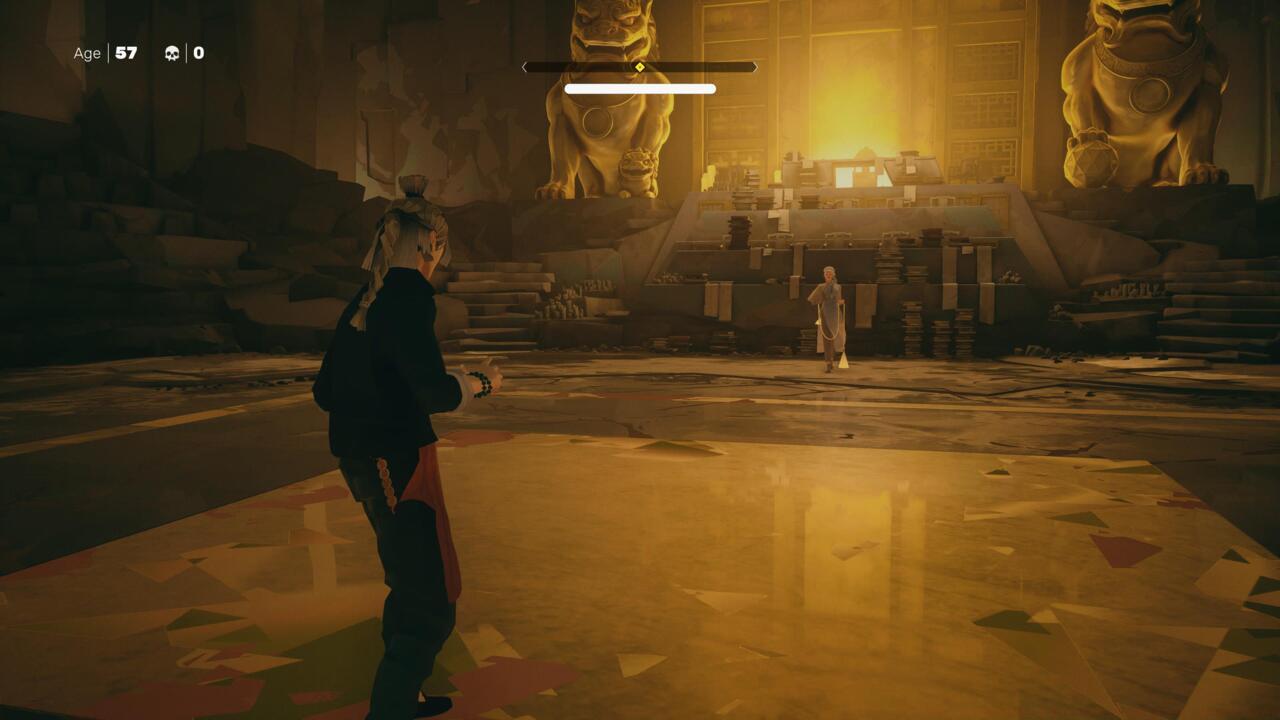
Having progressed through Sifu’s earlier challenges, you now face Jinfeng – the corporate leader turned martial arts master. Her fighting style presents a distinct challenge: extreme mobility paired with devastating range. The key insight is that while she appears formidable at distance, she becomes remarkably vulnerable once you breach her defensive perimeter.
Your initial instinct to charge directly will be punished severely. She consistently executes wide flail sweeps that can decimate health bars if taken head-on. Understanding this fundamental mismatch between appearance and capability is crucial for victory.
Mastering the approach distance is critical – once inside her guard, Jinfeng becomes highly vulnerable to standard combos.
The core strategy revolves around circumnavigating her flail assaults while maintaining lateral movement. Rather than confronting the weapon directly, employ evasive maneuvers that bring you to her flanks. Typically, surviving two to three flail sequences creates the opening needed to close distance.
While blocking remains a viable defensive option, it carries significant risk. Each successful block accumulates Structure damage for both combatants, creating a delicate risk-reward calculation. When your Structure meter approaches critical levels, prioritizing evasion over blocking becomes essential to avoid stun status.
Once within striking range, deliver several quick attacks before disengaging to reset positioning. This hit-and-run methodology minimizes exposure while gradually depleting her resilience.
As you maintain this tactical cycle, your Focus gauge will gradually fill. When available, execute the Strong Sweep technique during your approach sequences for substantially increased damage output.
After triggering the first finisher, Jinfeng enters her enhanced state with noticeably increased aggression. While the fundamental strategy remains consistent, several critical adjustments become necessary.
Maintaining optimal distance becomes paramount during this phase. Position yourself approximately 15 feet from her position – close enough to capitalize on openings yet distant enough to react to her extended combos.
Her flail strikes now inflict dramatically higher Structure damage, making mid-range positioning particularly dangerous. Even successful blocks can rapidly push your Structure toward breaking point.
Execute evasive maneuvers by holding L1 while directing movement laterally with the left analog stick. This technique preserves your Structure integrity while creating angles for counterattacks.
The entire encounter typically requires repeating the core engagement cycle four to five times per phase. Her susceptibility to basic attacks once you’ve navigated her defenses makes this repetition highly effective.
Many players underestimate the importance of rhythm in this encounter. Jinfeng’s attacks follow predictable patterns with clear wind-up animations, but breaking the established tempo often leads to costly errors.
A frequent tactical error involves overcommitting to offensive sequences. Despite her vulnerability at close range, greed will be punished by sudden flail reversals.
For advanced optimization, consider integrating parry techniques during her wind-up phases. Successful parries not only avoid Structure buildup but create extended vulnerability windows. However, this demands precise timing and carries higher execution risk.
If you’re struggling with the Battlefield 6 combat mechanics, our Class Guide provides essential foundational knowledge that translates well to Sifu’s mechanics.
Remember that patience ultimately triumphs over aggression in this unique boss design. The entire encounter typically completes within 3-5 minutes once the strategy is mastered.
Action Checklist
- Initiate circular movement pattern at 15-foot distance
- Evade or block 2-3 flail sequences while closing distance
- Execute 3-4 quick attacks before retreating to reset
- Build Focus meter through successful evasions and attacks
- Activate Strong Sweep when Focus is available for burst damage
- Repeat cycle 4-5 times per phase while managing Structure
No reproduction without permission:SeeYouSoon Game Club » Sifu – The Tower Boss Fight Guide: How To Defeat Jinfeng The CEO Master Jinfeng's flail patterns and positioning tactics to conquer Sifu's Tower boss efficiently