TL;DR
- Onslaught requires defending key points through 50 waves of escalating enemy assaults with strategic turret placement
- Scrap collection efficiency directly impacts your defensive capabilities and survival chances
- Prioritize Arc and Void turrets for crowd control while strategically upgrading defenses
- Master wave patterns and boss mechanics to optimize resource allocation and positioning
- Coordinate with your fireteam to cover multiple angles and manage bonus objectives effectively
Mastering Destiny 2’s intense horde survival mode requires understanding its fundamental structure and progression systems. Onslaught delivers a challenging wave-based experience that tests both individual skill and team coordination.
Maintaining constant awareness of your defense point’s status is crucial, as enemy breaches can quickly spiral out of control.
Destiny 2’s Into the Light expansion introduces Onslaught, the premier horde survival activity designed to engage players until The Final Shape launches on June 4. This mode finally delivers the sustained combat experience many Guardians have requested, blending tower defense elements with Destiny’s signature gunplay.
Onslaught challenges three-player fireteams to withstand progressively difficult enemy waves while safeguarding a critical objective. The complexity increases significantly for those attempting extended runs of 20, 30, or the maximum 50 waves to complete Triumphs or demonstrate mastery to fellow players.
This comprehensive guide explores every aspect of the Destiny 2 Onslaught experience, covering scrap acquisition methods, optimal defense investments, and advanced tactical guidance for sustained success.
Available since April 9, Onslaught unlocks through the Feats of Bravery introductory quest in Into the Light. Lord Shaxx personally assigns Guardians to protect the Last City within this activity. To begin, navigate to your Director, choose Into The Light from the Destinations menu, and initiate a match. The system automatically matches you with two additional players unless you form a pre-made fireteam.
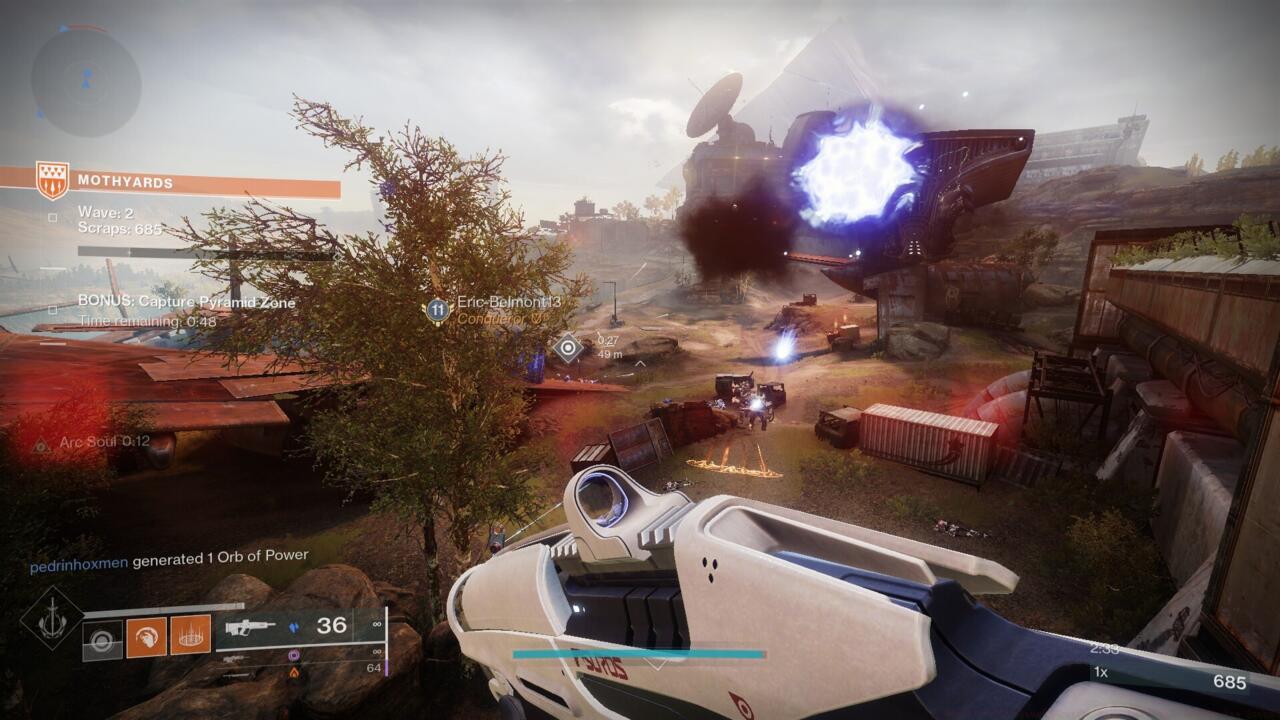
The operational framework follows clear parameters. Your primary mission involves securing and maintaining control over a specified defense location, consistently highlighted on your tactical display. Hostile forces assault in organized waves, with the optimal strategy being to eliminate threats before they approach your defensive perimeter. Should enemies breach your defenses, visual alerts notify your team, enabling rapid response even when positioned distantly.
Periodically, secondary objectives appear, including destructible splinters that require immediate attention. As combat intensifies and you defeat adversaries, you’ll accumulate scrap resources to acquire defensive installations during wave intervals. Addressing these optional missions frequently accelerates overall progression and resource accumulation.
Upon reaching the 10th wave, a portal activates, transporting your team to an alternate zone typically containing a brief mission objective and boss confrontation. This pattern repeats every 10 waves, extending potentially to 50 total waves. Currently, a weekly challenge mandates surviving minimum 30 waves, representing a substantial but achievable intermediate milestone.
Numerous intricate details demand attention, often overlooked during intense combat situations. Understanding these mechanics and maximizing their utility is essential for peak performance. Importantly, this mode connects directly to objectives paving the way toward obtaining Recluse, Mountaintop, and additional Brave arsenal weaponry.
Scrap resources serve as the economic foundation of your Onslaught defensive capabilities. Mastering collection techniques directly correlates with survival potential and wave completion efficiency.

Strategic enemy elimination prioritizes high-value targets that yield greater scrap returns per engagement.
Resource acquisition follows specific patterns that experienced players can optimize. Each defeated enemy drops scrap, with more powerful adversaries providing substantially larger returns. Major enemies and mini-bosses typically yield 5-10x standard scrap quantities, making them priority targets despite increased difficulty.
Bonus objectives represent critical scrap generation opportunities. Destroying splinters typically provides 50-75 scrap instantly, while other secondary missions can yield even greater returns. Teams should coordinate to complete these objectives quickly, as the scrap injection can fund significant defensive upgrades.
Wave completion bonuses provide another substantial resource stream. Successfully defending through an entire wave without breaches grants bonus scrap, with amounts scaling based on wave difficulty. Maintaining perfect defense through multiple waves creates compounding economic advantages.
Advanced teams employ scrap cycling strategies, where initial investments in basic defenses generate additional scrap through more efficient enemy elimination, creating positive feedback loops that sustain later wave requirements.
Strategic defense selection and placement separates successful Onslaught runs from failed attempts. Understanding turret capabilities, upgrade paths, and positional advantages is paramount.
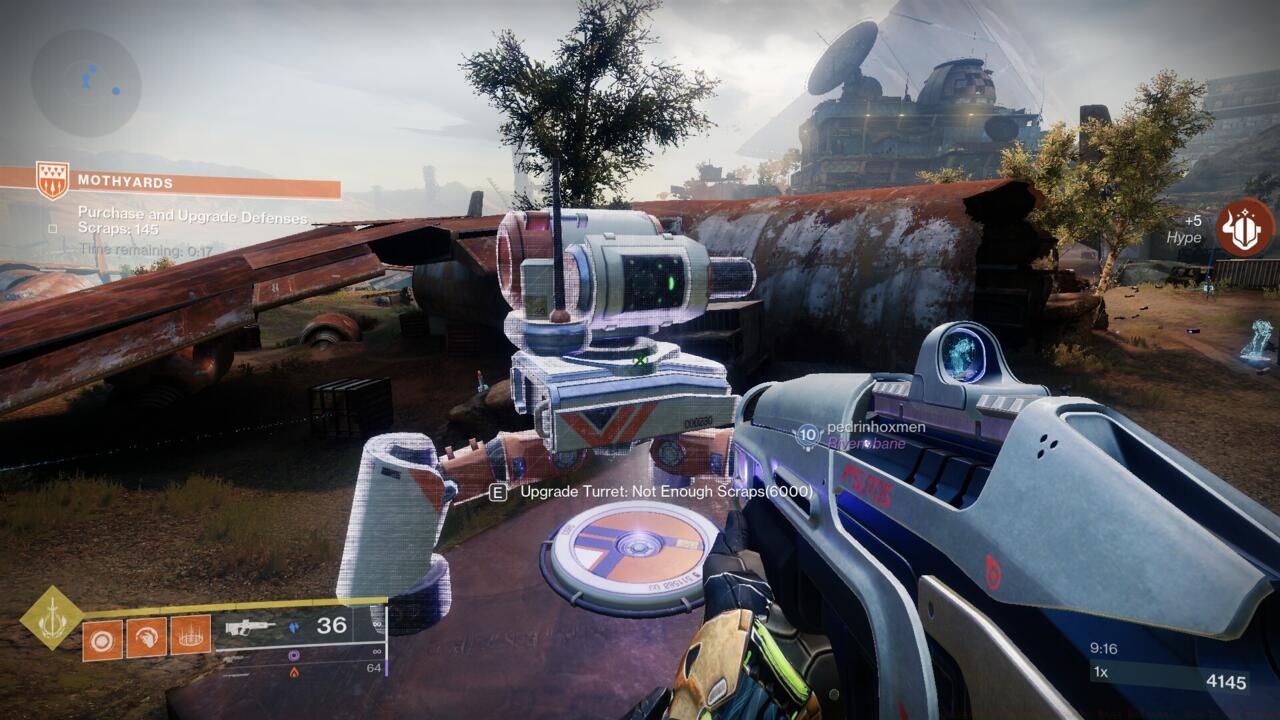
Turret upgrades represent significant scrap investments but deliver exponential defensive returns through enhanced damage and additional capabilities.
Arc turrets excel against grouped enemies, with chain lightning effects clearing clustered adversaries efficiently. Their area denial capabilities make them ideal for choke points and objective approaches where enemy density is highest.
Void turrets provide exceptional crowd control through suppression effects. Their ability to slow and weaken advancing enemies creates windows for strategic repositioning and focused fire on priority targets.
Solar turrets offer sustained single-target damage, particularly effective against major enemies and mini-bosses. Their precision damage helps eliminate high-threat targets before they breach defensive perimeters.
Deployment priority should follow strategic assessment of enemy pathing. Positioning turrets to cover multiple approach routes while maintaining overlapping fields of fire maximizes defensive efficiency.
Upgrade sequencing dramatically impacts long-term viability. Initial investments in basic turrets establish foundation defense, followed by strategic upgrades based on wave composition and emerging threats.
Advanced teams utilize tiered defense systems, with lower-tier turrets handling standard enemies while upgraded versions focus on elite units. This specialization ensures resource efficiency and targeted threat response.
Advanced Onslaught mastery requires moving beyond basic mechanics to incorporate wave-specific strategies, error avoidance, and sophisticated team coordination.
Wave pattern recognition enables predictive defense placement. Early waves typically feature standard infantry, while mid-waves introduce shielded units and aerial threats. Later waves combine multiple enemy types with increased aggression and specialized abilities.
Common strategic errors include over-investing in single defense types, neglecting flank coverage, and poor scrap conservation. Avoiding these pitfalls significantly increases survival probability.
Team role specialization improves overall efficiency. Designating players to focus on scrap collection, defense management, or elite elimination creates synergistic operations that outperform disorganized efforts.
Boss wave preparation demands specific adaptations. Portal transitions to alternate zones require rapid assessment of new environments and immediate threat identification. Boss mechanics often include area denial attacks, summoning abilities, and enrage phases that test adaptive response capabilities.
Resource timing represents another critical skill. Purchasing defenses during wave intervals requires quick decision-making based on remaining scrap, upcoming wave composition, and current defensive integrity.
Advanced communication protocols include establishing scrap spending priorities, designating defense coverage areas, and coordinating objective completion. Teams that communicate effectively consistently achieve higher wave counts with greater efficiency.
Weapon and ability selection should complement your defensive strategy. Area-of-effect abilities work well with crowd control turrets, while precision weapons pair effectively with single-target defensive installations.
Action Checklist
- Complete Feats of Bravery quest to unlock Onslaught access
- Prioritize bonus objectives for rapid scrap accumulation
- Establish tiered defense system with Arc turrets at choke points
- Coordinate team roles for scrap collection, defense management, and elite elimination
- Upgrade turrets strategically based on wave composition analysis
- Prepare for boss waves at 10-wave intervals with adaptive strategies
No reproduction without permission:SeeYouSoon Game Club » Destiny 2 Onslaught Guide: Best Defenses, How To Get Scraps Master Destiny 2's Onslaught mode with expert strategies for scrap collection, defense optimization, and wave survival tactics