TL;DR
- Begin by speaking with Larinna and stocking essential supplies before hunting
- Summon and defeat four specific megalodon variants using specialized tools
- Use the unique shanty to trigger the elusive Shrouded Ghost encounter
- Complete all Deeds before May 12 to earn exclusive limited-time cosmetics
- Master cannon positioning and repair timing for successful meg battles
Sea of Thieves Adventure 3 represents the most complex narrative experience yet introduced to the game. This comprehensive walkthrough provides every strategic detail required to emerge triumphant against the legendary Shrouded Ghost.
The Shrouded Deep has officially launched, offering players an unprecedented opportunity to systematically hunt multiple megalodon variants. Unlike random encounters, this adventure enables deliberate spawning of all five shark types, culminating in a confrontation with the notoriously rare Shrouded Ghost. This multi-chapter narrative experience remains accessible until May 12, making timely completion essential for securing exclusive cosmetic rewards that will become permanently unavailable afterward.
Larinna continues her role as the primary quest giver for Sea of Thieves Adventures. Locate her immediately outside any outpost tavern upon loading into your session. She will provide documentation revealing that renowned shark hunter Merrick has returned aboard his previously sunken vessel, The Killer Whale.
Before departing your starting outpost, critically stockpile wooden planks and cannonballs by acquiring full crates from the Merchants Alliance vendor positioned dockside near your ship. Comprehensive resource preparation is absolutely essential for success. The extensive naval combat ahead demands substantial ammunition and repair materials.
The wreckage of The Killer Whale rests upon rocky formations at coordinate M12 on your map—directly south of Shipwreck Bay. Navigate to this location to interact with both Merrick and Belle. Selecting Belle’s “continue adventure” dialogue option advances you to the second chapter narrative.
Standard megalodon encounters typically occur randomly throughout Sea of Thieves, but The Shrouded Deep introduces controlled spawning mechanics for all five super shark variants. The initial four megalodons can be challenged in any sequence, each following identical procedural requirements. You’ll journey to designated coordinates, discharge a specialized summoning flare, defeat the emergent megalodon, capture its essence within an effigy, then position that effigy aboard The Killer Whale. For each of the first four sharks, you’ll obtain an effigy, unique summoning flare, destination instructions, and specific cannon deployment maps.
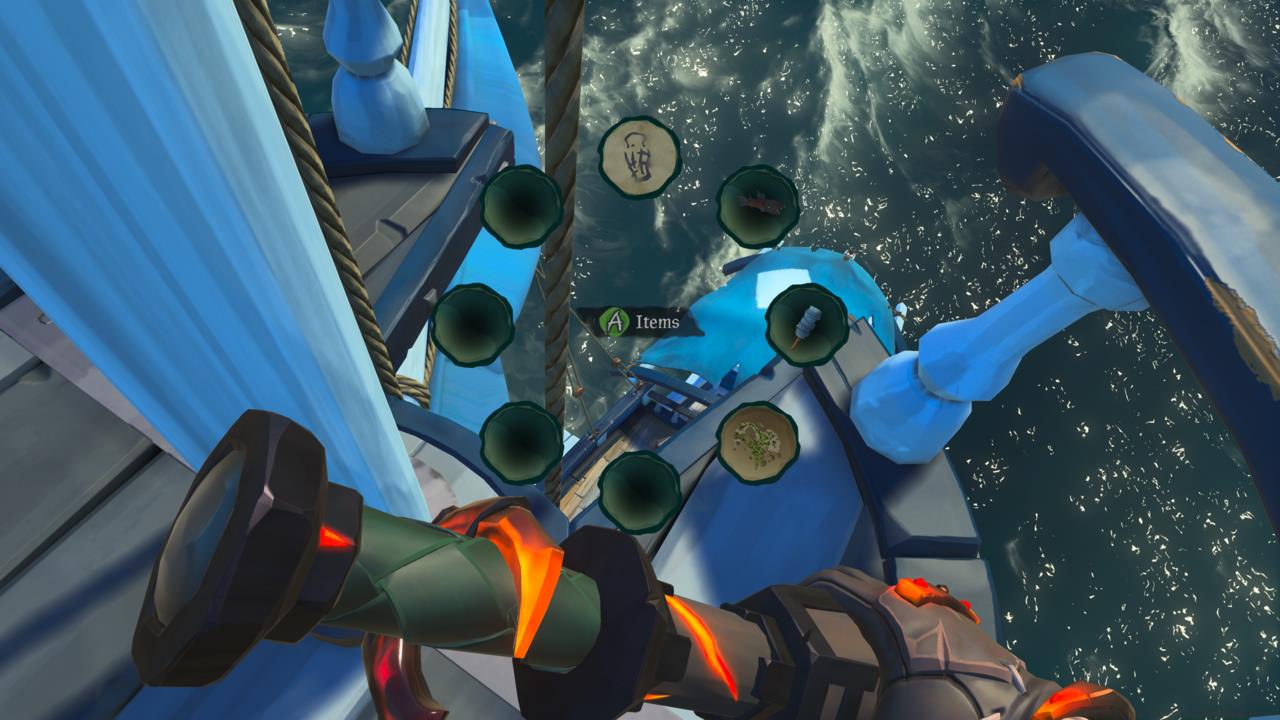
Your radial menu will display four distinct quest items essential for summoning each megalodon variant during the adventure.
Strategic positioning proves crucial when engaging megalodons. Maintain broadside alignment to maximize cannon volleys while ensuring clear escape routes. Coordinate with crewmates to designate specific roles: helmsman for positioning, cannoneers for damage output, and repair specialists for hull maintenance.
Here are the specific summoning locations for each megalodon variant:
Advanced players should note that megalodon attack patterns follow predictable sequences. The Hungering One typically employs charging maneuvers, Shadowmaw utilizes hit-and-run tactics, while Ancient Terror combines both approaches. Anticipating these behavioral patterns significantly improves survival rates.
After successfully defeating and collecting essences from all four initial megalodons, you’ll acquire the specialized shanty necessary to summon the legendary Shrouded Ghost. This unique musical composition must be performed at the designated summoning location to initiate the climactic battle.
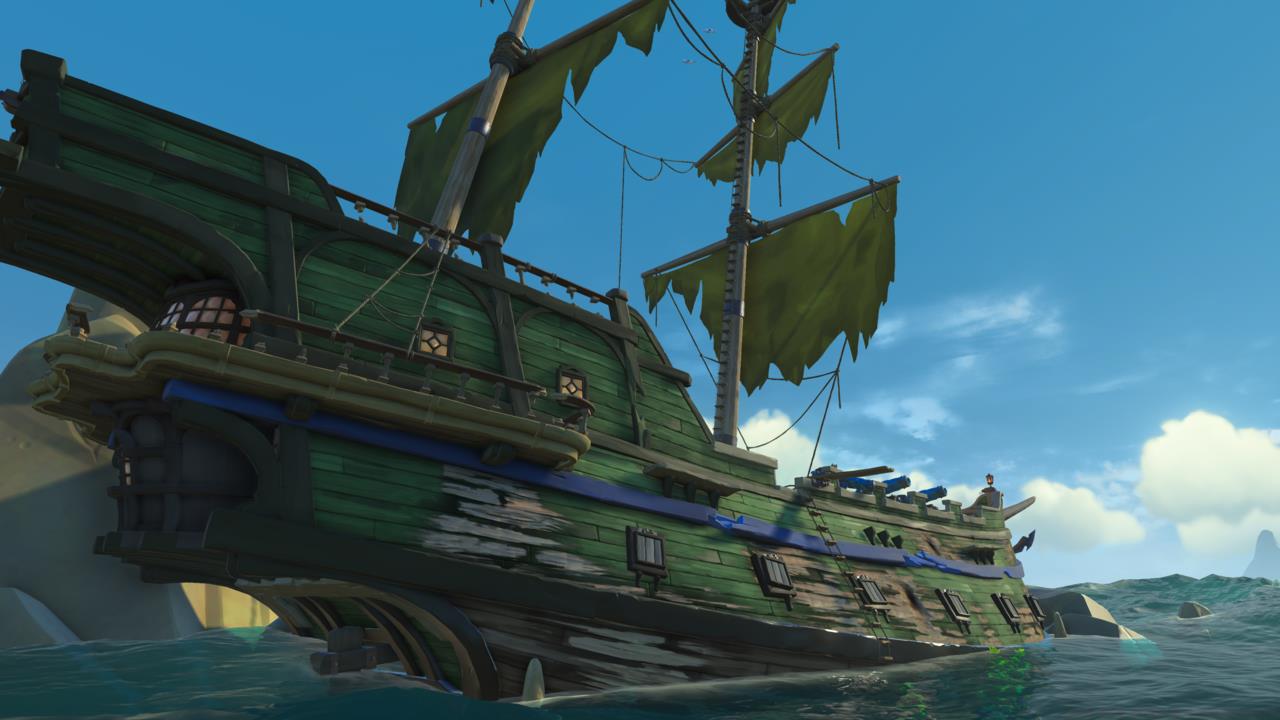
Merrick’s legendary vessel, The Killer Whale, serves as your operational headquarters throughout The Shrouded Deep adventure.
The Shrouded Ghost presents significantly enhanced combat capabilities compared to standard megalodon variants. Its attack patterns incorporate rapid directional changes, extended charge distances, and increased damage output. Successful engagement requires perfected cannon accuracy and exceptional situational awareness.
Common strategic errors include inadequate resource stockpiling, poor positional awareness during battles, and failure to coordinate crew responsibilities. Ensure all crew members understand their designated roles before initiating any megalodon encounter.
Optimal Shrouded Ghost tactics involve maintaining mid-range distance to avoid devastating close-quarters attacks while remaining within effective cannon range. Designate a dedicated repair crew member to address hull damage immediately following each shark assault.
Following your victory over the Shrouded Ghost, return to Belle aboard The Killer Whale to conclude the adventure narrative and claim your hard-earned rewards.
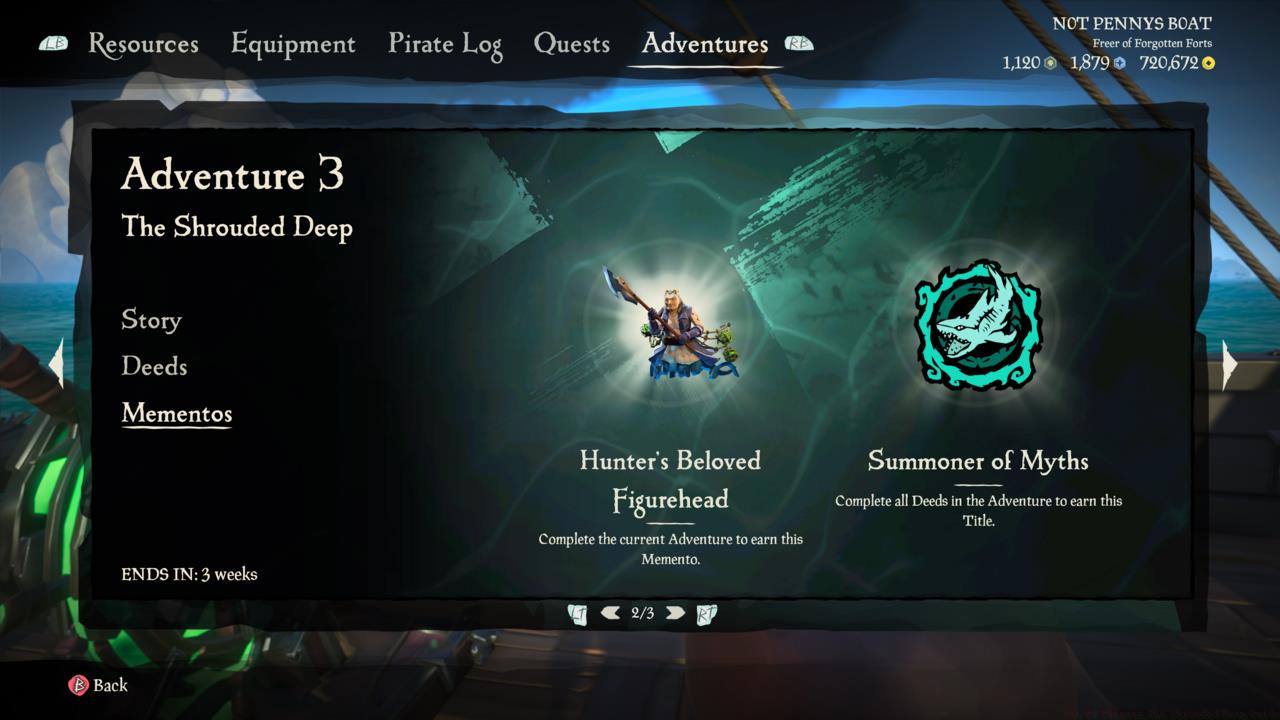
Multiple exclusive cosmetic items become available for acquisition between the present date and the May 12 deadline.
The Shrouded Deep adventure offers exclusive cosmetic rewards unavailable through any other gameplay method. These limited-time items include unique ship decorations, weapon skins, and character customization options that will permanently leave the game following the May 12 expiration.
Time investment for completing all adventure Deeds typically ranges between 2-4 hours depending on crew coordination and prior megalodon combat experience. Solo players should anticipate extended completion times due to the demanding nature of simultaneous navigation, combat, and repair requirements.
For players seeking to master other aspects of naval warfare, our comprehensive Battlefield 6 Complete Guide provides extensive strategic insights for large-scale combat scenarios.
Action Checklist
- Speak with Larinna outside tavern and stockpile planks/cannonballs
- Navigate to The Killer Whale at coordinate M12 and speak with Belle
- Summon and defeat all four initial megalodons in any order
- Use special shanty to summon and defeat Shrouded Ghost
- Return to Belle to complete adventure and claim exclusive cosmetics
No reproduction without permission:SeeYouSoon Game Club » Sea Of Thieves The Shrouded Deep Guide Complete guide to summoning and defeating the Shrouded Ghost in Sea of Thieves Adventure 3