TL;DR
- Class selection is permanent – test abilities thoroughly before committing
- Each class has unique healing mechanics tied to specific combat actions
- Devastator excels at close-range tanking with gravity-based area damage
- Trickster specializes in temporal manipulation and burst damage tactics
- Team composition balance is crucial for endgame content success
After finishing Outriders’ opening sequence, you’ll face a critical decision: selecting one of four distinct character classes. This choice carries permanent consequences for your entire playthrough, making it essential to understand each option’s strengths and limitations. Our detailed analysis covers the Devastator, Trickster, Pyromancer, and Technomancer to help you make an informed selection that matches your preferred combat style.
By the conclusion of the prologue and initial missions, you’ll typically unlock the first four abilities for every class, providing substantial insight into their gameplay mechanics. All four archetypes emphasize aggressive engagement tactics but diverge significantly in their approach to combat and, most importantly, their health regeneration systems.
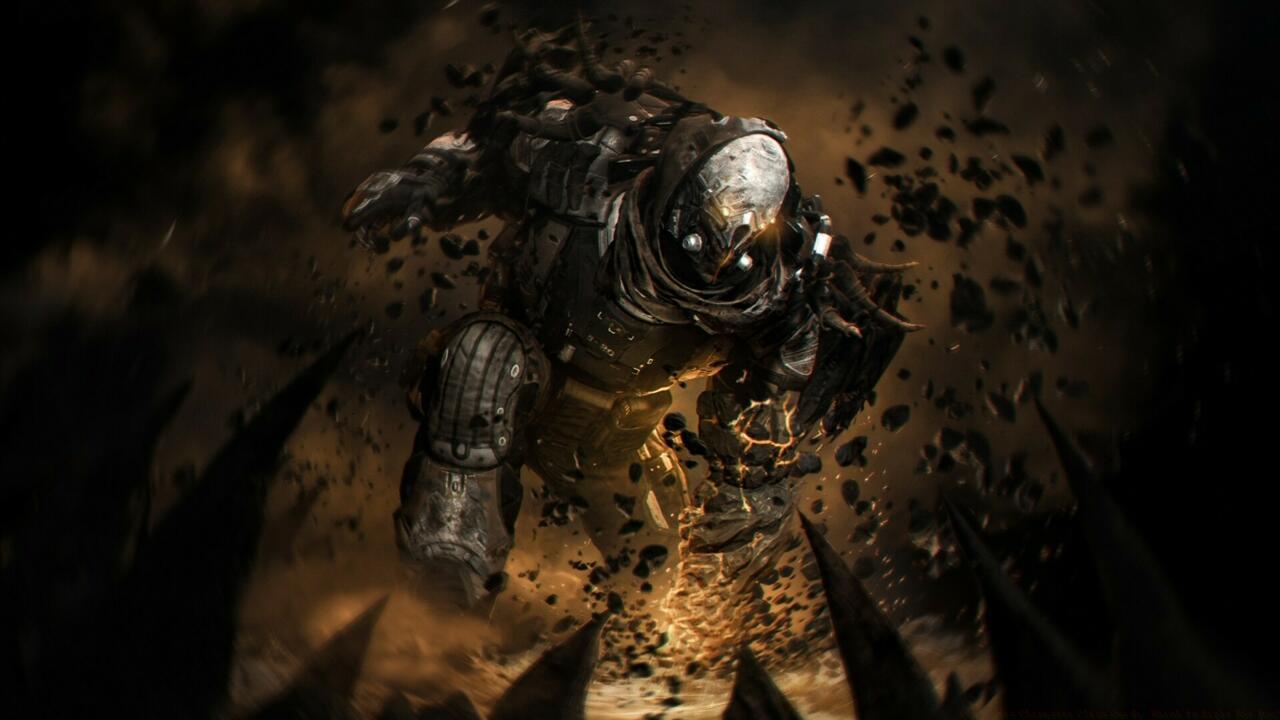
- Devastator – Tank Class
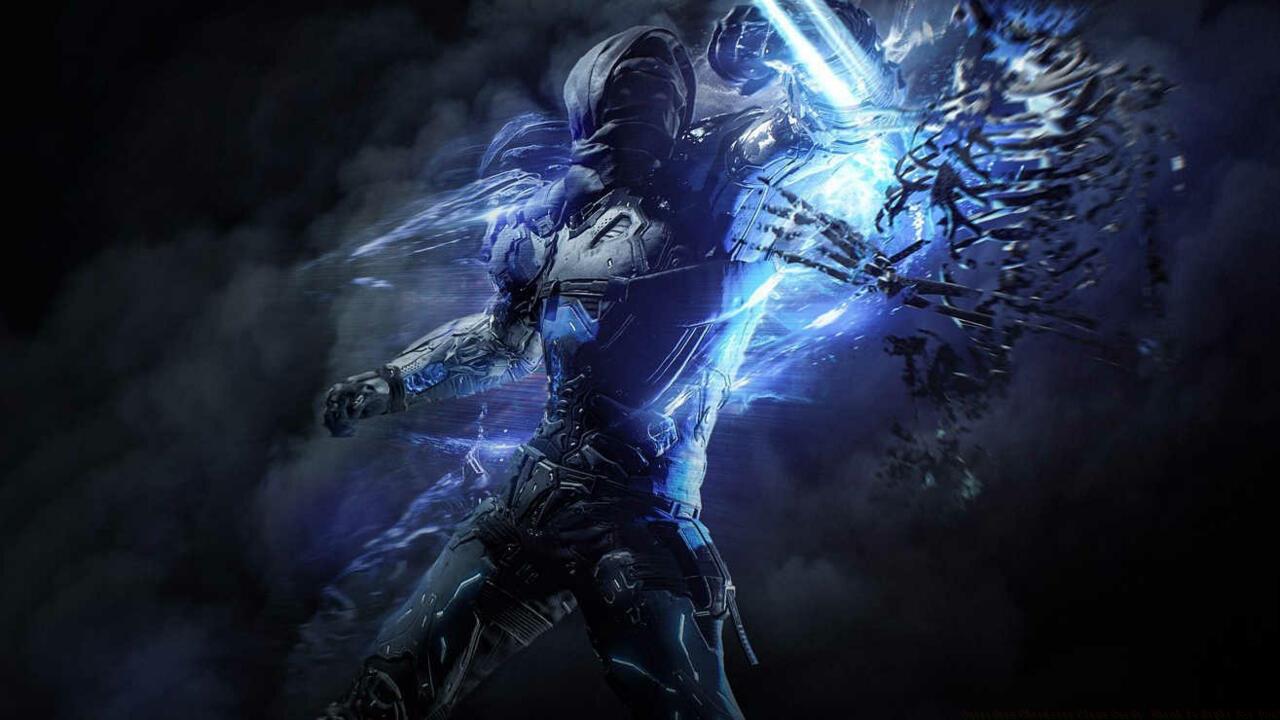
- Trickster – Rogue Class
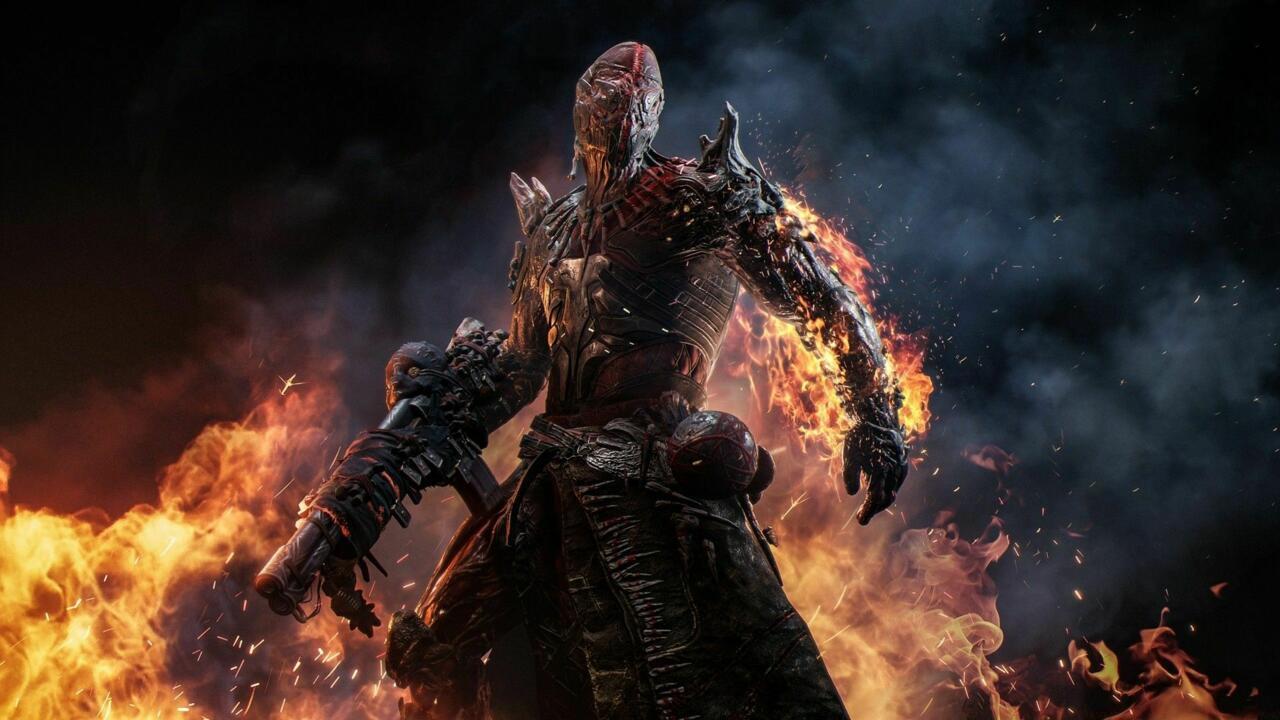
- Pyromancer – Spellcaster Class
- Technomancer – Support Class
The Devastator harnesses gravitational forces, manipulating terrain and environment for both defensive positioning and offensive assaults. This class thrives in close-quarters combat scenarios, featuring exceptional durability with inherent 15% maximum health enhancement and 30% armor reinforcement. If you naturally assume the frontline role in cooperative sessions, the Devastator aligns perfectly with your tactical preferences.
Your initial ability arsenal includes Earthquake, Golem, Gravity Leap, and Reflect Bullets. The offensive capabilities of Earthquake and Gravity Leap deliver massive area-denial damage—Earthquake projects a directional shockwave while Gravity Leap transforms you into an aerial projectile targeting specific enemies. Both skills position you directly within enemy formations, leveraging the Devastator’s close-combat superiority. Defensive tools like Golem and Reflect Bullets guarantee survival during repeated frontline engagements. Golem generates protective rock armor from surrounding terrain, whereas Reflect Bullets intercepts incoming fire and redirects it toward attackers.
Opting for Devastator necessitates abandoning long-range weapon specialization. These tanks perform exceptionally with shotguns, assault rifles, and light machine guns. Allocating skill points into the Vanquisher tree enhances firearm proficiency. For players aspiring toward maximum damage absorption, the Warden tree offers optimal investment. The Seismic Shifter path caters to offensive ability-focused builds seeking frequent power usage.
Crucially, each close-range elimination restores 24% of the Devastator’s maximum health (making tactical retreats potentially more hazardous than aggressive advances). The class-exclusive melee strike emits a concussive wave that inflicts bleeding status and damage-over-time effects. Overall, the Devastator presents an accessible and straightforward class suitable for both solitary campaigns and coordinated team operations.
The Trickster manipulates temporal flows, creating strategic advantages through slowed enemy movements and rapid positional changes. This class specializes in high-mobility engagements and devastating burst damage potential. If you prefer hit-and-run tactics and precision strikes, the Trickster offers unparalleled mobility options.
Your foundational temporal abilities include Temporal Blade, Hunt the Prey, Slow Trap, and Cyclone Slice. Offensive skills like Temporal Blade and Cyclone Slice deliver massive close-range damage—Temporal Blade executes a wide sweeping attack while Cyclone Slice transforms you into a spinning blade vortex. Both techniques emphasize rapid target elimination and battlefield control. Mobility tools like Hunt the Prey and defensive options like Slow Trap ensure survival through strategic repositioning and crowd control. Hunt the Prey teleports you behind targeted enemies, while Slow Trap generates a time-distortion field that dramatically reduces enemy movement and attack speed.
Choosing the Trickster means mastering close-quarters weaponry and hit-and-run tactics. These rogues excel with shotguns, sniper rifles, and double-handed weapons. Investing in the Assassin skill tree enhances close-combat effectiveness. For players focusing on temporal manipulation and crowd control, the Harbinger tree provides optimal benefits. The Reaver path suits those wanting to maximize damage output while maintaining mobility.
Significantly, each close-range kill restores health and provides temporary shields, rewarding aggressive playstyles. The class-unique melee attack applies a time-slowing effect to enemies, creating strategic openings for follow-up assaults. The Trickster demands tactical awareness and quick decision-making, performing exceptionally in both solo play and coordinated team strikes.
The Pyromancer commands elemental fire, unleashing destructive powers that incinerate enemies across the battlefield. This class dominates mid-range engagements with area-denial capabilities and damage-over-time effects. If you enjoy controlling combat pacing and applying persistent pressure, the Pyromancer delivers satisfying tactical options.
Your core pyrokinetic abilities include Thermal Bomb, Feed the Flames, Overheat, and F.A.S.E.R. Beam. Offensive skills like Thermal Bomb and F.A.S.E.R. Beam provide devastating single-target and area damage—Thermal Bomb attaches explosive charges to enemies while F.A.S.E.R. Beam channels concentrated energy into a devastating laser. Both abilities excel at eliminating grouped enemies and priority targets. Control tools like Feed the Flames and Overheat ensure battlefield management and sustained damage output. Feed the Flames pulls enemies closer while draining their health, whereas Overheat detonates all burning targets for massive area damage.
Selecting Pyromancer means balancing ability usage with strategic positioning. These spellcasters perform optimally with assault rifles, submachine guns, and rifles. Allocating points into the Firestorm skill tree enhances area damage capabilities. For players focusing on single-target elimination, the Harbinger tree offers superior benefits. The Technomancer path caters to those wanting to maximize skill frequency and elemental effects.
Importantly, each ability damage dealt to enemies marks them for healing upon elimination, encouraging aggressive ability rotation. The class-specific melee attack ignites enemies, applying burning status that deals damage over time. The Pyromancer requires careful ability management and positioning awareness, performing exceptionally in both solo scenarios and team-based operations.
The Technomancer utilizes advanced technology, deploying combat gadgets and support systems that benefit entire teams. This class excels at versatile engagement ranges with healing capabilities and tactical utility. If you prefer supporting teammates while maintaining solid damage output, the Technomancer provides balanced tactical options.
Your essential technological abilities include Scrapnel, Cryo Turret, Tool of Destruction, and Fixing Wave. Offensive tools like Scrapnel and Tool of Destruction deliver substantial damage—Scrapnel throws proximity mines while Tool of Destruction summons heavy weaponry. Both skills offer flexible engagement options across various combat scenarios. Support capabilities like Cryo Turret and Fixing Wave ensure team sustainability and battlefield control. Cryo Turret deploys an automated freezing device while Fixing Wave emits a healing pulse that restores ally health.
Choosing Technomancer means embracing versatility across multiple combat roles. These specialists perform well with sniper rifles, assault rifles, and light machine guns. Investing in the Tech Shaman skill tree enhances support capabilities. For players focusing on damage amplification, the Demolisher tree provides optimal benefits. The Pestilence path suits those wanting to focus on status effects and damage-over-time tactics.
Notably, all damage dealt by the Technomancer contributes to health regeneration, rewarding consistent offensive pressure. The class-unique melee attack applies a freezing effect that temporarily immobilizes targets. The Technomancer demands strategic ability placement and team awareness, performing exceptionally in cooperative play and challenging endgame content.

Mastering Outriders requires understanding advanced class synergies and optimal team compositions. For Class Guide enthusiasts, understanding how these four archetypes complement each other creates devastating team dynamics.
Solo Play Optimization: When playing alone, prioritize self-sufficiency. Devastators should focus on survival skills, Tricksters on mobility escapes, Pyromancers on consistent damage output, and Technomancers on balanced offense and support.
Team Composition Fundamentals: Balanced teams typically include one Devastator for frontline control, one Trickster for high-priority target elimination, one Pyromancer for area denial, and one Technomancer for sustained support. However, experimenting with different combinations can yield surprising results—double Technomancer setups provide incredible sustainability, while multiple Pyromancers create overwhelming area pressure.
Common Mistakes to Avoid: New players often misjudge engagement ranges, particularly Devastators attempting long-range combat or Technomancers pushing too aggressively forward.
Endgame Preparation: As you approach maximum level, your skill tree choices become increasingly important. Consult our Complete Guide for detailed build optimization strategies. Weapon selection should complement your chosen path—close-range specialists benefit from shotguns with status effects, while support players might prefer rifles with mod slots for utility enhancements.
Advanced Tactical Considerations: Experienced players should master ability combos like Gravity Leap into Earthquake for Devastators or Temporal Blade following Slow Trap for Tricksters.
Action Checklist
- Test all four classes during prologue to understand core mechanics
- Analyze your preferred playstyle: frontline tank, mobile assassin, area controller, or support specialist
- Master your chosen class’s healing mechanics through targeted practice
- Experiment with different skill tree combinations before committing points
- Coordinate with teammates to ensure balanced class distribution
- Reference our Weapons Unlock guide to optimize your loadout
No reproduction without permission:SeeYouSoon Game Club » Outriders Character Class Guide: Which Is Right For You? Comprehensive guide to Outriders' four classes with advanced strategies and optimization tips