TL;DR
- Mirage’s decoys reveal enemy positions when shot, providing crucial intel
- Use holograms during drops to manipulate enemy landing patterns and gain early advantage
- Long-range weapons complement deception tactics by capitalizing on enemy confusion
- Ultimate ability creates perfect opportunities for escapes or surprise attacks
- Passive invisibility when downed enables strategic repositioning for revival
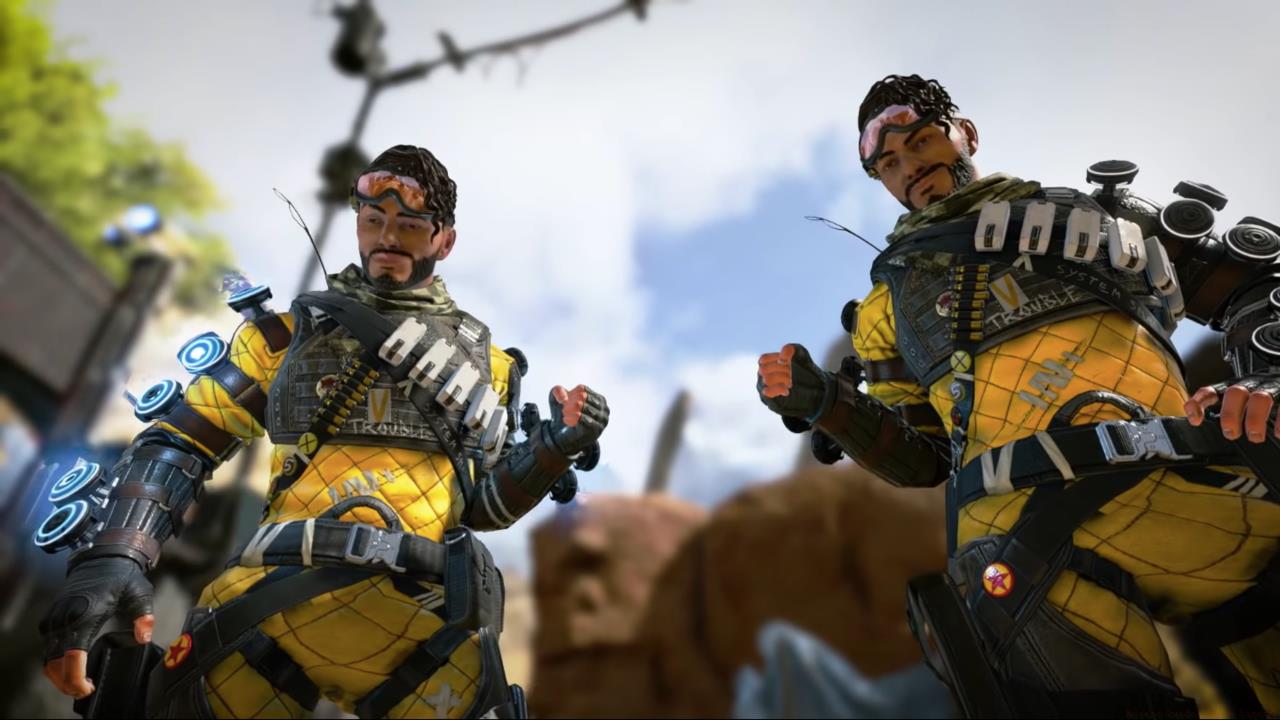
Within Apex Legends’ expanding roster of combat specialists, Mirage stands apart as the master of psychological warfare. His holographic technology transforms straightforward firefights into complex mind games where perception becomes the ultimate weapon. While many legends follow conventional tactical roles, Mirage introduces an element of unpredictability that can dismantle even the most coordinated squads.
This comprehensive guide explores the nuanced art of deception through Mirage’s toolkit. His abilities may appear comical initially, but they conceal sophisticated tactical applications that create decisive advantages in high-pressure situations. Learning to manipulate enemy expectations separates novice tricksters from true masters of misdirection.
Mirage employs cutting-edge holographic systems to generate tactical duplicates that disrupt opponent decision-making. Though his skills seem unconventional compared to direct damage abilities, they excel at creating information asymmetry—knowing more about your enemies than they know about you.

Mirage
The Psyche Out tactical ability deploys a holographic decoy that mimics Mirage’s movements with startling accuracy. Beyond simply drawing enemy fire, this skill enables sophisticated bait-and-switch maneuvers that punish predictable opponent behavior.
Advanced practitioners use decoys to test suspicious areas before committing to engagements. When enemies shoot your hologram, their position gets highlighted on your minimap for several seconds—intelligence that often proves more valuable than dealing damage directly.
Holograms demonstrate contextual intelligence based on deployment environment. Position a decoy near loot containers and it will simulate opening animations. Place one near ziplines and it will approach as if to use them. This behavioral complexity sells the illusion, convincing experienced players they’ve spotted the real Mirage.
Common Mistake: New players often deploy decoys in open areas where they’re easily identified as fakes. Instead, use terrain features and existing combat chaos to make your duplicates believable.
Optimal usage involves sending decoys through chokepoints first, using them as scouts to detect ambushes. During firefights, deploy holograms to flanking routes to make enemies hesitate or reveal their positions. The psychological pressure of potentially facing multiple targets often causes opponents to make positioning errors you can exploit.
Mirage’s ultimate ability, Life of the Party, summons a squad of holograms that mirror his movements in a coordinated dance of confusion. The sheer visual clutter makes target acquisition difficult for enemies, creating windows for decisive action.
This ability shines brightest in confined spaces where the hologram cluster becomes overwhelming. Buildings, tunnels, and urban environments multiply its effectiveness as enemies struggle to track the real threat amid the digital doppelgangers.
Strategic applications include creating cover for reviving teammates, disrupting enemy pushes, or facilitating escapes from unfavorable engagements. The chaos often causes opponents to waste precious ammunition and abilities on illusions.
Pro Tip: Activate your ultimate just before entering a building occupied by enemies. The sudden appearance of multiple Mirages forces split-second decisions that frequently result in tactical errors.
Coordinate with your squad by signaling when you’re deploying holograms. Teammates can then capitalize on the distraction by flanking or using area-denial abilities. The synchronized assault often collapses enemy defenses before they can identify the real threat.
Mirage’s deception begins the moment you exit the dropship. During descent, you can deploy up to two aerial holograms that mimic standard dropping patterns, creating early-game psychological advantages.
Enemy squads observing multiple Mirages dropping often alter their landing strategy to avoid early confrontation. This manipulation of opponent movement patterns can secure superior loot locations for your team.
Advanced Tactic: Deploy decoys toward popular landing zones while your actual squad targets adjacent areas. This reduces competition for resources while positioning you advantageously for third-party engagements.
The brief window of aerial deployment allows for sophisticated mind games that continue influencing match dynamics long after touchdown.
While Mirage remains effective with various weapon combinations, certain loadouts maximize his deception potential. Long-range precision weapons like the Longbow DMR or Triple Take synergize perfectly with his ability to create stationary targets.
When enemies engage your decoys, they often pause movement briefly—creating perfect sniper targets. The distance also provides reaction time should opponents identify the real you and counter-attack.
Weapon Tier Recommendations:
- S-Tier: Sentinel, Charge Rifle – Capitalize on exposed stationary targets
- A-Tier: R-301, Flatline – Balanced performance across engagement ranges
- B-Tier: Peacekeeper, Mastiff – Effective when combined with ultimate chaos
Complement your primary with a close-range weapon for building clearing and final circle engagements. The alternation between long-range deception and close-quarters combat keeps opponents constantly off-balance.
Gear prioritization should focus on optics for your preferred engagement range and survival items like shield batteries to maintain pressure during extended mind games.
When situations deteriorate and Mirage gets knocked, his passive ability Now You See Me activates automatically. This creates a brief window of invisibility while a dramatic decoy collapses in your place.
The brief cloaking provides critical seconds to reposition toward cover or teammates. However, experienced enemies may track your movement through particle effects or audio cues, so don’t assume complete safety.
Critical Mistake: Crawling directly toward teammates often gives away their position. Instead, move to adjacent cover and use ping system to coordinate safe revival.
Optimal knockdown positioning involves anticipating where you might get downed and ensuring escape routes are available. Avoid open areas where invisibility provides little practical benefit.
Advanced players use this ability to bait overconfident enemies. The decoy’s dramatic death animation often draws opponents closer for finish kills, setting them up for counter-attacks from your still-standing teammates.
Remember that the invisibility duration is limited—typically 3-5 seconds depending on circumstances. Use this time strategically rather than panicking and moving erratically.
Action Checklist
- Practice decoy placement near interactive objects to maximize believability
- Master aerial deception by manipulating enemy drop patterns in 3 matches
- Coordinate ultimate usage with squad for synchronized pushes or escapes
- Optimize loadout with long-range primary and close-range secondary
- Develop knockdown escape routes for common engagement areas
No reproduction without permission:SeeYouSoon Game Club » Mirage Guide – Apex Legends Master Mirage's holographic deception tactics to outsmart opponents and dominate Apex Legends matches