TL;DR
- MP becomes extremely scarce – prioritize healing spells and use MP conservation tactics
- Prayer and Chakra Materia provide essential non-MP healing alternatives
- Master defensive techniques including guarding and counterattacking for survival
- Strategic character switching and weapon evaluation are crucial for optimization
- Focus on stagger mechanics and efficient spell usage to defeat tough enemies
Completing Final Fantasy 7 Remake unlocks the formidable Hard Mode, a completely rebalanced experience that transforms core gameplay mechanics and demands strategic mastery.
Upon finishing your initial playthrough, you’ll gain access to Hard Mode – an elevated challenge tier that requires constant tactical awareness in every encounter. This difficulty setting removes several safety nets you likely depended on during Normal Mode, forcing you to adapt your approach fundamentally. Hard Mode represents the exclusive pathway to fully upgrade your arsenal using Manuscripts, unlock the game’s most demanding boss encounters to obtain its premier accessories, and experience narrative choices that reveal previously unseen story content.
We’ve compiled essential strategic guidance to help you overcome the enhanced adversaries you’ll confront throughout Final Fantasy 7 Remake’s Hard Mode journey. For comprehensive coverage, explore our extensive library of FF7 Remake guides, detailed walkthroughs, tactical advice, and mechanical analysis.

MP regeneration becomes extremely limited in Hard Mode, making conservation absolutely critical.
Magic Points represent your most constrained resource in this difficulty setting. You’ll need to implement strict MP conservation protocols: deploy offensive spells only when absolutely necessary, and reserve the majority of your magical energy for curative abilities. With consumable items disabled, you lose conventional methods for restoring health points or reviving incapacitated party members. Strategic deployment of MP Up Materia can expand your magical reserves, but requires careful consideration regarding which character specializes in each magical role.
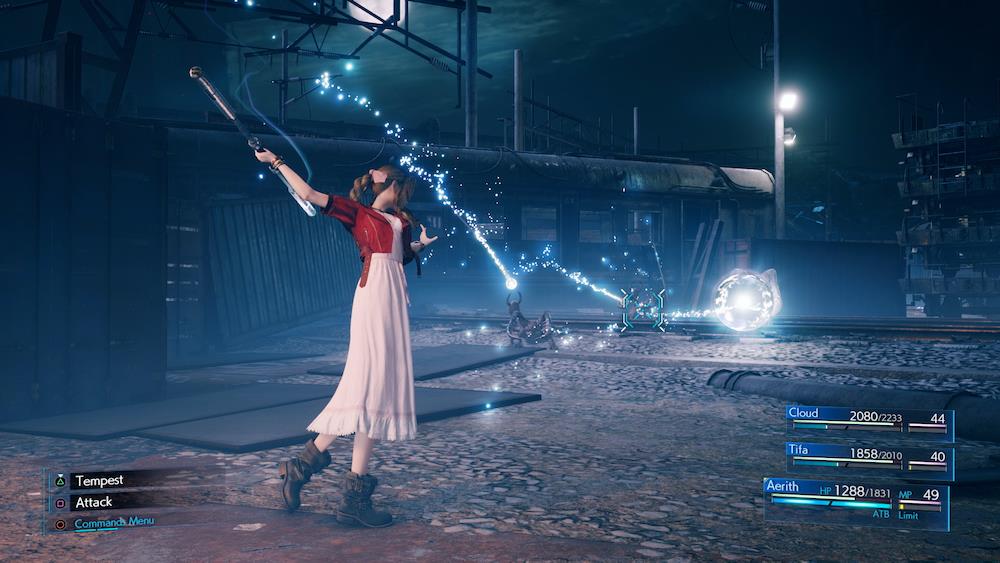
Advanced players should exploit system mechanics: Aerith’s Arcane Ward effectively doubles spell efficiency at no additional MP cost, while her Siphon Soul capability directly steals magical energy from opponents. Certain weapon enhancements significantly reduce spell expenditure, providing substantial tactical advantages throughout extended engagements.
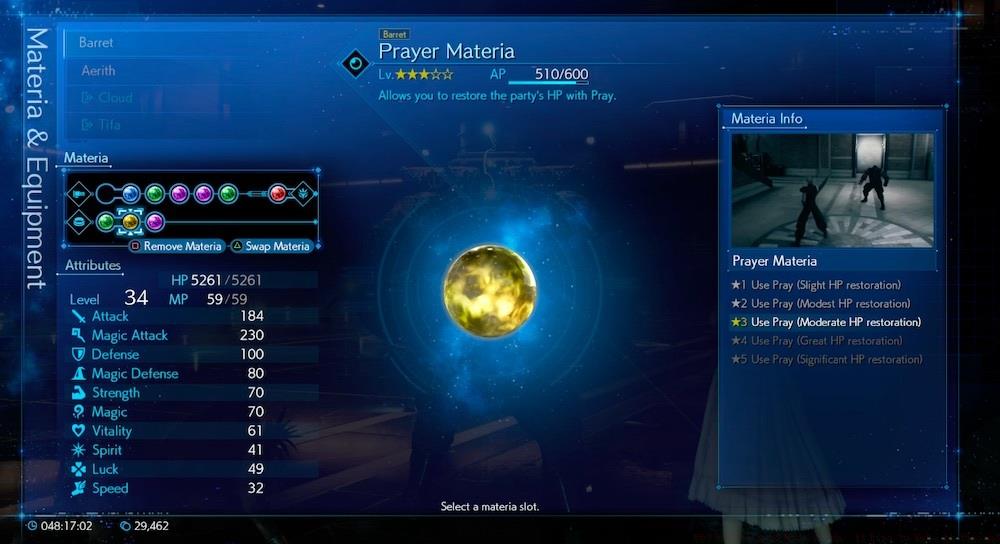
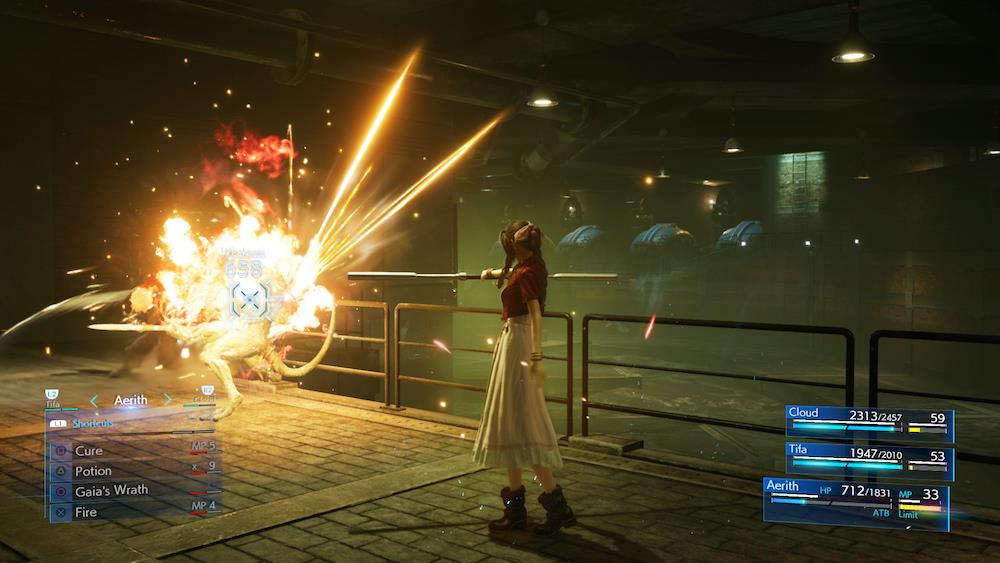
Prayer provides critical MP-free healing capabilities that become indispensable in Hard Mode.
The primary solution to your limited MP reserves involves the Prayer and Chakra Command Materia. Prayer delivers team-wide restoration for two ATB charges, while Chakra recovers individual character health proportional to damage sustained. Neither ability serves as a universal solution, but equipping both Materia across your entire roster provides essential non-magical healing options during critical situations. Chakra Materia proves relatively accessible, whereas Prayer remains considerably scarcer: locate it during Chapter 14 within the “Corneo’s Secret Stash” optional mission.
Revival Materia becomes absolutely mandatory in Hard Mode – no alternative methods exist for rescuing fallen companions.
Without access to restorative items, reviving unconscious allies during combat requires exclusive reliance on Revival spells. You must equip Revival Materia, typically available through purchase, on every party member, and prioritize leveling it expeditiously. The Ascend spell excels at returning characters to battle with full combat readiness, though acquiring it demands substantial progression investment. Neglecting to equip Revival capabilities can result in complete party elimination during difficult fights, so verify all characters maintain this capability continuously.
Maintaining defensive posture becomes non-negotiable for survival in Hard Mode’s intensified combat scenarios.
Mastering defensive mechanics separates successful Hard Mode players from those who repeatedly fail. The guard function significantly reduces incoming damage while simultaneously building ATB charges, creating offensive opportunities from defensive positioning. Many players underestimate guarding’s importance, leading to unnecessary party wipes and resource depletion.
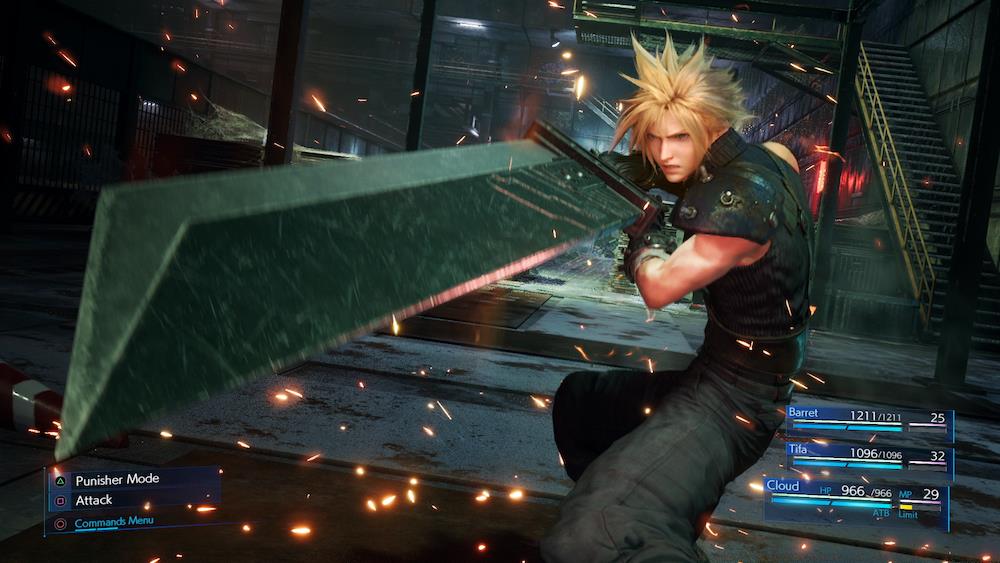
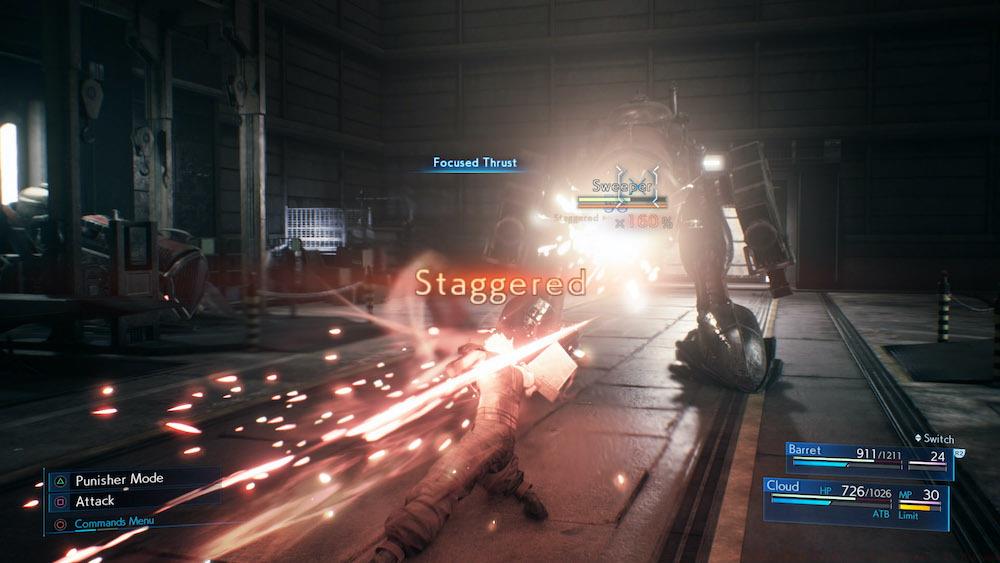
Punisher mode counterattacks and Cloud’s Counterstance ability prove instrumental for achieving victory and staggering numerous challenging foes.
Counterattack mechanics represent some of Hard Mode’s most powerful tactical tools. Cloud’s Punisher stance automatically retaliates against physical assaults, while Counterstance provides deliberate, high-damage responses to enemy attacks. Proper timing transforms enemy aggression into vulnerability windows, enabling devastating follow-up combinations.
Optimize ATB generation across your entire party and maintain enemy disorientation through frequent character rotation.
Strategic character cycling serves multiple critical functions: it distributes enemy attention, prevents individual members from being focus-fired, and ensures continuous ATB accumulation throughout your roster. This practice proves particularly effective against bosses with area-of-effect capabilities or single-target elimination techniques.
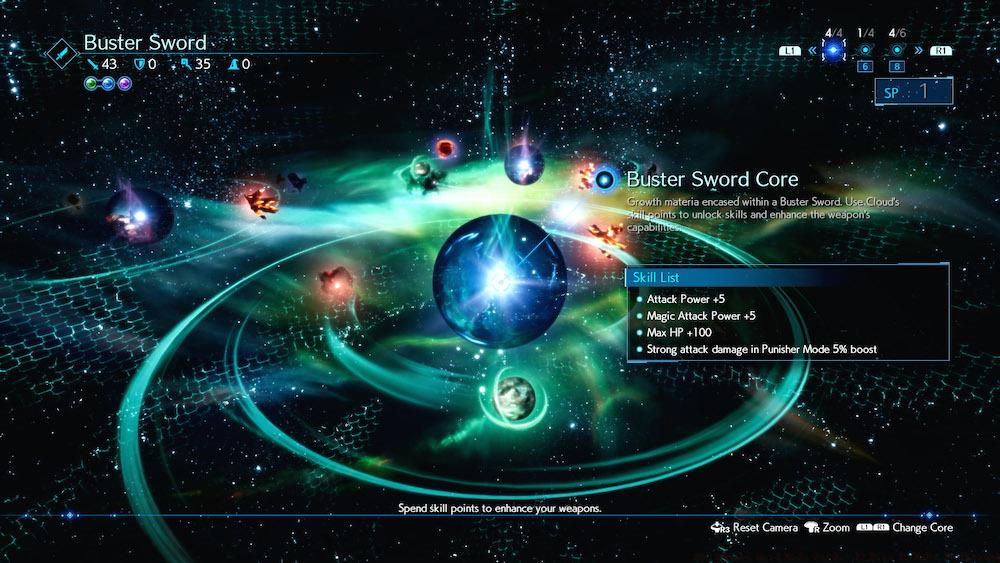
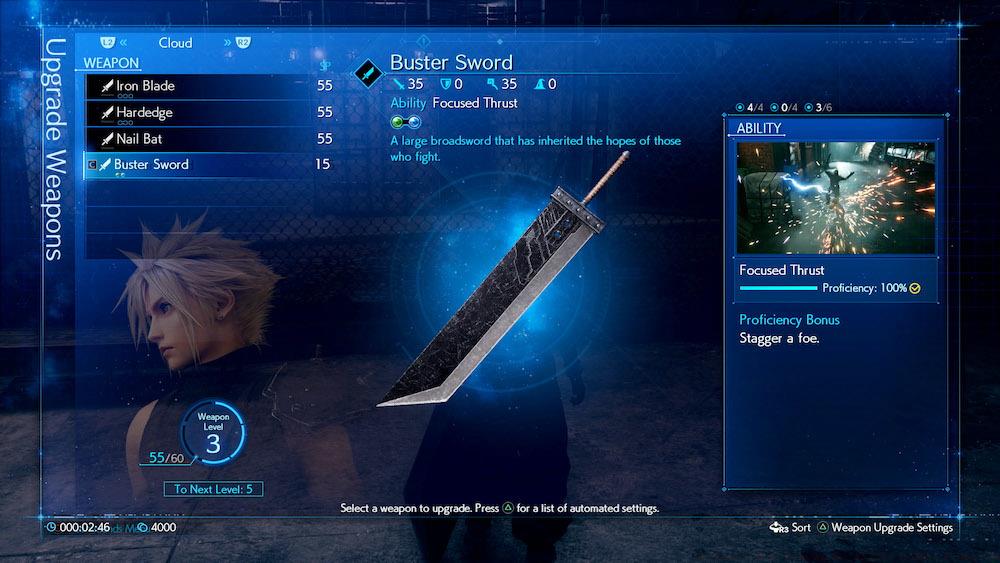
Weapon selection criteria extend far beyond fundamental statistical comparisons in Hard Mode.
Weapon evaluation requires comprehensive analysis of passive abilities, statistical distributions, and synergy with your equipped Materia configuration. Each weapon features unique proficiency bonuses that may dramatically enhance specific playstyles or compensate for character weaknesses.
Strategic integration of weapons, accessories, and Materia enables creation of specialized character builds essential for progression.
Character specialization demands meticulous planning: assign roles based on innate strengths, available equipment, and anticipated encounter requirements. Avoid spreading capabilities too thinly across your party – instead, develop specialized experts for healing, magical assault, physical damage, and support functions.
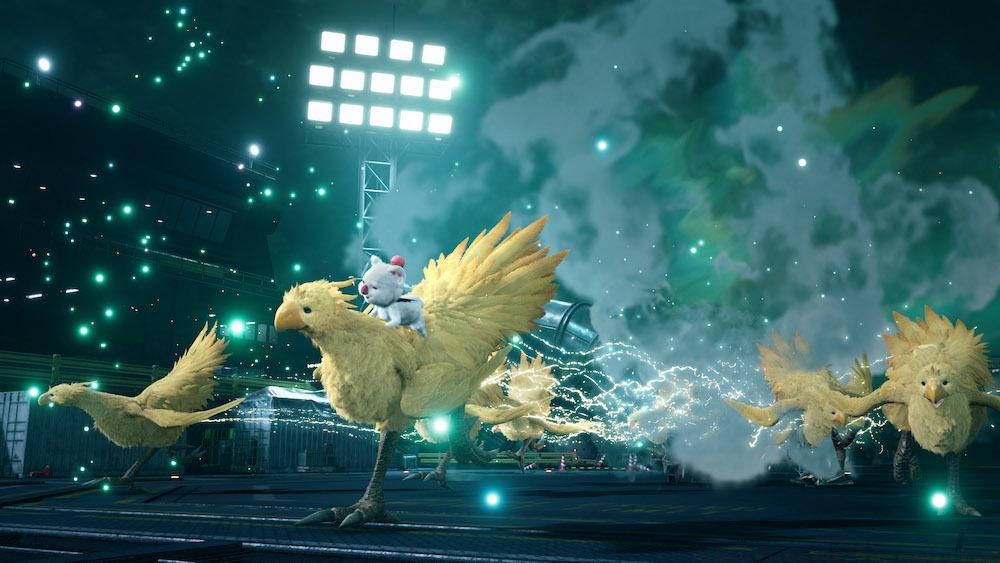
Premium, high-cost summons don’t automatically provide superior tactical advantages in every situation.
Summon distribution strategy involves careful consideration of encounter duration, ATB generation rates, and strategic timing requirements. Lower-tier summons often deliver superior value through faster activation times and lower resource investment requirements.
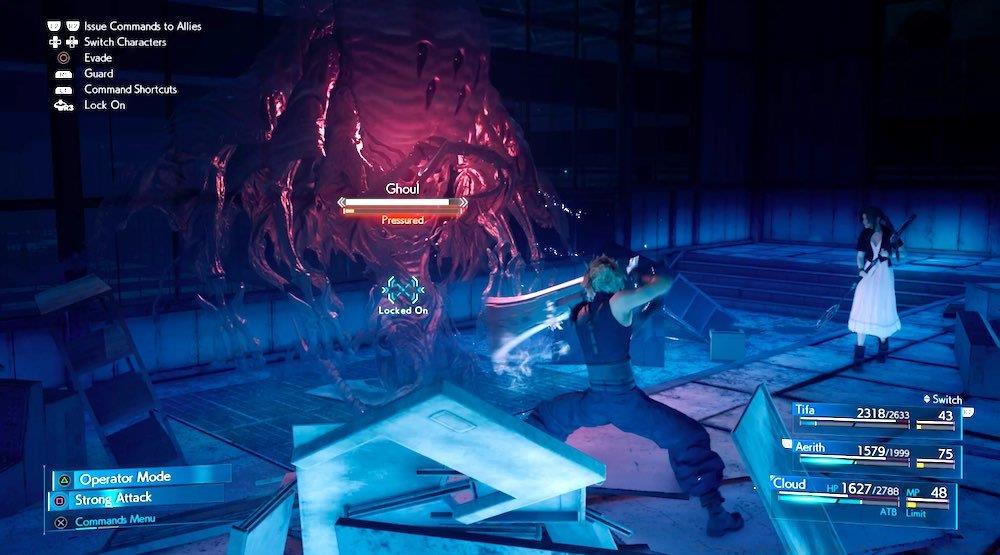
When building Stagger meters, economical magical spells frequently demonstrate impressive effectiveness while maintaining superior safety compared to potent, resource-intensive alternatives.
Stagger building represents a cornerstone Hard Mode mechanic requiring dedicated mastery. Focus on employing cost-effective spells that maximize stagger accumulation per MP point expended.
Consistently deploy Assess capabilities against adversaries, then refine your tactical approach to optimize Stagger generation.
Systematic enemy analysis through the Assess Materia provides critical intelligence for stagger optimization. Different enemy types possess unique stagger vulnerabilities – exploit these weaknesses systematically.
Combo experimentation unlocks significant damage potential when properly executed. Develop personalized attack sequences that leverage character-specific abilities, Materia interactions, and situational advantages.
Spell efficiency optimization involves selecting magical abilities that provide the highest tactical return on MP investment. Consider spell casting time, stagger contribution, and damage output when making magical selections.
Action Checklist
- Equip Prayer and Chakra Materia on all characters before starting Hard Mode
- Assign MP Up Materia to designated healers and magical damage dealers
- Practice guard timing and counterattack execution in VR missions
- Develop specialized character builds focusing on role optimization
- Create and test at least three different combo sequences for each character
- Systematically use Assess on all new enemy types encountered
No reproduction without permission:SeeYouSoon Game Club » FF7 Remake Hard Mode Guide: 12 Tips To Make It Through Master FF7 Remake Hard Mode with expert strategies for resource management and combat optimization