TL;DR
- Each perk has 4 primary weapons requiring strategic selection based on playstyle and team composition
- Resource management is critical – weapon mods require significant investment with limited recycling recovery
- The SCAR EIR offers balanced performance for Commandos while the Incinerator M7 excels at crowd control for Firebugs
- Positioning and movement strategies are as important as weapon choice for maximizing perk effectiveness
- Avoid common mistakes like over-investing in early weapons or ignoring perk-specific weapon synergies
Selecting the right weapons for each combat specialization requires careful consideration of multiple tactical factors. Killing Floor 3 introduces a sophisticated loadout mechanic that demands strategic planning rather than simple preference-based choices.
With 24 distinct primary firearms distributed across six specialized roles, mastering weapon selection becomes essential for survival. Each perk’s arsenal contains four options that cater to different playstyles and team dynamics, making informed decisions crucial for high-level gameplay.
Resource acquisition for weapon modifications represents a significant time investment, with recycling providing only minimal returns on crafted items. Strategic allocation of these limited resources separates successful teams from those struggling against the zed hordes.
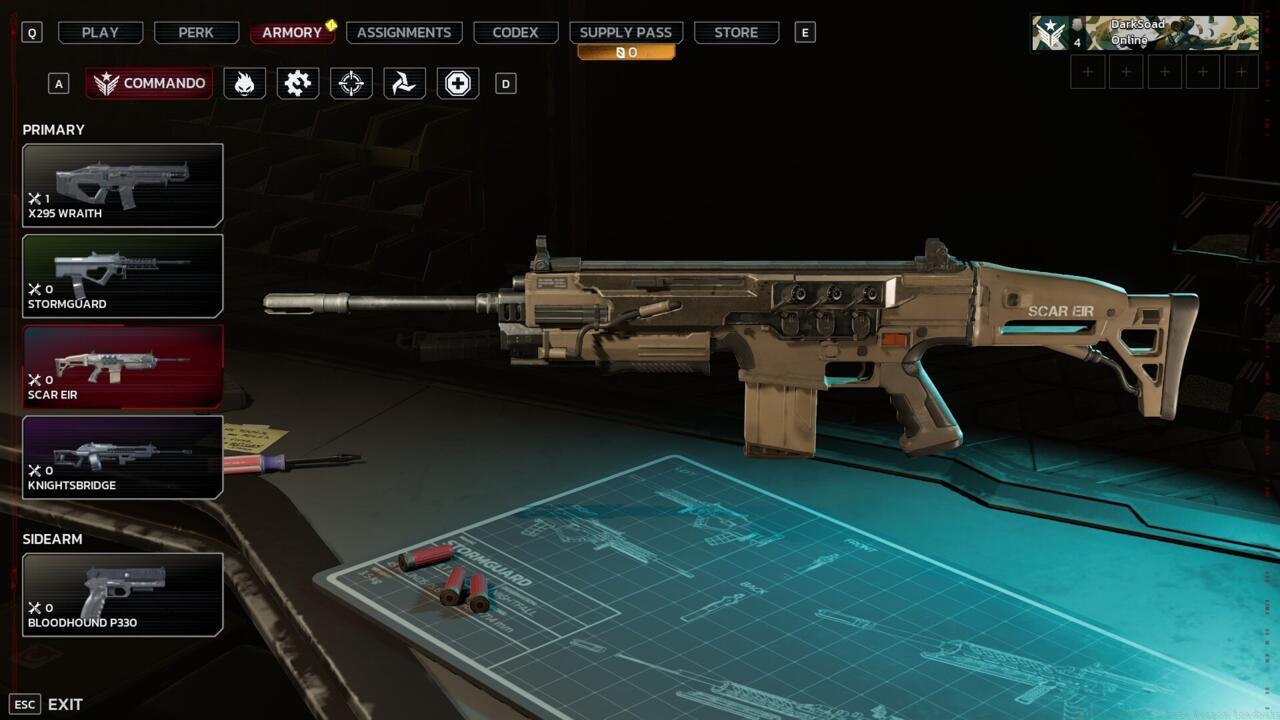
The Commando specialization excels at medium-range engagement and target prioritization, requiring weapons that balance accuracy with sustained fire capability. Understanding each firearm’s role within the perk’s tactical framework is essential for maximizing effectiveness.
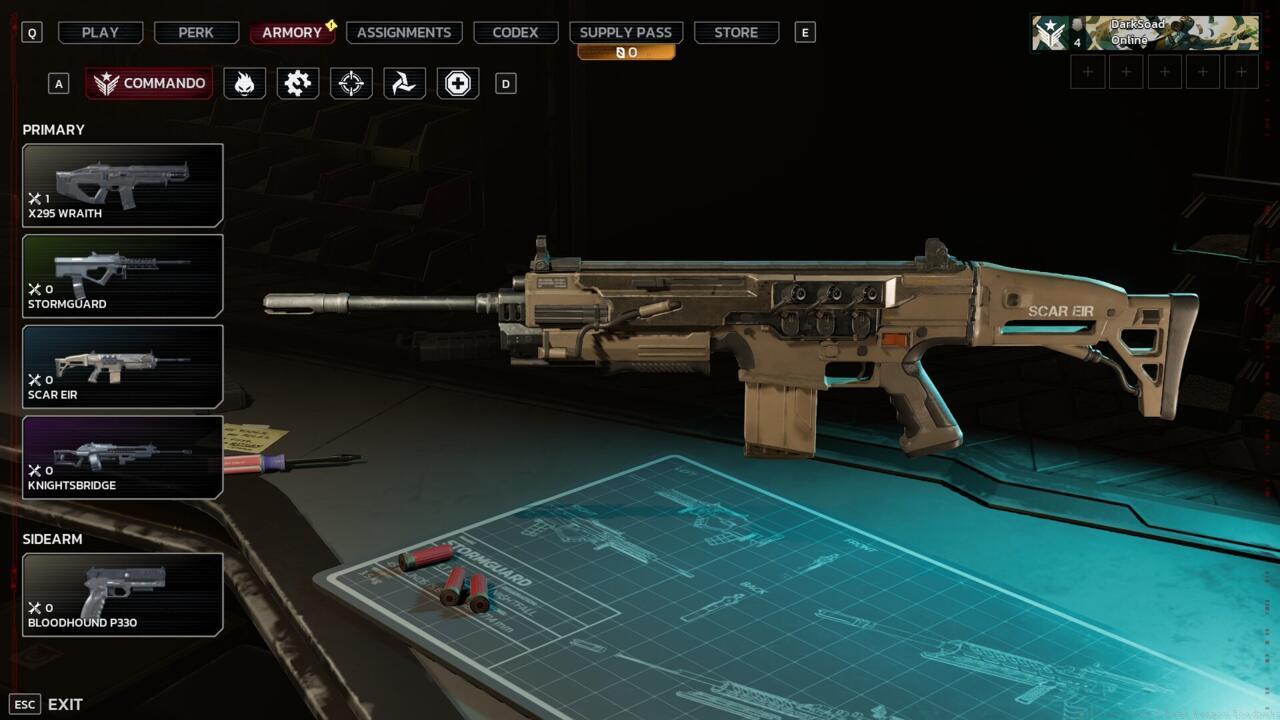
The SCAR EIR assault rifle provides reliable performance for Commandos seeking balanced capabilities.
While many Killing Floor 3 weapons feature advanced futuristic designs, the SCAR EIR maintains traditional assault rifle characteristics with enhanced precision and manageable recoil patterns. This weapon serves as an excellent all-purpose option that occupies a competitive performance tier without demanding the substantial resource investment required by premium alternatives like the Knightsbridge system.
However, operators should note the SCAR’s limitations in handling responsiveness, recoil control during sustained fire, and armor penetration effectiveness against heavily fortified targets.
Firebug specialists dominate crowd control scenarios through strategic application of incendiary weaponry and environmental manipulation. Weapon selection should prioritize area denial capability and ammunition efficiency against swarming enemies.
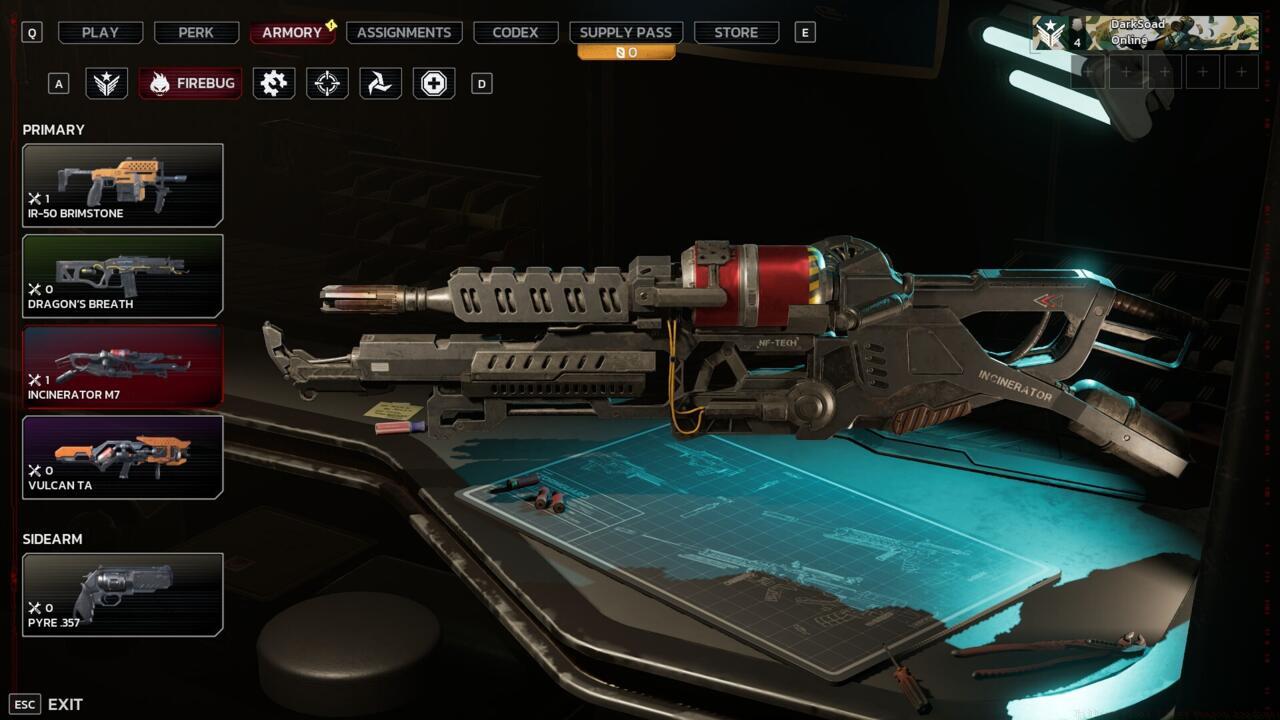
The Incinerator M7 flamethrower delivers exceptional crowd control capabilities for Firebug operatives.
The Incinerator M7 represents the pinnacle of fire-based area denial technology, capable of creating sustained kill zones that decimate approaching zed formations. Its fuel consumption rate requires careful management, but the tactical advantages in choke point defense scenarios justify the resource investment for dedicated Firebug players.
Advanced Firebug tactics involve combining primary incendiary weapons with environmental hazards and strategic positioning to maximize damage output while minimizing ammunition expenditure during extended engagements.
Engineer operatives provide crucial defensive support through automated turret systems and area denial equipment. Weapon selection should complement deployed constructs rather than function as standalone combat solutions.
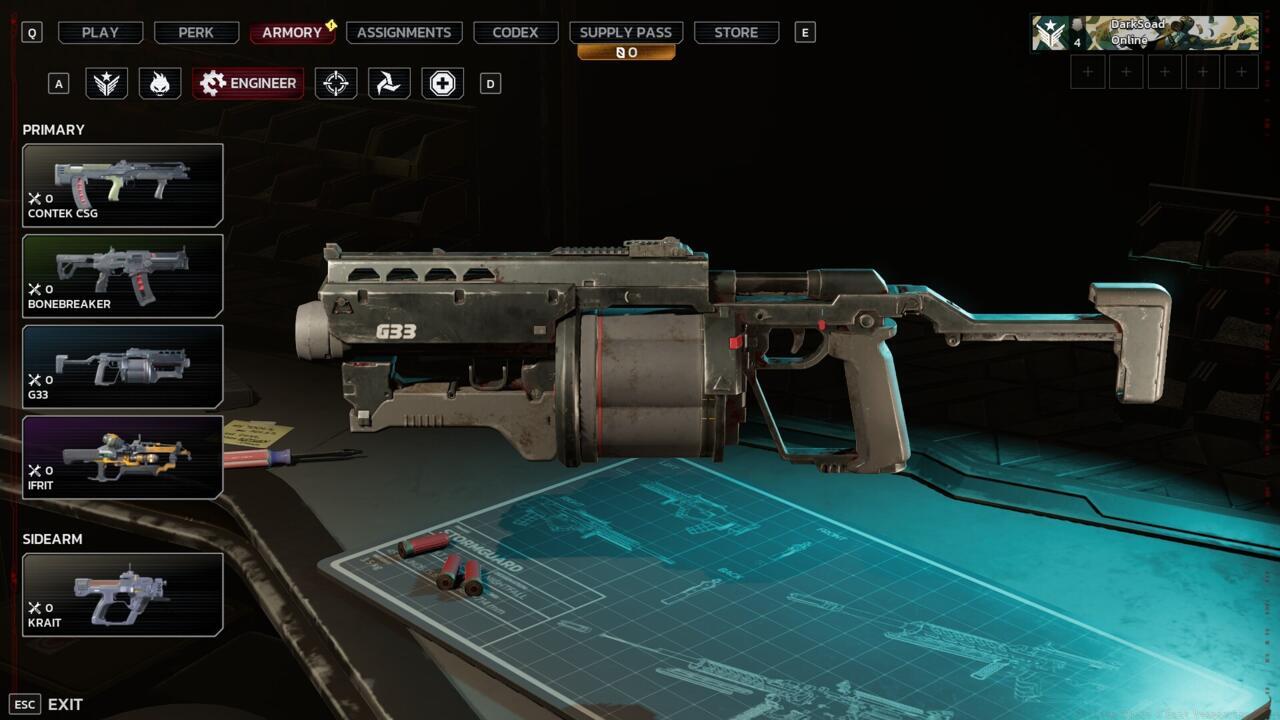
The G33 represents advanced engineering technology for defensive specialists.
The G33 platform offers Engineers versatile defensive capabilities that synergize effectively with deployed automated systems. Its modular design allows for tactical adaptations based on mission parameters and team composition requirements.
Successful Engineer loadouts balance personal defense capability with support functionality, ensuring operators can protect their deployed equipment while maintaining defensive formations during swarm assaults.
Sharpshooter specialists excel at precision elimination of high-value targets and critical threat neutralization. Weapon selection prioritizes first-shot accuracy and target penetration over rate of fire or ammunition capacity.
The SCAR EIR serves multiple roles across different specializations with varied effectiveness.
While primarily associated with Commando operations, certain SCAR EIR configurations can serve Sharpshooter needs in specific tactical scenarios requiring flexible engagement capabilities.
Optimal Sharpshooter positioning involves securing elevated vantage points with clear sightlines and multiple escape routes. Weapon mods should enhance stability and accuracy rather than increase firepower, as consistent first-shot elimination remains the specialization’s primary tactical contribution.
Ninja operatives specialize in rapid mobility, stealth tactics, and close-quarters elimination. Weapon selection should prioritize concealment, quick handling, and high burst damage potential.
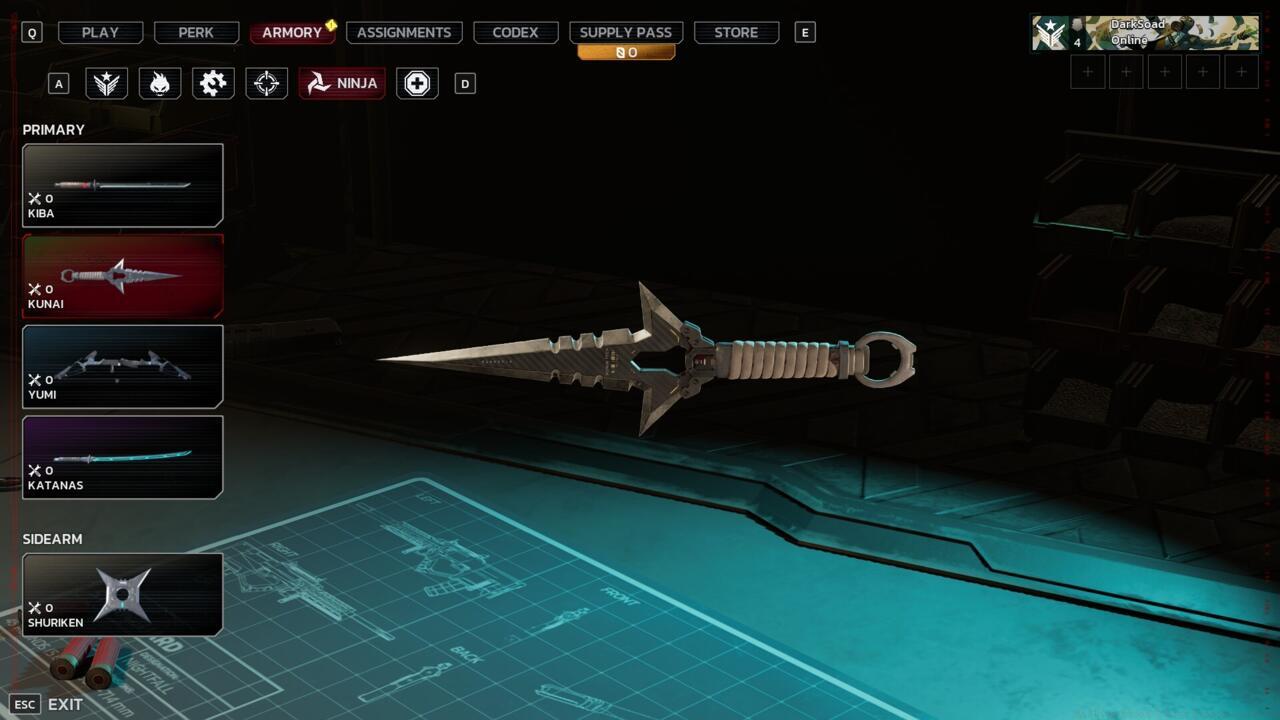
The Kunai throwing weapons offer Ninjas versatile engagement options at multiple ranges.
The Kunai system provides Ninja specialists with flexible engagement capabilities across short to medium distances. Its silent operation complements the perk’s stealth capabilities while providing reliable damage output against both individual targets and small groups.
Advanced Ninja tactics involve using mobility to create flanking opportunities and escape dangerous positioning. Weapon choices should enhance rather than hinder movement capabilities during complex combat maneuvers.
Medic operatives balance combat effectiveness with team support capabilities, requiring weapons that permit simultaneous engagement and medical assistance functions.
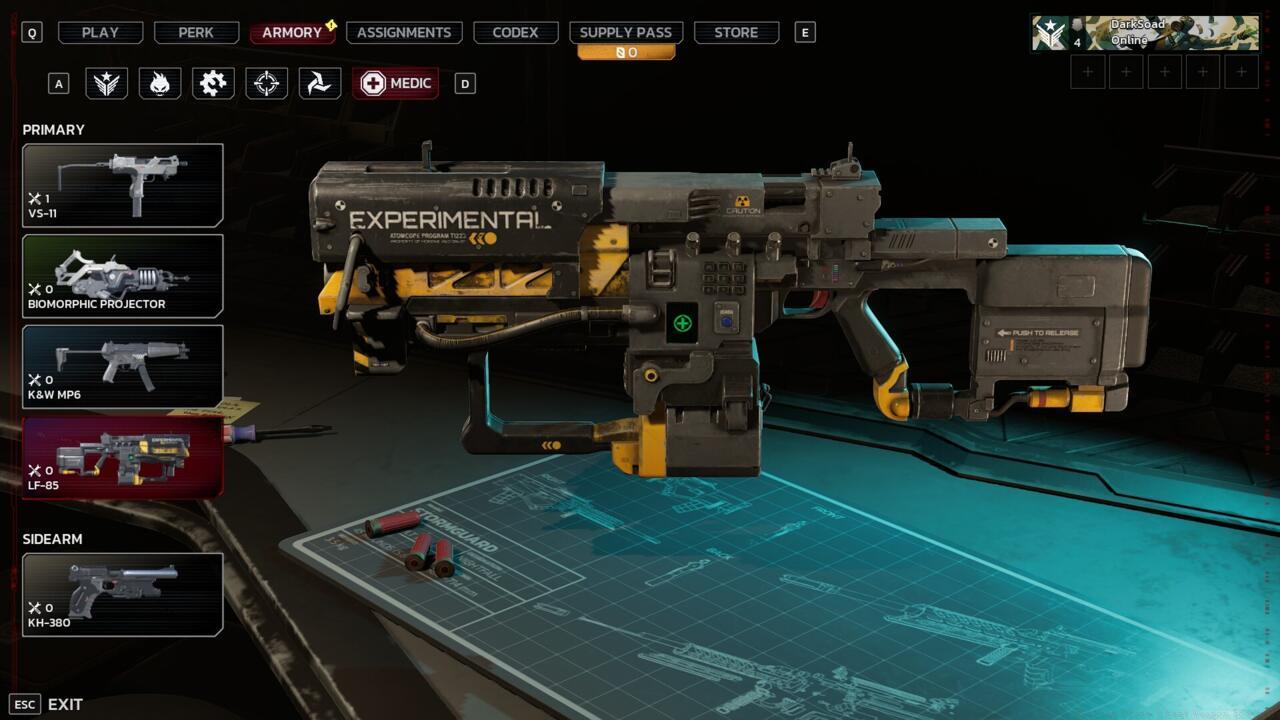
The LF-85 represents advanced medical technology with integrated combat capabilities.
The LF-85 platform integrates medical support systems with reliable combat functionality, allowing Medic specialists to sustain teammates while maintaining personal survivability.
Optimal Medic positioning maintains proximity to multiple team members without clustering in vulnerable formations. Weapon modifications should prioritize reliability and ammunition conservation to ensure consistent performance during extended emergency response scenarios.
Mastering Killing Floor 3’s weapon systems requires understanding advanced tactical principles beyond simple damage statistics. Weapon combinations should create synergistic effects that enhance overall team capability rather than simply maximizing individual performance metrics.
A common strategic error involves over-investing resources in early-game weapons that become obsolete in higher difficulty settings. Instead, players should strategically allocate modification resources toward weapons that scale effectively with perk advancement and team strategy requirements.
Resource management represents another critical consideration, as the limited recycling recovery rate for crafted modifications makes early investment decisions particularly consequential for long-term gameplay progression.
For comprehensive strategies across all game systems, consult our Complete Guide to Battlefield 6 mechanics and systems.
Action Checklist
- Analyze team composition and identify perk role requirements before selecting weapons
- Test each perk’s weapons in controlled environments to understand handling characteristics
- Prioritize weapon modifications based on long-term viability rather than immediate power increases
- Develop positioning strategies that complement your selected weapon’s effective range and handling characteristics
- Create multiple loadout variations for different game modes and difficulty settings
- Master movement techniques that maximize your weapon’s effectiveness while minimizing exposure
No reproduction without permission:SeeYouSoon Game Club » Killing Floor 3 Best Weapon Loadouts Master Killing Floor 3's weapon loadout system with expert perk-specific strategies and optimization tips