Master the final boss encounter with comprehensive strategies, phase breakdowns, and practical tips for Elden Ring Nightreign
Introduction to the Final Confrontation
Elden Ring Nightreign has arrived, bringing with it an epic conclusion that challenges even seasoned veterans. The expansion’s climactic battle occurs within the Shadowed Sanctum, an arena designed specifically to test your mastery of the game’s combat mechanics. This location features unique environmental properties that influence the fight’s dynamics.
Important: While this analysis covers boss mechanics and strategies, it does not provide a comprehensive defeat guide. These insights stem from extensive gameplay testing and observation.
The Shadowed Sanctum arena presents a circular battlefield with limited obstructions, forcing players to rely on movement rather than cover. Understanding this space’s dimensions becomes crucial during the second phase when area-of-effect attacks dominate the encounter.
Phase One: The Shape of Night
Your initial engagement begins against The Shape of Night, a spectral entity that prioritizes speed and aggression. This shadowy combatant utilizes hit-and-run tactics that punish passive playstyles. Its appearance deceives many into underestimating the encounter’s complexity.
Movement patterns during this phase emphasize rapid repositioning. The boss frequently employs short-distance teleportation to flank your position, combined with quick sword combos that feature minimal wind-up animation. Successful evasion requires anticipating these teleport destinations rather than reacting to them.
Key attack patterns include:
- Three-hit sword combos with advancing momentum
- Teleport-backstab sequences with audio cues
- Gap-closing dashes that track your position
- Delayed overhead slams with area shockwaves
Counter-strategies should focus on maintaining mid-range distance to bait specific attacks with longer recovery periods. The dash attack provides the most consistent punishment window, allowing 2-3 safe hits depending on your weapon speed. Avoid committing to lengthy attack chains, as the boss can cancel its recovery frames into teleportation.
Common mistakes during this phase include:
- Over-committing to attack opportunities
- Panic rolling instead of timed dodges
- Failing to manage stamina for emergency evasion
- Misjudging the boss’s teleportation range
Phase Two: Heolstor Unleashed
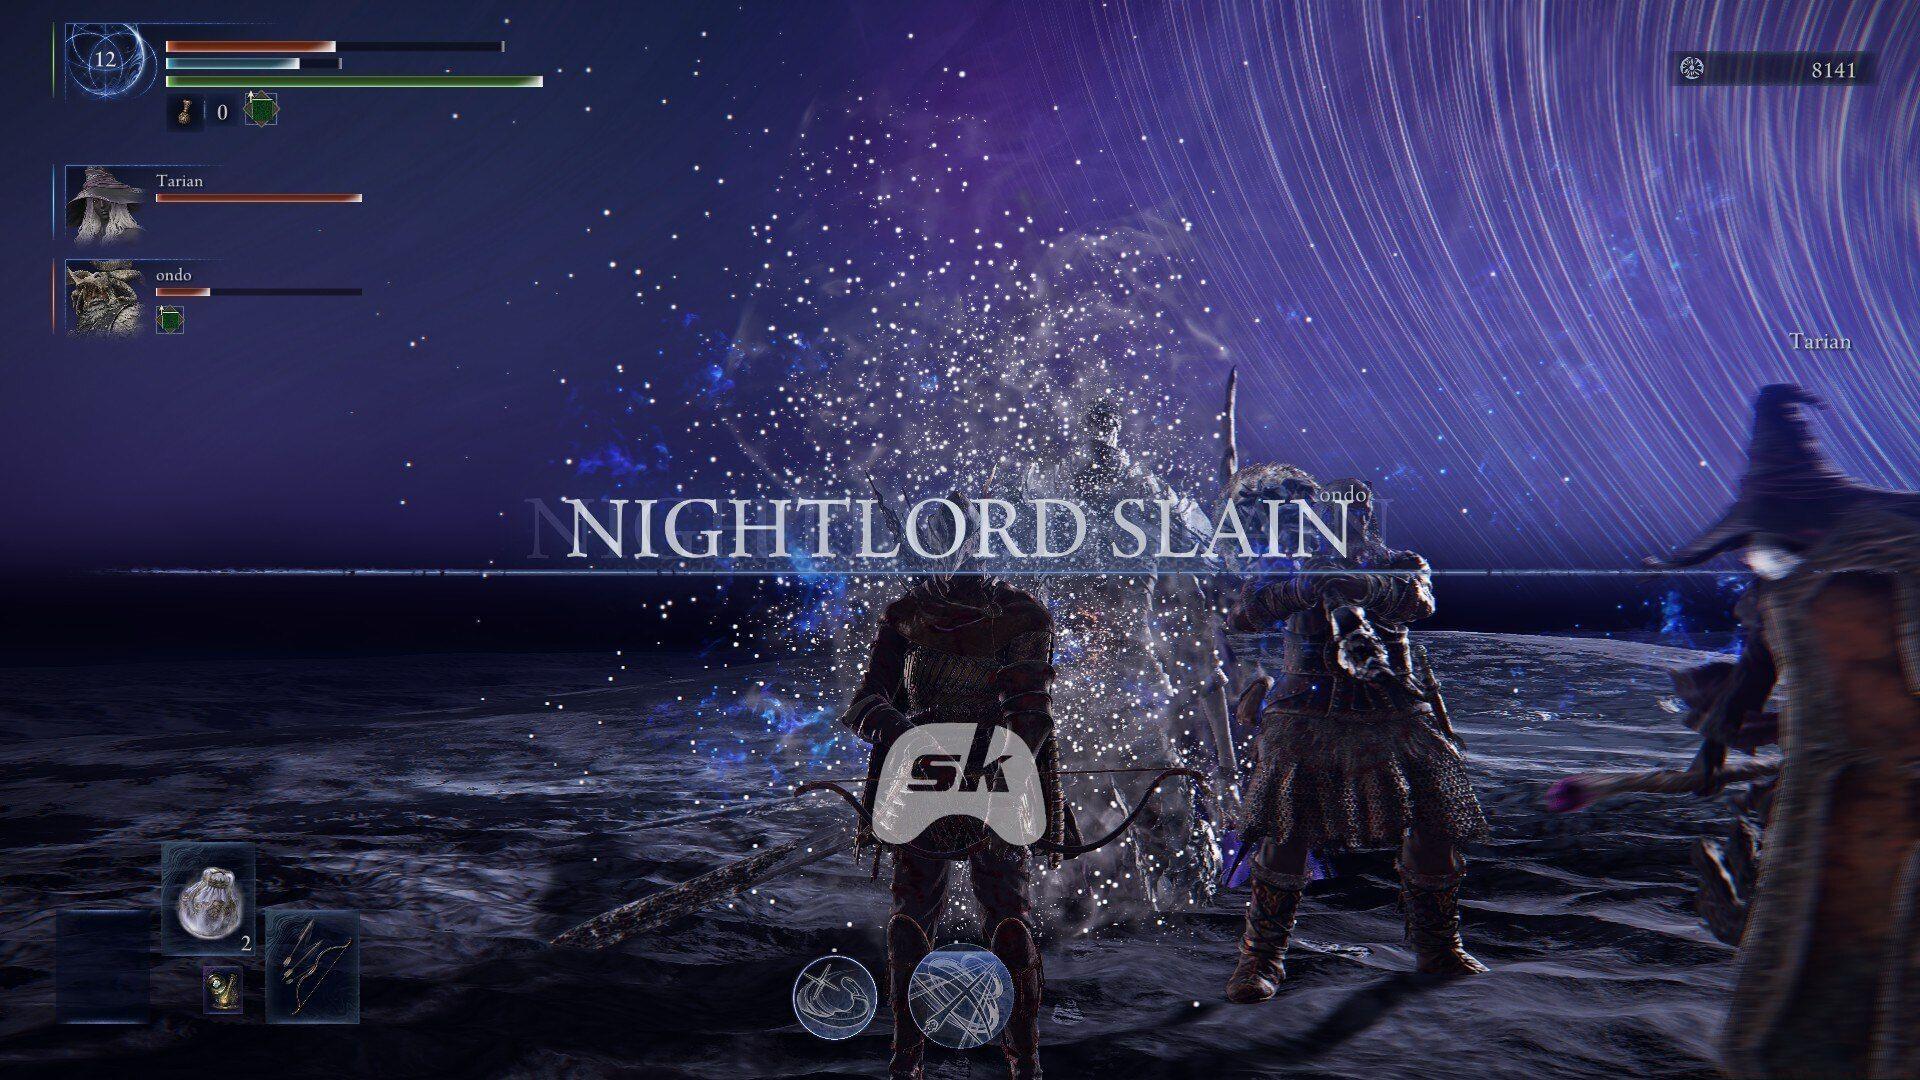
Upon depleting the initial health bar, the battle undergoes a dramatic transformation. The arena plunges into magical darkness as Heolstor reveals his true form, significantly escalating the encounter’s intensity. This transition cannot be interrupted and serves as a brief respite to reassess your approach.
The second phase introduces several new mechanics that test spatial awareness and reaction timing. His greatsword now channels both arcane energy and elemental fire, creating compound threats that demand multifaceted defensive responses. The boss’s aggression level increases substantially, with shorter recovery windows between attack sequences.
New abilities include:
- Sky rift creation that spawns ground fissures
- Homing light projectiles with persistent tracking
- Flame-enchanted swings generating pillar eruptions
- Extended teleport chains with predictive positioning
The magical projectiles require constant lateral movement rather than dodging, as they recalibrate their trajectory based on your position. The ground fissures feature a delayed detonation, allowing strategic repositioning during their activation period. Flame pillars emerge in sequence rather than simultaneously, creating safe zones between eruptions.
Advanced players should note that certain attacks can be baited intentionally to create predictable patterns. The sky rift ability has the longest activation animation, providing opportunities for significant damage output or healing. Positioning near the arena’s edge during this attack minimizes evasion requirements.
Strategic Insight: The boss’s flame and magic enhancements mirror abilities seen in earlier encounters, particularly Rellana’s dual-element fighting style. Players familiar with that fight will recognize similar telegraphs and counter opportunities.
Advanced Combat Strategies
Success against Heolstor requires adapting your approach based on weapon choice and build specialization. The encounter design accommodates multiple playstyles but favors certain strategic preferences.
Ranged combatants benefit from the arena’s open layout, allowing consistent damage application during the boss’s lengthy attack animations. Sorcery users should prioritize fast-casting spells to capitalize on brief windows, while faith builds can utilize area denial incantations to control the boss’s movement options.
Melee specialists face greater challenges but can achieve success through precise timing and positioning. Recommended tactics include:
- Using thrusting weapons for safe poking during recovery frames
- Incorporating shield counters for specific telegraphed attacks
- Employing quickstep weapon arts for enhanced mobility
- Timing jump attacks to avoid ground-based area effects
Defensive positioning should prioritize the arena’s central area during phase one to minimize teleportation advantages. During phase two, peripheral movement becomes preferable to create distance from compound area effects. Always maintain awareness of your surroundings to avoid being cornered.
Equipment recommendations:
- Magic and fire resistance gear for phase two survivability
- Stamina regeneration talismans for sustained evasion
- Damage negation buffs against elemental attacks
- Quickcast items for emergency healing opportunities
Understanding the boss’s behavior patterns reveals that certain attacks chain together predictably. The teleport-lunge combination always follows three specific moves, allowing prepared responses. Similarly, the flame pillar sequence occurs after greatsword slams, providing consistent dodging rhythms.
No reproduction without permission:SeeYouSoon Game Club » Is there a final boss in Elden Ring Nightreign? Master the final boss encounter with comprehensive strategies, phase breakdowns, and practical tips for Elden Ring Nightreign