TL;DR
- Eruption replaces traditional Iron Banner modes with kill streak-focused gameplay mechanics
- Achieve Surging at 2+ kills and Primed at 5 kills for massive point multipliers
- Team coordination is essential for maintaining streaks and triggering The Hunt bonus
- Avoid lone wolf tactics and prioritize survival over aggressive plays
- Target enemy Primed players immediately to shut down their scoring advantages
Mastering Iron Banner Eruption requires adopting completely new tactical approaches during Season of Plunder’s debut competitive event. These proven methods will elevate your team’s performance and secure consistent victories.
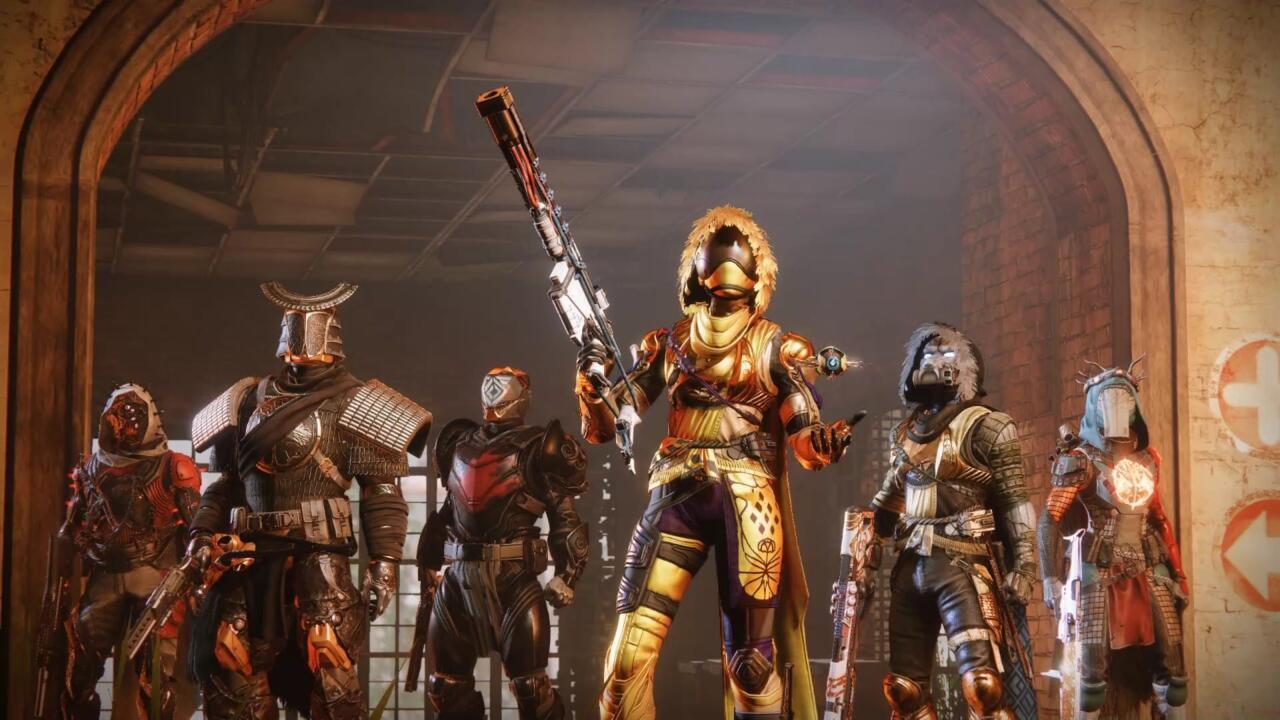
Destiny 2’s Iron Banner makes its triumphant return this week, signaling the initial appearance of this fan-favorite activity in Season of Plunder. The seasonal refresh introduces significant modifications—most notably the exclusive focus on Eruption mode. This innovative gameplay format represents a dramatic departure from previous seasons, whether compared to last season’s Rift variant or the classic Control mechanics players have enjoyed for years. Eruption emphasizes coordinated team execution to build kill chains while providing mutual protection during streak sequences.
Season of Plunder eliminates the traditional Iron Banner questline entirely, while legacy bounties have been permanently retired. To acquire event rewards, simply participate in matches; you’ll progressively unlock four distinct Pinnacle weapon rewards through match completions, with additional reputation-based loot opportunities. While participation guarantees progress, victory delivers superior rewards—making strategic excellence more valuable than mere attendance. Below we break down the mode’s mechanics and provide winning strategies for this week’s Iron Banner engagement.
Iron Banner undergoes its most substantial transformation this season, and newcomers might initially struggle to comprehend the gameplay dynamics. Where last season featured exclusively Rift matches, Season of Plunder dedicates Iron Banner entirely to Eruption. Both Control and Rift remain unavailable this season, so anticipate exclusive Eruption gameplay until future updates.
The revolutionary Eruption system shares conceptual DNA with veteran players’ memories of Control’s “The Hunt” mechanic. In traditional Control, teams activated The Hunt by securing all three map control points, initiating a brief scoring window where the controlling squad earned triple points per elimination. Eruption removes control point objectives entirely, instead triggering The Hunt through exceptional combat performance.
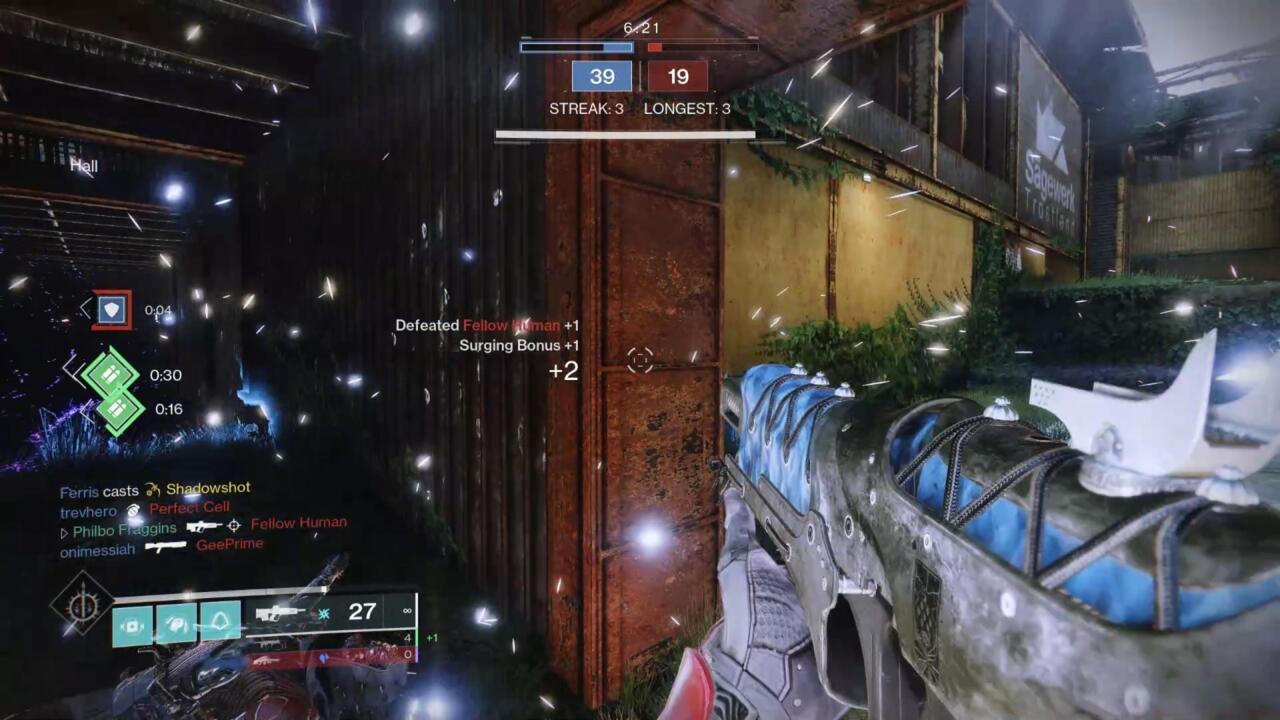
Kill chains trigger Surging status, granting bonus points per elimination. Achieve five uninterrupted kills to attain Primed state, scoring three points per takedown.
Eruption prioritizes kill chain efficiency—securing eliminations or assists across multiple opponents without suffering death. Achieving two consecutive kills activates “Surging” status. While Surging, you regenerate ability energy with each additional takedown and score bonus points per elimination.
Kill sequences initiate Surging, providing extra scoring per elimination. Secure five uninterrupted kills to advance to Primed status, earning triple point values.
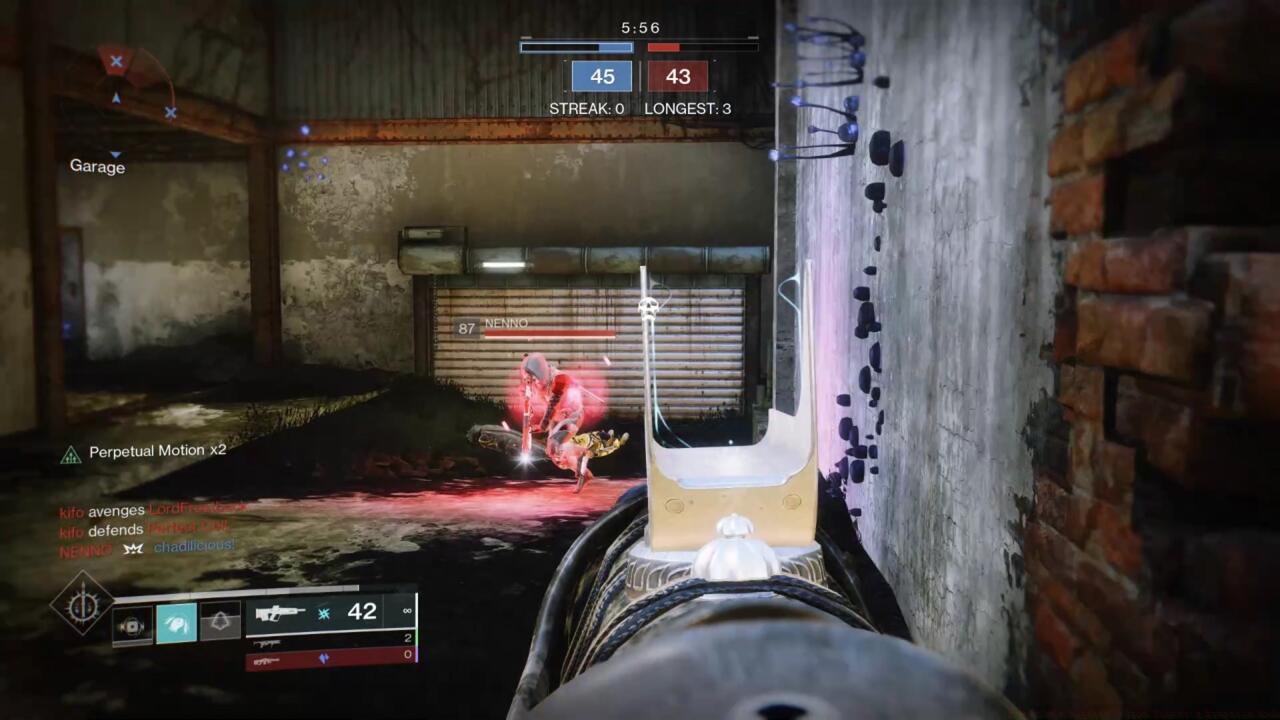
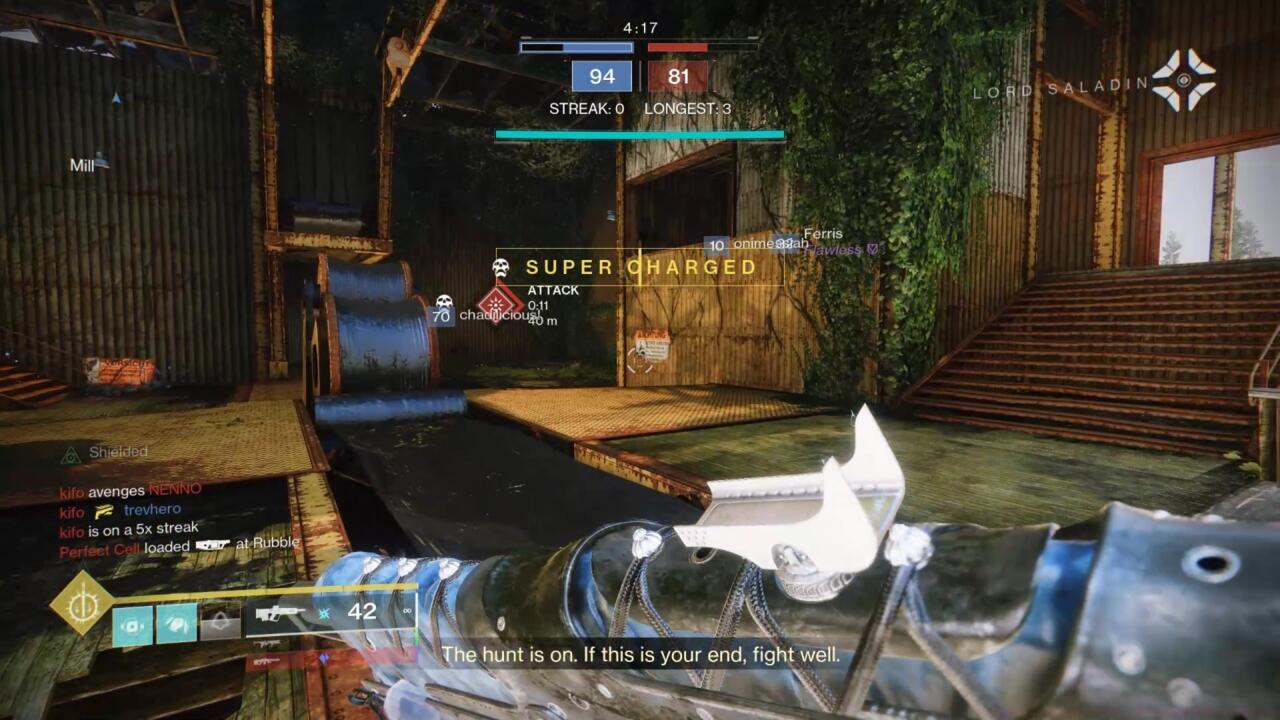
Your primary objective while Surging involves maintaining elimination momentum until reaching five-plus kill streaks. At this threshold, you achieve Primed status. This elevated state grants triple points per kill alongside dramatically accelerated ability regeneration. However, you simultaneously activate an internal countdown timer. This timer extends with each kill or assist, but expiration triggers catastrophic detonation (the titular eruption). Primed players become visible to all combatants, enabling teammate protection coordination while painting targets for enemy focus.
Fielding at least one Primed combatant activates The Hunt globally. Even if you’re not personally building massive chains, supporting Primed teammates becomes a strategic priority. Beyond the Primed player’s personal ability regeneration boost, the entire fireteam receives collective ability energy acceleration. This team-wide enhancement persists until no Primed players remain active, creating ideal conditions for additional players to achieve higher streak tiers.
Strategic team coordination dramatically enhances Eruption effectiveness, where both final blows and assist contributions drive advancement.
Victory in Eruption emphasizes survival proficiency over elimination volume. Constructing kill chains is fundamental to competitive advantage, requiring intelligent engagement decisions regarding positioning and timing. Independent operations in Eruption typically yield suboptimal results, as solo players frequently encounter unfavorable multi-combatant engagements, substantially increasing defeat probability. Each death resets your kill progression completely, forcing tedious rebuilding of Surging and Primed bonuses.
Proactive Team Coordination Techniques
Advanced squads should designate specific roles: streak builders focus on elimination chains while support players provide covering fire and assist generation. Communication is critical—call out enemy Primed targets immediately and coordinate focus fire to terminate their scoring advantages. For comprehensive team strategy development, consult our BF6 Class Selection Guide for specialized loadout configurations.
Avoid the frequent mistake of overextending for additional kills once Primed. The visibility mechanic makes you extremely vulnerable—sometimes the strategic play involves tactical withdrawal rather than aggressive pushing. Remember that assists count equally toward timer extension, meaning supporting teammates can be more valuable than risky elimination attempts.
Choose combat scenarios with favorable success odds, while steering clear of encounters that enable radiant enemies to prolong their streak advantages.
Prioritize elimination of adversary Primed players to swiftly deactivate their team-wide scoring benefits.
Strategic Positioning Fundamentals
Maintain positioning near cover and escape routes when building streaks. Control engagement distances to favor your weapon optimal ranges—don’t let enemy Primed players force unfavorable close-quarters combat if you’re using long-range weaponry. The most successful Eruption teams maintain formation cohesion, creating overlapping fields of fire that protect streak builders while generating assist opportunities.
Weapon selection dramatically impacts streak potential. For detailed armament analysis and unlock pathways, reference our BF6 Weapons Unlock Guide for meta loadout recommendations.
Ability Management Optimization
Time your super and ability usage around your streak status. During early Surging phases, conserve powerful abilities for emergency situations. Once Primed, leverage your accelerated cooldowns aggressively—but always maintain at least one defensive option for timer management emergencies.
For comprehensive gameplay systems mastery, explore our Battlefield 6 Complete Guide covering all advanced tactical dimensions.
Action Checklist
- Play 3-5 warmup matches to reacclimate to Iron Banner pacing and map layouts
- Coordinate with fireteam to assign streak builder and support roles
- Focus on 2+ kill chains to activate Surging bonuses
- Prioritize survival over eliminations once Surging or Primed
- Immediately focus fire enemy Primed players to cancel The Hunt
No reproduction without permission:SeeYouSoon Game Club » How To Win Destiny 2 Iron Banner’s Eruption Mode Master Iron Banner Eruption mode with advanced kill streak strategies and team coordination tactics