TL;DR
- Three primary methods to obtain D.I.E. Shockwave: Trials system, Mystery Box, and elite enemy drops
- Elemental upgrades provide specialized combat advantages against different zombie types
- Strategic crate locations are fixed across Outbreak maps for reliable acquisition
- Advanced players should coordinate elemental effects with teammates for maximum efficiency
- Proper resource allocation between weapon acquisition and upgrades is crucial for success
Season 3 of Call of Duty: Black Ops Cold War revolutionized the D.I.E. Shockwave by introducing accessible elemental upgrades within the Zombies Outbreak mode. These powerful modifications transform the Wonder Weapon into specialized tools for different combat scenarios.
Following the Call of Duty: Black Ops Cold War Season 3 update, players can enhance the D.I.E. Shockwave with elemental effects directly in Outbreak mode. These weapon modifications mirror the capabilities available through the Die Machine Easter egg, but with significantly improved accessibility. Understanding the acquisition pathways becomes essential for maximizing your zombie-slaying potential.
Securing the Wonder Weapon represents your initial critical objective. No direct purchase method exists for this specialized armament. Multiple acquisition channels exist, though all incorporate random chance elements that require strategic navigation.
The Trials system offers your most reliable approach for obtaining the D.I.E. Shockwave. Locate and interact with the Trials computer terminal distributed throughout the map, then continuously complete challenges until achieving legendary rarity rewards. This method isn’t foolproof since you might receive alternative high-tier weapons or perk bonuses instead.
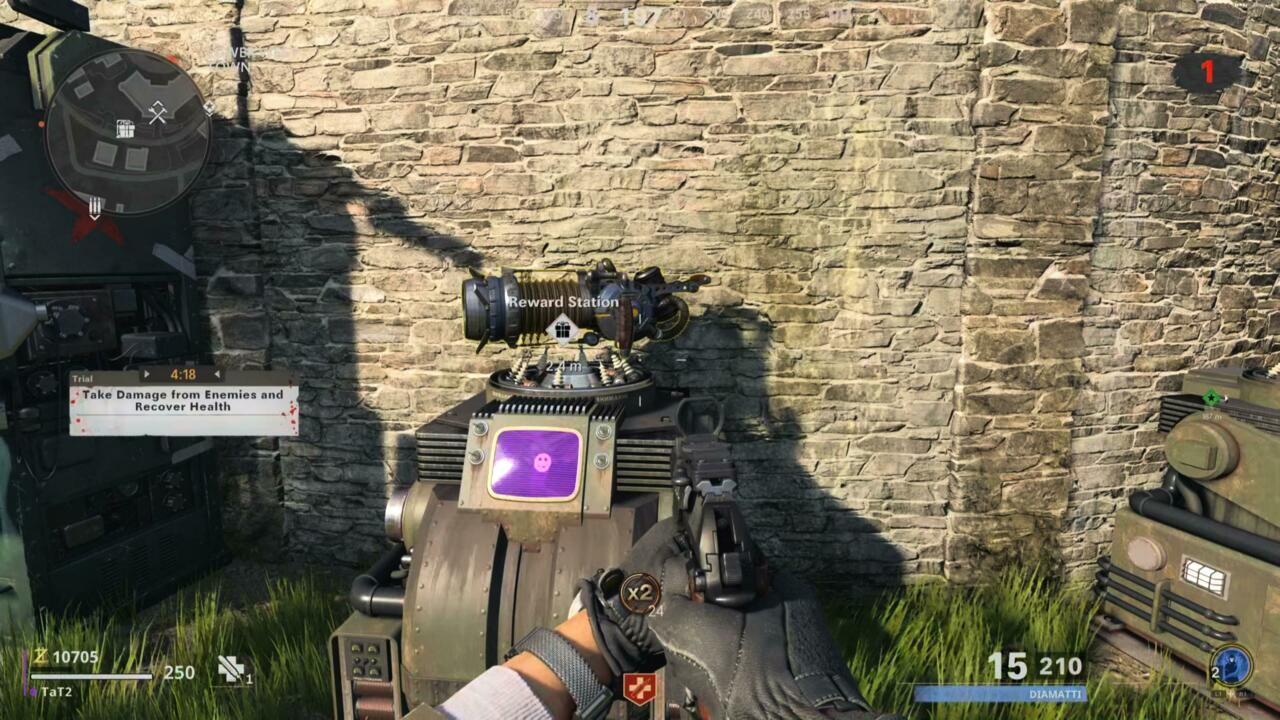
D.I.E Shockwave Trials Reward
Alternatively, you can test fortune with Outbreak’s Mystery Box, though weapon distribution remains completely randomized. The extensive armament pool within Zombies mode substantially reduces your probability compared to Trials completion. Consider this option secondary, only pursuing it if you intended to expend resources on the Mystery Box regardless.
Even when experiencing poor luck during initial rounds with both Trials terminals and Mystery Boxes, elite zombie adversaries occasionally drop D.I.E. Shockwaves in advanced stages. I’ve witnessed Mangler specialists relinquish the weapon around rounds 6-7, so maintain persistence throughout your match progression.
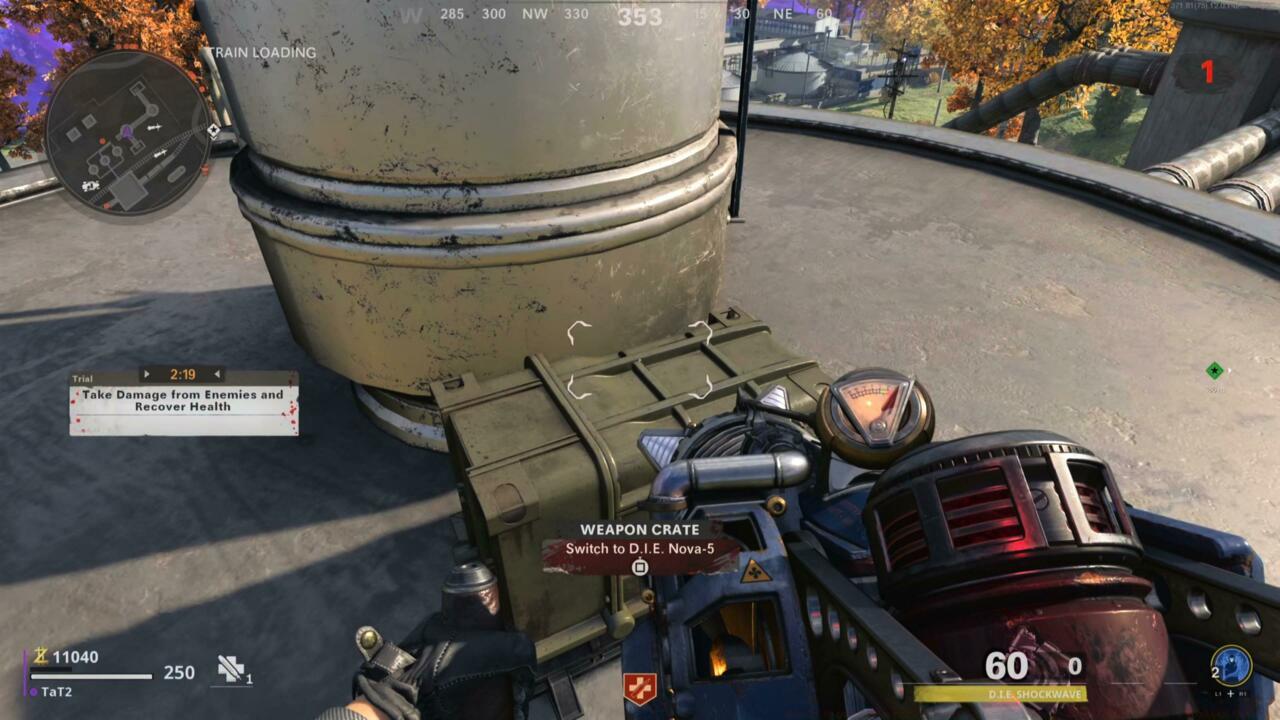
Once you’ve secured the formidable D.I.E. Shockwave, you must select your preferred elemental enhancement. Unlike conventional firearms upgraded through Pack-A-Punch machinery, the D.I.E. Shockwave modifies its capabilities by absorbing effects from specialized containers. Each elemental crate variety occupies fixed positions across different Outbreak environments.
The upgrade containers distribute according to this pattern:
The Electrobolt enhancement container positions itself atop Duga’s Primary Array superstructure. This massive tower dominates the landscape, ensuring easy visual identification. Ascend via rappel to the uppermost platform, which coincidentally houses the Pack-A-Punch apparatus. Array segments feature bold white numeric identification, with this particular upgrade situated at sector 9.


Elemental upgrades fundamentally alter your tactical approach to zombie encounters. The Electrobolt variant delivers chain lightning effects that incapacitate multiple targets simultaneously, while Cryofreeze modifications slow enemy advance, creating strategic breathing room during intense confrontations.
Strategic selection becomes paramount based on your team composition and current objective requirements. Solo players often benefit from crowd-control elements, while coordinated squads might specialize in complementary damage types for optimized zombie elimination.
Mastering the D.I.E. Shockwave extends beyond simple acquisition into strategic implementation. Veteran players develop nuanced understanding of elemental synergies and timing considerations that separate competent performance from exceptional results.
Common strategic errors include over-investing in early-round Mystery Box attempts and neglecting map-specific crate locations. Allocate your initial resources toward armor and conventional weapon upgrades before pursuing the Wonder Weapon, ensuring survival capability during acquisition attempts.
Coordinate elemental selections with teammates to avoid redundant capabilities. A balanced squad might incorporate one Electrobolt for crowd control, one Nova-5 for area denial, and one Thermophasic for armored enemy elimination. This coordinated approach maximizes your team’s combat versatility across diverse zombie threats.
Advanced optimization involves timing your upgrade acquisitions with objective rotations. Plan your route to intersect crate locations while progressing toward main mission goals, optimizing time efficiency and resource expenditure throughout your Outbreak session.
Understanding zombie behavior patterns enhances your elemental effectiveness. Certain modifications prove exceptionally effective against specific enemy types—Electrobolt devastates clustered standard zombies while Thermophasic melts armored opponents with dramatically improved efficiency.
Action Checklist
- Prioritize Trials system completion for highest probability acquisition
- Identify fixed elemental crate locations during map exploration
- Coordinate elemental selections with teammates to ensure capability diversity
- Allocate resources strategically between survival gear and Wonder Weapon pursuit
- Time upgrade acquisitions with objective progression for efficiency
No reproduction without permission:SeeYouSoon Game Club » How To Upgrade The DIE Shockwave In Call Of Duty: Black Ops Cold War’s Zombies Outbreak Master the D.I.E. Shockwave Wonder Weapon acquisition and elemental upgrades in Black Ops Cold War Zombies Outbreak mode