TL;DR
- Access third-person via Settings menu or quick keybinds (U key or controller menu button)
- Choose between Third Person Near and Far modes for different tactical advantages
- Switch shoulder perspectives instantly with H key or controller directional pad
- Use idle camera for temporary third-person views without changing settings
- Third-person provides better environmental awareness but may affect aiming precision
Transitioning between first-person and third-person viewpoints in The Outer Worlds 2 offers distinct gameplay advantages that can significantly enhance your exploration and combat effectiveness. While the default first-person perspective provides immersive immediacy, switching to third-person grants superior situational awareness and character visibility.
Many players discover that the third-person camera angle transforms their tactical approach to encounters, allowing them to spot environmental threats and opportunities that remain hidden in first-person mode. This perspective shift proves particularly valuable during complex firefights where peripheral vision and cover positioning become critical survival factors.
For players seeking comprehensive gameplay mastery, understanding camera options represents a fundamental skill. Our Complete Guide covers similar perspective mechanics across different gaming environments.
The most straightforward method for perspective adjustment involves navigating to the game’s settings menu. Within the display or camera options section, you’ll find the perspective selector that enables seamless transitions between viewing modes.
Locate the perspective setting within your options menu and utilize the navigation arrows to toggle between first-person and third-person configurations. This method provides the most control over your camera preferences and allows for precise customization of your viewing experience.
Gameplay veterans often recommend experimenting with both perspectives during non-critical moments to determine which better suits your playstyle. The transition between views occurs instantly without interrupting gameplay flow.
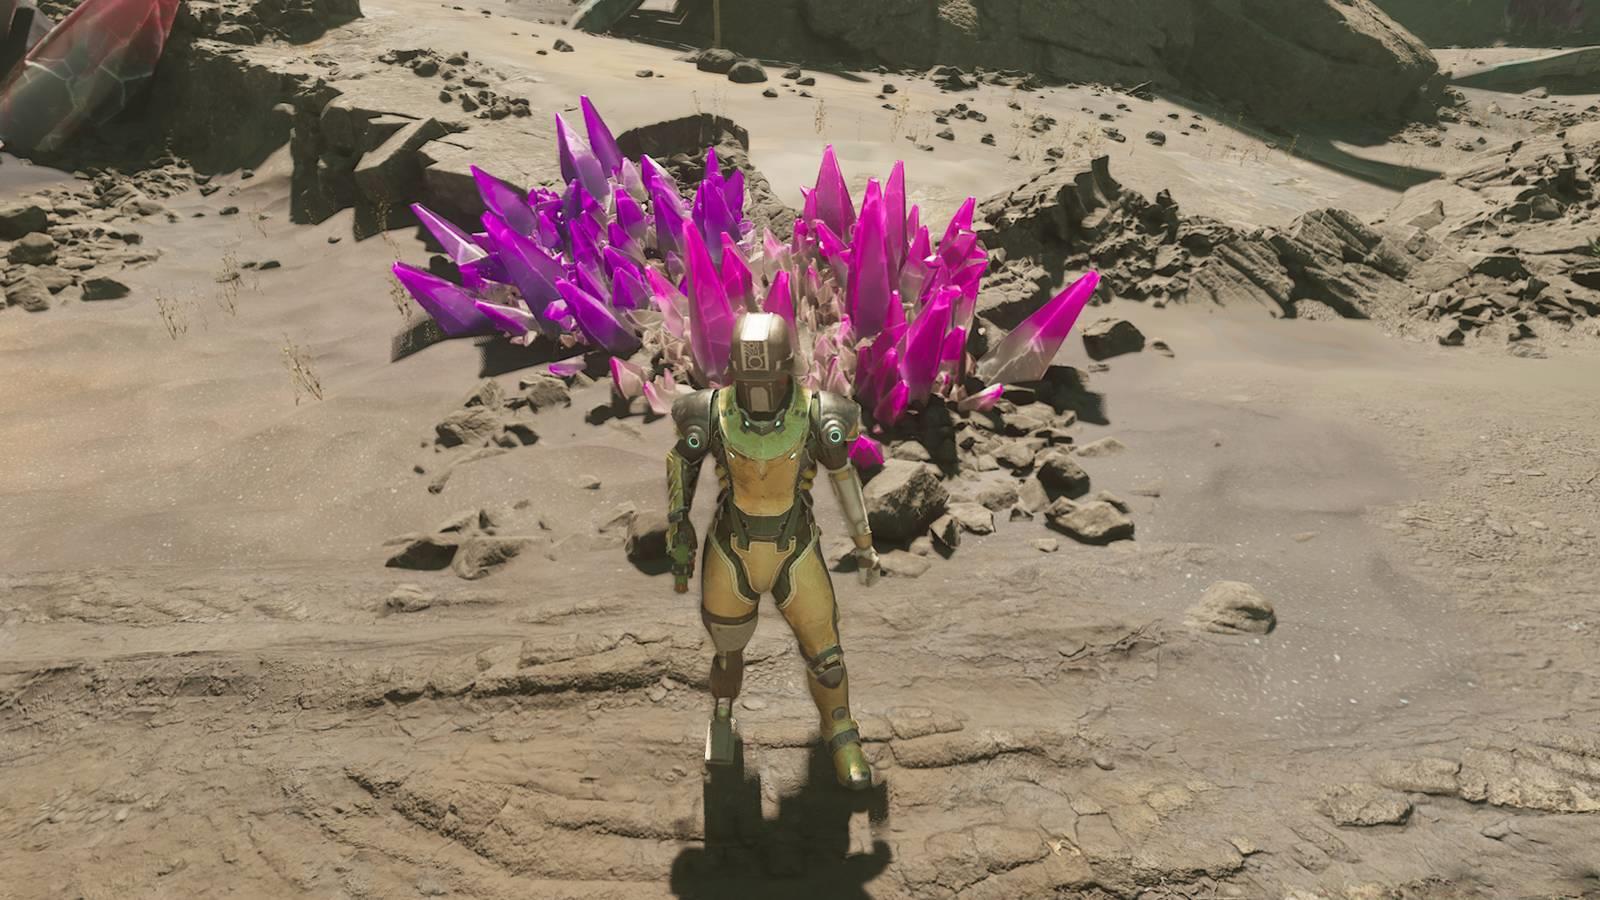
The Outer Worlds 2 provides two distinct third-person camera distances that cater to different gameplay preferences and situational requirements. Understanding the strategic implications of each option will help you maximize their combat and exploration potential.
You can choose between two different third-person modes: “Third Person Near” and “Third Person Far.” The near configuration positions the camera directly behind your character for intimate engagement, while the far option pulls back several meters to provide broader environmental context. Each distance offers unique tactical advantages depending on your current objectives.
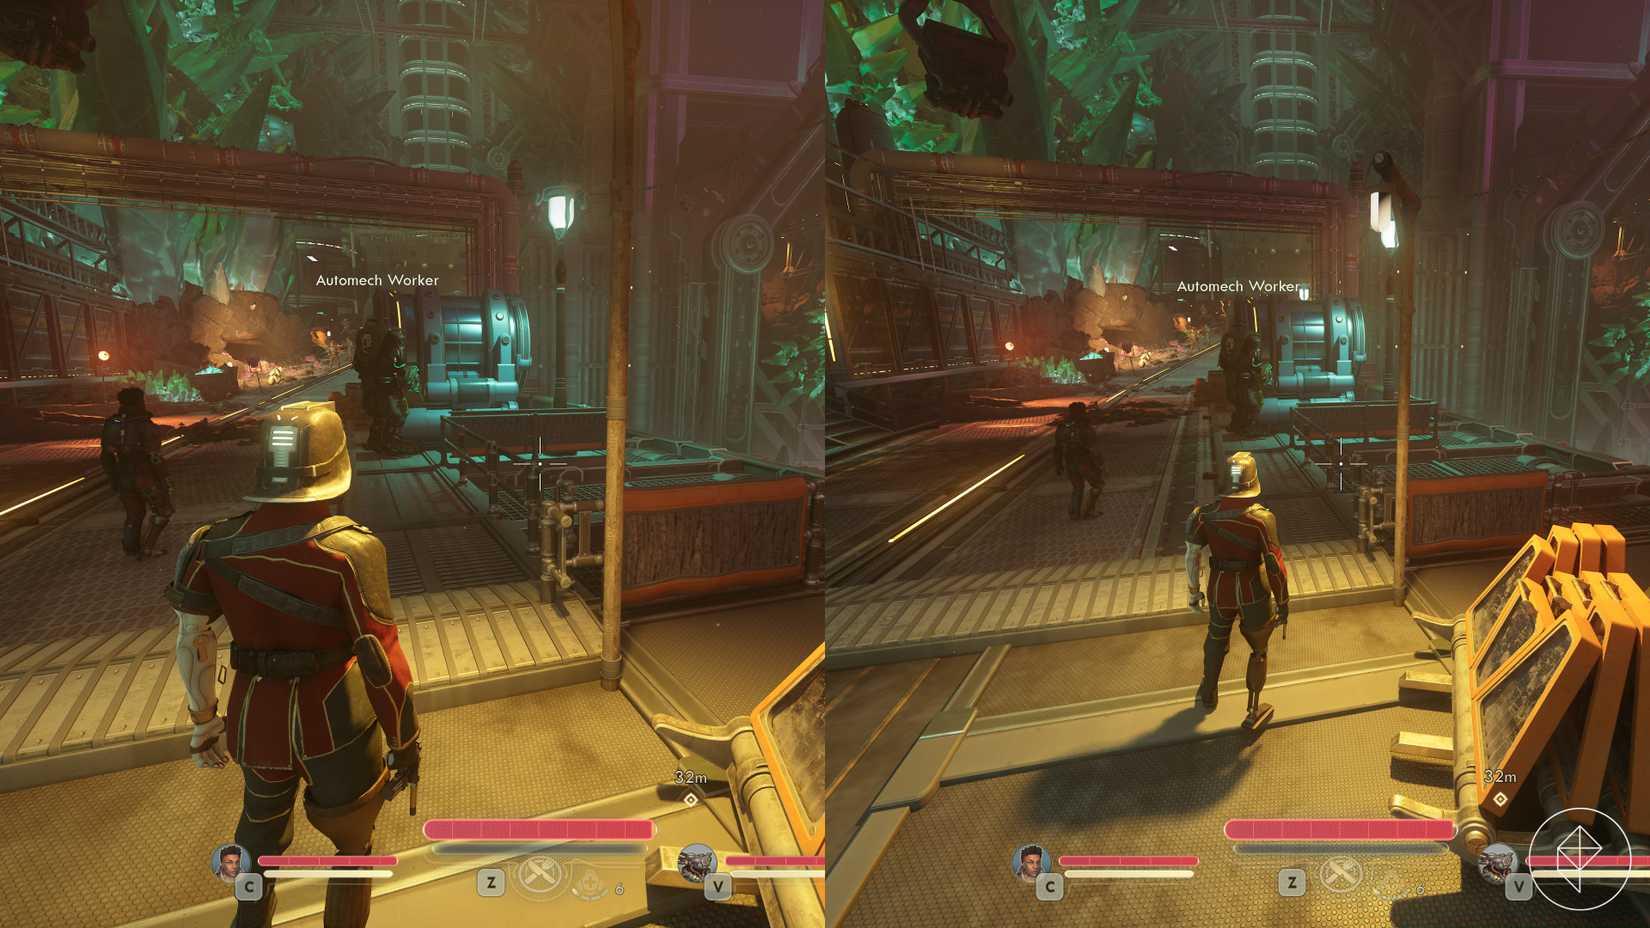
Image: Obsidian Entertainment/Xbox Game Studios via Polygon
The shoulder perspective system introduces additional customization. The third-person camera deliberately avoids centering directly behind your character to prevent interface obstruction from the central visor display. By activating the alternate shoulder option, you can reposition the camera to the right side, which may feel more natural for left-handed players or provide better angles in specific combat scenarios.
For players who frequently adjust their loadouts, our Weapons Unlock guide demonstrates how different equipment choices can influence optimal camera positioning.
For players who prefer immediate perspective changes during active gameplay, The Outer Worlds 2 implements convenient keybinding options that bypass menu navigation entirely. These quick-swap capabilities prove invaluable during dynamic combat situations where camera angle adjustments can mean the difference between victory and defeat.
Instead of using the settings menu, you can also switch perspective through the corresponding keybind: Press U on a keyboard or hold the left menu button (the small “select” button) on a controller. This instant perspective toggling allows seamless transitions between immersion and awareness based on immediate gameplay needs.
Shoulder view adjustments receive their own dedicated controls. To quickly swap between shoulder perspectives, press H on a keyboard or hold the upward arrow button on a controller. This functionality enables rapid camera repositioning when environmental obstacles or combat positioning demands alternative viewing angles.
Mastering these quick-swap techniques significantly enhances gameplay fluidity. Similar control mastery applies to class abilities detailed in our Class Guide for optimized character performance.
Beyond basic perspective switching, experienced players develop sophisticated techniques for leveraging third-person capabilities in specific gameplay scenarios. Understanding these advanced applications can dramatically improve your performance in challenging encounters.
The idle camera feature provides a hybrid approach for players who primarily prefer first-person immersion but occasionally want character visibility. If you like to play in first-person, but simply wish to view your character and surroundings in third-person every now and then, you might keep the first-person setting and trigger the idle camera from the main menu instead. In this case, as soon as your character moves, you’ll automatically return to the first-person perspective, making this ideal for casual observation rather than active gameplay.
Common mistakes include over-relying on third-person in precision shooting scenarios where first-person aiming proves more accurate. Additionally, players often forget that certain stealth sequences benefit from the narrower field of view provided by first-person, reducing detection risk from peripheral enemies.
Optimization tip: Switch to third-person during exploration and platforming sections for better spatial awareness, then transition to first-person for precise shooting encounters. This hybrid approach maximizes the strengths of both perspectives without compromising gameplay effectiveness.
Time investment for mastering perspective switching typically requires 1-2 hours of deliberate practice across different game environments. Once mastered, these techniques become second nature and significantly enhance overall gameplay experience.
Action Checklist
- Access Settings menu and locate Perspective option
- Experiment with Third Person Near vs Far in safe environment
- Practice quick perspective switching using U key/controller button
- Master shoulder switching with H key/directional pad during combat
- Develop hybrid perspective strategy for different gameplay scenarios
No reproduction without permission:SeeYouSoon Game Club » How to play in third-person in The Outer Worlds 2 Master third-person gameplay in The Outer Worlds 2 with advanced camera controls and tactical perspectives