Master Gibraltar’s defensive and offensive capabilities in Apex Legends with these expert strategies
Gibraltar’s Core Abilities Breakdown
While Gibraltar remains unchanged in Season 8, his toolkit offers unparalleled defensive utility that skilled players can leverage for consistent victories. The Shielded Fortress excels in both protecting teammates and controlling enemy movements through calculated ability usage.
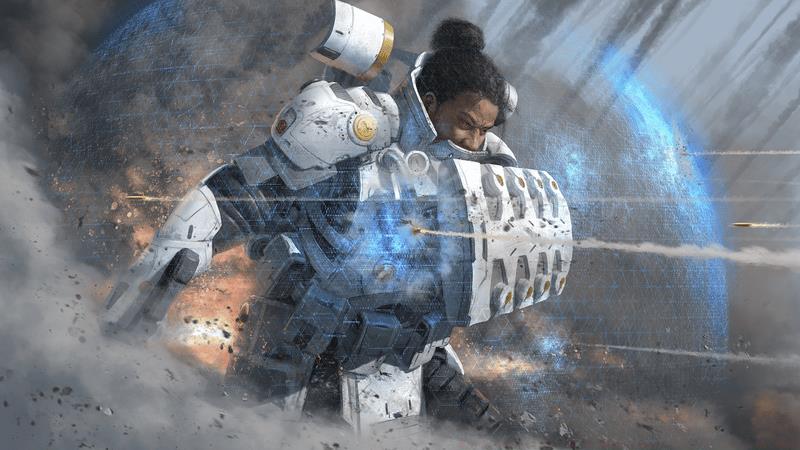
Gun Shield Mechanics: Gibraltar’s passive provides a 50HP frontal barrier when aiming down sights. While invaluable in direct engagements, experienced players toggle it off when stealth is required. The shield’s blue glow and audible activation sound can reveal your position within 30 meters.
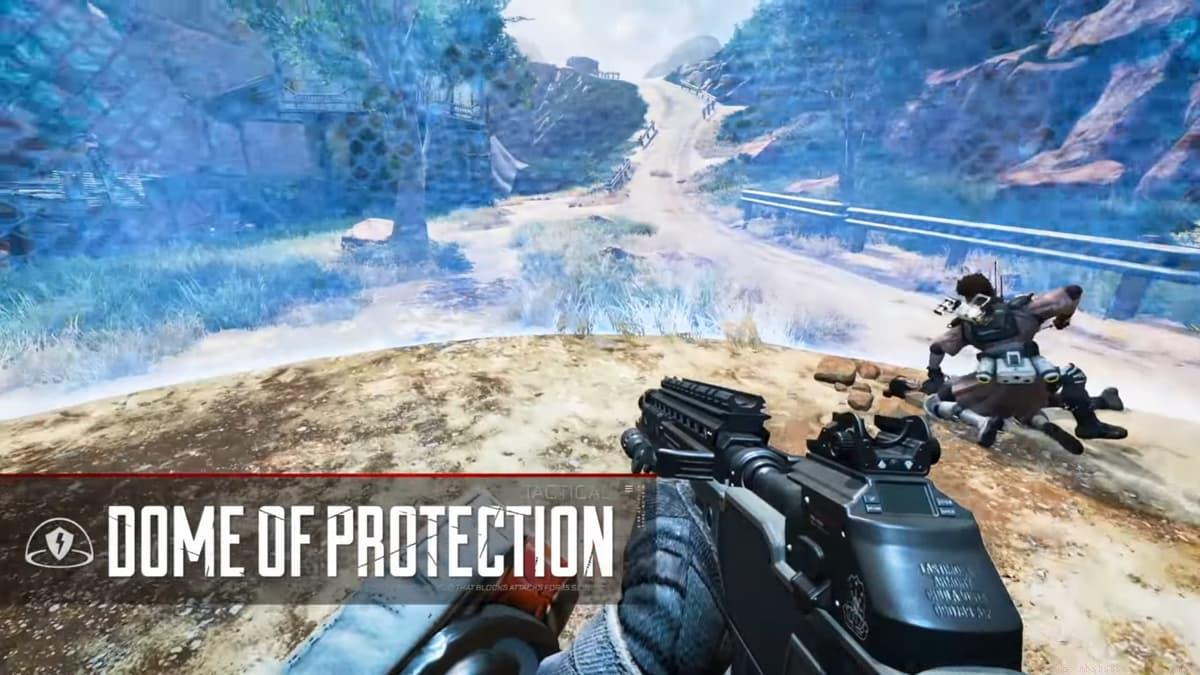
Dome of Protection: This 12-second impenetrable bubble offers more than just cover. The 15% faster healing bonus allows for rapid recovery during extended fights. Pro tip: Place the dome at an angle against walls to create partial cover while maintaining firing lanes.
 Respawn Entertainment
 Strategic dome placement can create temporary strongholds.
Advanced Combat Techniques
Mastering Gibraltar requires understanding how to combine his abilities with positioning and team coordination. These advanced tactics separate average players from true defensive specialists.
Ultimate Combinations: Time your Defensive Bombardment (270s cooldown) with Bangalore’s Rolling Thunder or Caustic’s Nox Gas Grenade for area denial. The 24-meter radius becomes deadly when enemies are forced into confined spaces during final circles.
 Respawn Entertainment
 Combined ultimates create inescapable danger zones.
Positioning Strategy: Gibraltar’s size makes cover usage critical. Always position with your back to solid objects to minimize exposure. When pushing, use the dome as mobile cover by placing it slightly ahead of your advance.
Common Mistakes to Avoid
Even experienced players fall into these traps when using Gibraltar. Recognizing these pitfalls will dramatically improve your survival rate and team contribution.
Shield Mismanagement: Leaving your Gun Shield active during stealth approaches alerts enemies. Similarly, placing the dome too early in fights can block your team’s crucial damage output. Wait until you actually need protection before deploying.
 Respawn Entertainment
 Improper shield usage can compromise your position.
Ultimate Timing: Avoid wasting Defensive Bombardment in open areas where enemies can easily escape. Instead, save it for when the ring forces opponents into predictable paths or when they’re engaged with another squad.
No reproduction without permission:SeeYouSoon Game Club » How to play Gibraltar in Apex Legends: Abilities, tips, more Master Gibraltar's defensive and offensive capabilities in Apex Legends with these expert strategies