Master the ICBM mission with expert strategies to manually disengage silo hatch locks efficiently
Mission Overview and Preparation
The “Launch ICBM” Mission represents one of Helldivers 2’s most technically demanding operations, requiring precise execution under combat pressure. Mission complexity scales dramatically with difficulty settings – higher challenges introduce additional modifiers like armored patrols, reduced visibility, and aggressive enemy spawn rates. Enemy composition transitions from basic patrols on trivial settings to armored devastators and gunships on higher difficulties, demanding appropriate loadout preparation.
Strategic preparation begins with selecting area-denial equipment like automated turrets and minefields to secure the perimeter. Bringing a balanced team composition with dedicated roles for defense, technical expertise, and fire support significantly increases success probability. Reconnaissance strategems provide critical intelligence about enemy positions before engagement, while supply packs ensure sustained operational capability during extended firefights.
Silo Area Tactical Approach
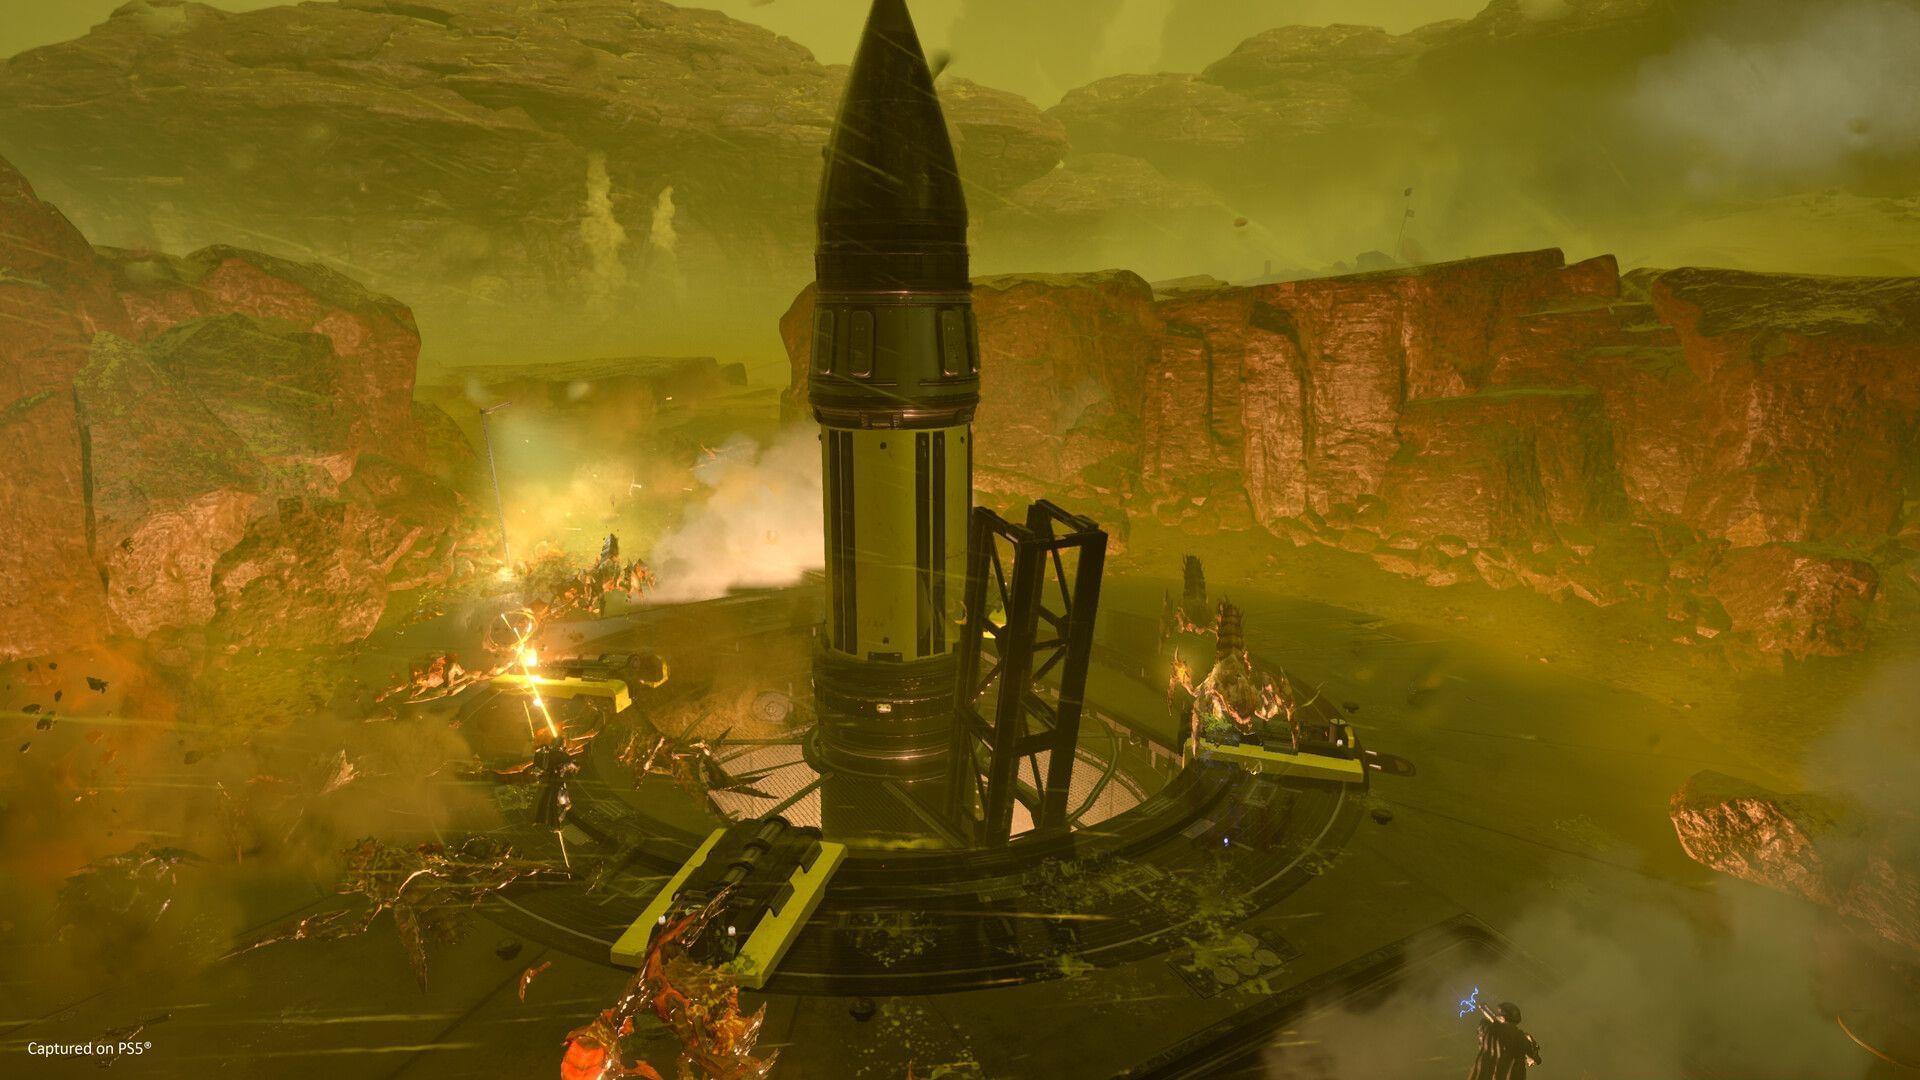
Approaching the ICBM silo demands careful terrain assessment and tactical positioning. The elevated geography surrounding the launch facility creates natural choke points that skilled teams can exploit for defensive advantages. However, this high ground also provides enemies with clear sightlines, requiring disciplined movement and cover utilization.
Systematic area clearance should follow a methodical sweep pattern, beginning with perimeter security before advancing toward the silo structure itself. Enemy concentrations typically cluster around access points and control consoles, with patrol patterns varying based on faction – Automatons establish defensive perimeters while Terminids utilize ambush tactics from underground.
Console interaction initiates the lock disengagement sequence, triggering both the mechanical process and increased enemy aggression waves. Teams should position members at overwatch positions before activation, establishing overlapping fields of fire to suppress approaching hostiles during the vulnerable lock-release procedure.
Lock Disengagement Mechanics
The silo hatch security system consists of four mechanical locking mechanisms positioned at cardinal points around the launch tube circumference. Each lock requires manual release through physical interaction, creating a multi-stage process vulnerable to interruption. Technical malfunctions occasionally prevent disengagement, typically resolved by having all team members simultaneously abandon and re-approach the affected mechanism.
Optimal execution involves assigning specific locks to team members based on their positioning, with communication ensuring synchronized completion. Rushing the process often triggers reset glitches, while delayed completion allows enemy disruption. Advanced teams utilize staggered disengagement – releasing two locks initially, establishing defensive positions, then completing the remaining two after neutralizing threats.
Common technical issues include unresponsive interface prompts, visually disengaged locks remaining mechanically engaged, and progress resets during combat. These glitches typically resolve through team extraction from the immediate silo area followed by methodical re-approach, though occasionally mission restart becomes necessary.
Post-Disengagement Protocol
Successful lock release transitions the operation to its terminal phase – launch code input and coordinate targeting. This final sequence demands rapid execution as enemy reinforcements typically intensify during this vulnerable window. The targeting interface requires precise coordinate entry while under fire, making this phase particularly challenging for solo operators.
Strategic withdrawal to defensible positions after launch initiation provides survival advantages while observing the strategic victory. The magnificent spectacle of managed democracy’s delivery represents both tactical accomplishment and symbolic triumph against galactic threats. General Brasch’s operational standards demand flawless execution from insertion through explosive conclusion.
Extraction procedures should commence immediately after launch confirmation, as remaining hostiles become increasingly aggressive post-detonation. Teams should utilize remaining strategems for covering retreat while coordinating pickup locations away from the blast radius. Successful extraction completes the mission while preserving valuable equipment and experience for future campaigns.
No reproduction without permission:SeeYouSoon Game Club » How to manually disengage silo hatch locks in Helldivers 2 Master the ICBM mission with expert strategies to manually disengage silo hatch locks efficiently