Master Hive Lord encounters with strategic loadouts, combat tactics, and survival techniques in Helldivers 2
Understanding Hive Lord Mechanics
Encountering a Hive Lord in Helldivers 2 presents one of the most formidable challenges Super Earth’s forces face. These colossal worm-like Terminids command absolute authority over Hive Worlds, possessing incredible tunneling capabilities that allow them to navigate planetary crusts with terrifying efficiency. Their biological engineering makes them indispensable to the Terminid war effort.
While Hive Lords boast formidable Tier-5 Armor plating across their entire bodies, strategic targeting can penetrate their defenses. The critical insight lies in understanding their anatomical vulnerabilities. When their massive mouths remain closed, the head region presents near-impenetrable armor, making attacks there largely ineffective. However, during feeding or attack animations when their mouths open, the internal tissue reveals only Tier-2 Armor protection, creating a crucial damage window.
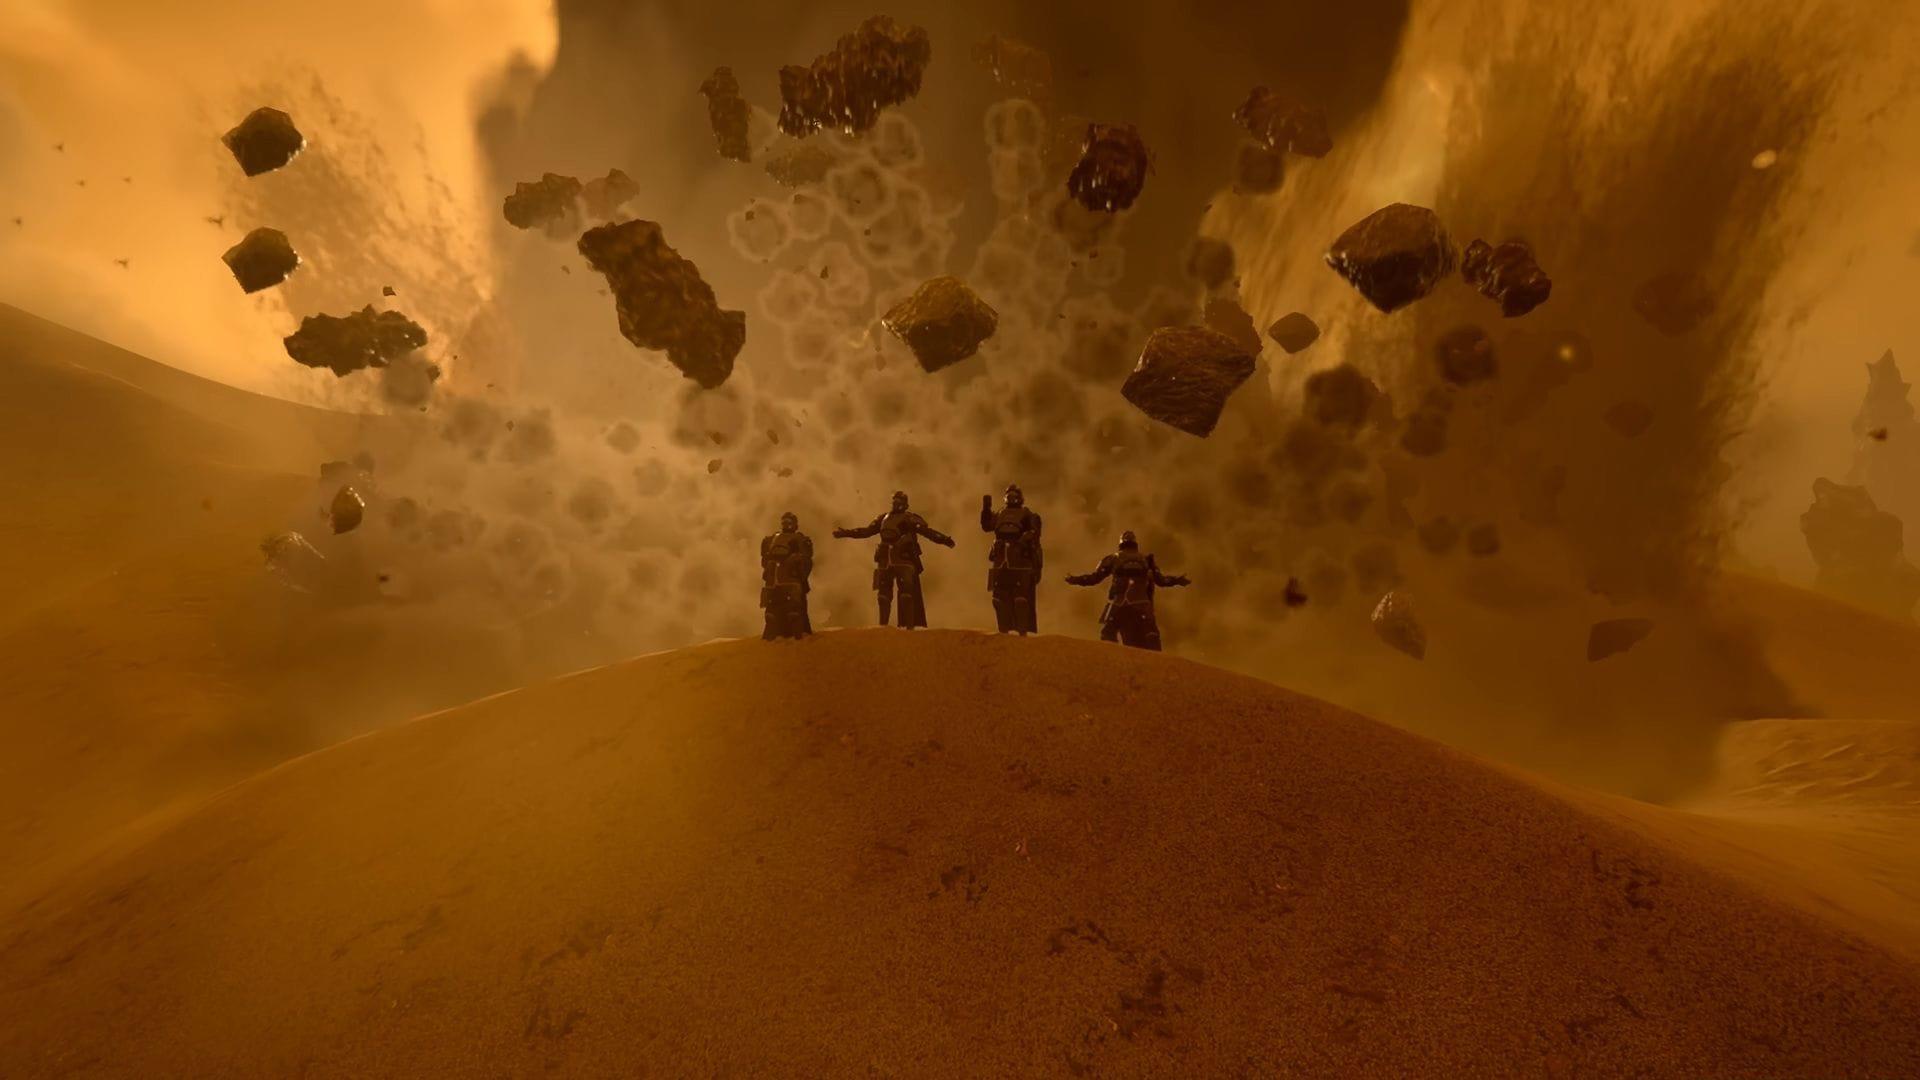
Beyond armor considerations, Hive Lords employ devastating attack patterns including projectile bile acid expulsion, crushing body slams, and environmental disruption through their emergence. The ground tremors and dust plumes signaling their approach provide precious seconds for positioning. Environmental debris during their surface breaches presents additional lethal hazards beyond direct attacks.
Optimal Loadout Selection
Selecting the proper arsenal proves crucial for Hive Lord engagements. The following equipment has demonstrated effectiveness against these behemoths:
- A/AC-8 Autocannon Sentry – Sustained anti-armor suppression
- A/MLS-4X Rocket Sentry – Area denial and constant pressure
- EXO-49 Emancipator Exosuit – Mobile heavy weapons platform
- GR-8 Recoilless Rifle HE Shell – Direct armor penetration
- MD-17 Anti-Tank Mines – Strategic area denial
- Orbital 120mm HE Barrage – Concentrated destruction zones
- Orbital Gatling Barrage – Sustained high-volume fire
- Orbital Napalm Barrage – Area control and damage over time
- EAT-17 Expendable Anti-Tank – Emergency armor penetration
- EXO-45 Patriot Exosuit (Rocket Only) – Mobile rocket platform
- GR-8 Recoilless Rifle HEAT Shell – Enhanced armor penetration
- Orbital 380mm HE Barrage – Massive area saturation
- Orbital Precision Strike – Surgical high-damage elimination
- Orbital Walking Barrage – Moving destruction corridor
- StA-X3 W.A.S.P. Launcher – Automated targeting systems
- E/AT-12 Anti-Tank Emplacement – Fixed position heavy firepower
- Eagle 110mm Rocket Pods – Aerial rocket saturation
- Eagle Napalm Airstrike – Aerial area denial
- Orbital Railcannon Strike – Ultra-penetration single shot
- B-100 Portable Hellbomb – Maximum yield demolition
Strategic loadout construction should emphasize weapon synergy within squads. Combining long-range artillery like the Orbital Railcannon Strike with close-range suppression tools such as the Autocannon Sentry creates overlapping fields of fire. The E/AT-12 Anti-Tank Emplacement requires careful positioning away from immediate combat zones to avoid destruction, while the FAF-14 Spear complements this with its 300-range capability for standoff engagement.
Combat Strategies and Execution
Successful Hive Lord engagement demands strategic flexibility between two primary approaches: stand-up combat or tactical evasion. The optimal choice depends on remaining mission time, available resources, and squad capability.
When confronting these giants directly, immediate strategem deployment proves essential. Begin engagements by establishing defensive positions and calling in support equipment before the Hive Lord fully surfaces. Teams should designate specific roles: artillery coordination, close-range suppression, and medical support. The E/AT-12 Anti-Tank Emplacement operator should position this asset approximately 50-75 meters from the anticipated engagement zone, utilizing natural terrain for protection.
Close-quarters combat requires accepting significant casualty risk. Hive Lords employ area-denial tactics through bile acid projection that creates hazardous zones, combined with devastating body slams capable of instantly crushing helldivers. The debris field generated during their emergence presents additional environmental threats. Survival depends on constant situational awareness and aggressive diving/evasion maneuvers when attack indicators appear.
Engagement duration varies dramatically based on squad preparation and coordination, ranging from under five minutes for optimized teams to twenty minutes for less coordinated attempts. Resource expenditure should be prioritized toward maximum damage output rather than conservation, as prolonged engagements increase casualty likelihood.
Advanced Techniques and Optimization
Veteran helldivers employ several advanced techniques to maximize effectiveness against Hive Lords. Squad coordination with fully upgraded Destroyers provides significant advantages through enhanced strategem access and improved equipment performance. Teams should experiment with unconventional tool combinations, as weapons like G-123 Thermite grenades deliver surprising damage output against vulnerable areas.
The Orbital Laser and Orbital Railcannon Strike particularly excel against massive targets, delivering unparalleled penetration and damage. These should be prioritized in loadouts when available. Team composition should include complementary capabilities: one member specializing in long-range artillery, another in close-range suppression, a third in area denial, and a fourth in support/medical functions.
Strategic retreat represents a perfectly valid—and occasionally necessary—tactic when facing Hive Lords. Super Earth command recognizes the disproportionate resource investment sometimes required for elimination and permits evasion when mission parameters or resource constraints make engagement impractical. When opting for evasion, identify escape routes to nearby cave systems before engagement and disengage immediately when the situation becomes untenable.
Mastering Hive Lord encounters ultimately requires field experience. Each engagement provides learning opportunities for refining tactics and loadouts. Teams should debrief after encounters to identify successful strategies and areas for improvement, gradually developing personalized approaches to these monumental challenges.
No reproduction without permission:SeeYouSoon Game Club » How to defeat Hive Lords in Helldivers 2 Master Hive Lord encounters with strategic loadouts, combat tactics, and survival techniques in Helldivers 2