TL;DR
- Master the countdown timing for perfect race starts – hold gas when ‘2’ fully appears
- Optimize drift boosts by releasing at orange sparks for maximum acceleration
- Combine trick boosts with rail grinding for sustained speed advantages
- Utilize drafting strategically to overtake opponents in key race segments
- Learn advanced boost chaining techniques for maintaining momentum throughout tracks
Speed mastery separates casual racers from championship contenders in Mario Kart World. Understanding the intricate boost systems provides a competitive edge that can determine race outcomes.
The game introduces revolutionary movement mechanics while preserving classic acceleration techniques. Each boost method offers distinct advantages that, when combined strategically, create unstoppable momentum.
This comprehensive guide covers both fundamental execution and advanced optimization strategies for every acceleration technique available.
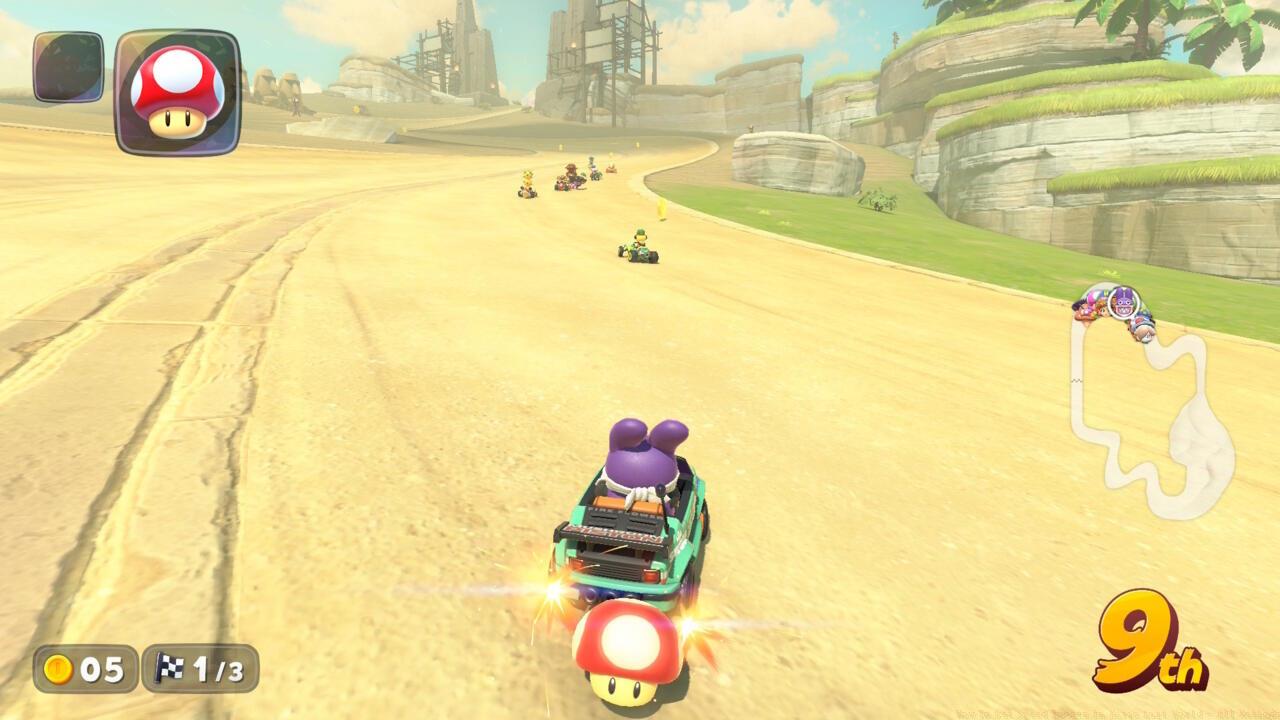
Boost at the start of a race

Press and hold the gas when 2 appears in the countdown.
Race start timing represents your first competitive advantage opportunity. The optimal moment occurs precisely when the number “2” becomes fully visible during the countdown sequence. This timing window typically lasts approximately 0.3-0.5 seconds, requiring precise execution.
Advanced Technique: For players seeking additional precision, watch for the subtle visual cue of the number “2” slightly vibrating as it stabilizes on screen. This indicates the perfect timing window for maximum acceleration.
Common Mistake: Many racers activate too early during the “2” appearance animation, causing engine stall. The penalty involves approximately 1.5 seconds of reduced acceleration, often costing multiple positions immediately.
Professional racers practice this timing extensively, as a perfect start can provide a 0.8-1.2 second advantage over competitors with normal starts.
Boost with drifts

End your drift when orange sparks appear for the best boost.
Drift boosting serves as the foundation of advanced Mario Kart racing. The technique involves holding the drift button (R or ZR) through corners while monitoring spark progression.
Spark Color System: Blue sparks indicate a minimal boost, transitioning to orange after approximately 1.5-2 seconds of continuous drifting. Ultra boosts with purple sparks become available after 3+ seconds but require exceptional track knowledge to utilize effectively.
Chain Drifting: Advanced racers maintain momentum by initiating subsequent drifts immediately after boost activation. This technique, known as “snaking,” requires precise timing but can maintain near-constant acceleration.
Common Error: Releasing during blue spark phase sacrifices approximately 40% of potential acceleration. Waiting for orange sparks provides the optimal balance between boost strength and cornering efficiency.
Boost with tricks

Press R or ZR on inclines, in mid-air, or on rails to perform tricks.
Trick boosts transform terrain features into acceleration opportunities. The mechanic responds to tapping R/ZR when your vehicle becomes airborne or encounters specific surfaces.
Terrain Recognition: Beyond obvious ramps, watch for subtle elevation changes, wave peaks on water tracks, and even certain mushroom patches that provide lift.
Timing Optimization: The ideal trick activation occurs at the peak of your jump arc. Early activation may cause missed boosts, while late activation reduces acceleration effectiveness by approximately 25%.
Combo Opportunities: Many tracks feature consecutive trick opportunities. Mastering the rhythm between jumps allows for sustained speed advantages unavailable through other methods.
Advanced Application: Combine trick boosts with subsequent drifts to maintain momentum through complex track sections. This advanced technique requires practice but provides significant competitive advantages.
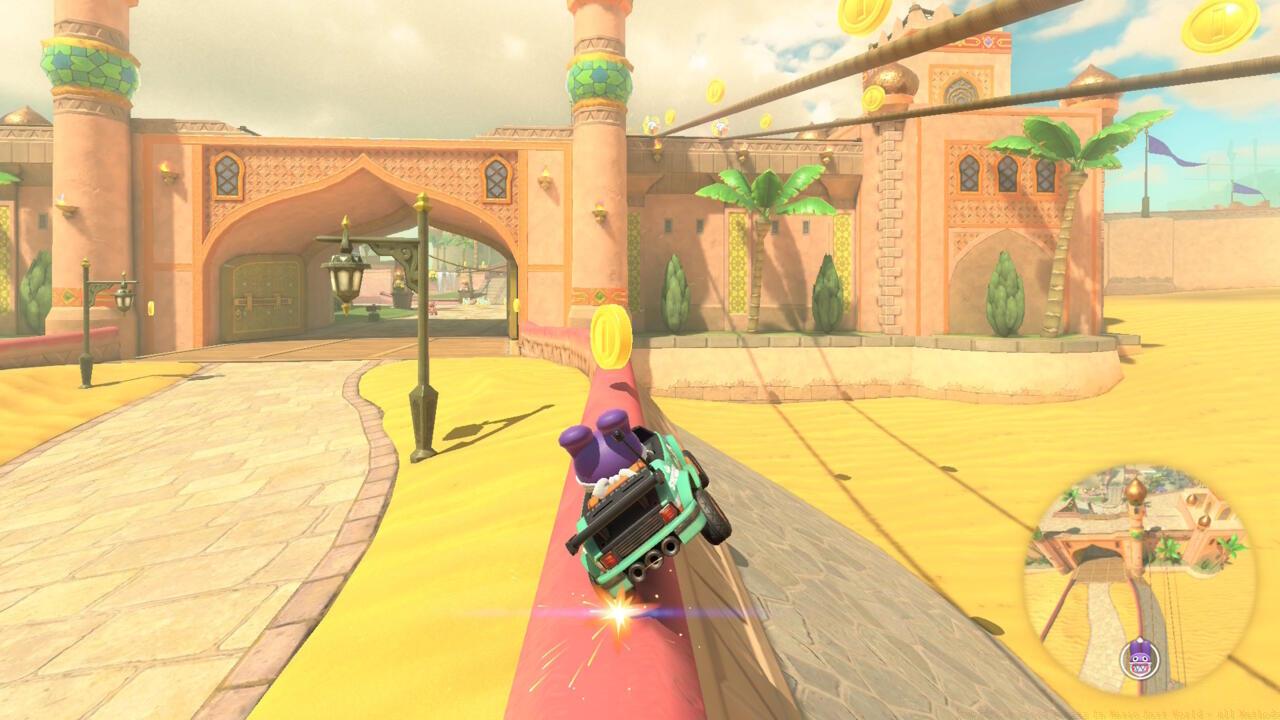
Boost with rails

Jump on any rail, rope, or railing to start grinding.
Rail grinding introduces vertical racing dimensions previously unavailable in the Mario Kart franchise. This mechanic provides both speed advantages and alternative racing lines.
Access Methods: Approach rails at moderate angles while holding R/ZR to charge jumps. Release when air particles appear beneath your wheels, similar to drift charging mechanics.
Smart Steering Consideration: Disabling Smart Steering becomes essential for rail access, as the assistance system prevents deviation from primary racing lines.
Feather Item Synergy: The feather item enables instant access to higher rails without charging requirements. Strategic feather usage can bypass difficult jump timing requirements.
Advanced Rail Techniques: While grinding, additional R/ZR taps perform rail-specific tricks that provide supplementary boosts. These can extend your speed advantage significantly when executed properly.
Boost with a wallride

Jump near a wall to stick to it with a wallride.
Wallriding expands track boundaries by allowing vertical surface engagement. This technique provides both speed boosts and unique racing line opportunities.
Execution Mechanics: Approach walls at shallow angles while charging jumps identically to rail preparation. Release timing remains critical for successful engagement.
Strategic Applications: Wallrides excel in tight corner sections where traditional drifting proves challenging. They provide consistent acceleration through complex track geometries.
Risk Management: Failed wallride attempts typically result in significant speed loss and position disadvantages. Practice in Time Trial mode before implementing in competitive races.
Advanced Combinations: Transition directly from wallrides to drifts or trick boosts for compounded acceleration effects.
Boost by drafting

Drive behind another racer to draft and boost past them.
Drafting leverages aerodynamic principles to create passing opportunities. The technique requires precise positioning behind opponents without button inputs.
Positioning Techniques: Maintain position approximately 1-2 vehicle lengths behind target racers. The drafting effect typically activates after 1.5-2 seconds of sustained positioning.
Timing Optimization: The visual indicator involves wind effects surrounding your vehicle’s front section. Once fully developed, the draft provides immediate acceleration for overtaking maneuvers.
Multi-Racer Drafting: In crowded race sections, positioning between multiple racers can accelerate draft buildup, sometimes reducing activation time by 30-40%.
Strategic Considerations: Drafting proves most effective on long straight sections where other boost methods remain unavailable.
Advanced racing success requires integrating multiple boost techniques into cohesive acceleration strategies. Understanding when to deploy specific methods based on track geometry separates elite competitors.
Chain Boosting: The most effective technique involves sequencing boosts to maintain near-constant acceleration. Example: Trick boost → immediate drift → rail grind creates sustained speed advantages.
Track-Specific Tactics: Different courses favor particular boost combinations. Mountain tracks emphasize trick and rail opportunities, while urban circuits prioritize drift and wallride combinations.
Competitive Applications: In multiplayer scenarios, boost management becomes psychological warfare. Timing your accelerations to coincide with opponent vulnerabilities can create decisive race advantages.
For comprehensive racing strategies beyond speed techniques, consult our Complete Guide for comprehensive gameplay approaches.
Action Checklist
- Practice countdown timing in Time Trial mode until achieving 8/10 perfect starts
- Master drift timing by focusing on orange spark release points
- Identify and practice trick opportunities on 3 different track types
- Disable Smart Steering and practice rail access on designated training tracks
- Combine 2+ boost techniques in sequence on a single lap
No reproduction without permission:SeeYouSoon Game Club » How To Get Speed Boosts In Mario Kart World – All Methods Master Mario Kart World's speed mechanics with advanced techniques and strategic boost combinations
