TL;DR
- Find the dead ripper body directly in front of the elevator in the broadcast tower
- Interact with the neck area to retrieve the essential bolt for clearance access
- Complete secondary objectives first to ensure the item spawns correctly
- Use the clearance bolt to activate elevator controls and progress the story
- Prepare for combat encounters before calling the elevator for smoother progression
Mastering early mission progression is crucial for Vault Hunter success in Borderlands 4. The elevator clearance requirement represents your first major navigation test.
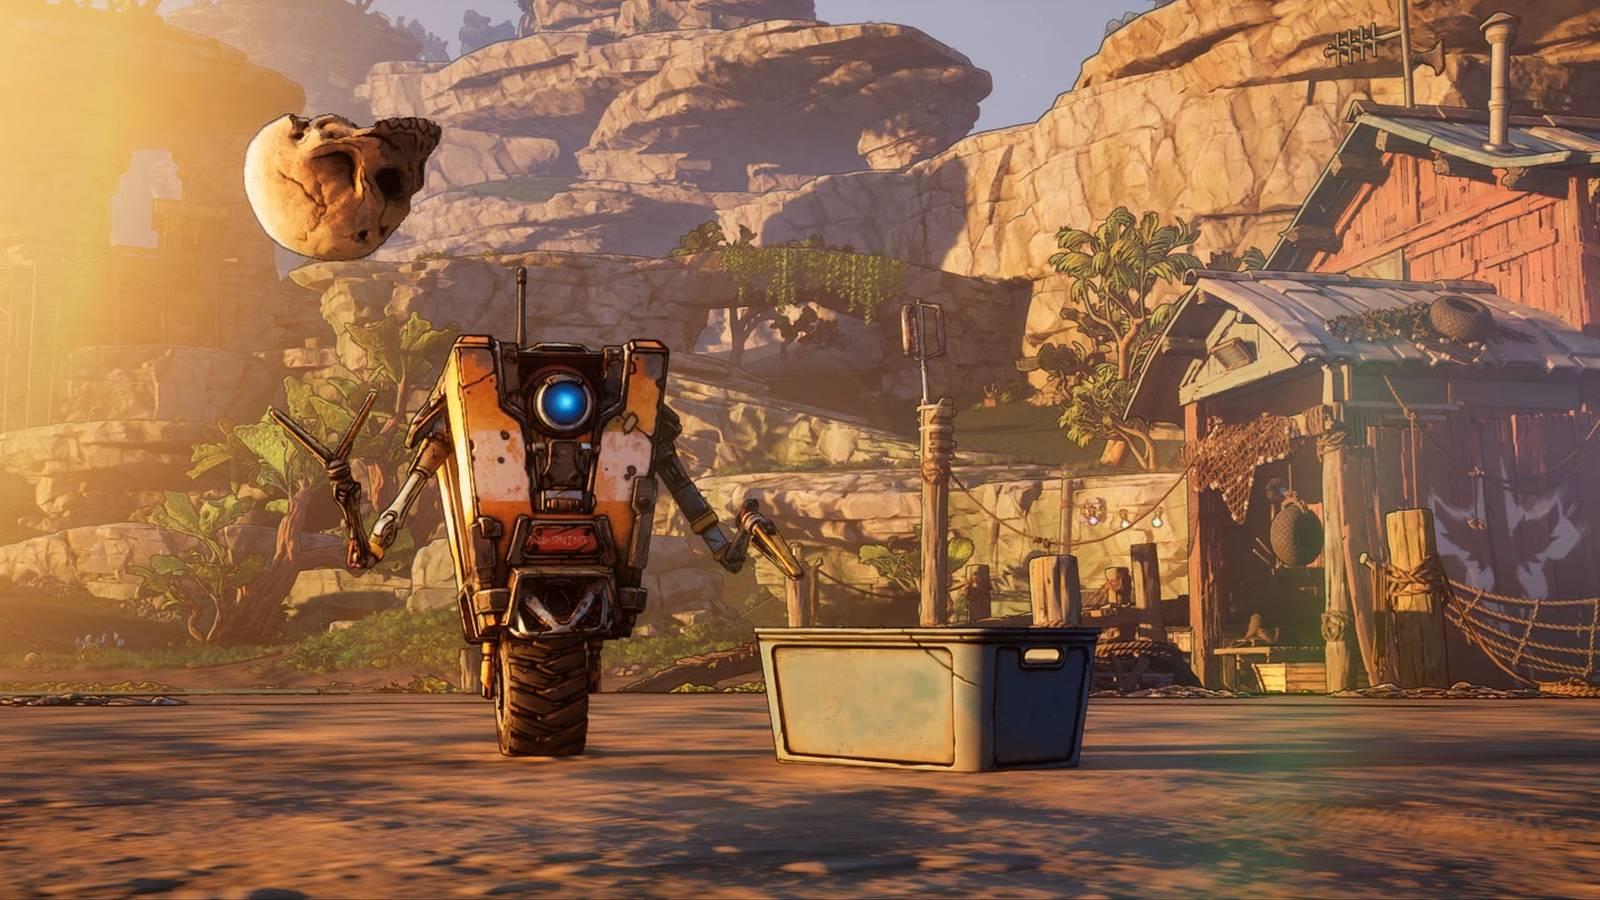
When embarking on your adventure as a new Vault Hunter in Borderlands 4, the familiar robotic companion Claptrap directs you through the critical “Recruitment Drive” quest. This mission introduces core gameplay systems while presenting the specific challenge of obtaining elevator authorization—a puzzle that many players find initially confusing due to minimal guidance.
This introductory mission serves as your tutorial for essential Kairos exploration mechanics. Failing to solve the elevator access puzzle can completely halt your progression, preventing access to new weapon opportunities and hostile encounters throughout the region.
Our comprehensive guide details precise methods for securing elevator clearance during Borderlands 4‘s opening “Recruitment Drive” mission, including exact item locations and strategic approaches.
After accomplishing the majority of secondary objectives within the “Recruitment Drive” mission, your next goal involves securing the broadcast tower and establishing your initial Safehouse location. Upon reaching the summit, you’ll encounter the elevator access restriction that requires specific clearance.
To resolve the elevator authorization requirement in Borderlands 4, you must extract the specialized bolt component from the posterior neck region of a deceased ripper enemy. The carcass is positioned immediately adjacent to the elevator interface, though you need to approach within close proximity for the “Collect” interaction prompt to materialize on your display.

Image: Gearbox Software/2K Games via Polygon
The ripper corpse typically spawns facing away from the elevator, with the critical bolt visibly protruding from the nape area. New players often overlook this interaction because the game doesn’t explicitly highlight the solution, requiring environmental observation skills.
Seasoned Vault Hunters recommend completing all available side objectives before approaching the broadcast tower summit. This ensures proper enemy spawns and prevents potential quest progression bugs that might prevent the ripper corpse from appearing.
Navigation Efficiency: Use the tower’s vertical architecture to your advantage. Clear each floor methodically to avoid being overwhelmed by respawning enemies when backtracking. The area around the elevator frequently spawns additional hostile units after you acquire the clearance bolt.
Combat Preparation: Before interacting with the elevator controls, ensure your weapon loadout is optimized for close-quarters combat. The subsequent area often contains multiple enemy engagements, and being unprepared can lead to frustrating respawns. Consider our Weapons Unlock guide for optimal early-game loadouts.
Inventory Management: The clearance bolt occupies a key item slot rather than conventional inventory space. If you’re experiencing inventory management challenges early in your playthrough, our comprehensive Complete Guide offers valuable resource optimization strategies that translate well to Borderlands 4’s systems.
If the interaction prompt fails to appear when approaching the ripper corpse, try these troubleshooting steps:
Interaction Problems: Ensure you’ve completed all primary mission objectives leading to the broadcast tower. Sometimes reloading the area or restarting the game client resolves interaction bugs. Position yourself directly behind the corpse and look downward toward the neck region.
Quest Progression Verification: Confirm your mission tracker shows “Obtain Elevator Clearance” as the active objective. If not, revisit previous mission areas to trigger proper progression flags. Understanding mission flow is similar to mastering Class Guide mechanics in other shooter franchises.
Backup Solutions: As a last resort, abandon and restart the “Recruitment Drive” quest entirely. While time-consuming, this typically resolves persistent progression blockers. The average completion time for this mission segment is 15-25 minutes depending on combat efficiency.
Once successfully obtaining the clearance component, access the elevator interface to summon transportation and engage in extended dialogue with your robotic companion… once more.
Action Checklist
- Complete all secondary Recruitment Drive objectives before tower ascent
- Locate dead ripper corpse directly in front of elevator controls
- Approach neck area from behind to trigger ‘Collect’ interaction prompt
- Secure bolt item and prepare for potential combat encounters
- Activate elevator interface to progress story and dialogue sequences
No reproduction without permission:SeeYouSoon Game Club » How to get clearance for the elevator in Borderlands 4 Essential guide to unlocking elevator access in Borderlands 4's Recruitment Drive mission with expert strategies