Master both Electroshock Therapy quests with expert strategies, reward breakdowns, and advanced combat techniques
Electroshock Therapy Quest Overview & Prerequisites
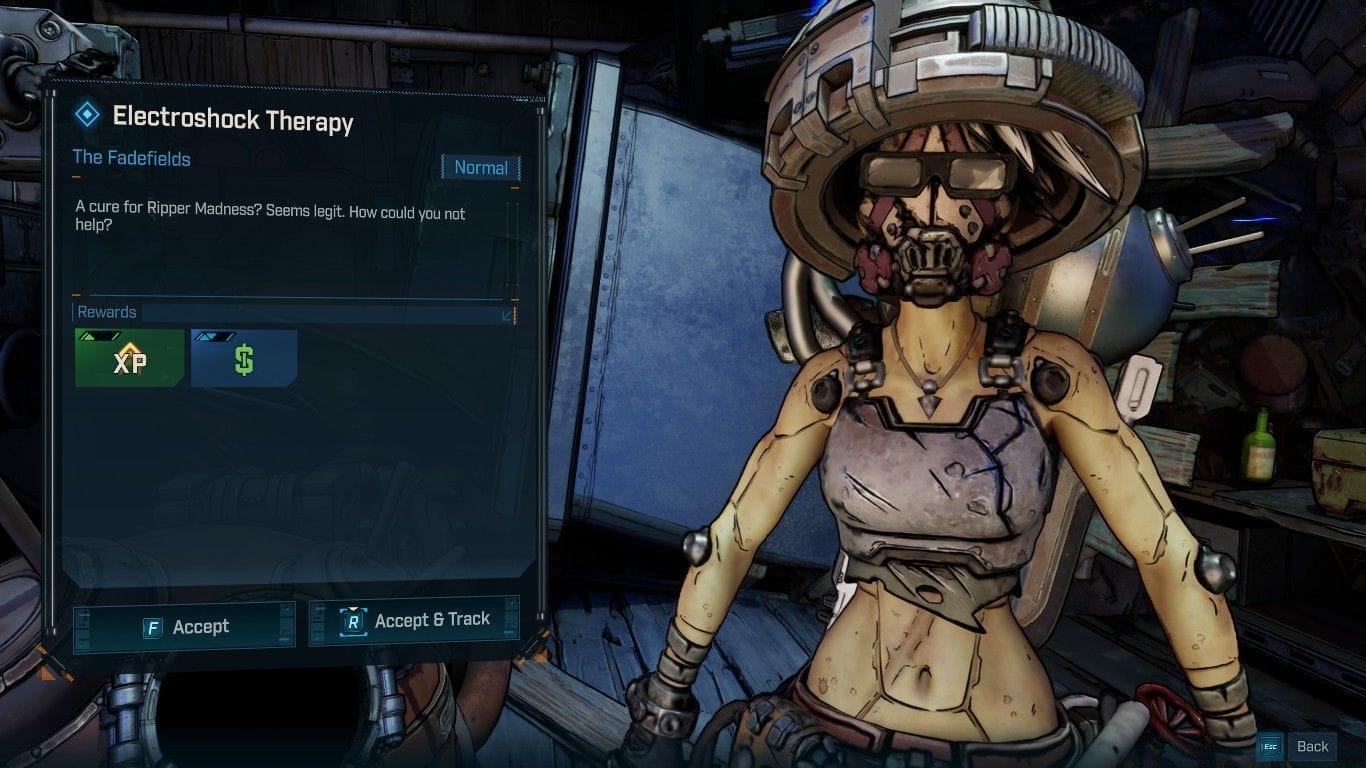
Electroshock Therapy in Borderlands 4 represents a multi-stage scientific side mission that delivers substantial rewards for completing Professor Ambreleigh’s experimental objectives. While numerous missions appear automatically on your map, this particular quest chain remains locked until you achieve specific story progression milestones. Combining main storyline advancement with these specialized side operations enables comprehensive area clearance while substantially boosting your loot acquisition capabilities for the ongoing adventure.
Also read: Borderlands 4 The Kairos Job Walkthrough
Critical Prerequisite: This experimental mission sequence only becomes accessible after successfully concluding the primary storyline assignment titled ‘A Lot to Process.’ Attempting to locate the quest giver prematurely will prove fruitless, so prioritize main narrative advancement first.
Strategic Value: Beyond immediate rewards, Electroshock Therapy introduces unique gameplay mechanics and environmental interactions that teach advanced combat and puzzle-solving techniques applicable throughout Borderlands 4.
Step-by-Step First Session Walkthrough
Execute this comprehensive procedure to complete the initial Electroshock Therapy assignment efficiently:
- Navigate to the Southern quest marker and identify the oversized wooden barrel containing the Eridium specimen. Pro Tip: Use elevated positions for better visibility of the drum’s exact location.
- Ascend the structure and engage with the sample to shatter the container then secure the Eridium specimen. Warning: Nearby enemies may become alerted during this interaction.
- Mirroring the initial objective, proceed to the Northern map indicator to locate the Ordonite sample.
- This mineral deposit rests sandwiched between two industrial silos positioned atop several storage crates. Advanced Strategy: Deploy a decoy or use stealth abilities to avoid combat during collection.
- Retrieve the item to fulfill this collection requirement.
- Return to the research facility where you initially accepted the assignment.
- Operate the experimental apparatus to insert both previously gathered mineral samples.
- Activate the toggle mechanism located on the machine’s left flank.
- The control lever will engage its locking mechanism, triggering a new combat-oriented objective.
- Pursue the updated map marker and eliminate all hostile entities within the designated zone. Combat Tip: Use area-of-effect weapons for efficient crowd control against grouped enemies.
- Acquire the Meathead artifact from the defeated foe and return to the professor’s location.
- Access the machinery on the left segment to position the cranial specimen.
- Execute a melee strike against the mounted head on the apparatus.
- Engage the switch mechanism situated on the equipment’s left side.
- Activate the flow valve positioned behind the main unit on the raised platform. Navigation Tip: Look for climbable surfaces or platforming routes to reach the elevated control.
- Trigger the concluding switch on the experimental device.
Read more: Borderlands 4 No Place Like Home walkthrough
First Session Rewards Breakdown
Upon concluding the experimental sequence, Borderlands 4 will register Electroshock Therapy as completed following your final dialogue exchange with Prof. Ambreleigh. However, this represents merely the introductory segment, automatically unlocking the more advanced Electroshock Therapy: The Second Session assignment.
The compensation for finishing the initial Electroshock Therapy chapter in Borderlands 4 includes:
- Static Shock SMG – An electrically-charged submachine gun that applies shock damage over time with high fire rate
- 7,500 Credits – Substantial currency infusion for early-to-mid game purchasing power
- Experience Points – Significant character level progression towards skill unlocks
- Eridium Cache – Premium currency for special vendors and high-tier equipment
Gear Analysis: The Static Shock SMG proves particularly effective against shielded enemies and synergizes well with elemental build specializations. Its shock damage can chain between closely-packed targets, making it ideal for the crowd-control challenges ahead.
Finding Professor Ambreleigh for Second Session
Professor Ambreleigh, the non-player character who distributes the sequel mission, relocates to an alternative position on the world map. Follow these navigation instructions to locate this scientific personality:
- Journey to the Hungering Plain territorial sector of the map.
- The academic will be stationed along the pathway leading toward the lower right perimeter of Horace’s Oversight installation.
- You can encounter Prof. Ambreleigh positioned roadside adjacent to a sophisticated apparatus. Utilize your mission tracker to pinpoint the NPC and commence the subsequent phase of the Electroshock Therapy mission chain.
Navigation Insight: The Hungering Plain features more open terrain than the first quest location, making enemy spotting easier but also increasing your visibility to hostile forces. Approach with tactical awareness.
Character Behavior: Professor Ambreleigh remains stationary at this location until you interact, allowing careful approach planning without time pressure.
Second Session: Advanced Enemy Luring Techniques
Execute this systematic approach to efficiently complete Electroshock Therapy The Second Session in Borderlands 4:
- Your objective requires attracting precisely 10 Rippers to the experimental apparatus. Advanced Tactic: Use audio cues to track Ripper movements when visual contact is lost.
- Mission indicators will highlight adjacent zones populated densely with Rippers.
- Approach these creatures and initiate combat engagement to capture their attention. Aggro Management: Land a few shots then retreat – excessive damage may cause premature elimination.
- Withdraw toward the device while permitting the Rippers to pursue your character into the cerulean energy field.
- Repeat this lure procedure until you’ve assembled exactly 10 Rippers within the device’s energy perimeter. Efficiency Tip: Lure 2-3 Rippers simultaneously to reduce total trips. Use movement speed boosts or decoy abilities.
- Communicate with Prof. Ambreleigh adjacent to the device control panel.
- The professor will experience an electrical discharge, formally concluding this secondary mission chapter.
Enemy Behavior Notes: Rippers exhibit aggressive pursuit patterns but can be easily distracted by environmental objects. Their movement speed varies, so adjust your retreat pace accordingly to maintain aggro without taking excessive damage.
Common Pitfall: Avoid killing Rippers during the luring process. Use low-damage weapons or melee strikes to gain attention without eliminating targets prematurely.
Final Rewards & Endgame Value
This comprehensive listing details all compensation available upon concluding Electroshock Therapy The Second Session in Borderlands:
- Experimental Conductor Rifle – Unique shock-based assault weapon with chain lightning capabilities
- 15,000 Credits – Substantial economic resources for endgame equipment and upgrades
- Massive Experience Bonus – Accelerated level progression approaching maximum character development
- Ambreleigh’s Research Notes – Lore item that may unlock additional scientific questlines
- Premium Eridium Bundle – Significant quantity of rare currency for legendary gear purchases
Weapon Analysis: The Experimental Conductor Rifle represents one of the most versatile shock weapons in Borderlands 4, effective against both single targets and groups. Its chain lightning effect can jump to 3 additional enemies, making it invaluable for crowd control situations.
Progression Impact: Combined with first session rewards, this quest chain provides substantial power progression, currency infusion, and unique equipment that remains relevant through mid-game content.
Continue following Sportskeeda for additional updates, expert guides, and breaking news.
- Borderlands 4 The Oppressor boss guide
- Borderlands 4: What is Eridium used for?
- How to open Vaults in Borderlands 4
- Borderlands 4 Whack-A-Thresher Walkthrough
No reproduction without permission:SeeYouSoon Game Club » Borderlands 4 Electroshock Therapy walkthrough Master both Electroshock Therapy quests with expert strategies, reward breakdowns, and advanced combat techniques