Master Chyornaya Peschera Cave with expert navigation strategies, essential gear locations, and boss tactics
Initial Cave Navigation and Torch Acquisition
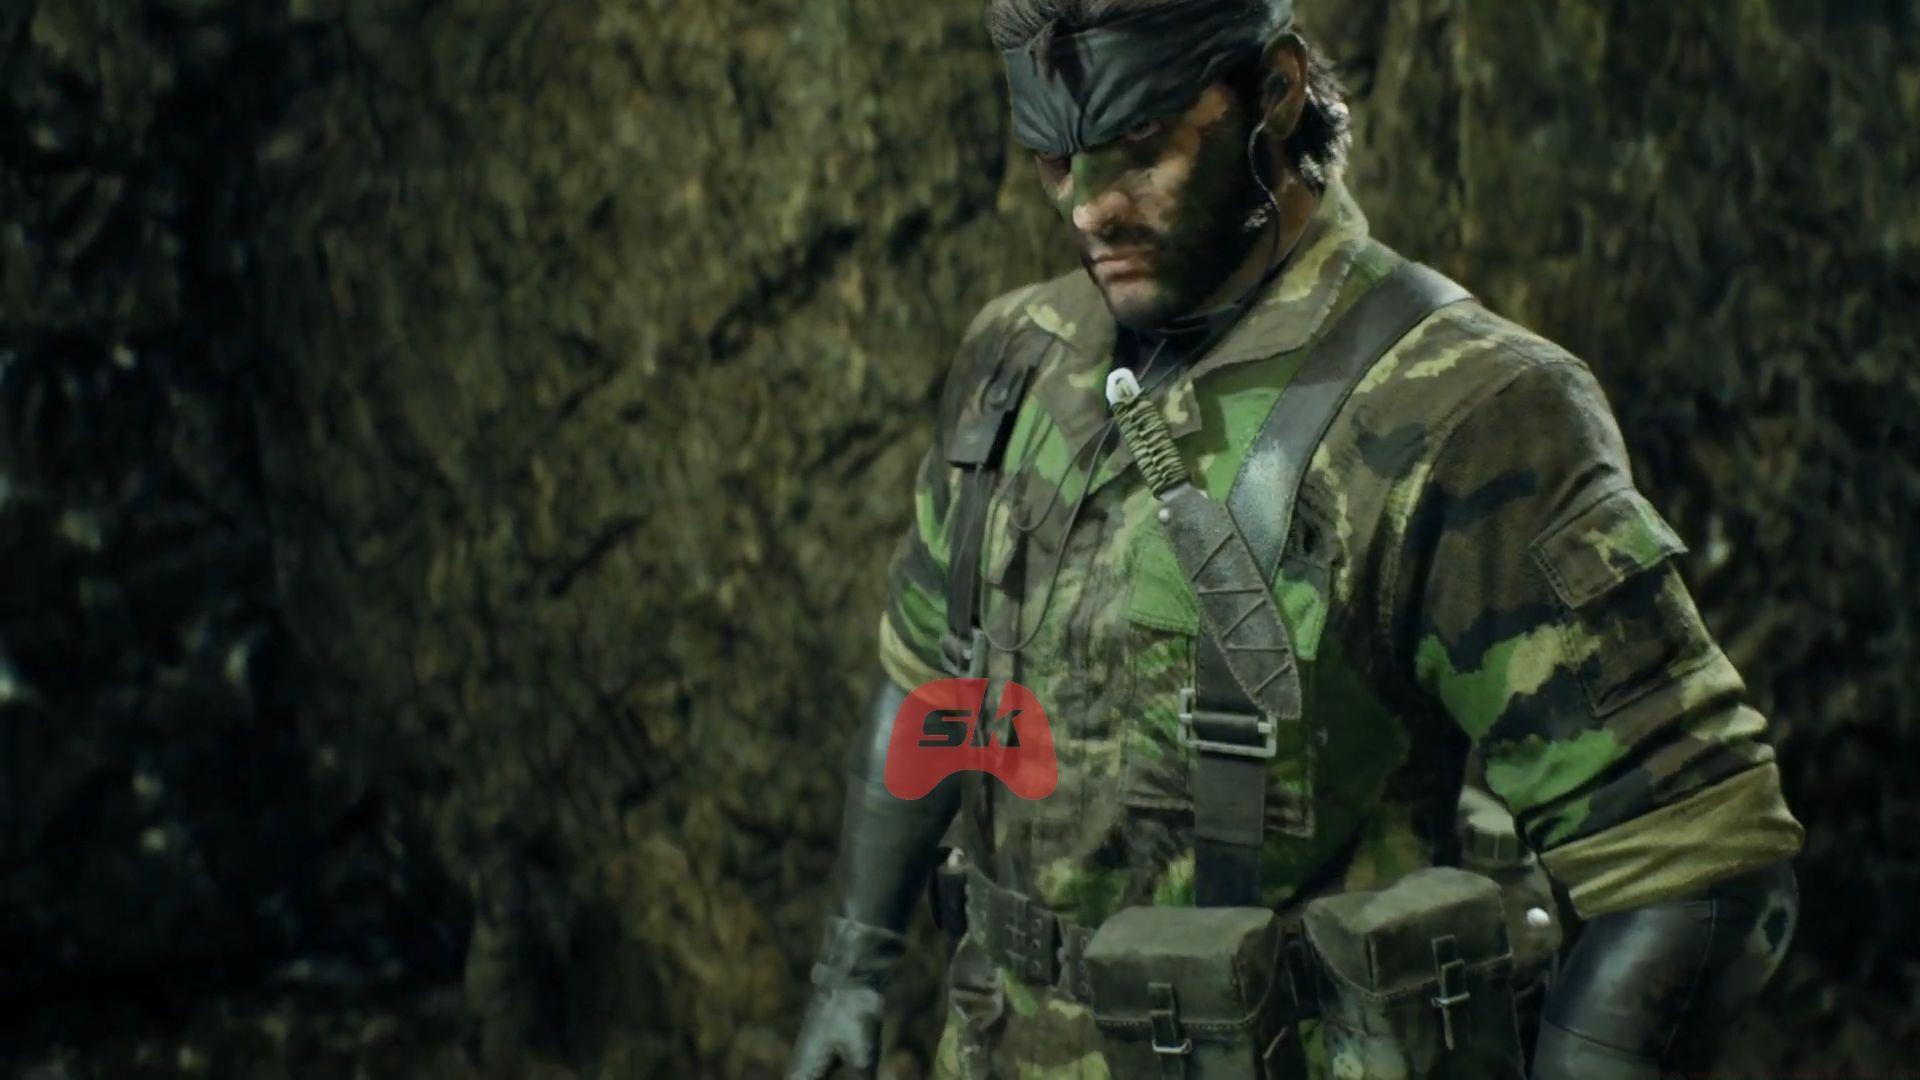
After concluding your confrontation with Ocelot in Metal Gear Solid Delta: Snake Eater, Snake finds himself descending into the oppressive darkness of Chyornaya Peschera Cave Branch. This subterranean labyrinth presents near-total blackness conditions that can disorient even experienced operatives. Initial moments may induce sensory deprivation, but systematic exploration reveals navigable pathways. The cavern system conceals numerous tactical advantages for those willing to thoroughly investigate its recesses.
Your primary objective upon entry should be securing illumination. Proceed along the northwest passage until encountering a cascading water feature. Adjacent to the bioluminescent fungi, you’ll discover a white birch constructed torch that serves as your fundamental exploration tool. This implement can be wielded with Left Click/R2 for single swings or activated for continuous motion via double-tapping. Ignition and extinguishing functions are controlled through R/Square inputs.
Should darkness persist as an obstacle, consistently reference your tactical map for orientation verification and route confirmation.
Strategic consideration: Mastering enemy looting techniques in Metal Gear Solid Delta
Critical Gear Collection and Route Progression
From the aquatic feature location, carefully advance southwest while maintaining awareness of precipitous edges. You’ll soon identify a passageway demarcated by glowing fungal growth. Navigate this constricted tunnel to access an expansive chamber inhabited by chiropteran colonies. This area contains minimal resources – promptly orient eastward, traverse another crawl space, and emerge into a more substantial grotto illuminated by external light penetration.
This illuminated section proves strategically vital, containing a Kerotan figurine, Night Vision Goggles, and AK-47 ammunition reserves. Secure all available assets before descending into the aquatic aperture.
Upon submersion, immediately propel yourself southwest through the submerged conduit with maximum velocity. Your oxygen capacity scarcely accommodates this transit distance, requiring decisive movement without hesitation. After breaching the surface, navigate southern waterways to circumnavigate back to your initial insertion coordinates. From this position, chart a northeastern course to regain the tri-path cavern junction.
Underwater Navigation and Alternative Routes
Now select the central passageway from the three-option junction. Commence crawling maneuvers until reaching the elevated section of the waterfall structure. A Ga-ko amphibian collectible resides here, positioned atop rock formations. Eliminate this target before continuing advancement. Subsequently, follow the northeastern trajectory until returning to the primary Chyornaya Peschera Cave network.
Expert tip: Time your underwater segment during gameplay sessions when you can maintain focused attention. The oxygen mechanic creates genuine tension, and distraction can lead to repetitive attempts. Consider practicing the route once or twice to build muscle memory before attempting serious collection runs.
Common mistake: Many players waste valuable seconds hesitating at the underwater entrance. The oxygen meter depletes at a consistent rate regardless of movement speed, so immediate forward momentum is essential. Panic-induced direction changes frequently result in drowning.
Night Vision Implementation and Weapon Acquisition
Immediately upon re-entry, activate the Night Vision Goggles to illuminate the dextral passage. This access point leads to an auxiliary chamber housing the M37 Shotgun and supplementary Mk22 ammunition. From this position, navigate northward through a constricted tunnel – you’ll ultimately locate the Snow Camouflage pattern.
Continue westward progression to encounter crustacean and serpentine wildlife. These organisms provide sustenance resources if endurance levels diminish. Implement Aquatic Camouflage and Earth Tone Facial Pigmentation if previously acquired. Incorporate the M37, Fragmentation Devices, Obscuration Grenades, and White Phosphorus (WP) Incendiaries into your equipment configuration, as these will prove imminently necessary. Remember to include Arthropod Repellent, since insects present persistent annoyances within the cavern environment.
Advanced tactic: The M37 Shotgun proves exceptionally effective in the upcoming boss encounter. Its spread pattern can neutralize The Pain’s hornet swarms while dealing significant damage to the boss himself. Practice quick weapon switching to maximize its utility during the fight.
The Pain Boss Encounter and Final Escape
Inevitably, a narrative sequence introducing The Pain will initiate. This antagonist confrontation occurs within a substantial combat arena featuring two elevated positions for tactical advantage. Upon defeating this adversary, proceed forward. Should you incapacitate him through non-lethal means, you’ll obtain the Hornet Stripe Camouflage (ascend to his platform before departure).
With The Pain neutralized, egress toward the Cave Entrance becomes accessible. This concluding segment presents more direct navigation:
Optimization strategy: The Hornet Stripe Camo provides excellent camouflage in specific environments later in the game. While the non-lethal approach requires additional effort, the long-term benefits outweigh the temporary challenge. Position yourself on the higher platform during The Pain encounter for better sight lines and defensive positioning.
Upon reaching the terminus, another cinematic sequence introducing Hover Soldiers will activate. Maintain forward momentum, and you’ll ultimately achieve successful extraction from Chyornaya Peschera Cave in Metal Gear Solid Delta: Snake Eater.
For additional expert content regarding Metal Gear Solid Delta: Snake Eater, ensure you follow Sportskeeda coverage. These articles provide immediate supplementary guidance:
No reproduction without permission:SeeYouSoon Game Club » How to escape the cave in Metal Gear Solid Delta Master Chyornaya Peschera Cave with expert navigation strategies, essential gear locations, and boss tactics