Master third-person view in 7 Days to Die while understanding achievement risks and camera control techniques
Introduction to Third-Person Perspective
If you’re seeking to enable third-person view in 7 Days to Die, this comprehensive guide provides everything you need. The recent massive world update from The Fun Pimps introduces numerous enhancements, making this an ideal time to explore alternative camera perspectives that can transform your survival experience.
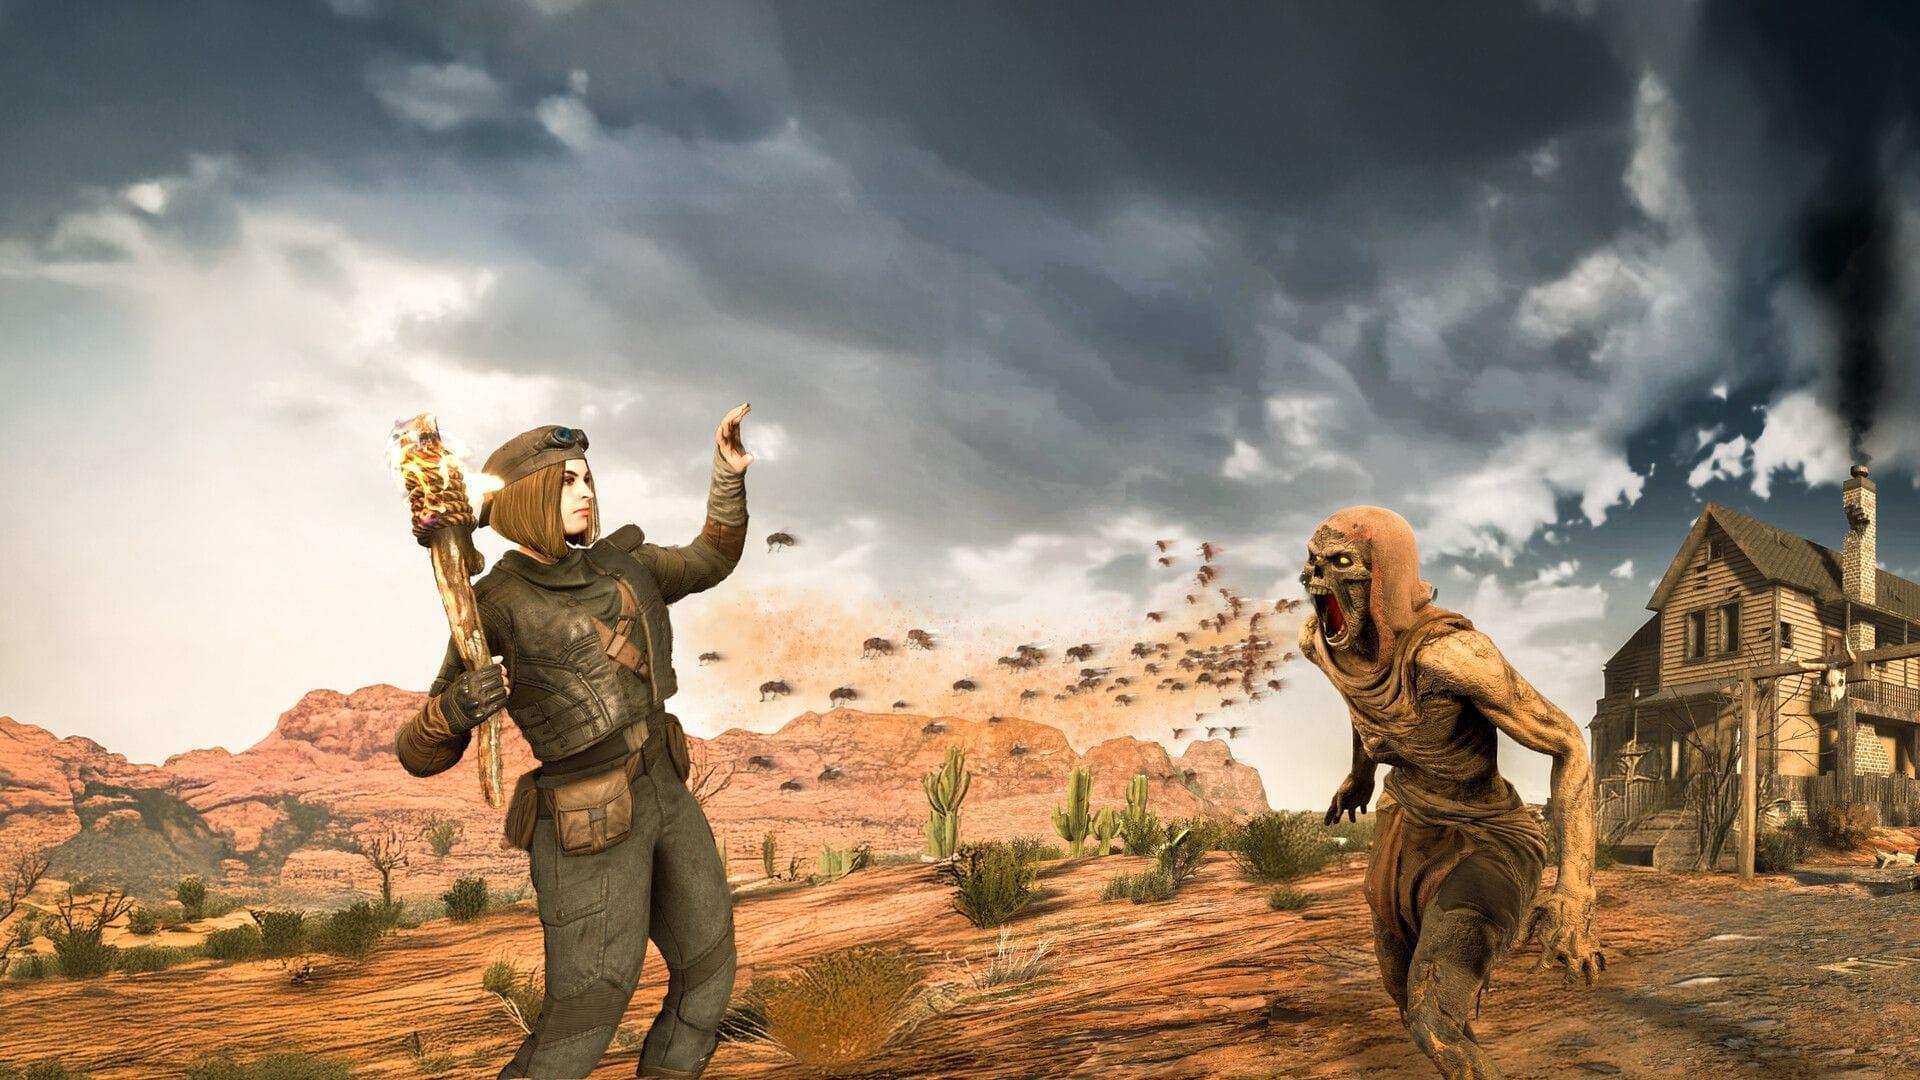
Third-person perspective offers distinct advantages for base building and combat awareness, allowing you to see around corners and monitor your surroundings more effectively than the standard first-person view provides.
Critical Warning: if you enable third-person in the game, it will disable the prospect of earning achievements. This irreversible effect applies specifically to the world where debug mode is activated, making careful consideration essential before proceeding.
For achievement-focused players, we strongly recommend avoiding third-person activation on your primary survival worlds. Instead, establish a separate creative mode save specifically for experimenting with camera perspectives, preserving your achievement progression while exploring this feature’s benefits.
Related Reading: 7 Days to Die patch notes (June 27, 2025): Biome progression, perk changes, and more
Enabling Debug Mode Step-by-Step
Here’s the complete procedure to activate third-person capabilities in 7 Days to Die:
Pro Tip: Debug mode remains active for your current gaming session only. You’ll need to re-enable it each time you launch the game, providing a safety mechanism if you change your mind about using third-person view later.
Achievement Impact Clarification: The moment you enter any debug command, including DM, the game permanently flags that world save as modified. Even if you never actually use third-person view, the simple act of enabling debug mode triggers the achievement lockout.
Camera Control Commands Explained
After activating debug mode, you gain access to multiple camera manipulation options that significantly alter your visual experience:
Advanced Technique: Combine these camera modes for enhanced gameplay. Use free-cam to plan building projects, switch to third-person for combat, and return to first-person for precise interactions like looting or crafting. Each perspective offers unique advantages for different survival scenarios.
Further Exploration: 7 Days to Die: All biome badges and how to unlock them
Pro Tips and Strategic Considerations
Mastering third-person view requires understanding both its benefits and limitations within 7 Days to Die’s survival mechanics:
Achievement Management Strategy: Create a dedicated “camera test” world separate from your main progression save. This allows experimentation without compromising your achievement hunting goals. Many veteran players maintain multiple worlds for different purposes—one for serious progression and others for testing features like debug mode.
Combat Applications: Third-person perspective provides superior situational awareness during horde nights, letting you monitor zombie approaches from multiple directions simultaneously. However, precision aiming with ranged weapons becomes more challenging, making first-person preferable for firearm usage.
Building and Construction: The free-cam mode ([ key) revolutionizes base building by allowing inspection from any angle. Identify structural weaknesses, plan defensive layouts, and create more aesthetically pleasing structures with this architectural perspective.
Common Mistake Avoidance: Never enable debug mode on your primary world without understanding the permanent achievement consequences. Additionally, remember that third-person view can occasionally cause clipping issues in tight spaces, so toggle back to first-person when navigating confined areas.
That covers the complete methodology for activating and utilizing third-person view in 7 Days to Die. For additional expert guides and survival strategies, continue exploring Sportskeeda’s gaming section.
No reproduction without permission:SeeYouSoon Game Club » How to enable third-person view in 7 Days to Die Master third-person view in 7 Days to Die while understanding achievement risks and camera control techniques