Master the Lucky Seventeen boss fight with comprehensive attack patterns, phase strategies, and loot rewards guide
Introduction & Location Guide
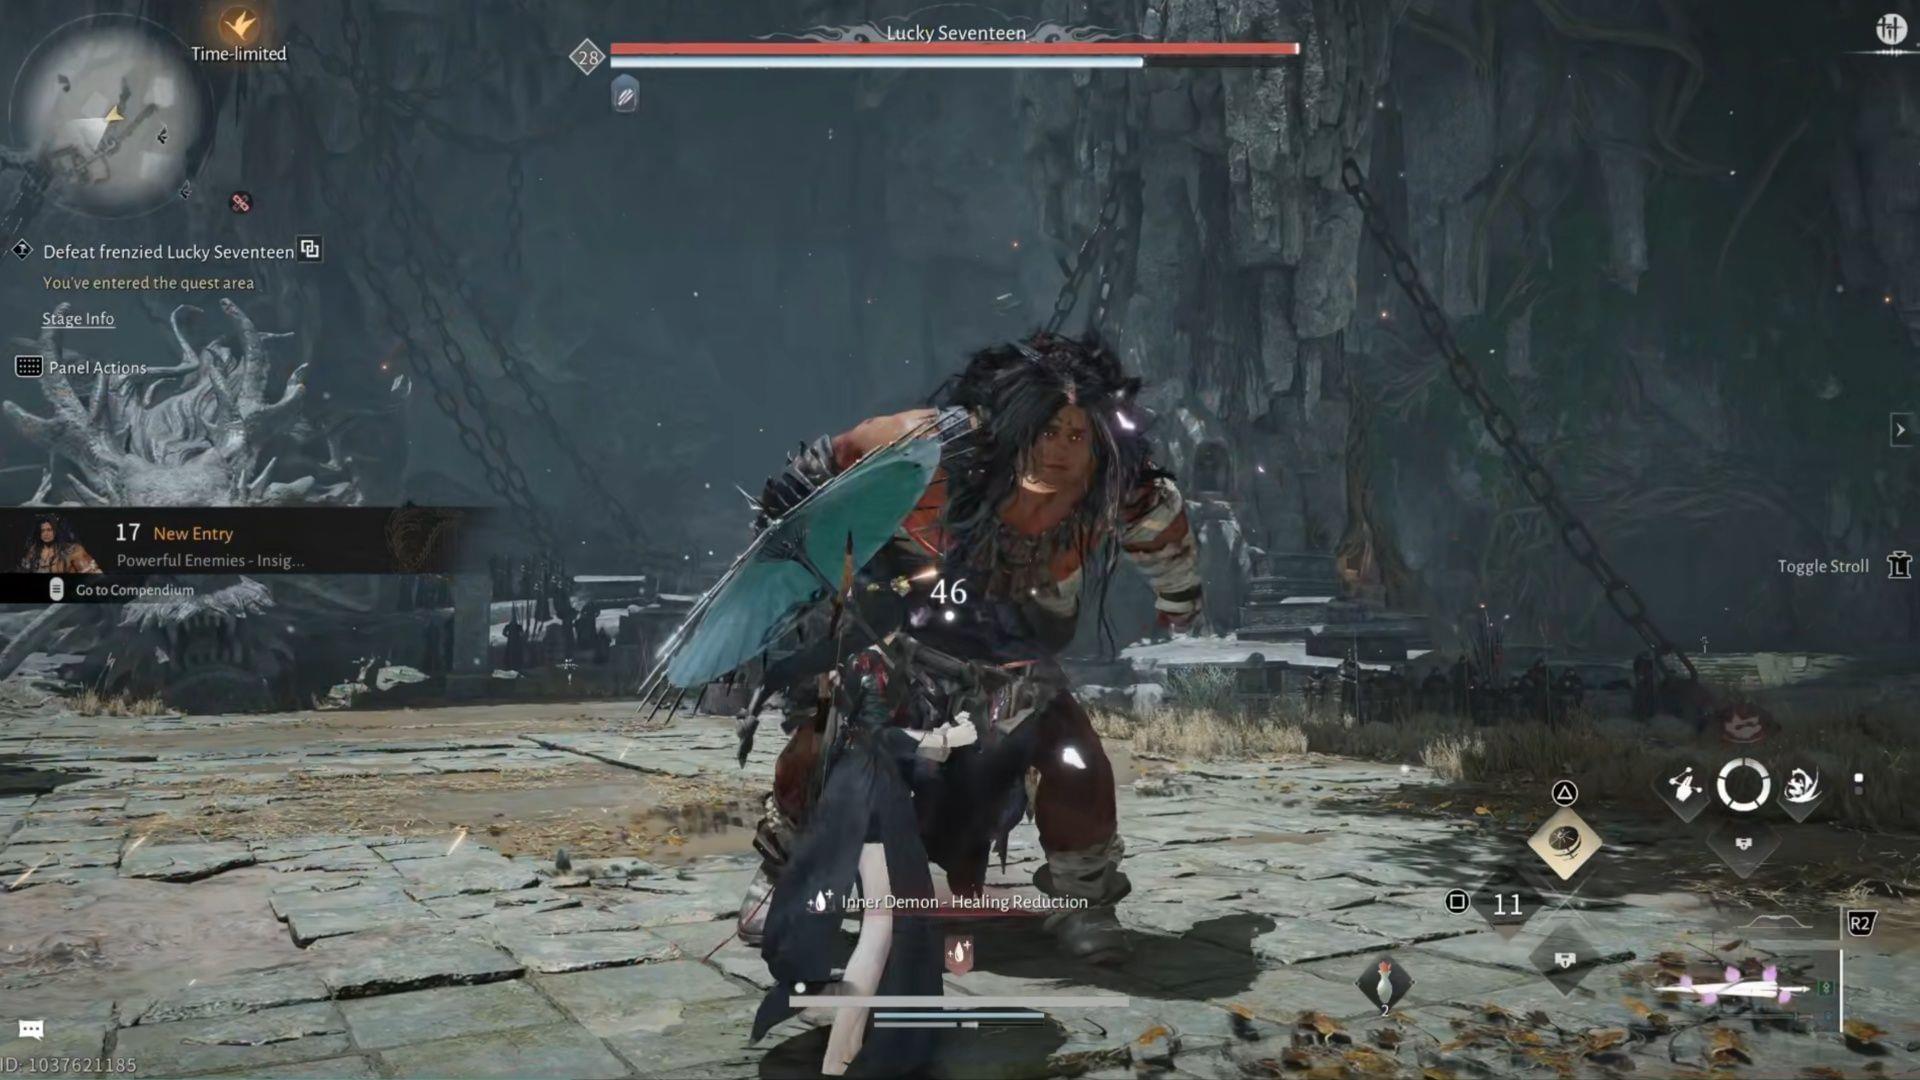
Lucky Seventeen stands as one of the most challenging campaign bosses in Where Winds Meet, awaiting players at the conclusion of the Palace of Annals dungeon. This formidable opponent becomes accessible relatively early through the Qinghe forest regions, providing a repeatable engagement opportunity with substantial progression rewards. However, overcoming Lucky Seventeen demands precise combat execution against his devastating close-range assault patterns.
The Palace of Annals resides within Moonveil Mountain’s treacherous terrain. Efficient navigation utilizes Boundary Stones positioned at Front Mountain, Stillwind Slope, or Deer Pond for rapid transit. Optimal weapon selection significantly impacts combat effectiveness – while Vernal Umbrella and Nameless Sword provide reliable performance, unlocking Panacea Fans offers superior tactical flexibility. Toad Leap emerges as an essential Mystic Art for rapidly depleting the boss’s Qi Meter through well-timed aerial assaults.
Phase 1 Attack Patterns & Counter Strategies
During the initial combat phase, Lucky Seventeen employs methodical but powerful melee attacks with distinct visual cues. Understanding these patterns forms the foundation for successful execution.
- Jumping Strike: Emits a distinctive roar before lunging forward with a leaping attack. Counter with precise parry or tactical dodge.
- Rage Lunge: Activates red aura, performs ground stomp, then launches aggressive jump assault. Parry or evade based on positioning.
- Rage Rush: Glows crimson, stomps terrain, then charges forward delivering left-handed strike. Perfect parry timing recommended.
- Crawling Sweep: Drops to ground level for sweeping attack, follows with two rapid punches during stand-up animation. Maintain distance during recovery.
- Flying Headbutt: Executes short hop into staggering headbutt maneuver. Requires immediate parry response to avoid stun.
- Golden Fists: Illuminates fists with golden energy, propels debris from ground. Mandatory dodge – cannot be parried.
- Long-Distance Punch: Activates red glow, stomps firmly, then leaps forward with two consecutive punches. Parry both strikes for maximum Qi drain.
- Melee Combo: Initiates with stomp, follows with two punches culminating in spinning backfist. Chain parry required.
- Short Melee Combo: Charges briefly then delivers two staggering punches. Dodge backward to reset engagement distance.
Phase 1 strategy emphasizes aggressive parrying to systematically drain Lucky Seventeen’s Qi Meter. His initial movements involve crawling approaches attempting crushing impacts or kicking maneuvers. The engagement typically commences with a massive leap toward your position followed by telegraphed punching combinations. These openings provide perfect parry opportunities, enabling continuous offensive pressure. Prioritize deflection maneuvers over evasion to accelerate Qi depletion, enabling execution opportunities for significant health reduction.
Red aura activation signals two potential attack variations. After brief charge time, he will either launch into aerial stomp assault (parry or dodge viable) or perform ground stomp into left-handed swing (easily parried in first phase). The flying headbutt presents particular danger due to staggering consequences upon failed defense. Maintain parry-focused aggression until health depletion triggers transitional cutscene where Aureate pavilion members ignite the arena. Both combatants survive the conflagration, initiating the dramatically intensified second phase.
Phase 2 Weapon Attacks & Advanced Mechanics
The second combat phase introduces weapon-based assaults with enhanced speed, aggression, and complex mechanics requiring precise counterplay.
- Dynamic Entry: Leaps backward, hurls sword as projectile, then retrieves weapon. Parry the throw or reposition during recovery.
- Four-hit combo: Executes two swift swings, brief charge, then wind-up attack. Maintain parry rhythm throughout sequence.
- Alternate four-hit combo: Utilizes more aggressive but slower arcing swings, concluding with overhead smash. Watch for animation differences.
- Golden Smash: Channels golden energy into weapon before ground slam impact. Requires perfect parry timing for counter.
- Red-Glowing Strike: Infuses weapon with crimson energy for rapid swing. Perfect parry triggers devastating counter-attack opportunity.
- Backhand Blow: Unconventional backhanded weapon swing. Parry or dodge based on positioning.
- Spin-to-Win: Performs three consecutive spinning attacks culminating in downward smash. Evade or perfect parry chain.
- Sweeping Smash: Sweeps weapon along ground followed by powerful jumping smash. Time parry for jump impact.
- Stomp the Yard: Stomps ground creating shockwaves that interrupt actions. Jump or perfect parry shockwaves.
- Poisonous Blade: Coats weapon in toxic green mist enhancing damage output. Parry or create distance until effect expires.
Phase 2 typically commences with Lucky Seventeen’s signature sword throw technique followed by immediate weapon retrieval. This opening maneuver can be parried or dodged with proper timing. He frequently follows with relentless Four-hit combo assaults requiring defensive consistency.
The complexity escalates through weapon enhancements and accelerated aggression. Periodically, he envelops his blade in toxic green mist significantly amplifying damage output. Color-coded weapon glows dictate counter strategies: crimson glow enables perfect parry counter-attacks while golden glow mandates evasion as these attacks cannot be parried conventionally.
His Spin-to-Win sequence and Four-hit combinations present particular challenge through consecutive attacks demanding flawless defensive execution. Players struggling with timing precision should consider Story Difficulty, which provides more lenient parry windows while maintaining combat integrity. The core strategy remains parry-focused to drain Qi reserves for execution opportunities, but requires heightened patience and pattern recognition compared to the initial phase.
Rewards & Advanced Combat Tips
Upon defeating Lucky Seventeen, players receive valuable rewards supporting character progression:
- 2x Jadeware Tiered Gear Chests
- 1x Palace of Annals Cosmetic Chest
- 1x Crimson Leaves Chest
Advanced Combat Optimization:
Mastering Lucky Seventeen requires understanding common pitfalls. Avoid over-committing to attacks during his recovery phases – his hyper armor prevents interruption during certain animations. The most frequent error involves misreading his red versus gold glow attacks; remember red enables counter-attacks while gold requires evasion. Position yourself near arena edges during phase 2 to limit his mobility options, but maintain escape routes for his spinning attacks.
For players seeking additional challenges, experiment with different weapon combinations to discover unique interactions. The Vernal Umbrella’s defensive capabilities complement parry-focused strategies, while more aggressive weapons like the Nameless Sword benefit from hit-and-run tactics. Advanced players can attempt no-damage runs by mastering every attack pattern’s precise dodge timing.
Essential Where Winds Meet Combat Guides
- 5 strongest Martial Arts to use in Where Winds Meet
- Best Where Winds Meet character customization codes
- How to fly in Where Winds Meet: All Lightness Skills unlock guide
- Best beginner’s tips and tricks for Where Winds Meet
No reproduction without permission:SeeYouSoon Game Club » How to defeat Lucky Seventeen in Where Winds Meet Master the Lucky Seventeen boss fight with comprehensive attack patterns, phase strategies, and loot rewards guide