Master the Dreglord boss fight with advanced tactics, phase breakdowns, and strategic avoidance techniques
Introduction to Dreglord Expedition
Within Elden Ring Nightreign’s Forsaken Hollows DLC expansion, the Dreglord emerges as a formidable Nightlord Boss constructed from reanimated corpses, serving as the climactic encounter for this challenging new area. To initiate this confrontation, players must first complete the Dreglord expedition by surviving the initial two nights of enemy assaults. This grueling test culminates in an intense two-phase boss battle that demands strategic adaptation and precise execution.
Looking for Crossword hints & solutions? Check out latest NYT Mini Crossword Answers, LA Times Crossword Answers, and Atlantic Crossword Answers
Preparation and Night Challenges
- Night 1: Death Knight or Great Red Bear – The Death Knight employs shield-based defensive tactics with counter-attack opportunities, while the Great Red Bear relies on brute force and charge attacks that require spacing management
- Night 2: Knight Artorias or Divine Beast Dancing Lion – Knight Artorias utilizes aerial combos and precision strikes, whereas the Divine Beast Dancing Lion incorporates elemental attacks and multi-hit dance sequences
Successfully navigating these initial nocturnal encounters unlocks the main Dreglord confrontation. Preparation should include stocking healing items, equipping status resistance gear, and selecting weapons with good stagger potential against agile opponents. The transition between nights features environmental changes that can affect visibility and movement, requiring adaptive combat approaches.
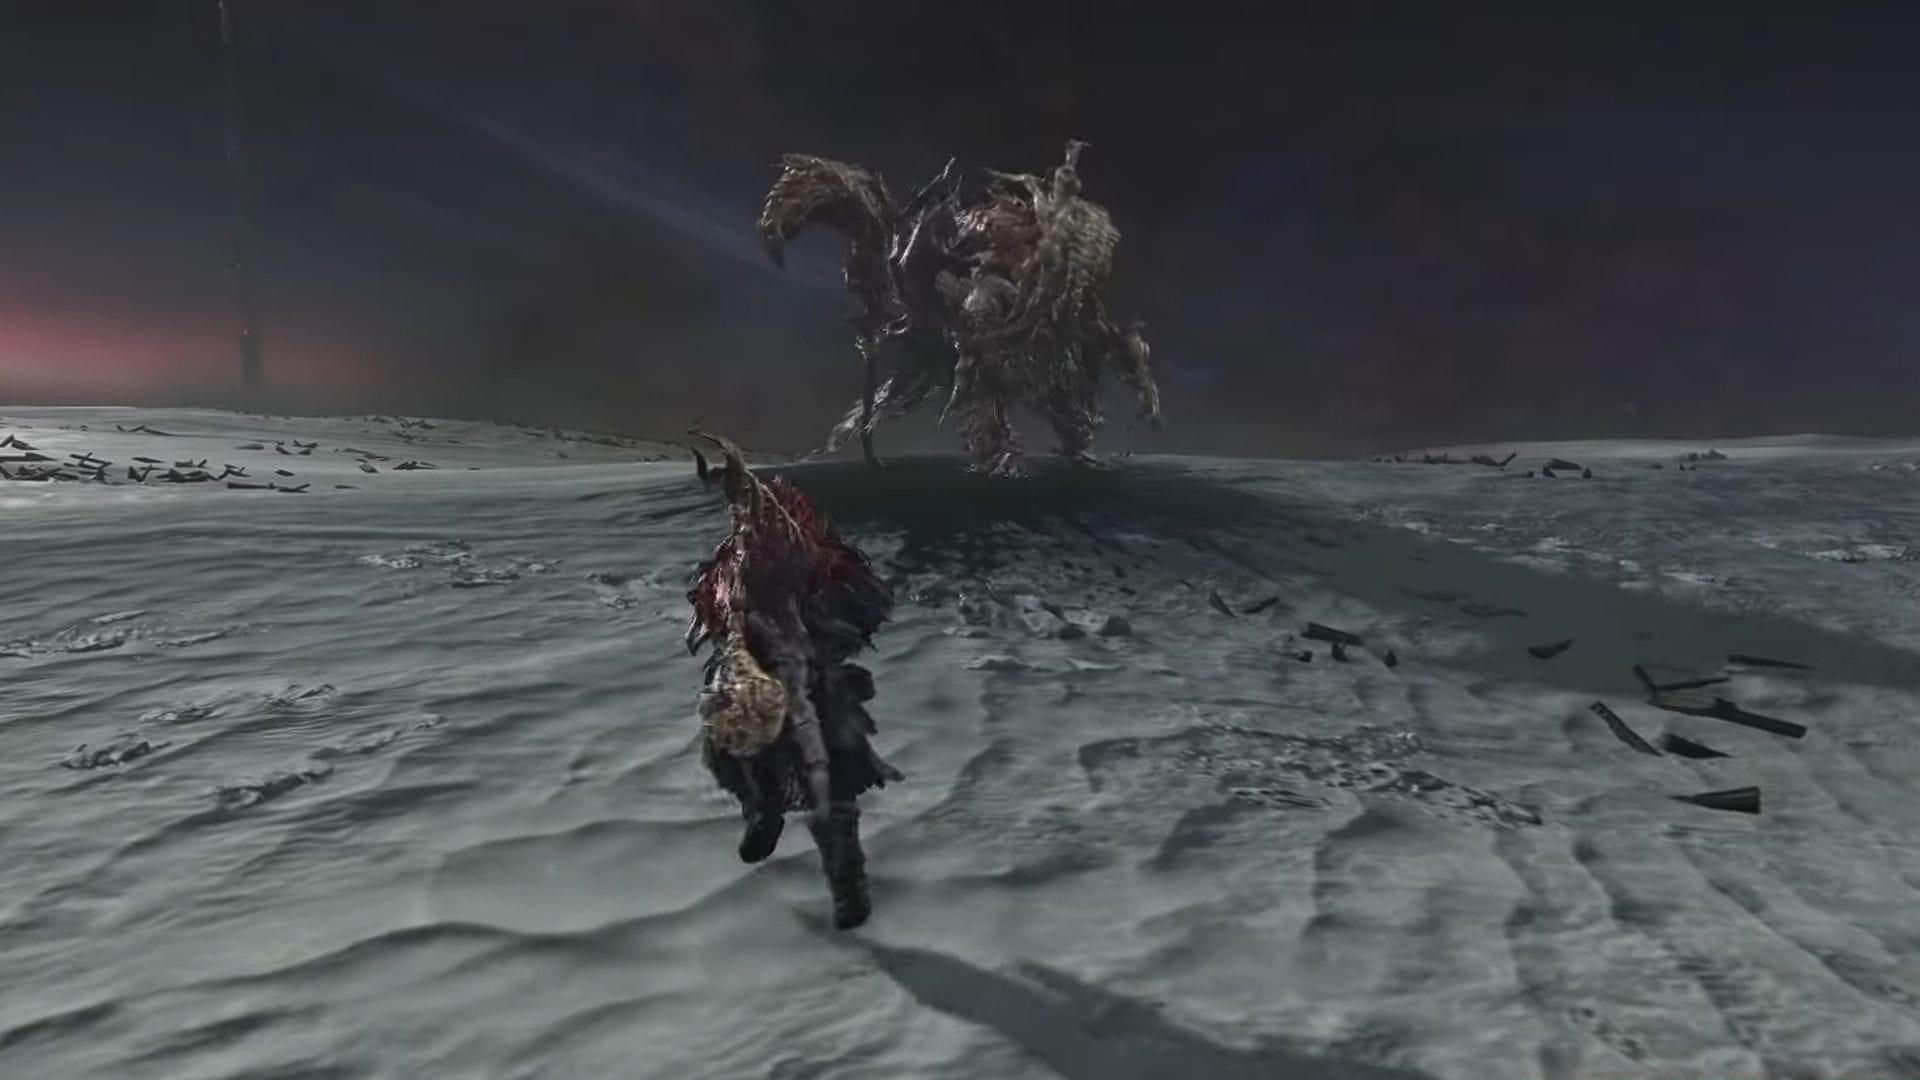
Phase 1: Traitorous Straghess Tactics
Once you’ve conquered the preliminary nights, the Dreglord battle commences with its initial form known as the Traitorous Straghess. This phase presents a highly mobile adversary that demands constant awareness of attack trajectories for effective evasion. The creature employs a diverse moveset including rapid hand swipes with deceptive range and powerful staff slam attacks that create shockwaves upon impact.
The five-hit combination assault represents both danger and opportunity – while dealing substantial damage if connected, this extended animation sequence leaves the boss vulnerable during its recovery period, creating your primary damage window. Additional threats include projectile flesh spheres that track your position, summoned corpse minions that can overwhelm from multiple angles, and Scarlet Rot buildup that progressively damages health and reduces maximum HP.
Optimal counter-strategy involves maintaining mid-range distance to bait out the five-hit combo while having sufficient space to retreat from area attacks. Directional rolling perpendicular to attack vectors proves more effective than backward evasion. The flesh sphere projectiles can be dodged with well-timed lateral movement, while corpse summons should be eliminated quickly to prevent being surrounded.
Phase 2: Pure Impulse Straghess Mastery
After depleting the first health bar, the Dreglord undergoes a dramatic transformation into the Pure Impulse Straghess, significantly amplifying both speed and aggression. This enhanced form introduces devastating new capabilities including explosive flesh detonations that create expanding damage zones and ground fissures that propagate across the battlefield in unpredictable patterns.
The increased agility enables rapid repositioning and faster attack recovery, reducing safe engagement windows. The exploding flesh ability requires immediate disengagement as the blast radius exceeds visual indicators. Ground fissures emerge with minimal telegraphing, demanding constant movement and terrain awareness to avoid being caught in their path.
Survival in this phase prioritizes reactive rather than predictive dodging, as attack patterns become less predictable. Conserve stamina for emergency evasion and focus on single-attack punishes rather than extended combos. The boss’s enhanced mobility makes healing opportunities scarce, requiring careful timing during longer attack animations.
Advanced Combat Strategies
Weapon selection significantly impacts this encounter’s difficulty. Consider armaments with high poise damage to interrupt attack chains or weapons with inherent Scarlet Rot resistance. Greatswords and halberds provide optimal balance between range, damage, and stagger potential against both phases.
Status effect management proves crucial – equipping the Immunizing Horn Charm talisman or similar resistance-boosting gear reduces Scarlet Rot accumulation. Consume Preserving Boluses preemptively when anticipating rot-based attacks rather than reacting after buildup occurs.
Positioning fundamentals dictate maintaining approximately medium distance to bait punishable attacks while retaining evasion space. During phase transitions, reposition to the arena center to maximize visibility and maneuvering options. Advanced tactics include using the environment for temporary cover during corpse summon attacks and anticipating phase 2 fissures by observing subtle ground texture changes.
Also read: How to complete Undertaker’s Remembrance in Elden Ring Nightreign
No reproduction without permission:SeeYouSoon Game Club » How to defeat Dreglord (Traitorous Straghess) in Elden Ring Nightreign Master the Dreglord boss fight with advanced tactics, phase breakdowns, and strategic avoidance techniques