Complete guide to Our Presence Up There quest with expert strategies and Silencer 1 Recipe rewards in Arc Raiders
Quest Overview and Strategic Preparation
The Our Presence Up There assignment originates from Celeste, who commissions players to journey to the Pattern House facility and deploy the Athena surveillance system atop its structure. This installation sits within the perimeter of the Dam Battleground terrain, encircled by mountainous terrain and natural barriers. Given its considerable distance from primary deployment zones, anticipate extended transit times and multiple engagements with Arc patrols. Successful mission completion yields valuable crafting schematics and progression rewards.
Many players underestimate the tactical preparation needed for this operation. The remote location combined with dense enemy presence creates a challenging environment that requires proper loadout selection and route planning. Unlike urban missions, this outdoor setting offers limited cover and increased visibility to hostile units.
Navigating to Pattern House: Advanced Route Planning
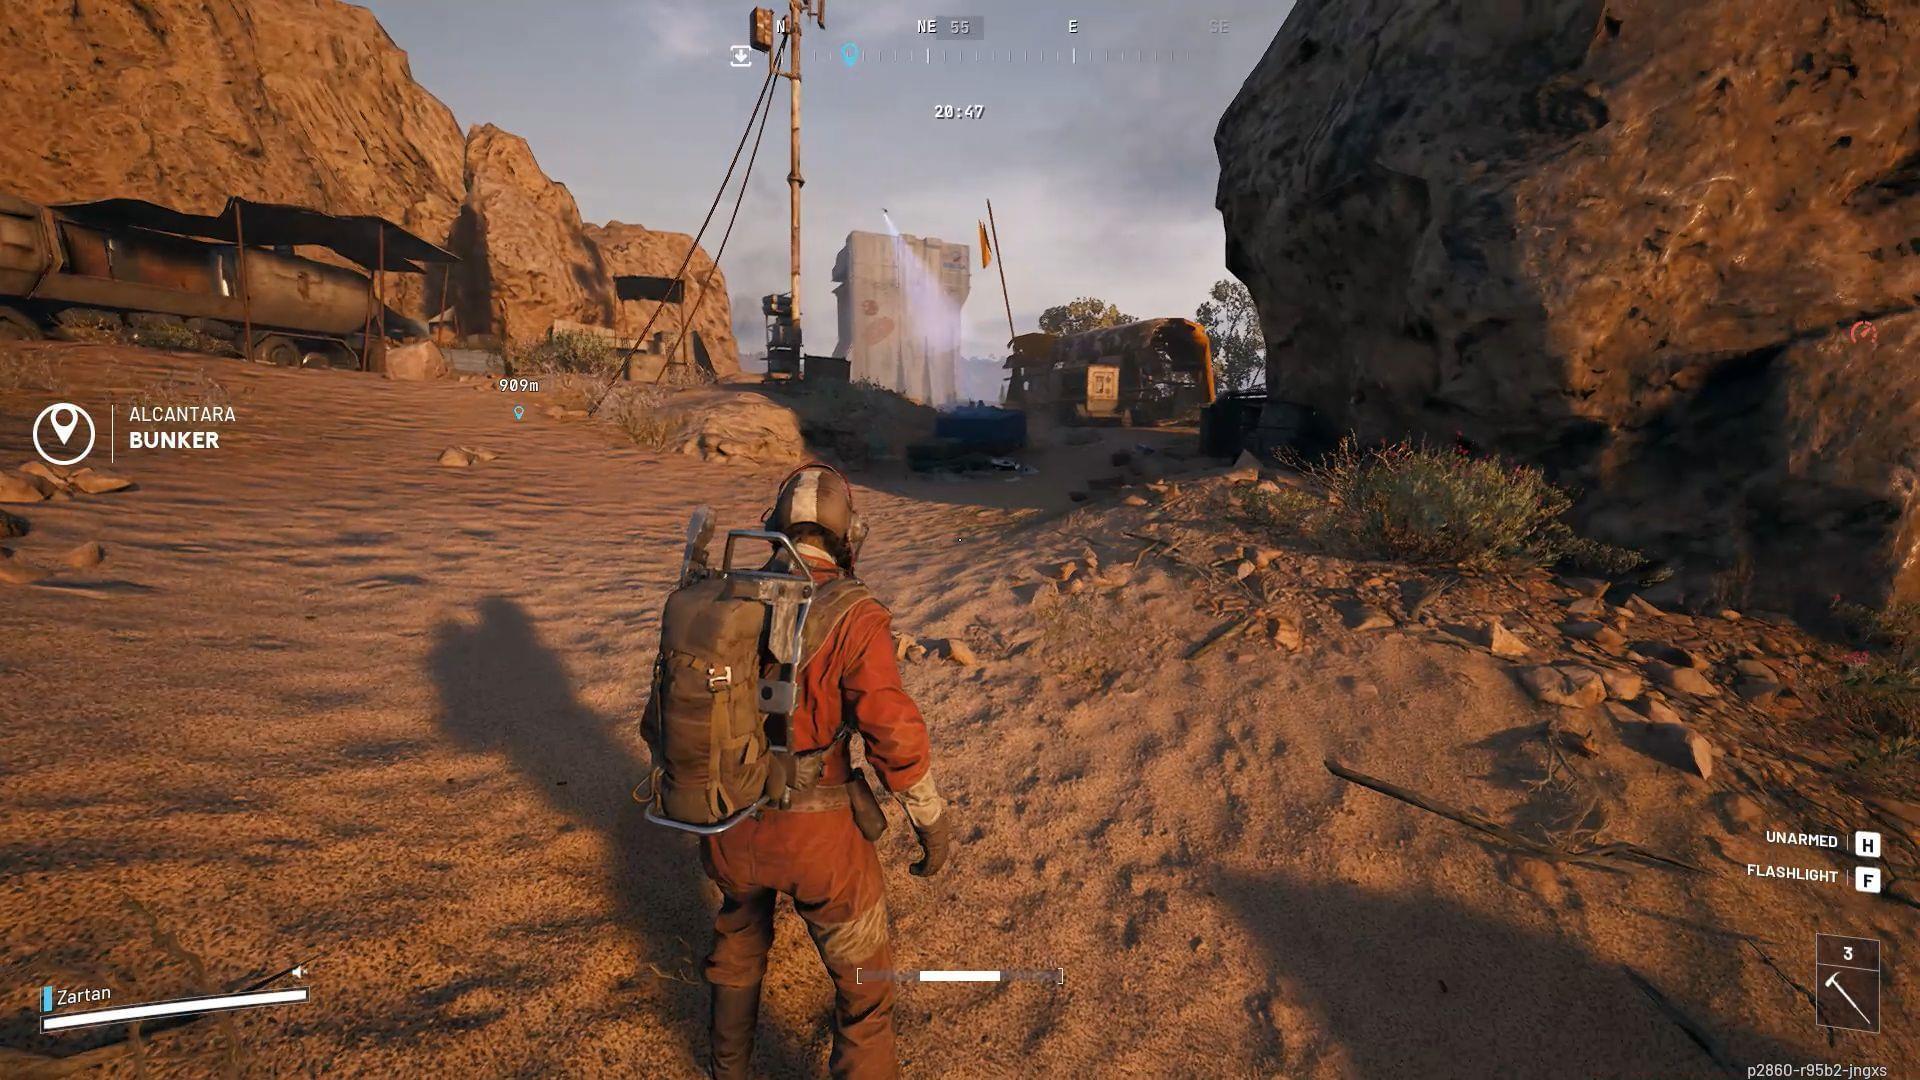
The Pattern House occupies the northeastern quadrant of the Dam Battleground operational zone. This structure positions adjacent to the North Complex Elevator infrastructure and the West Broken Bridge crossing point, as visually referenced in the accompanying intelligence imagery.
Optimal navigation begins with pre-mission cartographic marking of the destination coordinates. This region maintains substantial Arc defensive emplacements, necessitating deployment of superior armaments, tactical utilization of environmental cover, and avoidance of exposed transit corridors to maintain operational security.
Strategic Approach Considerations: The most effective infiltration routes typically follow the western ridge line, using rock formations as natural cover. Avoid the central valley approach which exposes players to multiple firing angles. Advanced players can utilize the damaged infrastructure near the North Complex Elevator for partial cover during final approach. Time your movements between Arc patrol rotations – typically every 90-120 seconds – to minimize engagements.
Common navigation errors include attempting direct approaches across open terrain and underestimating the visual range of Arc sentries. The eastern approach, while seemingly shorter, contains the highest concentration of enemy patrols and should be avoided unless properly equipped for combat.
Mission Execution: Power Switch and Athena Installation
Upon reaching the objective, access the facility through ground-level entry points. Once inside the structure, you’ll discover a compact illumination-deficient chamber adjacent to the primary stairwell. Within this space, locate the Flip Power Switch mechanism requiring activation, as depicted in the reference imagery above.
Following successful power initiation, employ the vertical transport cable positioned beside the staircase apparatus to ascend to the rooftop level. When reaching the upper platform, identify the yellow interface console situated along the perimeter edge. Approach this terminal and engage interaction protocols to deploy the Athena surveillance package, thereby concluding mission parameters.
Professional Tip: Before activating the power switch, clear the immediate area of any pursuing Arc units. The installation sequence cannot be interrupted once initiated, leaving players vulnerable to attack. The zipline ascent creates audio cues that may attract nearby enemies, so consider using suppressed weapons during this phase.
The Athena installation itself takes approximately 15 seconds to complete. During this period, you cannot move or defend yourself, making prior area security essential. Many failed attempts occur during this vulnerable installation phase rather than during the approach.
Advanced Strategies and Common Pitfalls
Following mission accomplishment, return securely to Speranza headquarters to retrieve operational rewards:
The Silencer 1 represents a significant gameplay enhancement, reducing weapon report noise by approximately 60% and decreasing enemy detection ranges. This attachment proves particularly valuable for stealth-oriented playstyles and subsequent missions requiring discreet engagement.
Weapon Loadout Recommendations: For this mission, prioritize medium to long-range weapons with high single-shot damage. Sniper rifles and designated marksman rifles allow engagement from safe distances. Avoid loud, fully automatic weapons that attract additional patrols. Equip at least one close-quarters weapon for interior engagements.
Common Execution Errors: Players frequently make three critical mistakes: rushing the approach without proper reconnaissance, attempting the mission with inadequate healing items, and failing to secure the rooftop before beginning the installation. Always carry at least 3 medical kits and utilize the building’s interior for safe recovery if wounded.
Speedrun Optimization: Advanced players can complete this mission in under 8 minutes by using specific spawn points and skipping non-essential engagements. The southernmost spawn provides the most direct route when combined with strategic zipline usage from adjacent structures.
No reproduction without permission:SeeYouSoon Game Club » How to complete Our Presence Up There quest in Arc Raiders Complete guide to Our Presence Up There quest with expert strategies and Silencer 1 Recipe rewards in Arc Raiders