Master Death Stranding 2 Episode 1 with essential strategies, combat tactics, and route optimization techniques
Opening Sequence and Initial Setup
Episode 1 in Death Stranding 2 begins with a serene moment atop a tranquil hill where Sam and Lou share a quiet respite, accompanied by Woodkid’s atmospheric track Minus Sixty One. This introductory sequence serves as your orientation to the game’s core mechanics, teaching terrain navigation fundamentals and threat management strategies against BTs and hostile bandits.
During your initial trek, Timefall weather patterns will activate approximately midway through your journey. When encountering the first stream obstacle, utilize ladders for safe crossing. To deploy equipment: hold right on the D-pad, navigate the Ring Menu to Tools, select ladder, then employ L2 for aiming and R2 for placement. Ladders provide superior stability compared to attempting risky balance-based crossings, especially for players still mastering movement mechanics.
Upon reaching the shelter destination, you’ll encounter deceptive BT-shaped illusions surrounding the entrance—a security measure implemented by Sam rather than genuine danger. Activating the control mechanism disables these holographic decoys, granting access to the interior where Lou accompanies you inside.
Also read — Death Stranding 2: All available platforms
The shelter interior marks a significant narrative shift, transitioning from basic cable reconnection tasks to deeper character development showcasing Sam’s evolving relationship with Lou. Fragile’s unexpected arrival immediately dispels the remaining illusions, initiating a crucial exposition sequence about the collaborative efforts between United Cities of America (UCA) and Drawbridge organizations.
Fragile presents Sam with a critical mission: journey southward to reconnect Mexico’s chiral network and rendezvous with Deadman at a specialized facility. This urgency stems from intelligence predicting an imminent massive BT manifestation in the region, requiring your intervention.
A dialogue selection appears offering “yes” or “no” responses, though Hideo Kojima’s signature storytelling ensures the negative choice merely triggers scene resets from altered perspectives until acceptance becomes inevitable. This narrative device reinforces the mission’s compulsory nature within the game’s overarching plot structure.
Following Fragile’s agreement to remain with Lou, you begin proper equipment preparation, officially commencing Episode 1’s gameplay progression.
Core Delivery Missions and Route Planning
After completing initial cutscenes, Sam acquires the Ring Terminal from Fragile—a wrist-mounted interface facilitating mission route monitoring, inventory management, and delivery tracking. Your primary objective involves transporting a Chiral Network Gateway to C1 – Ciudad Nudo del Norte, representing Episode 1’s first substantial delivery assignment accompanied by essential equipment:
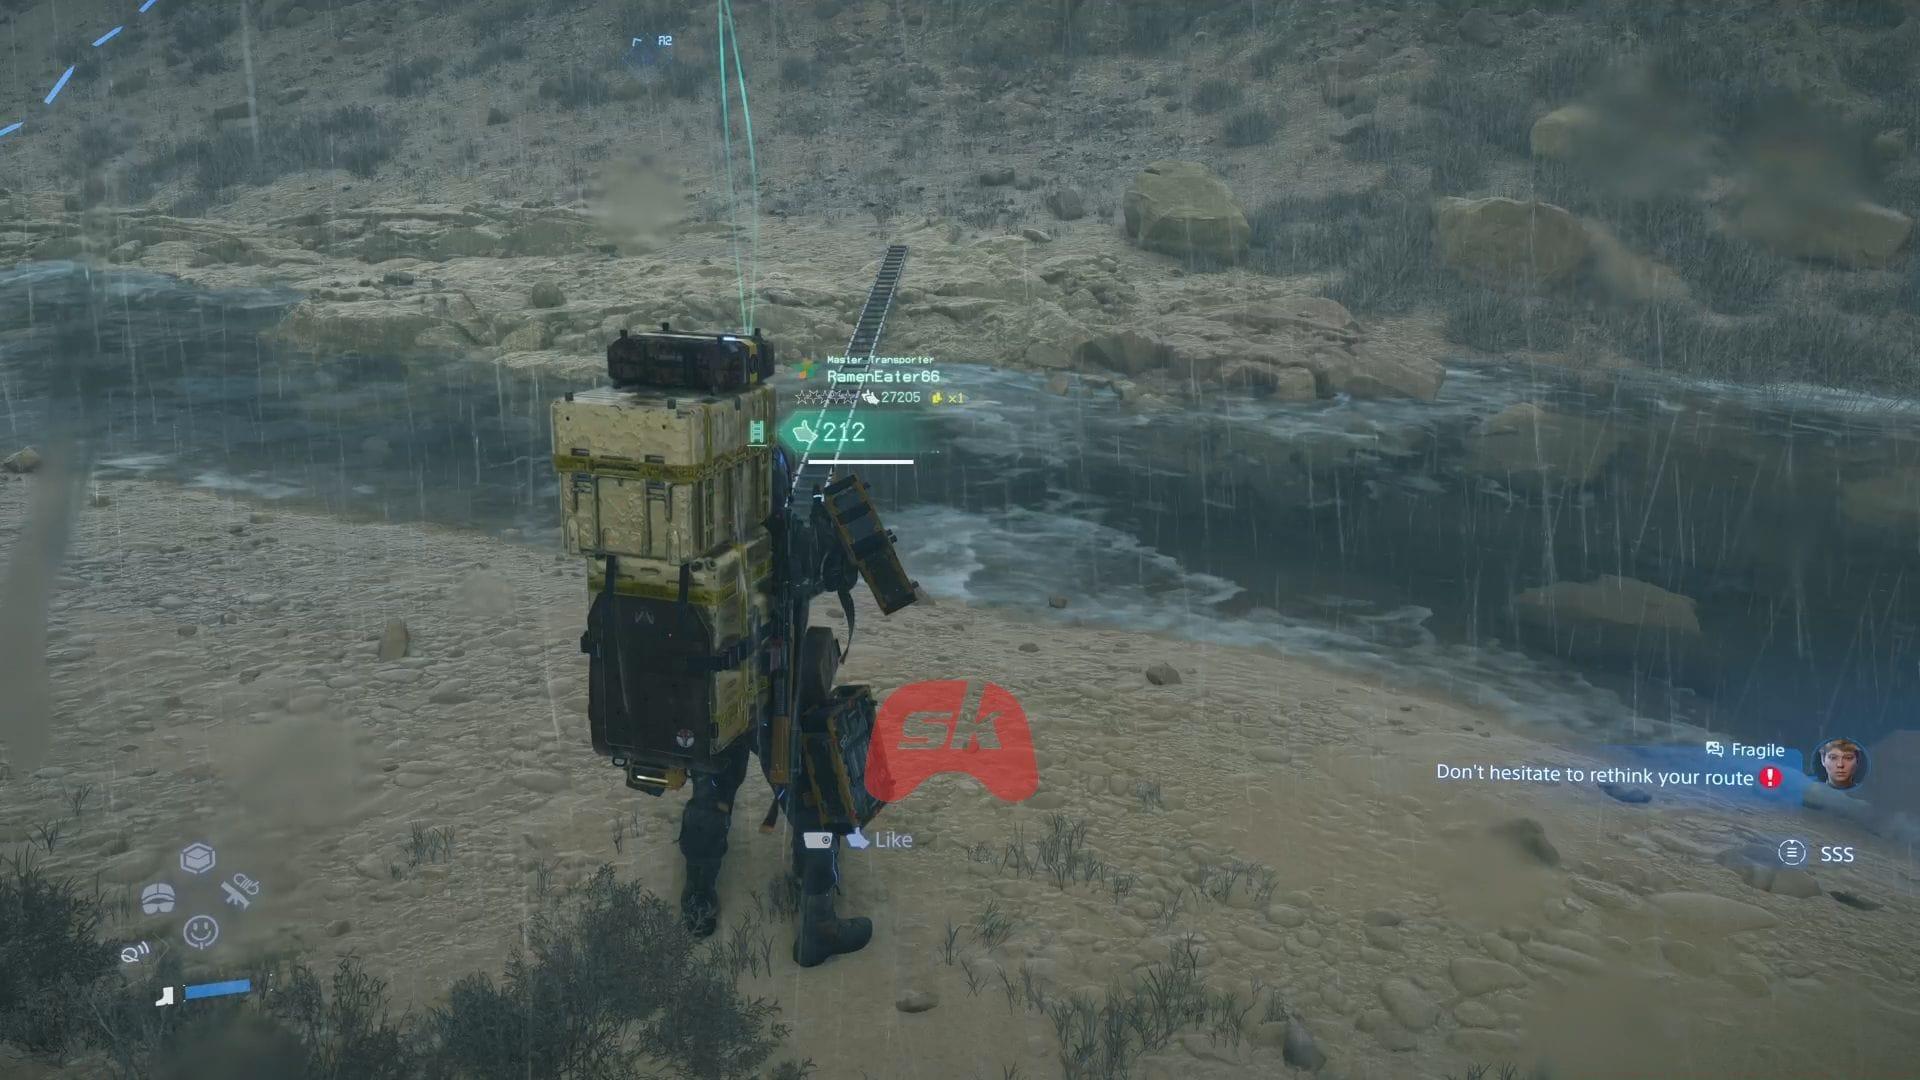
Execute the Triangle button command to automatically organize cargo distribution, ensuring balanced weight distribution across your backpack. The destination requires traversing challenging topography including hills, river systems, and a bandit-controlled bridge where direct engagement is strongly discouraged. Lethal force against enemies risks triggering catastrophic Voidout events unless proper corpse disposal protocols are followed in Death Stranding 2.
Strategic navigation recommends veering leftward rather than direct bridge crossing. Identify breaches in the riverside metal fencing, targeting the most distant opening. Potential sandstorm conditions may provide natural concealment during movement.
Maintain proximity to the riverbank while advancing toward the bridge structure. Utilize derelict vehicles for crossing, then proceed leftward to bypass forward structures. This route provides clear access to Ciudad Nudo del Norte where cargo deposition and Q-pid network synchronization completes the delivery.
Subsequently, access the terminal at Ciudad Nudo del Norte to acquire your next assignment: Remote Medical Unit delivery to Villa Libre. While the direct path intersects a bandit encampment, a safer alternative route exists to the right. Follow the designated alternate pathway indicated on your map interface for optimized progression.
Timefall precipitation presents increased containment challenges here, necessitating Container Repair Spray utilization:
Complete the delivery, observe network connection establishment, and prepare for subsequent mission phases.
Note: Ladders and Climbing Anchors prove invaluable for navigating difficult terrain and additional water crossings throughout this segment.
Combat Encounters and Stealth Tactics
Your next objective involves venturing into hostile territory to retrieve two stolen Chiral Density Gauges from C1 South Distribution Center during Episode 1.
The bandit encampment occupies a densely forested area bisected by a river. Initial strategy should involve PCC construction of a Watchtower at the camp perimeter, enabling enemy position tagging, stolen cargo identification, and point of interest marking. Access your tool wheel, select PCC, and choose desired structure for deployment. Beyond human threats, the forest contains spider-like chiral entities that transition from passive observation to aggressive behavior rapidly. Evasion rather than engagement is recommended when encountering these creatures.
Approaching the forest, utilize the rocky pathway to your left for elevated access, bypassing significant danger zones. As previously noted, Ladders and Anchors expedite this ascent. From the summit, descend toward your Watchtower placement for comprehensive camp reconnaissance.
On the river’s near side, the initial Chiral Gauge resides within a small outpost guarded by two patrols—one proximate to the equipment, another patrolling peripherally. Employ your Maser Handgun by holding L2 for targeting and R2 for charging. Properly executed discharges incapacitate enemies without lethal consequences or corpse management complications.
Cross the aquatic barrier using ladders rather than attempting swimming traversal. Upon reaching the opposite bank, ascend toward the secondary camp marked by a prominent white tent. This location features enhanced security with three dispersed enemies and the final Gauge positioned within the rearmost tent. Exercise patience—methodically neutralize patrols and execute precise extraction without alerting additional forces. Detection triggers rapid escalation to hostile confrontations.
With both Gauges secured, avoid backtracking through enemy-controlled areas. From the second camp, locate fractured sections in the right-side rock formation. Traverse this opening, turn left into the clearing, and maintain forward momentum along the earthen path while resisting exploration distractions.
Upon reaching your destination, complete the delivery and experience a respite moment in the Private Room where Deadman appears to share enigmatic narrative elements foreshadowing the overarching journey direction.
BT Confrontations and Boss Battle
Your subsequent significant Episode 1 assignment involves reaching the Former Geophysics Research Lab for prototype MP bullet delivery, requiring clearance of BT-blocked pathways. This segment introduces Blood Grenades and fundamental BT engagement mechanics. Equipment procedure:
Implementation involves L2 targeting combined with R2 throwing mechanics. Successful impacts eliminate BT entities.
Before entering ruin areas, construct a Timefall Shelter in proximity. These structures provide dual functionality: protecting containers from precipitation degradation and establishing secure zones during emergency situations. Strategic cargo stashing within shelters while carrying essential items—grenades and blood bags—proves advantageous within hazardous zones.
Sam’s DOOMS ability enables BT outline visualization. Maintain crouched positioning, regulate breathing patterns, and eliminate sufficient entities to reduce chiral density. Post-elimination, retrieve stashed equipment and complete laboratory delivery objectives.
Episode 1’s culminating mission involves confronting the major BT entity. After returning surface-side from the research lab’s private quarters, initiate the encounter via terminal activation while ensuring adequate equipment preparation beforehand. This engagement necessitates the Assault Rifle [MP]. Fabricate multiple units if possible, and supplement with Blood Grenades and Blood Bags for comprehensive readiness.
Upon Sam’s shelter departure, a brief cinematic introduces the boss: a massive floating cranial formation featuring a central fissure, exhibiting erratic movements and vocalizations within rainfall.
Combat methodology for Episode 1’s dominant BT:
Post-victory, return to the research lab’s private quarters where Deadman resumes narrative progression.
Final Missions and Vehicle Usage
Episode 1’s concluding mission involves straightforward present delivery to Lou, provided by Deadman. Unlike previous extensive traversals, this segment introduces the tri-cruiser vehicle, significantly streamlining transportation in Death Stranding 2.
Pre-departure preparation should include carrying multiple PCCs enabling generator construction for tri-cruiser power replenishment during operations. While typically one unit suffices, maintaining energy reserves proves prudent.
Commence travel following the mapped route. Identify the level terrain passage between elevated areas—this provides direct forward access without climbing or detour requirements. The tri-cruiser possesses amphibious capabilities for river navigation. Upon water contact, wheel configurations transition to flipper-style mechanisms enabling aquatic traversal without delivery compromise.
After navigating the previously encountered major river, redirect toward the fence aperture utilized earlier. This established route remains functional for rapid progression. Approaching Sam’s shelter for package delivery triggers alert notifications—indicating concluded tranquility as the location undergoes siege, with your arrival coinciding with the aftermath.
Interior examination immediately reveals absence—no Lou, no conflict evidence, merely vacancy. Exterior transition activates Odradek scanning, initiating critical progression: the detector identifies pink footprint traces—Fragile’s trail. Reboard the tri-cruiser and pursue the path.
The pursuit duration remains brief—adhere closely to the trail until encountering Fragile, who provides comprehensive situational context regarding events and Lou’s whereabouts.
This narrative moment concludes Episode 1 in Death Stranding 2, establishing foundational mystery elements for subsequent plot development.
Check out more articles on the game here:
No reproduction without permission:SeeYouSoon Game Club » How to complete Episode 1 in Death Stranding 2 (Walkthrough) Master Death Stranding 2 Episode 1 with essential strategies, combat tactics, and route optimization techniques